The questions I receive most frequently about natural dyeing seems to center on the indigo vat and its maintenance. Since 2011 I have been making and using organic indigo vats, an art and skill that I learned from Michel Garcia.
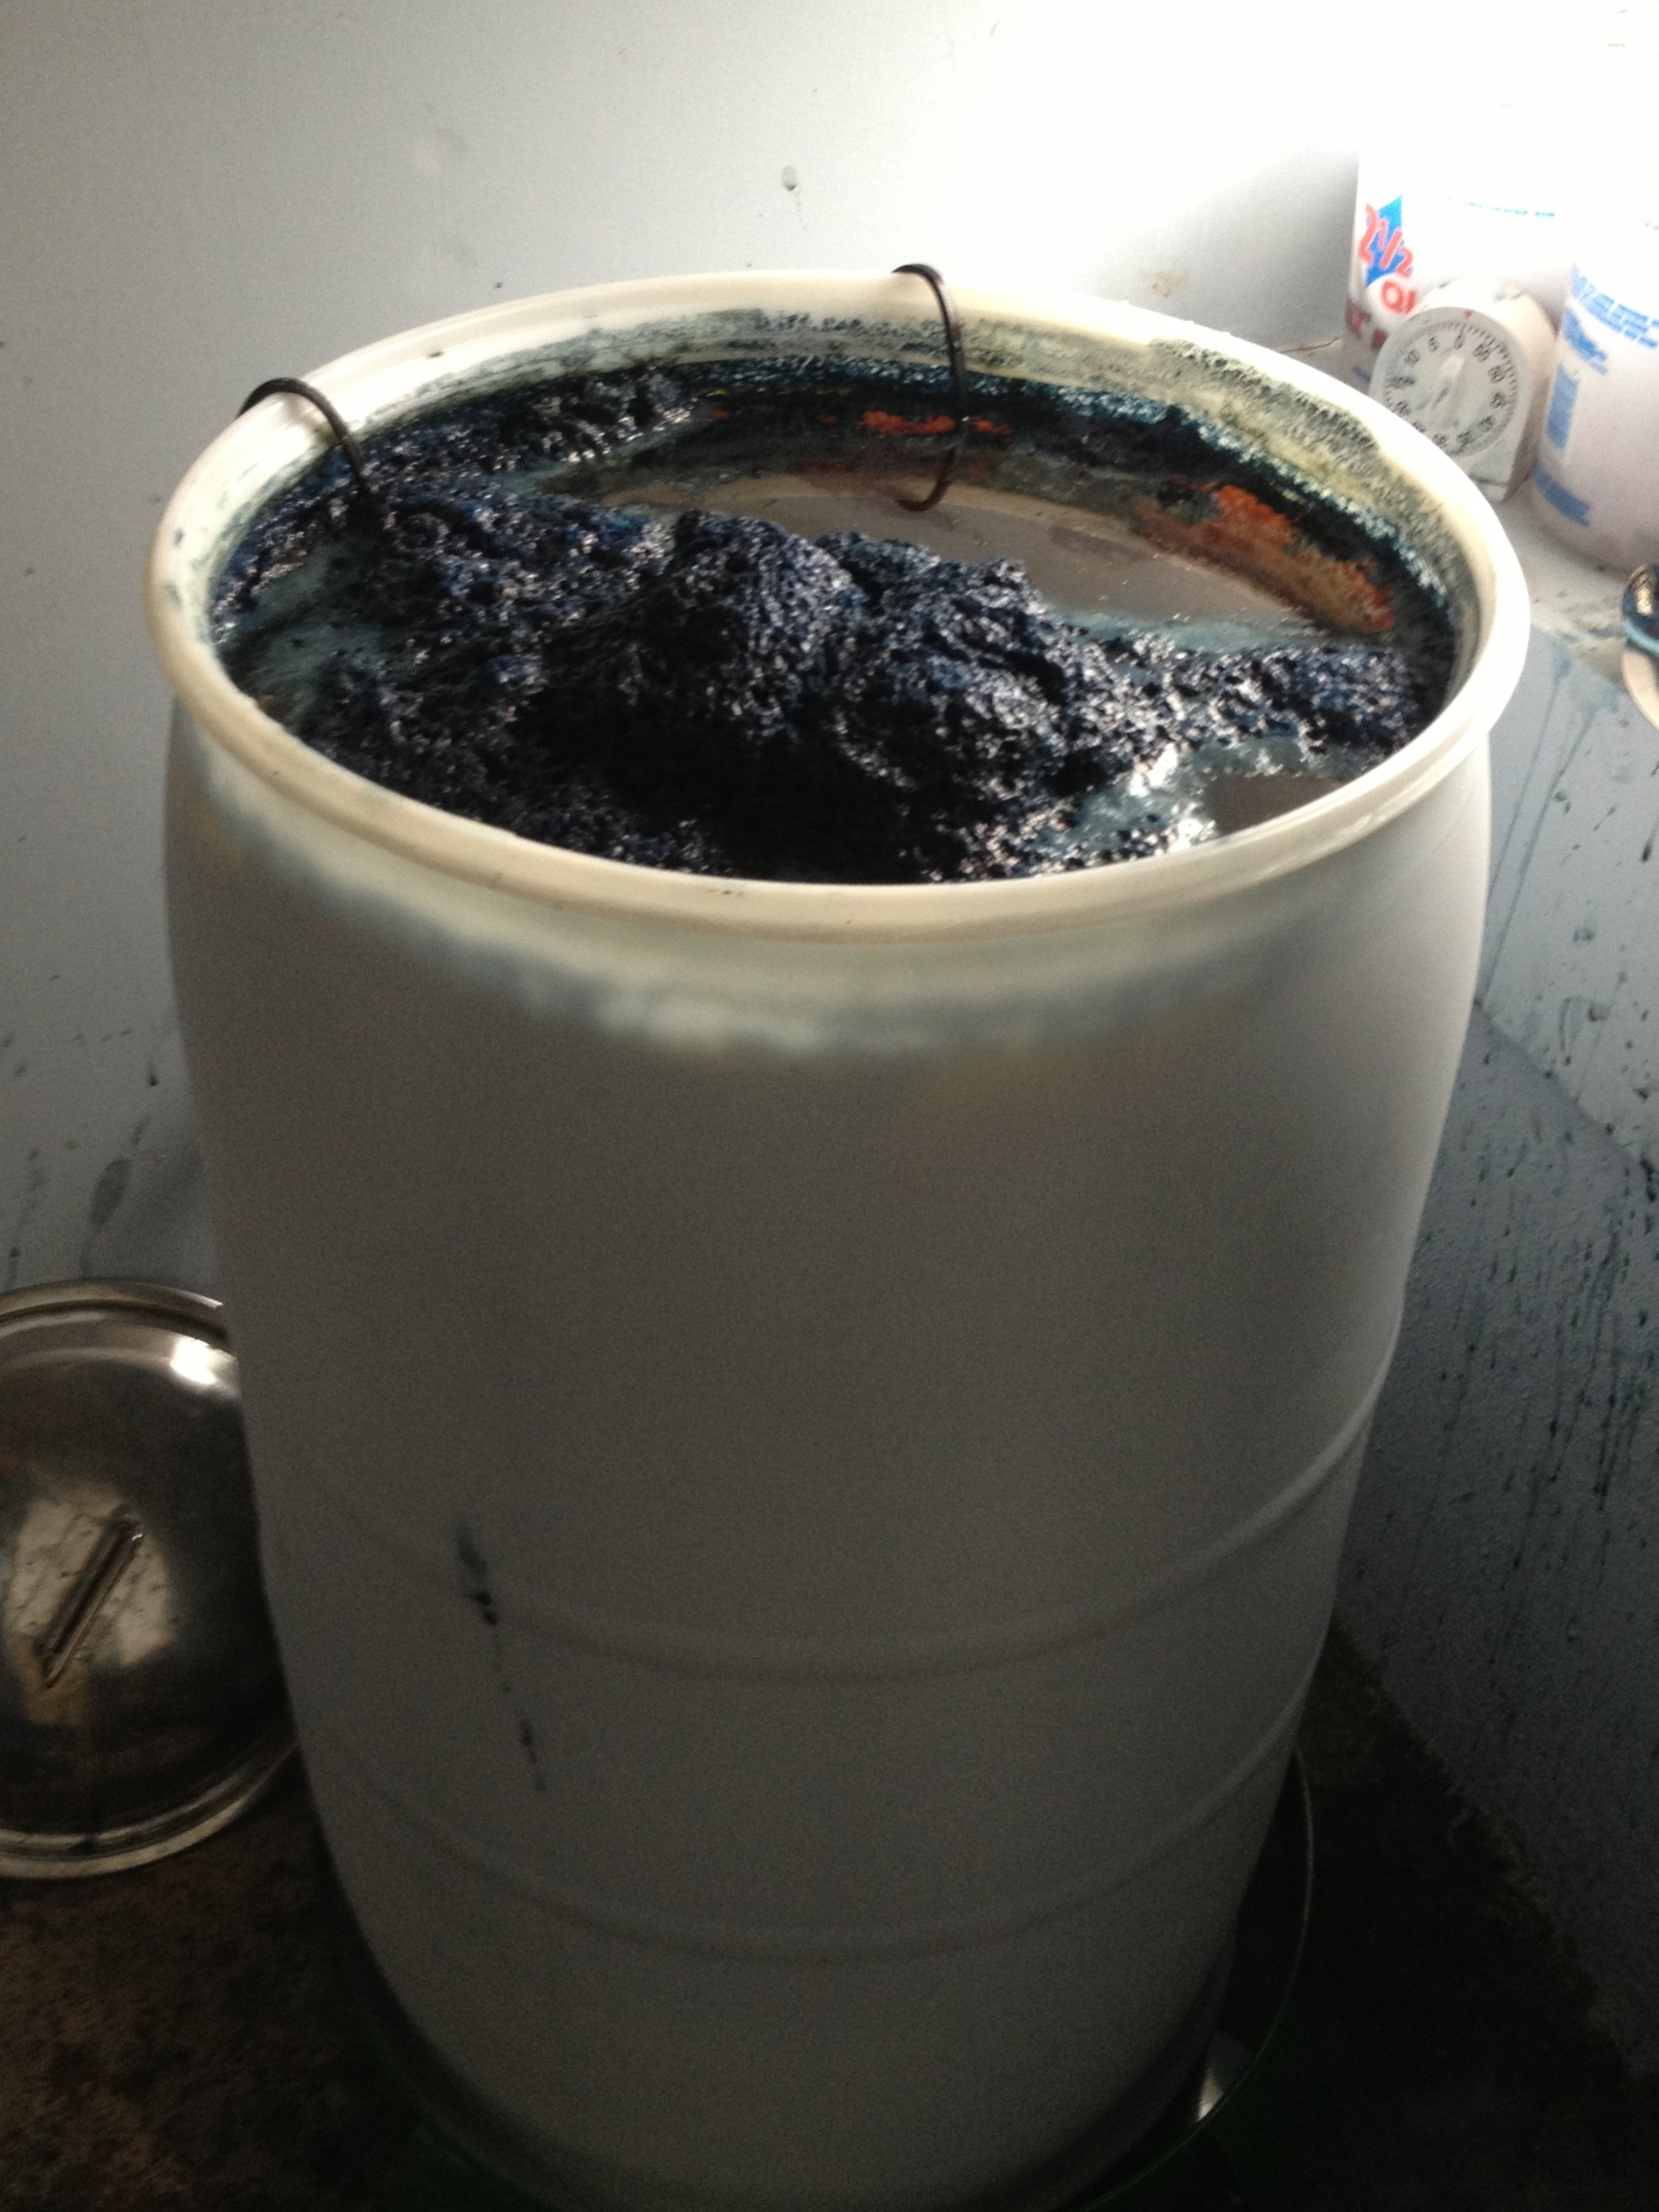
My current vat began in a 5 gallon vessel over 2 years ago. I enlarged it to fill an 8 gallon vessel, and then last year I enlarged my vat again to fill a 30 gallon container. The increased size was needed because I was dyeing larger pieces of cloth.
The vat was made using henna as a reduction material. I chose to use this material because the slow release of sugars is good for a vat that will be maintained for a long time. I add fructose after each use and additional henna when I need to boost the reduction. Lime (calcium hydroxide) is the alkaline.
The vat is used regularly and I achieve excellent color from the indigo. The large size challenges me to solve problems as I encounter them. It would be tempting to discard a small vat that was not behaving well and begin again, but emptying this vat would require a great amount of effort. As a result I’ve learned a lot about maintaining the indigo vat.
An indigo vat is happiest when it is used on a daily basis. After each dyeing session I “feed” it with a bit of fructose, stir it to bring the un-reduced indigo and reduction materials up from the bottom, check the pH, and let it rest for a few hours before dyeing again.
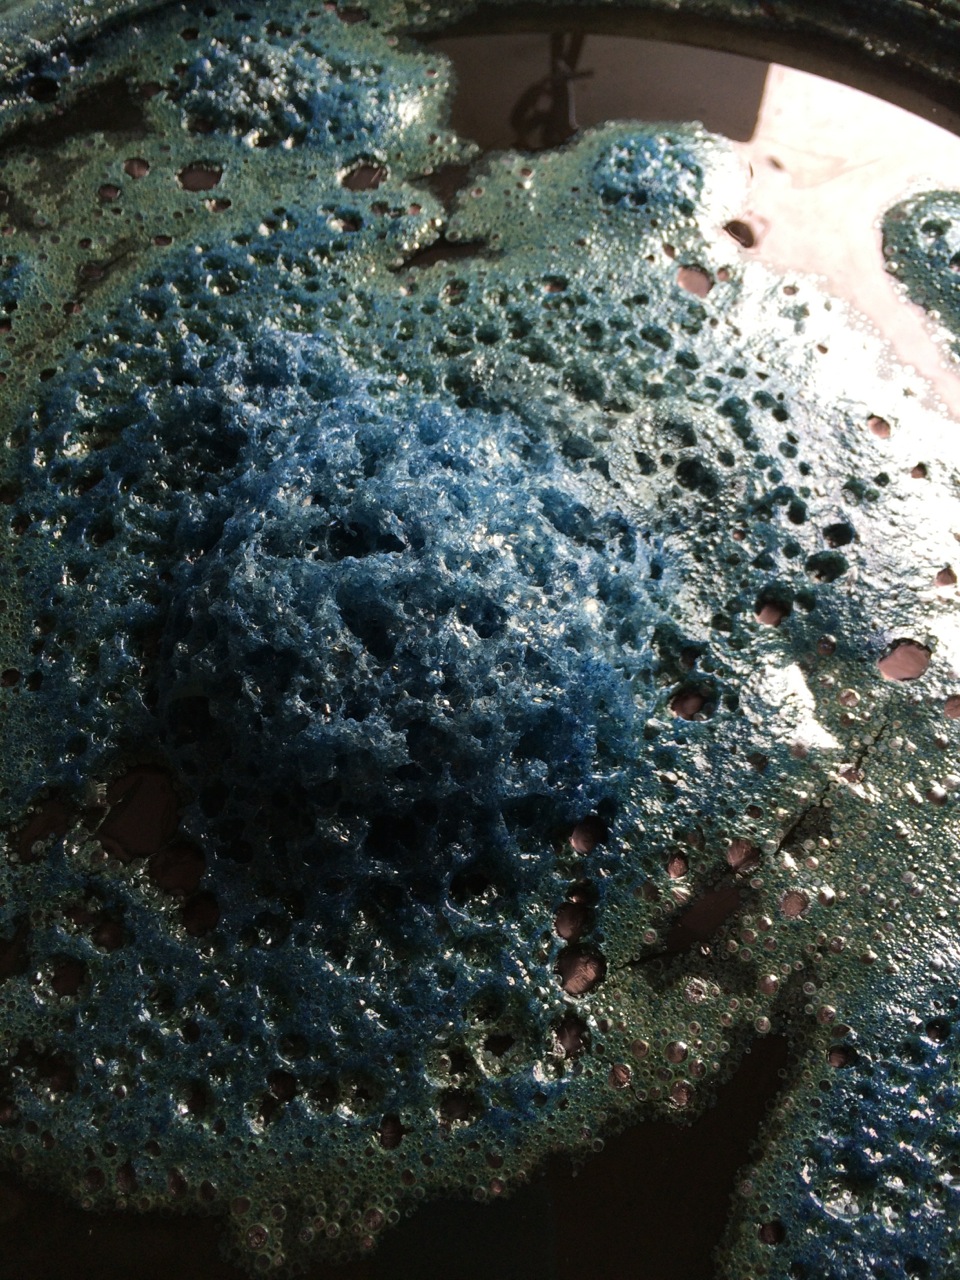
Occasionally I run into problems that I need to solve. Recently I was away from home for several weeks. Before I left, the vat was dyeing rich, deep blues. The color of the vat was a golden bronze and there was a good healthy “metallic” sheen on the surface and plenty of bubbles.
When I returned home the first thing I did was add lime to the vat. When an indigo vat sits dormant for any amount of time it becomes more acidic and the pH goes down. I can test this with pH papers but a good visual indicator is to sprinkle some lime on top. If the lime is immediately “sucked” down into the vat – you can assume that the vat is in need of the lime. If the lime just sits on the surface, the pH is probably fine.
Next, I stirred the vat and waited for it to settle. The color of the vat looked good, as well as the surface. The vat was a clear gold color and there was a coppery sheen on top. But the first test sample resulted in barely any color at all! That was a surprise, since I thought there was plenty of indigo in the vat. I thought I had also been “feeding” it with plenty of sugar. The vat had been used very heavily before I went away. I thought that possibly the indigo had finally been exhausted.
Before adding more indigo to the vat, I decided to add more sugar – a generous amount. Once added, the vat was stirred and I waited until the next day to do another test strip. It produced a blue, though it was relatively light. I repeated the sugar-stir-rest and dyed again the next day. It was darker. I repeated the sequence again, and finally got back to a shade of blue similar to that which I had before going away.

The lesson here is that before adding indigo to a vat, test it thoroughly for pH and reduction. Although it “appeared” to be healthy, my vat was not reduced and the indigo wasn’t available to dye the fibers.