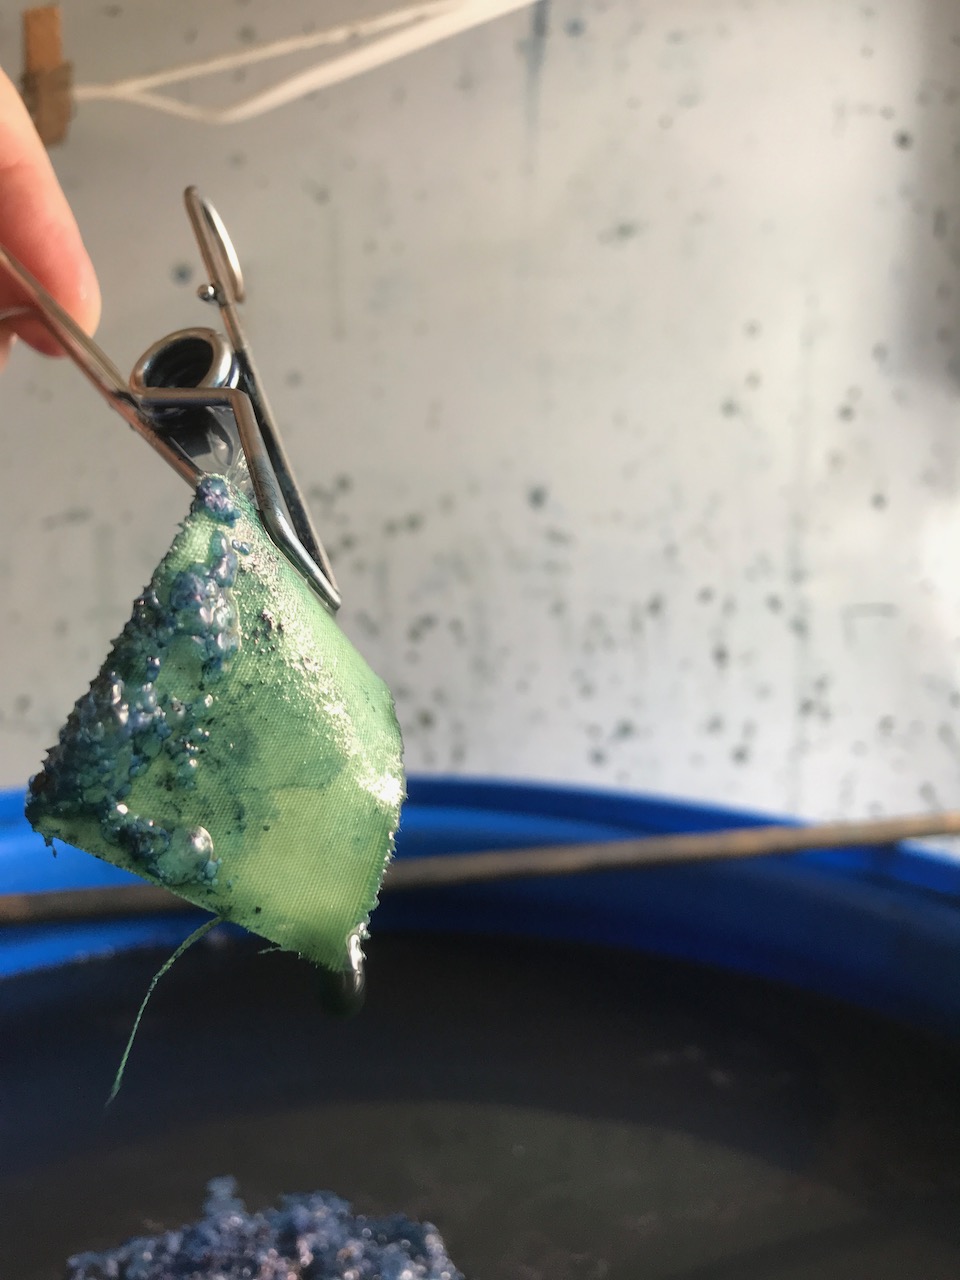
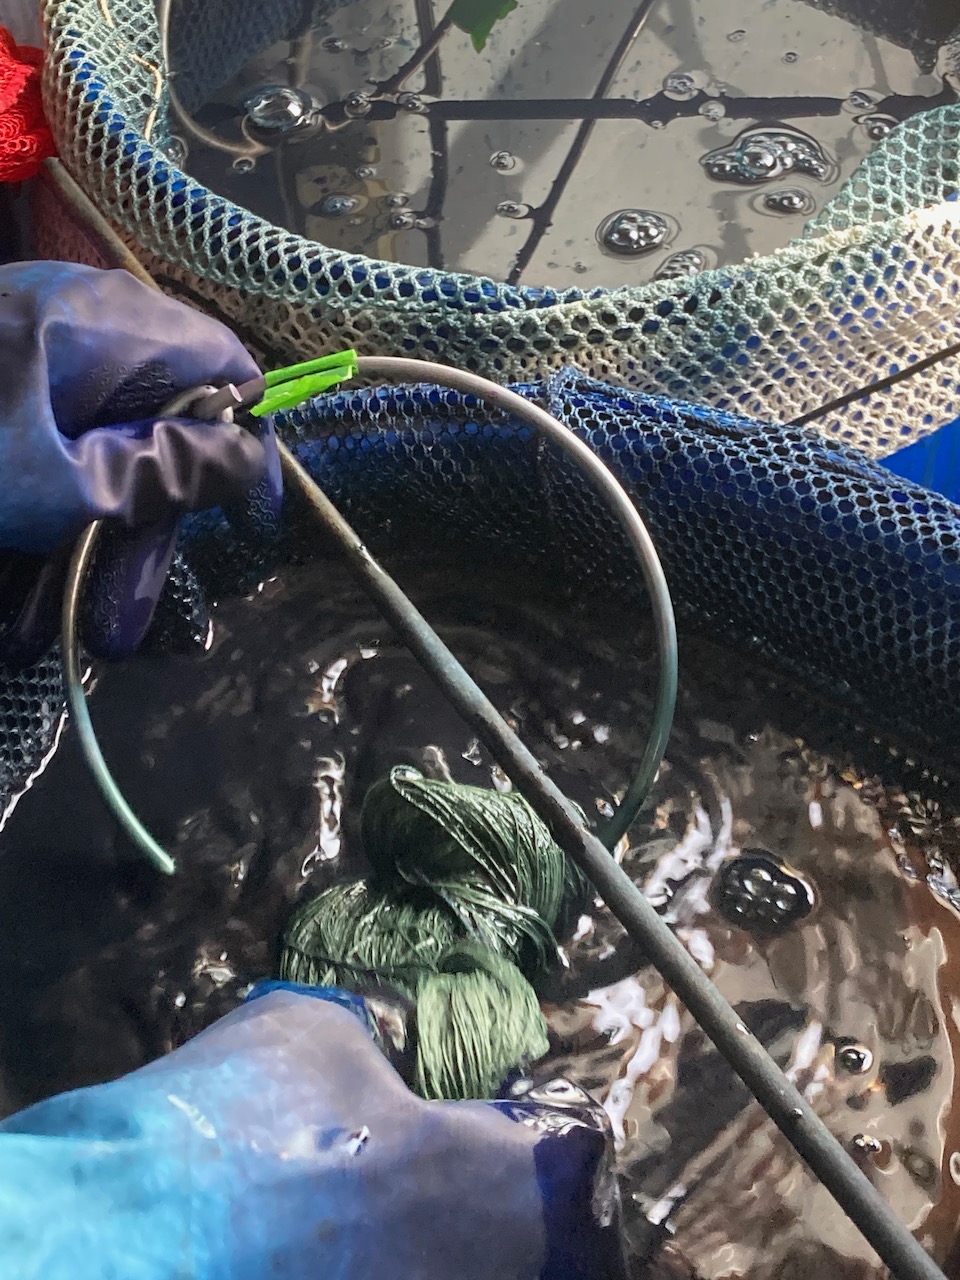
I have used one-bath acid dyes extensively in my own work, especially for cross-dyeing my handwoven fabrics that are constructed of both cotton and wool. The acid dyes attach only to the wool or other protein fiber. When combined with indigo, which attaches to both cellulose and protein fibers, very interesting combinations can be achieved.

Cross dyeing on wool and cotton using indigo and madder root 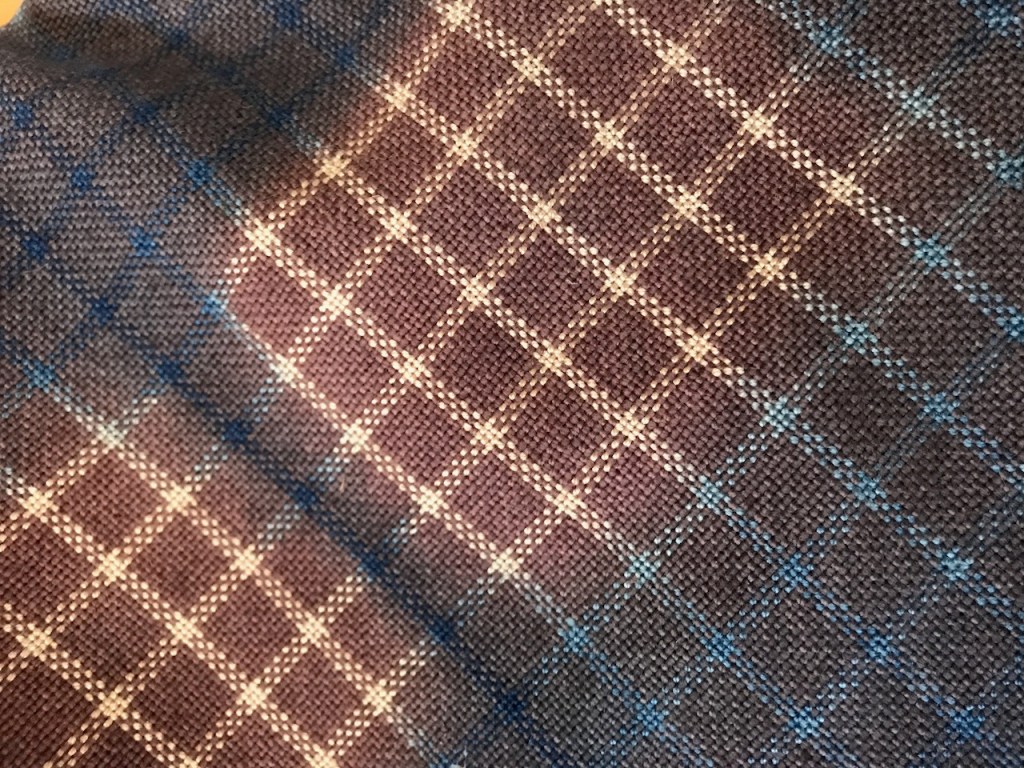
Cross dyeing on wool and cotton using indigo and alkanet root 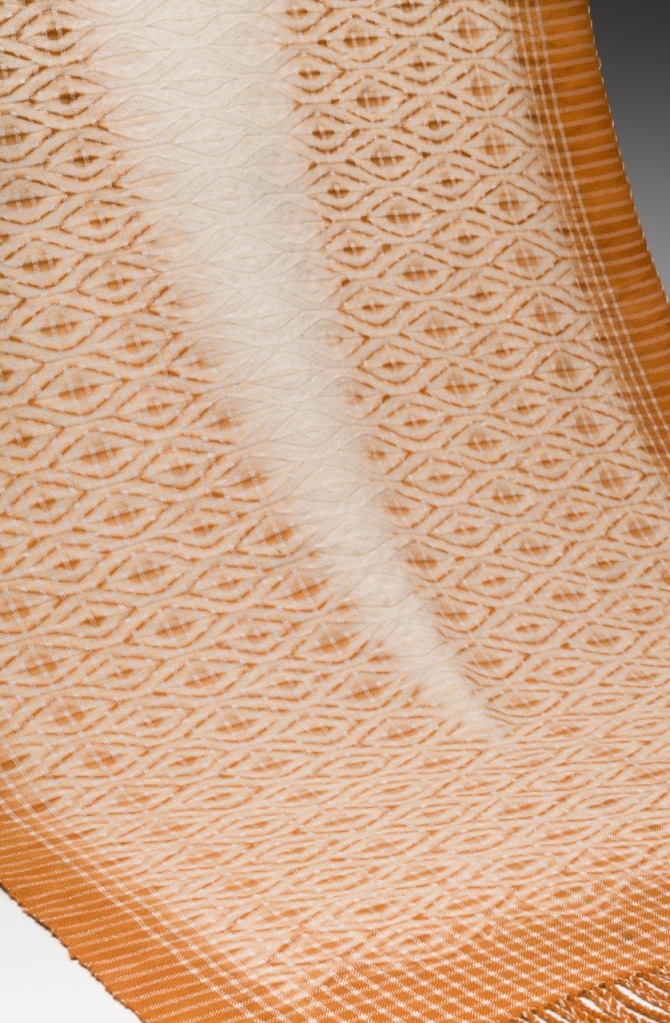
One bath acid dye with henna leaf powder
The “one-bath acid dyes” that Joy Boutrup and I discuss in The Art and Science of Natural Dyes include henna, madder, pomegranate, cochineal, lac, and rhubarb root. Since publishing the book, I have extended the palette with the addition of other dyes, mostly due to the help from Michel Garcia when he was here in my studio several years ago.
Michel and I were discussing dyes that I might choose NOT to use because of their poor tolerance to light. Alkanet is one of those. A purple color is extracted from alkanet root by means of an alcohol extraction. The color is beautiful and enticing , but very fugitive. Michel indicated that the alcohol extraction does some damage to the dyestuff.
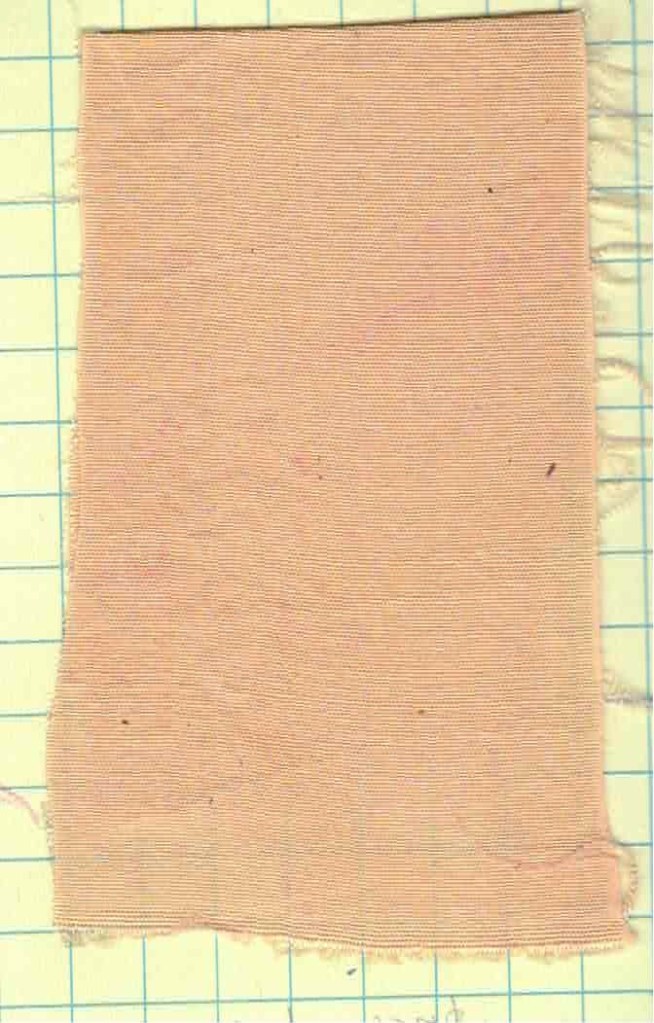
The one-bath process extracts different dyes from the plant than from those that are obtained from using more traditional methods. While experimenting, we treated alkanet as a one bath acid dye (for protein fiber only) and a beautiful purplish brown color emerged that is quite fast to light. It’s a warm neutral color that I have not achieved using any other dye.

Alkanet on wool with alcohol extraction and alum mordant 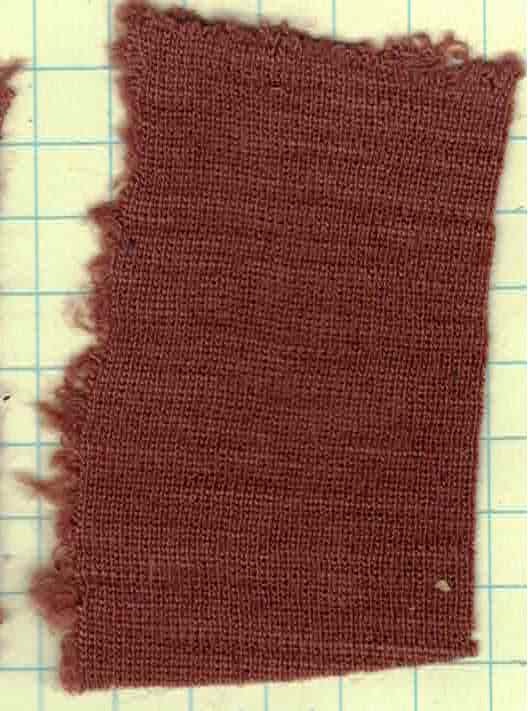
Alkanet using one bath acid dye on wool – no mordant
Safflower petals are another dye source that he showed me can be used as a one-bath acid dye. A golden yellow is dyed onto wool or silk that is quite lightfast and requires no mordant. The safflower petals can still be used after the one-bath process to extract the traditional reds and pinks by altering the pH, though the red colors are still not fast to light.
Yellow extracted from safflower petals using one bath acid process (on silk) 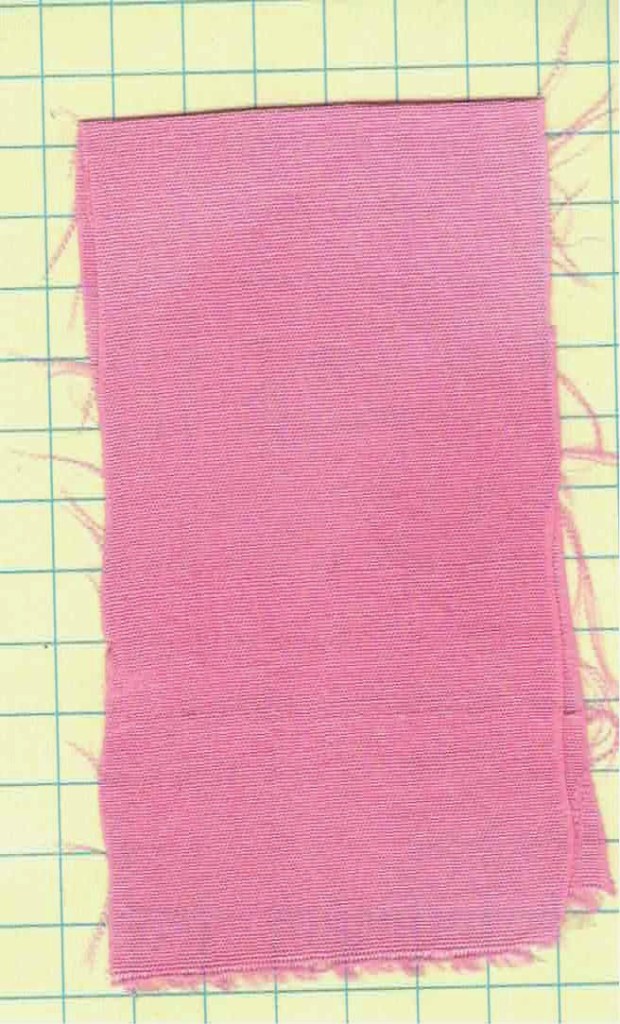
Safflower pink on silk
These discoveries energized my own work and as I went deeper, I began noticing that many of the plant dyes that are used for the one-bath acid process have also been used as natural hair dyes: henna, madder, alkanet, dock, rhubarb root, cassia leaves (Cassia obovata, also referred to as “neutral” or “colorless” henna). These can all be used successfully for one-bath acid dyes and result in very lightfast colors. Dried Indigofera tinctoria leaves (“black henna”) are also used as a dye for hair and when combined with henna results in a very dark color.
The application of henna as both a hair dye and as mehndi, (a temporary dye for the skin) is the same: finely ground plant material is mixed into a paste with water, acidified with lemon juice, and allowed to sit on the hair or skin for several hours. When the paste is washed away the color remains. These are considered non-permanent dyes for the skin and hair and may be repeated after the color fades.
Acid dyes are very lightfast but are not as fast to washing. (This applies to both natural acid dyes and synthetic dyes.) If applied to the skin or hair, they will eventually be washed away. BUT importantly, we don’t wash our woolen fabrics as aggressively or as often, thus the dyes are suitable for wool or silk textiles.
I was curious to see if these dyes could be used for direct application to woolen fabrics. There is a Moroccan tradition of using finely ground henna leaf in this way on fabrics woven of wool and cotton. It is well documented in the book Die Farbe Henna / The Color of Henna Colour of Henna: Painted Textiles from Southern Morocco by Annette Korolnik-Andersch and Marcel Korolnik.

Henna, alkanet and madder applied to wool /cotton cloth
I made a paste of each of these dyes using finely ground plant material with a small amount of water. I acidified the paste with vinegar (citric acid would damage fabrics that contained cotton) and allowed it to sit overnight once applied to the textile. The colors are strong and clear, although some dyes spread more than others. They are not quite as deep as those dyed in a heated bath, though steaming the textiles will result in deeper colors.
I have observed that the freshness and quality of the dyes matter. Organic henna, used for hair and skin dye, resulted in a bright clear color while other henna powders that I have used produced duller colors.
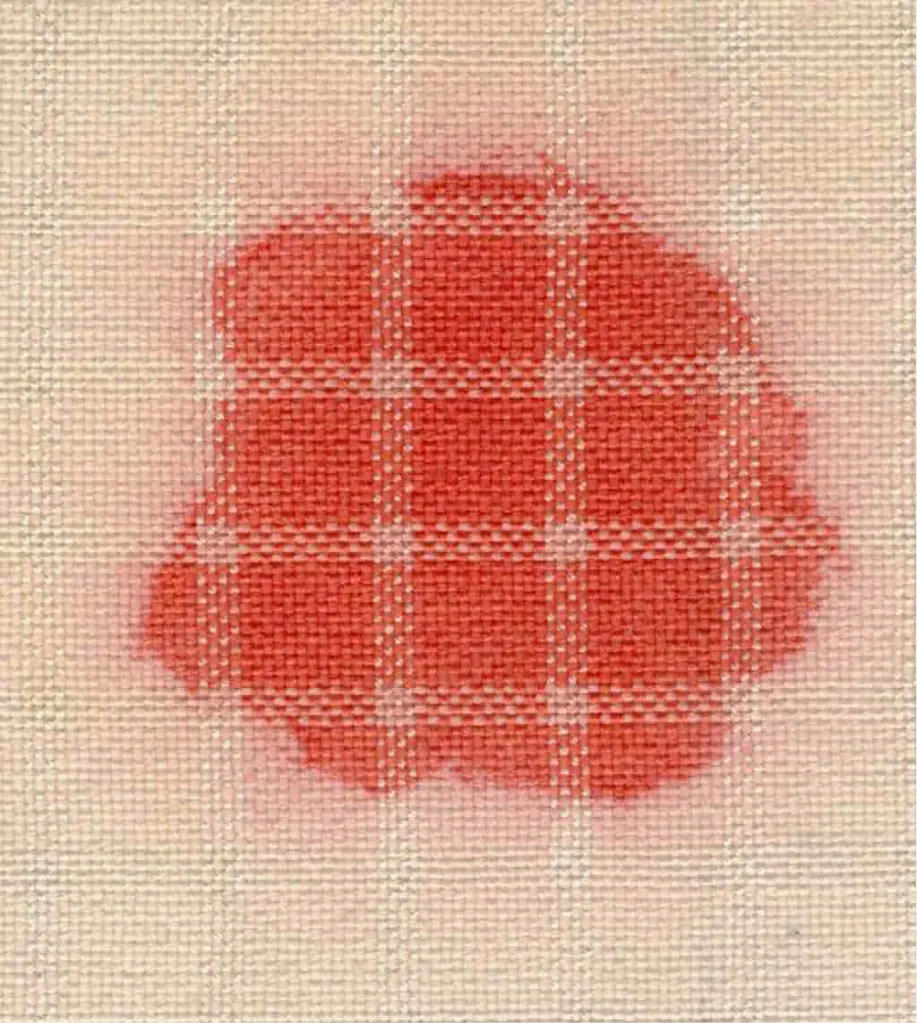
Madder root (Rubia cordifolia) 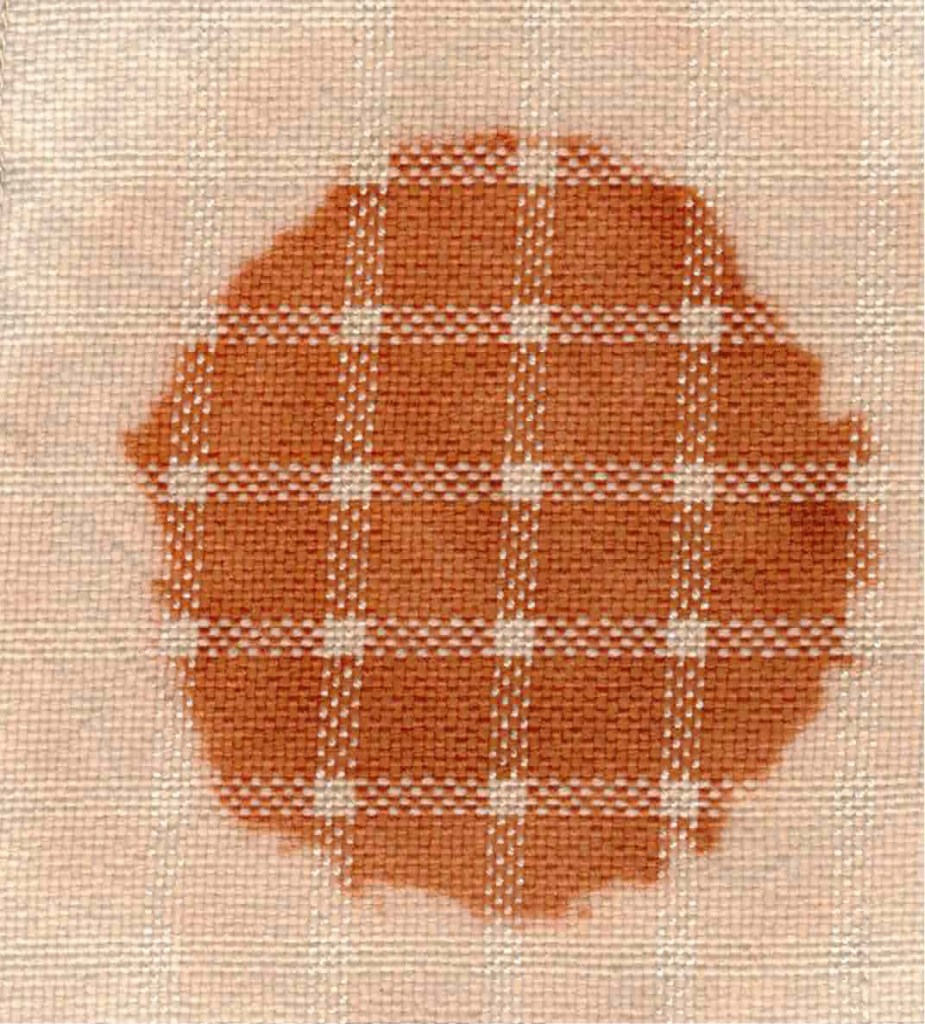
Henna leaf (Lawsonia inermis) 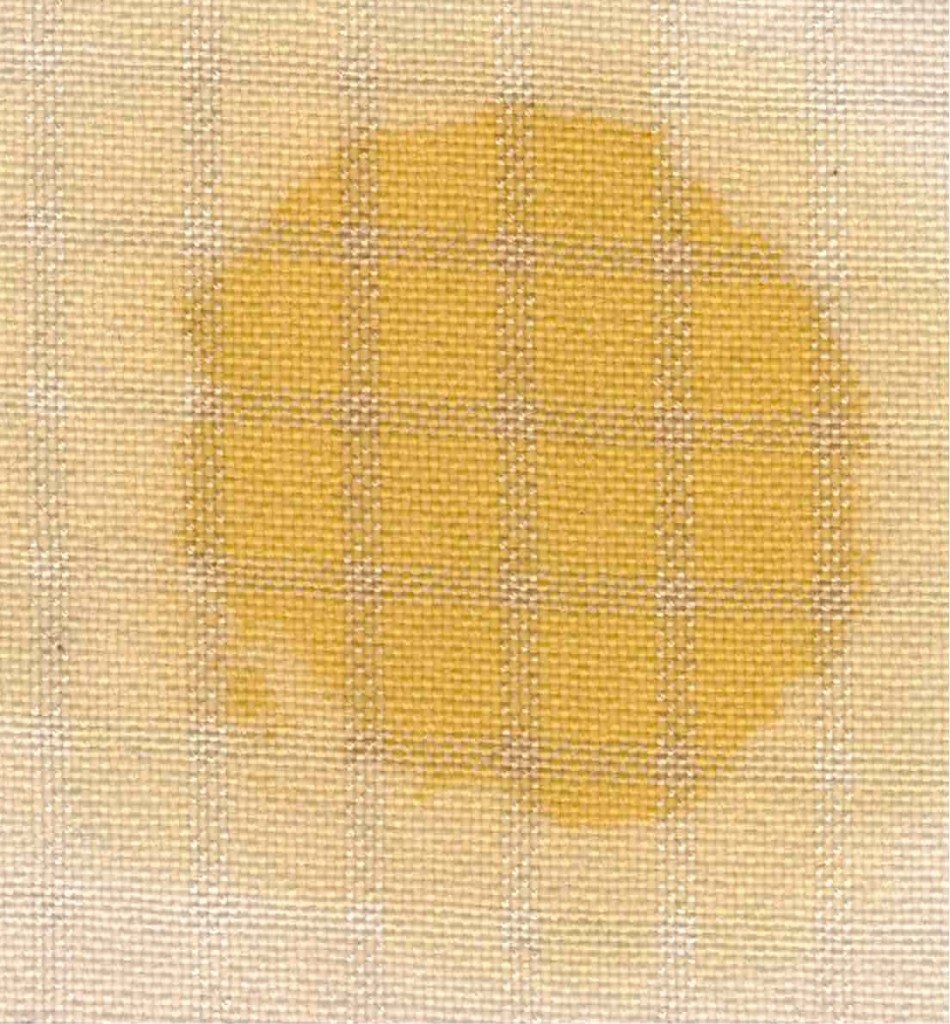
Rhubarb root ( Rheum officinale) 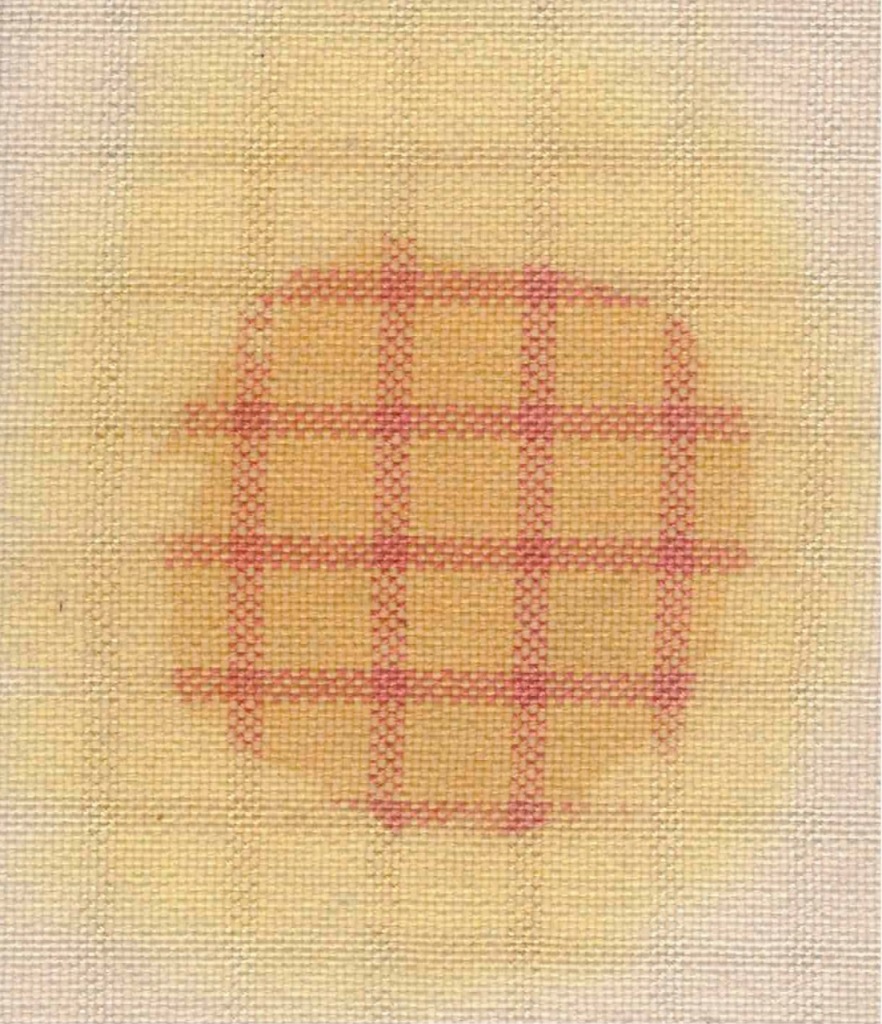
Safflower petals (Carthamum tinctorius) The yellow dye spread, while the pink dye, released from the acid paste, attached only to the cotton. 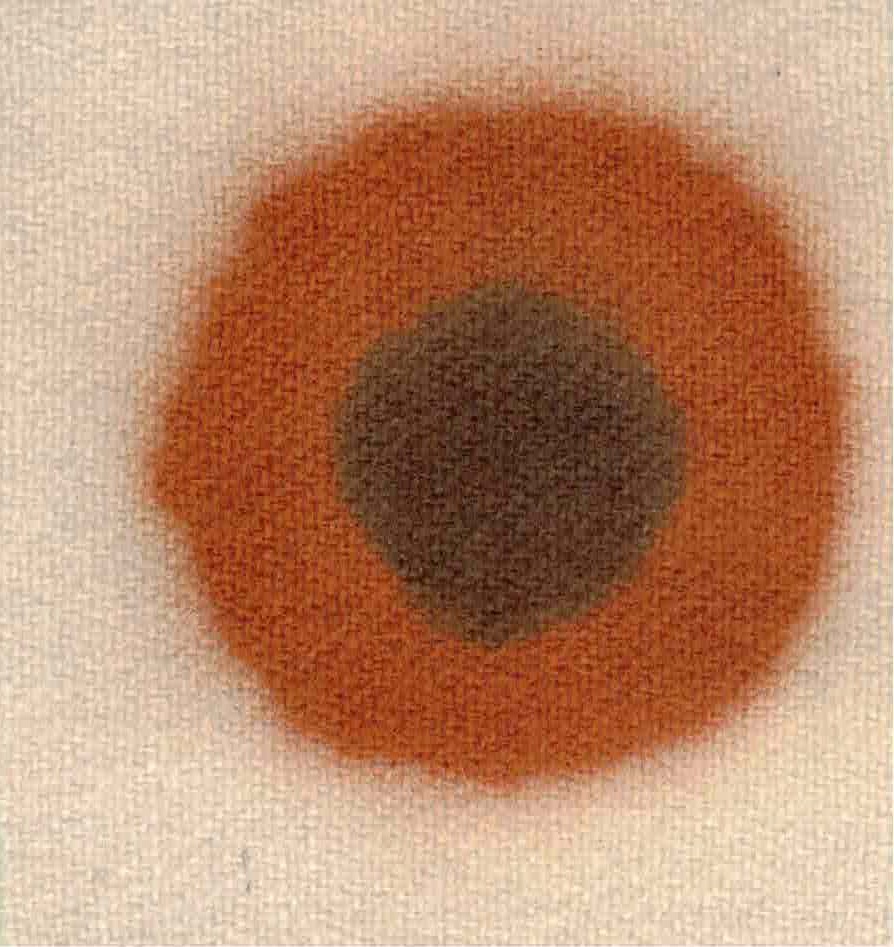
Henna leaf, with a secondary application of indigo leaf powder in the center 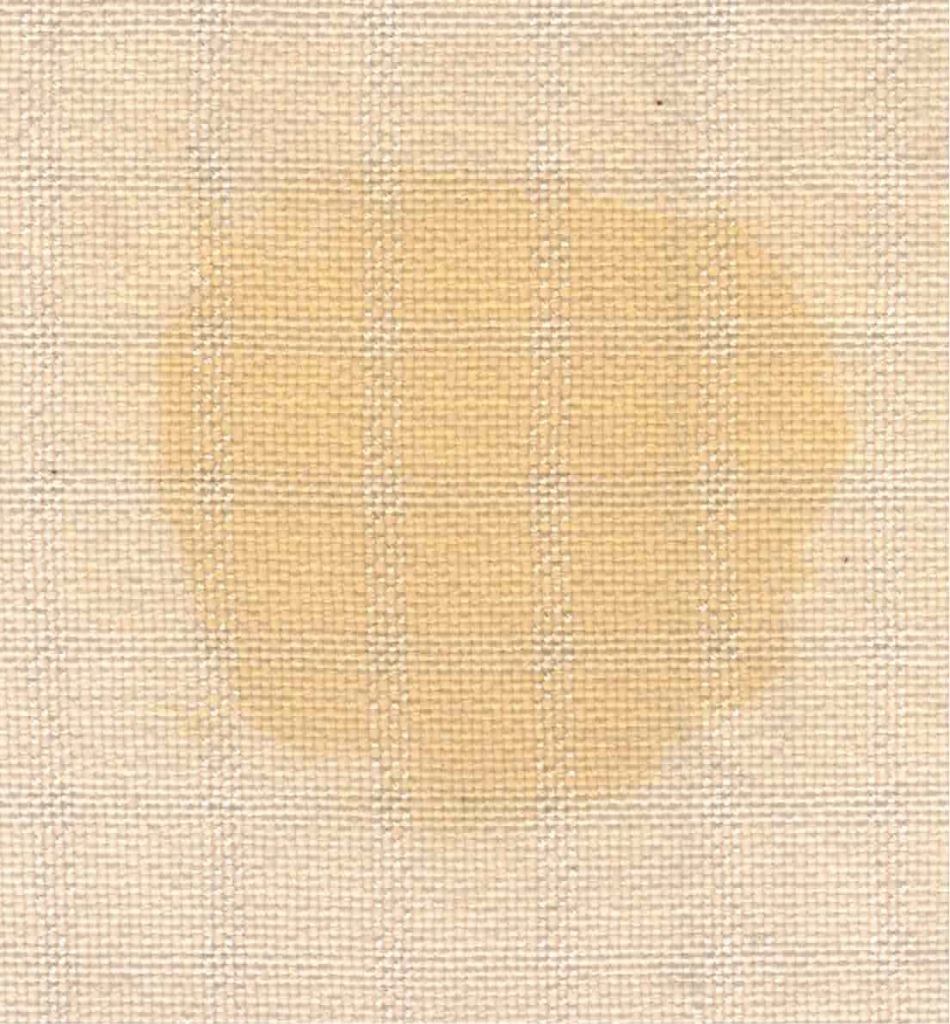
Dock root (Rumex crispus) 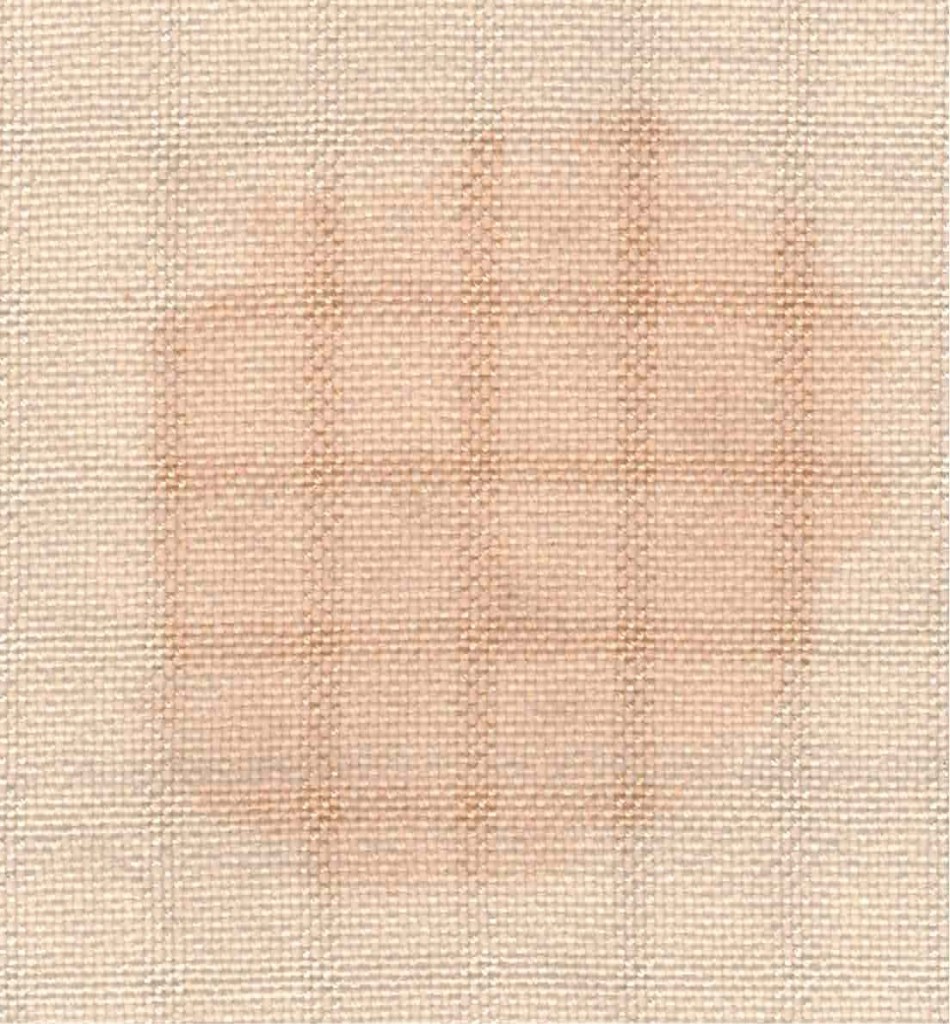
Cassia leaf (Cassia obovata) 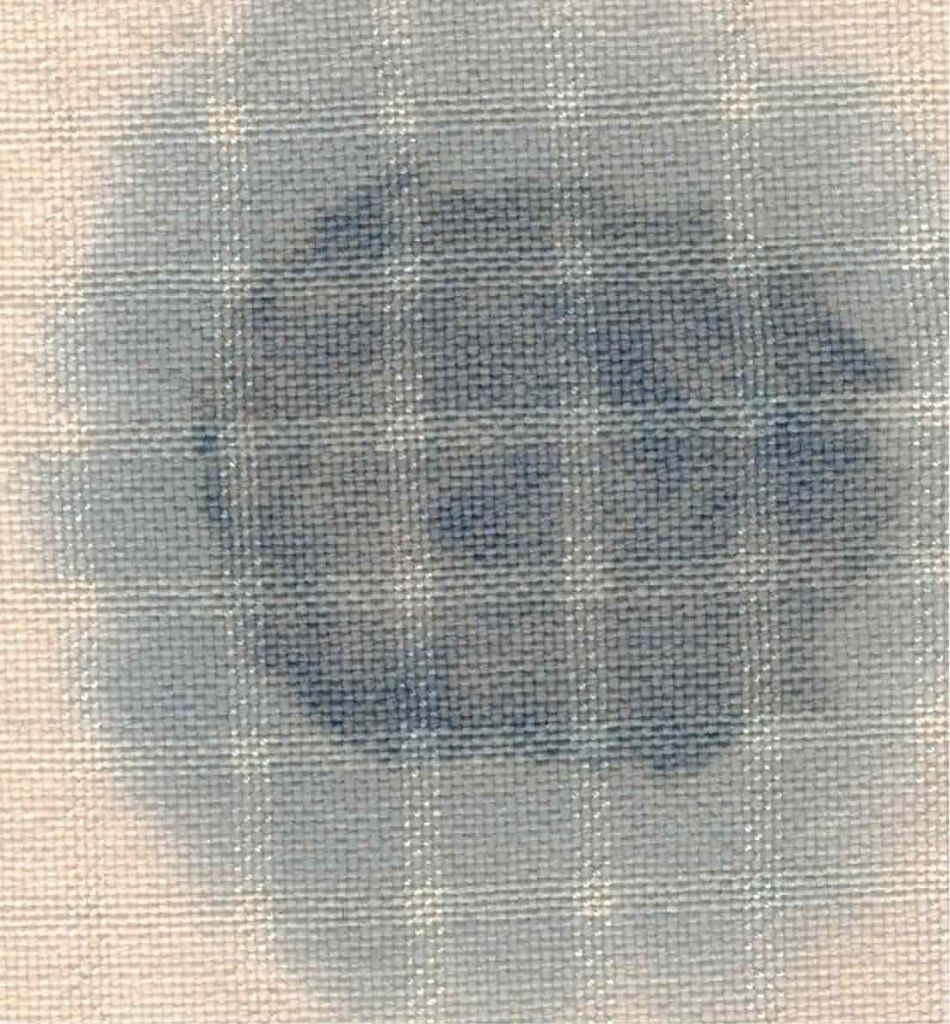
Indigo leaf (indigofera tinctoria)
This approach has revealed to me one more way of understanding and using natural color and given me more opportunity to combining it with my own woven textiles. It has taught me more about plant categories, alternative applications, and the need to constantly be open to new ideas.