Turkey red is a process of dyeing cotton with madder. It uses oil to treat the textile before mordanting and dyeing to increase the brilliance of color and its ability to withstand washing. It was widely used in the 18th and 19th centuries.
A few years ago, Joy Boutrup and I did some quick tests together. We treated cotton with Turkey Red Oil. But the results were not good and so I abandoned it. Admittedly, I did not do further research at that time.
Following Maiwa’s online class, Natural Dyes: Alchemy Chemistry Craft, a small group of colleagues and I began a “study group”. Both the class and the study group have been a catalyst to delve a little deeper into some processes, including Turkey Red. Here are some of the results of my own testing and observations. This time I prepared myself better, did lots more reading and research and have been quite intrigued by the results.
My starting point was Julie Wertz’s new book: Turkey Red (Bloomsbury, 2024). In this book Wertz does an excellent job of presenting its history, some chemistry, and the series of steps involved.
Turkey Red Dyeing is a process by which cottons were treated with oil prior to mordanting and dyeing (or printing) using madder. It was practiced regularly in the 18th and 19th centuries in Europe and, I believe, some in the US. The result is a brilliant red dye color that is very fast to washing. It was an important discovery in the textile industry, though its roots likely go back much further to madder dyeing in India where oils were commonly used centuries ago to treat cotton textiles. Oil is also used in Indonesia prior to mordanting and dyeing cottons with Morinda bark (Morinda citrifolia).
It is believed that the oil combines with the mordant and then with the dye, making a compound that is faster to washing and light. All the literature refers only to its use with madder red. To the best of my knowledge, no other dyes are ever mentioned relative to the oiling process.
Turkey Red Dyeing was usually done on unbleached, and non-mercerized cotton. These cottons do not have an affinity with mordants and thus are more difficult to dye with deep, saturated red colors.
Jim Liles, in the Art and Craft of Natural Dyeing discusses the Turkey Red process in some detail and includes recipes. My other resources include old industrial dye manuals* from the early 20th century. These are the same manuals that Joy and I used to develop some of the recipes in The Art and Science of Natural Dyes.
The Process: Un-mercerized cotton yarn was scoured thoroughly and allowed to dry. The dry yarn was then immersed in a 50% solution of Turkey Red Oil and water, then dried again. Multiple oil treatments are recommended, drying in between each. I oiled and dried the yarn up to 3x.
All samples were dyed using ground madder root @ 50% weight of dry fiber. I did not use oil in the dye bath or as an after treatment, as some recipes recommend.
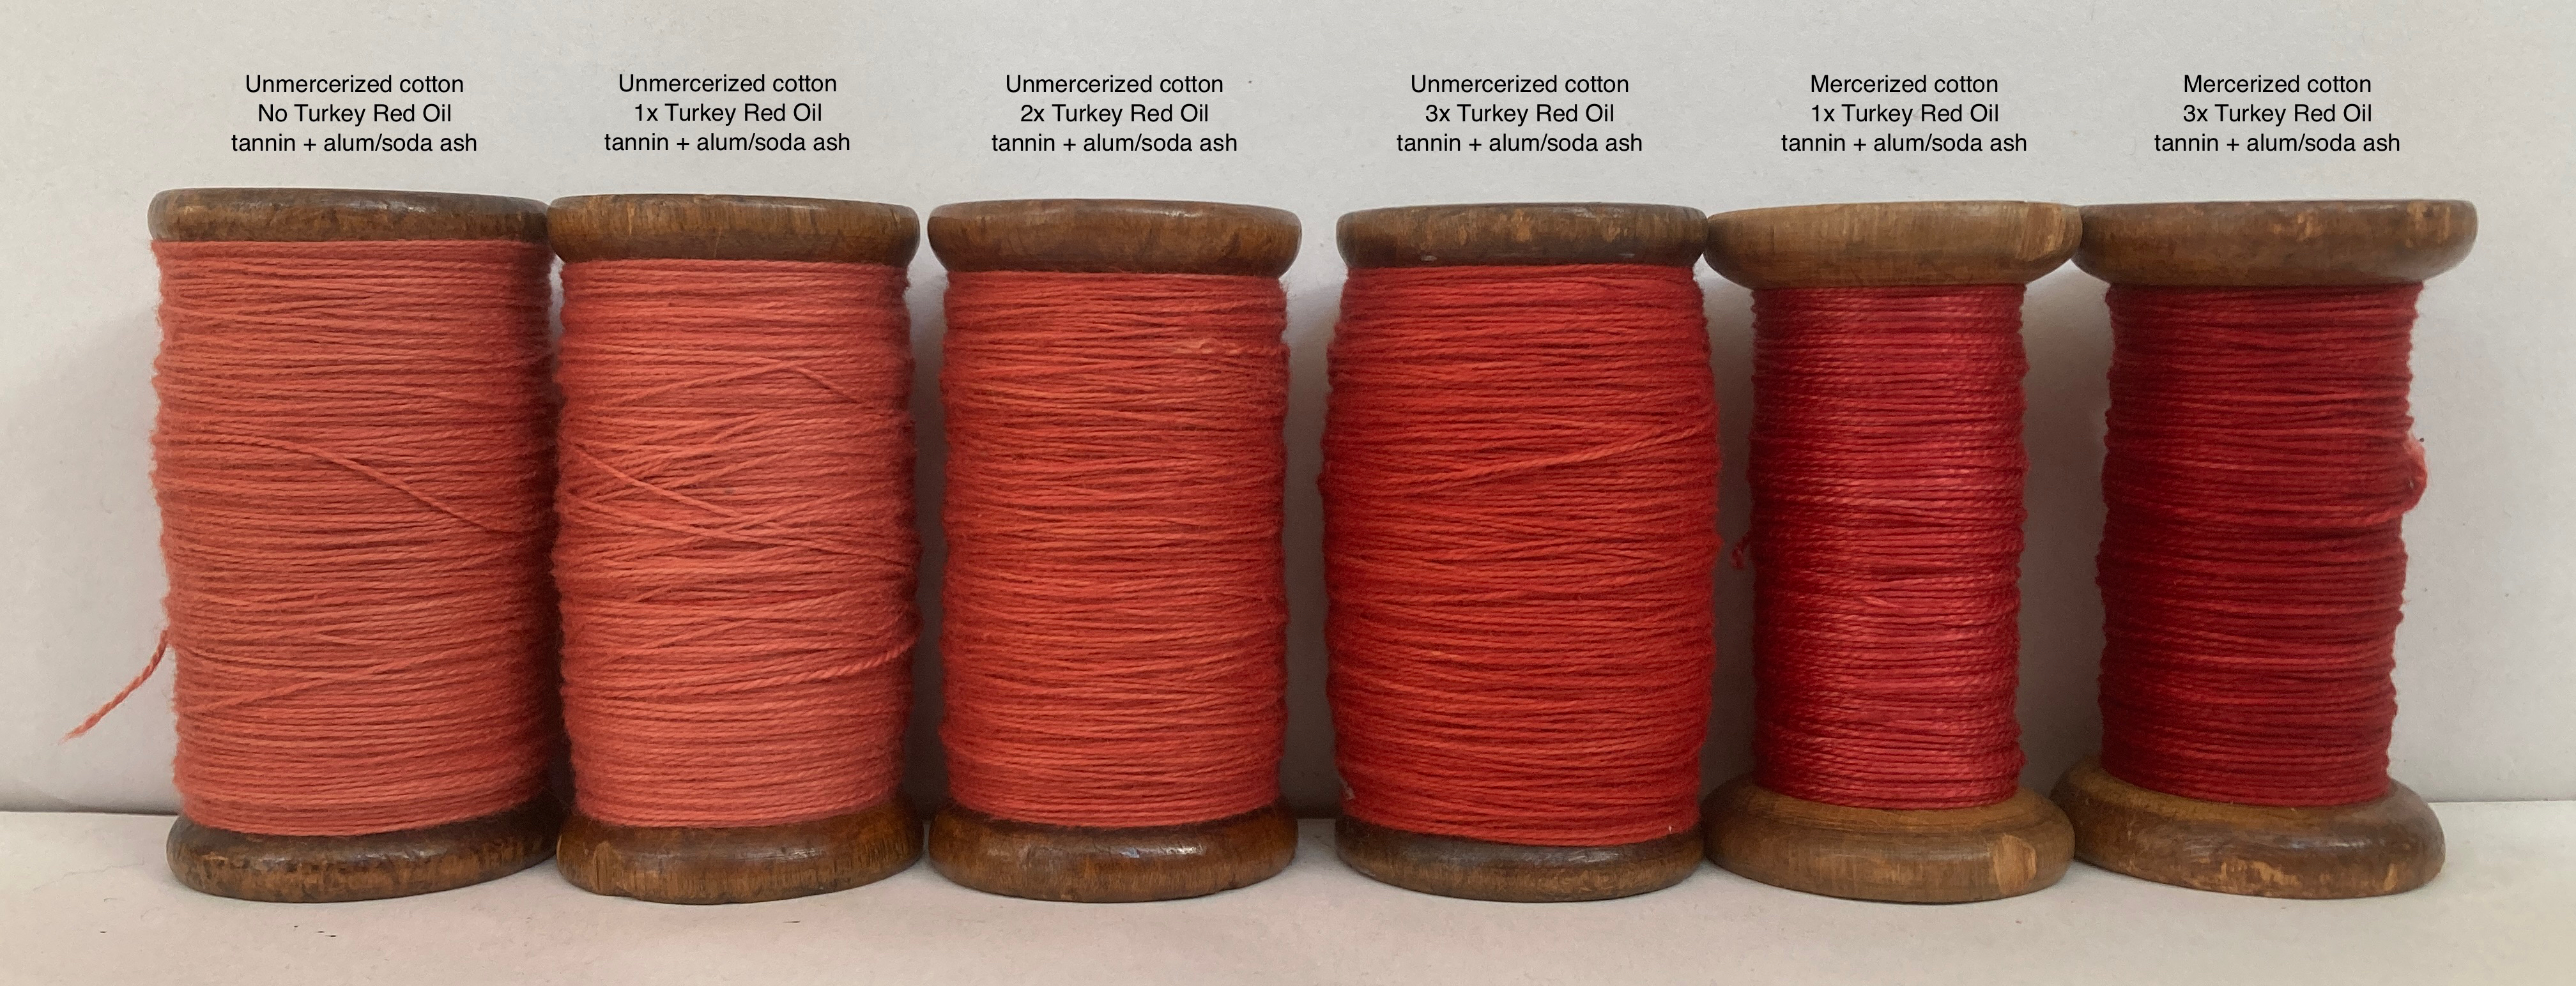
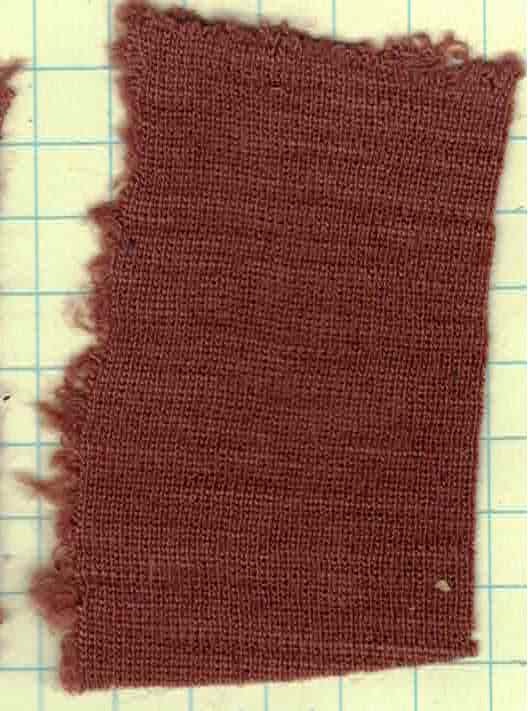
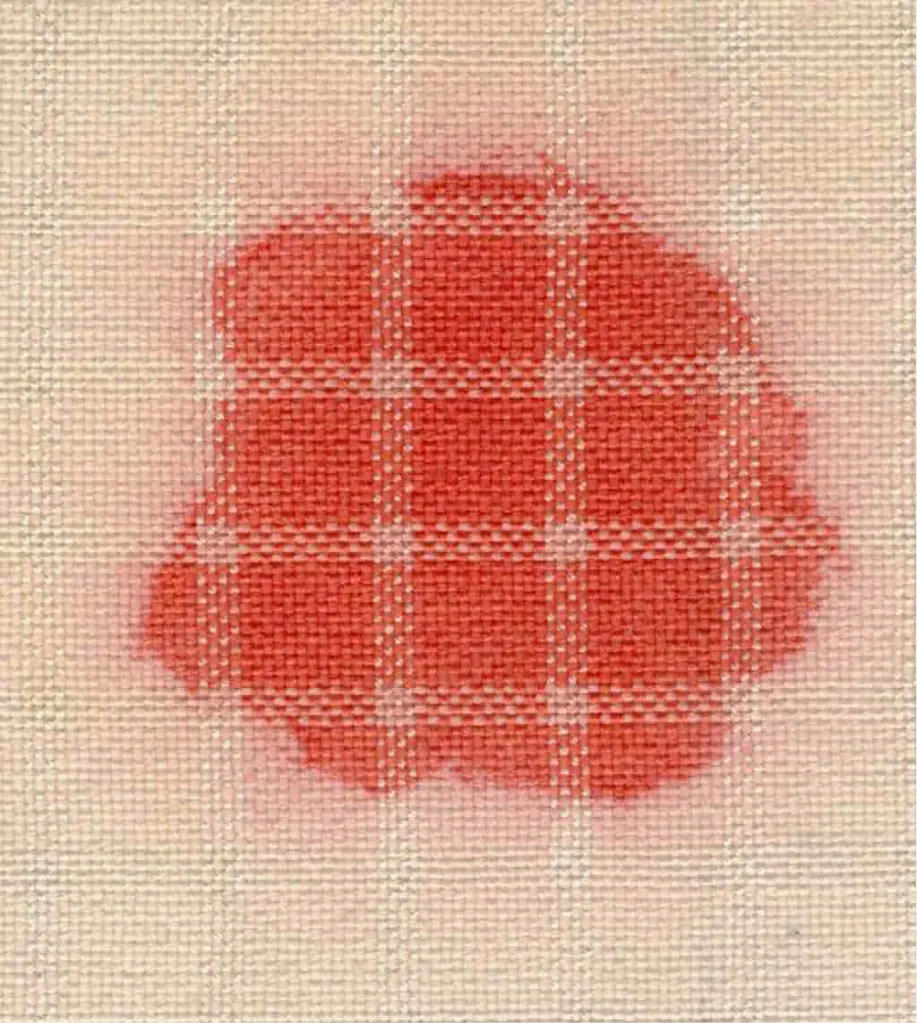
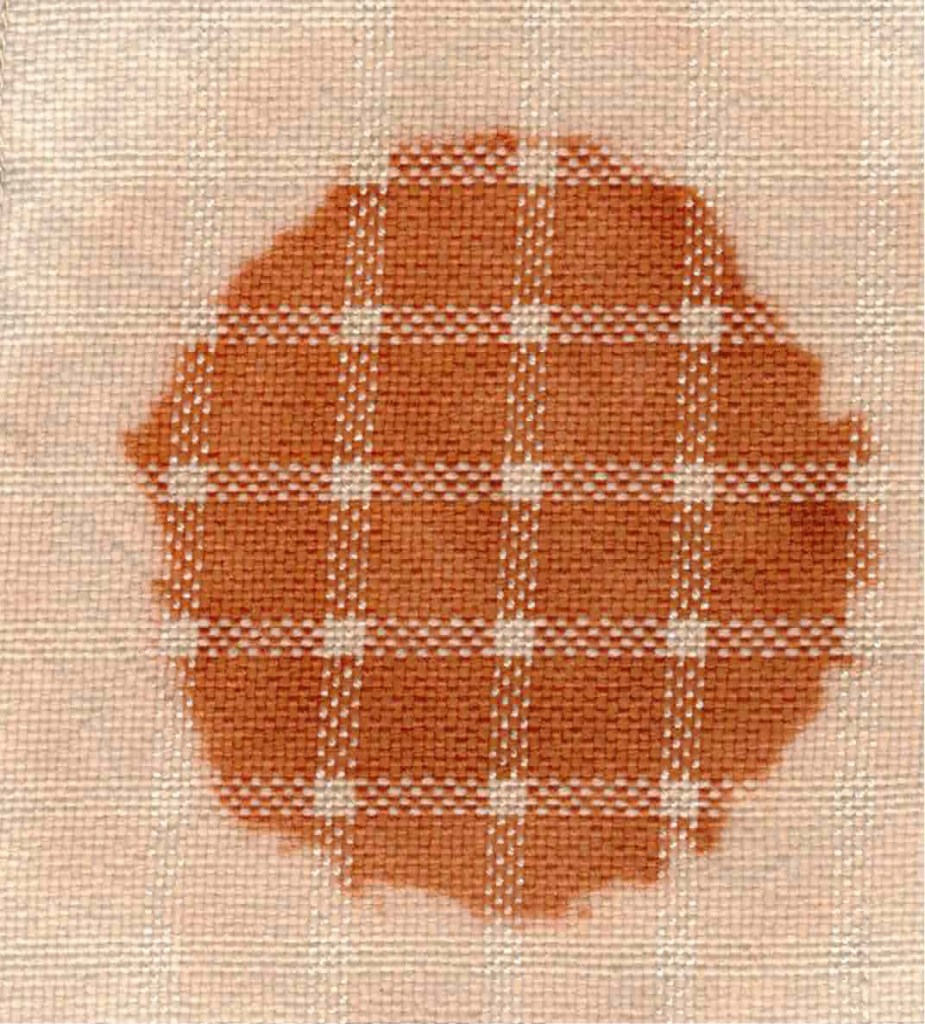
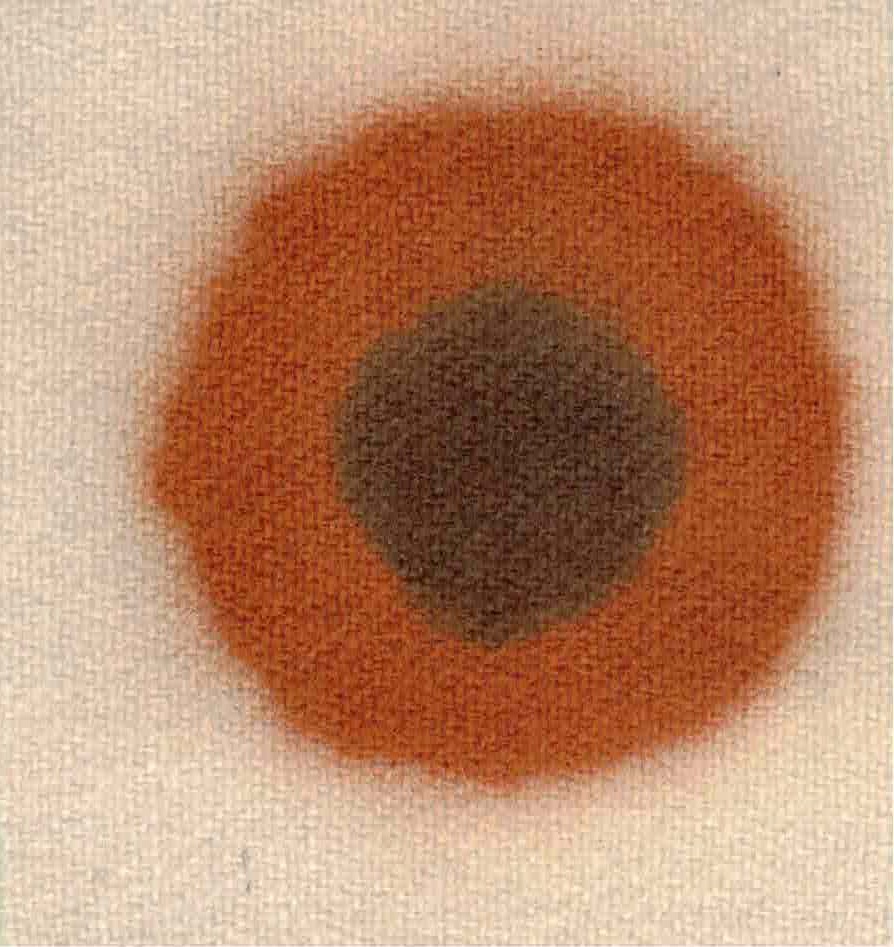
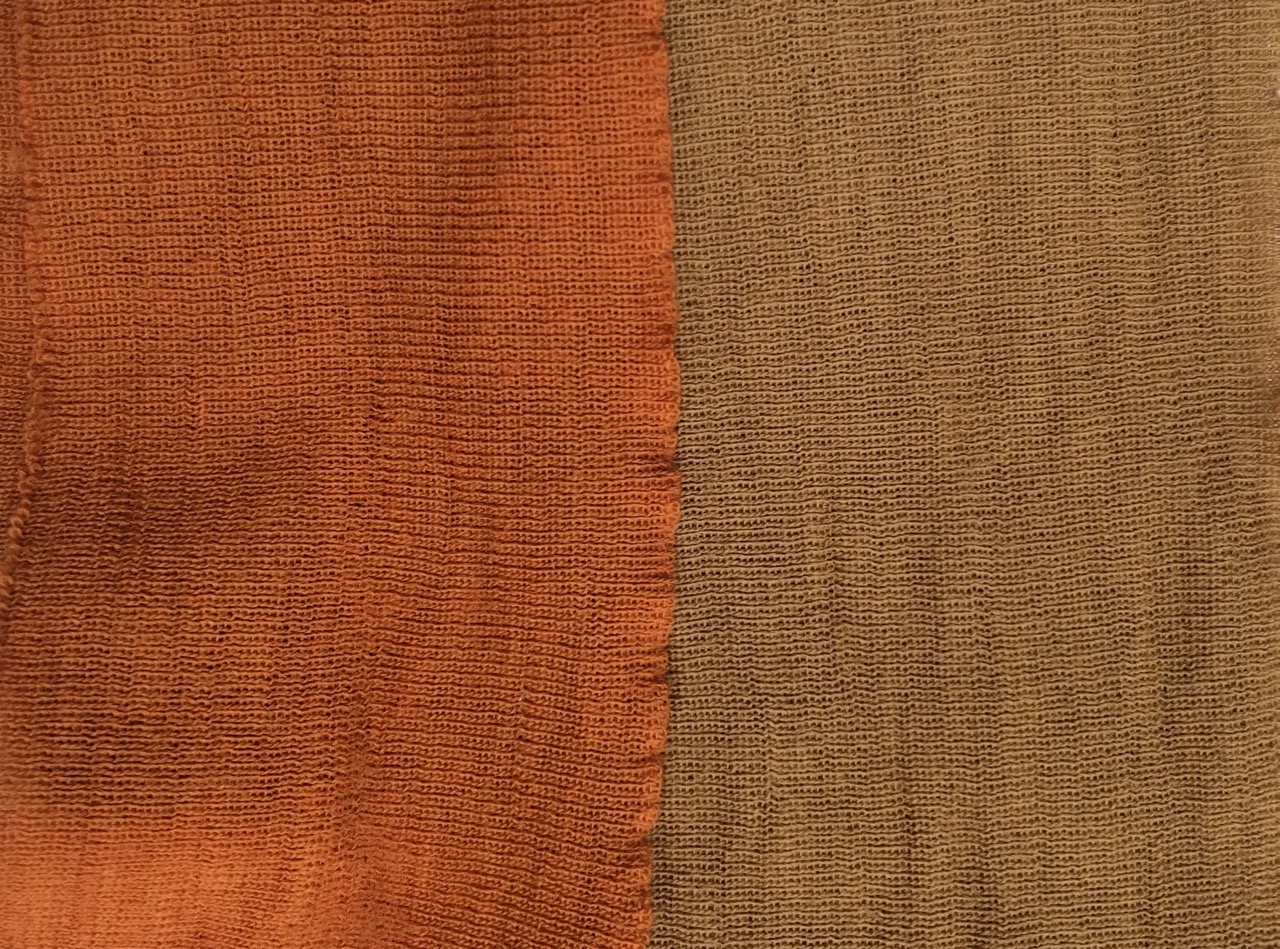
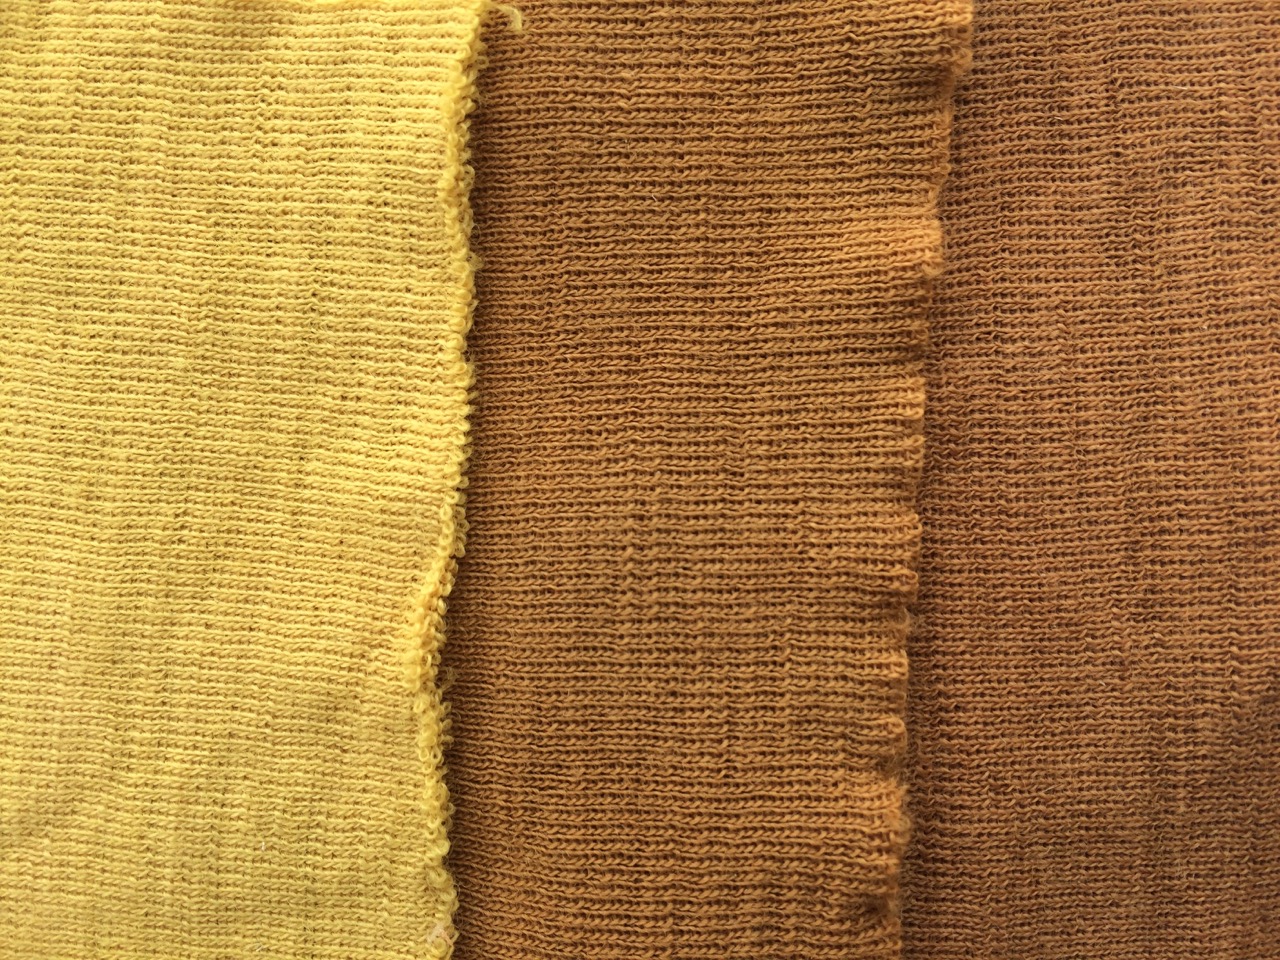
My initial tests do indicate the effectiveness of the oil treatment. A deeper red color results after the treatment with oil. A single oil immersion resulted in a slightly deeper shade of red, but three oil immersions in the oil (drying in between each) resulted in a much deeper color. What would happen if it was oiled 4-6 times – which is recommended?
Oil applied to mercerized cotton yarn also illustrated the effectiveness of the treatment. Mercerized cotton always takes up mordant and dye more readily without any additional treatment. Clearly, the oiling did increase the dye take up even more.
An interesting fact: John Mercer, who invented the mercerization process in 1844, also has his name on the patent for Turkey Red Oil. Mercerized cotton always dyes more easily and results in deeper colors with any type of dyeing. Perhaps, when mercerization became common, the need for the labor intense process of oiling was no longer necessary or financially viable.
Follow-up question: All references to Turkey red dyeing use madder as the dye. Is there a bond made only between the oil and the mordant? Would oiling of the textile prior to mordanting and dyeing with weld or another dye also result in a deeper color?
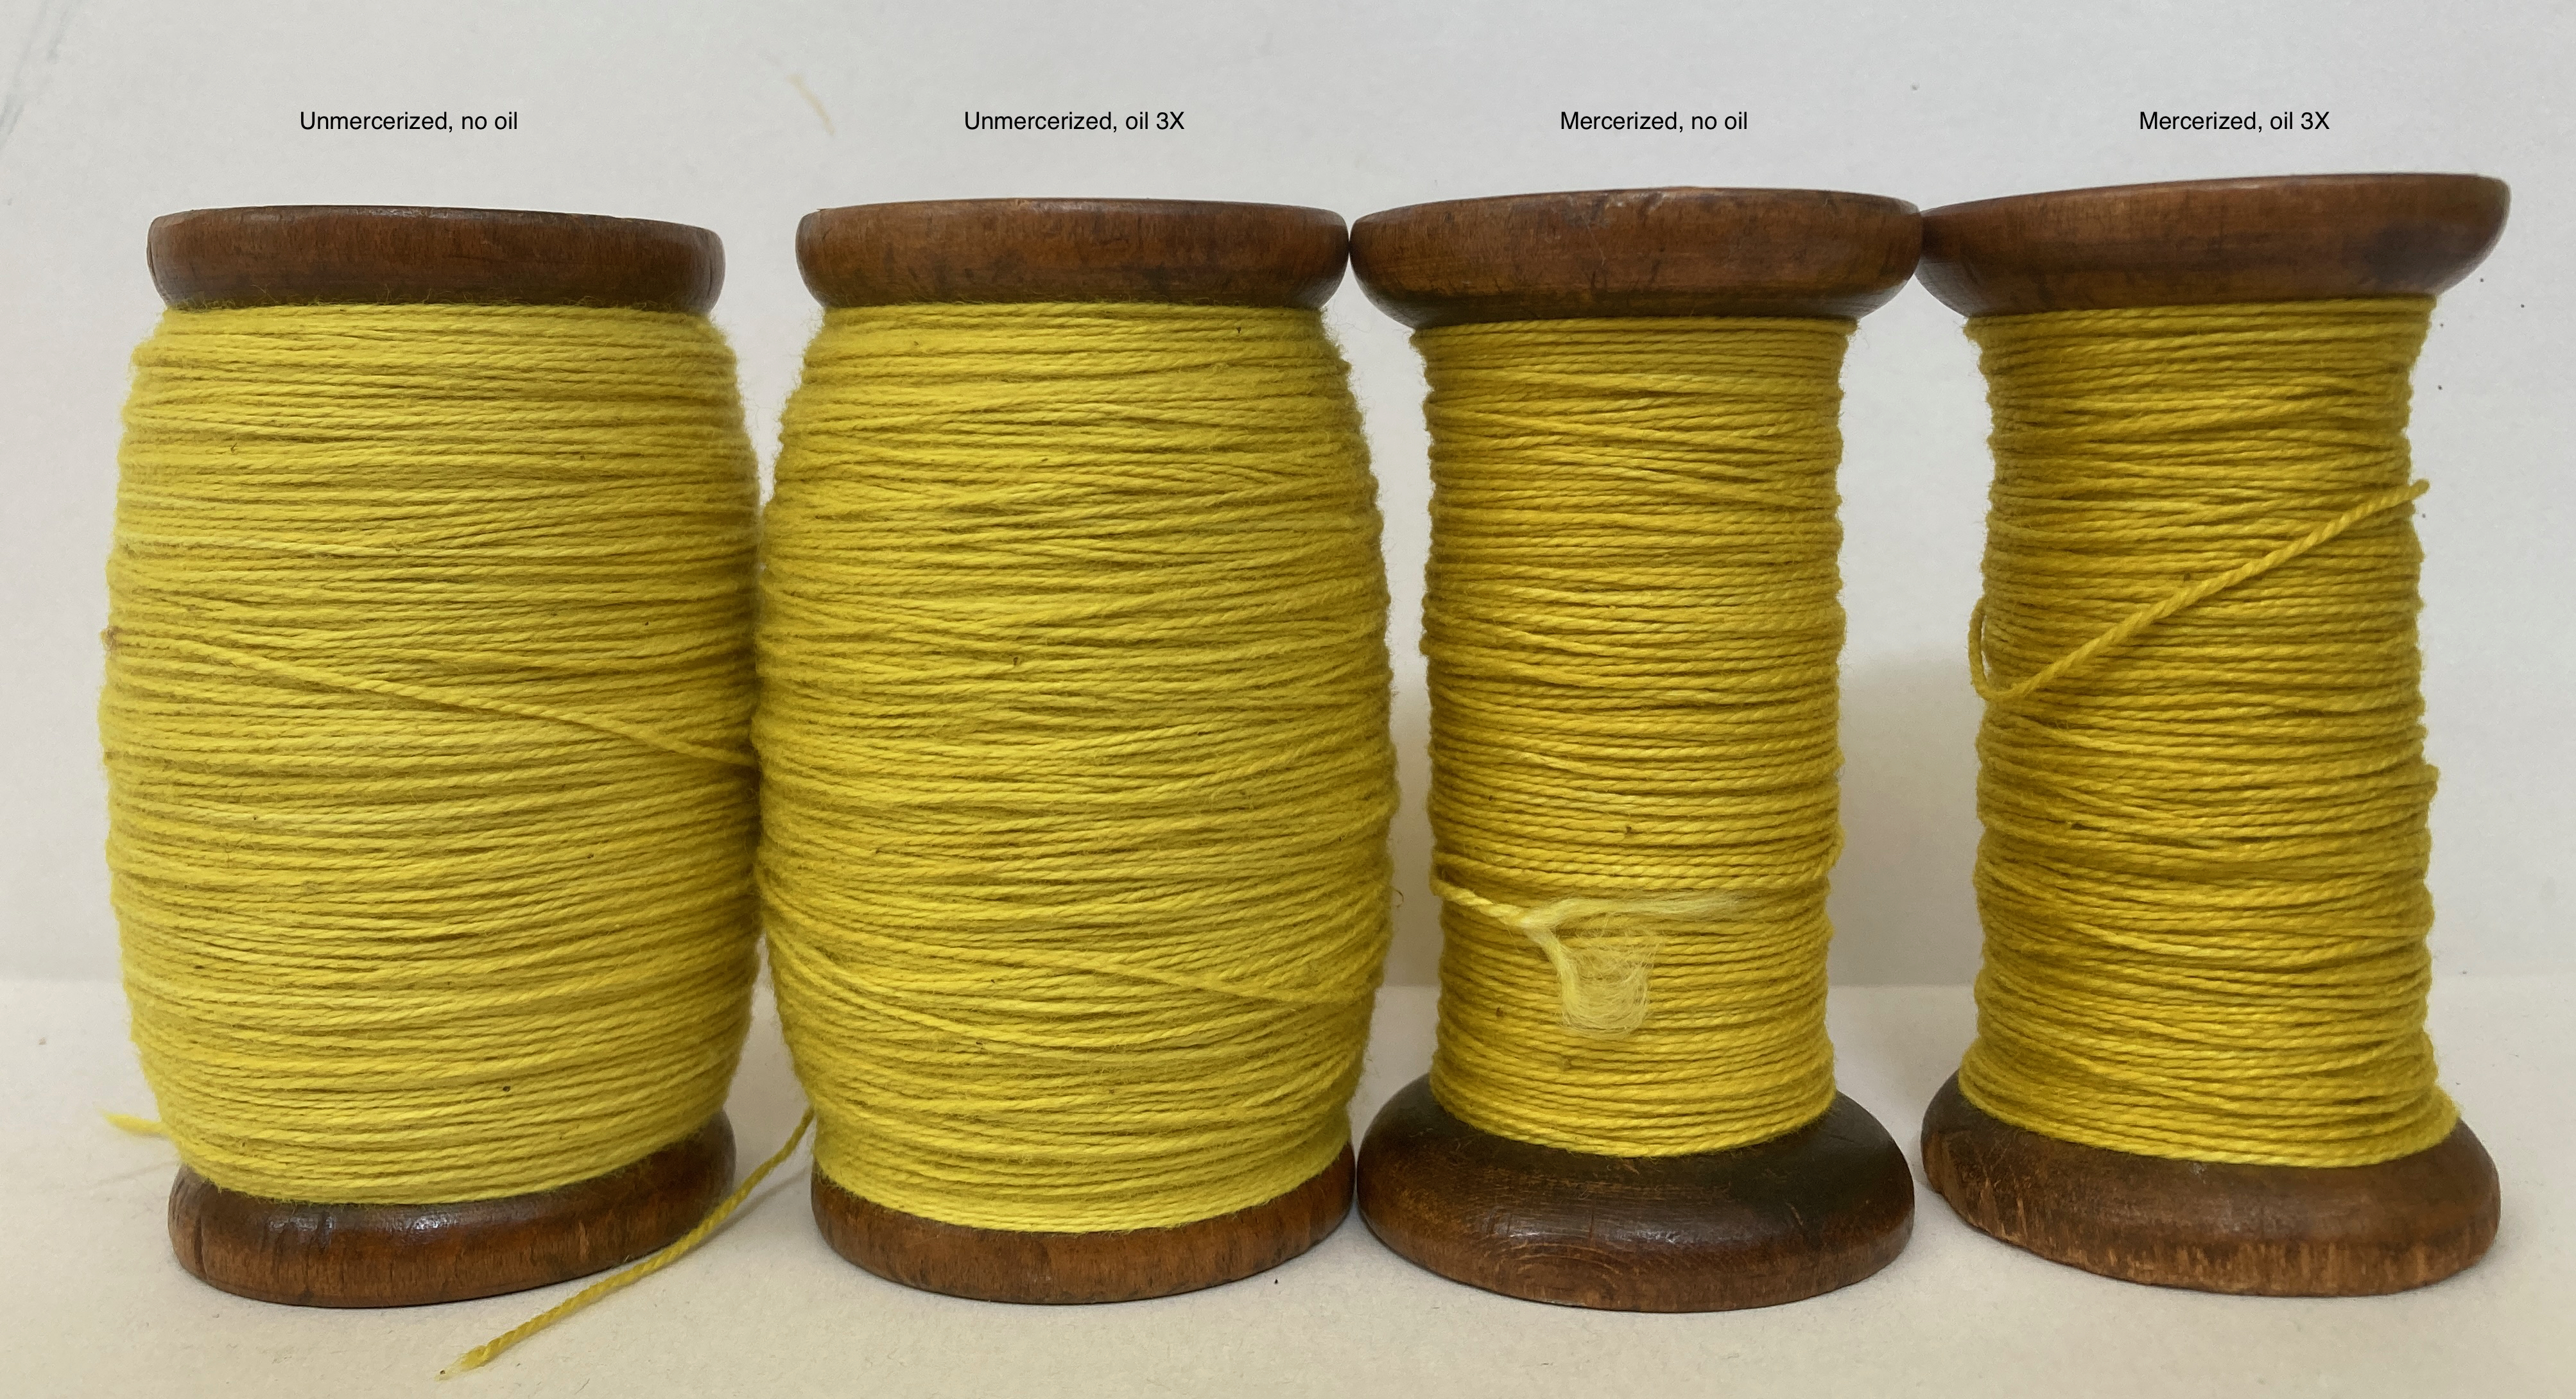
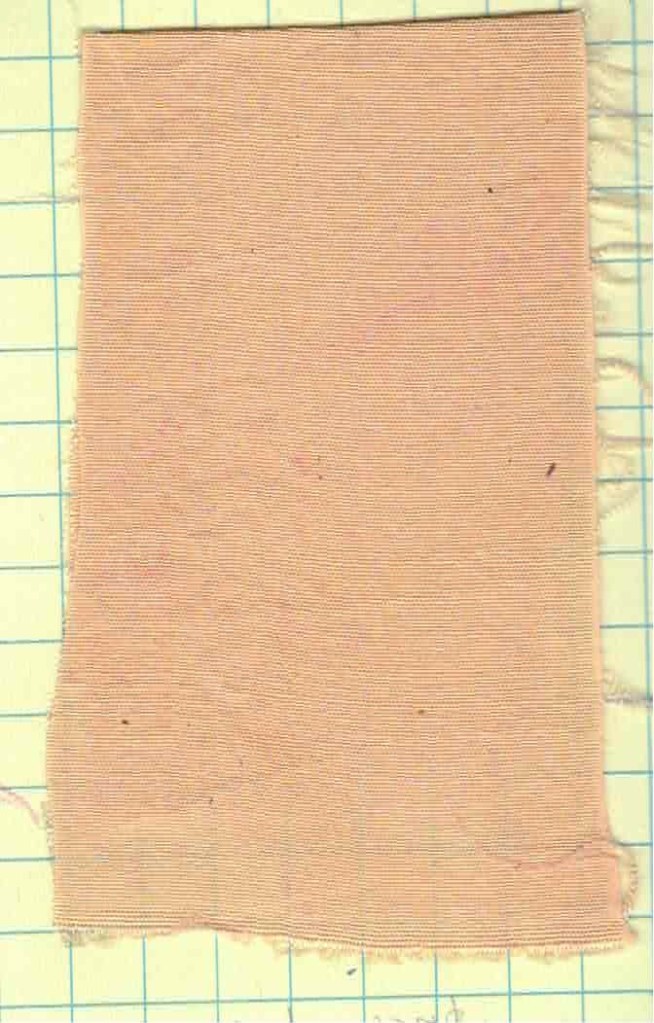
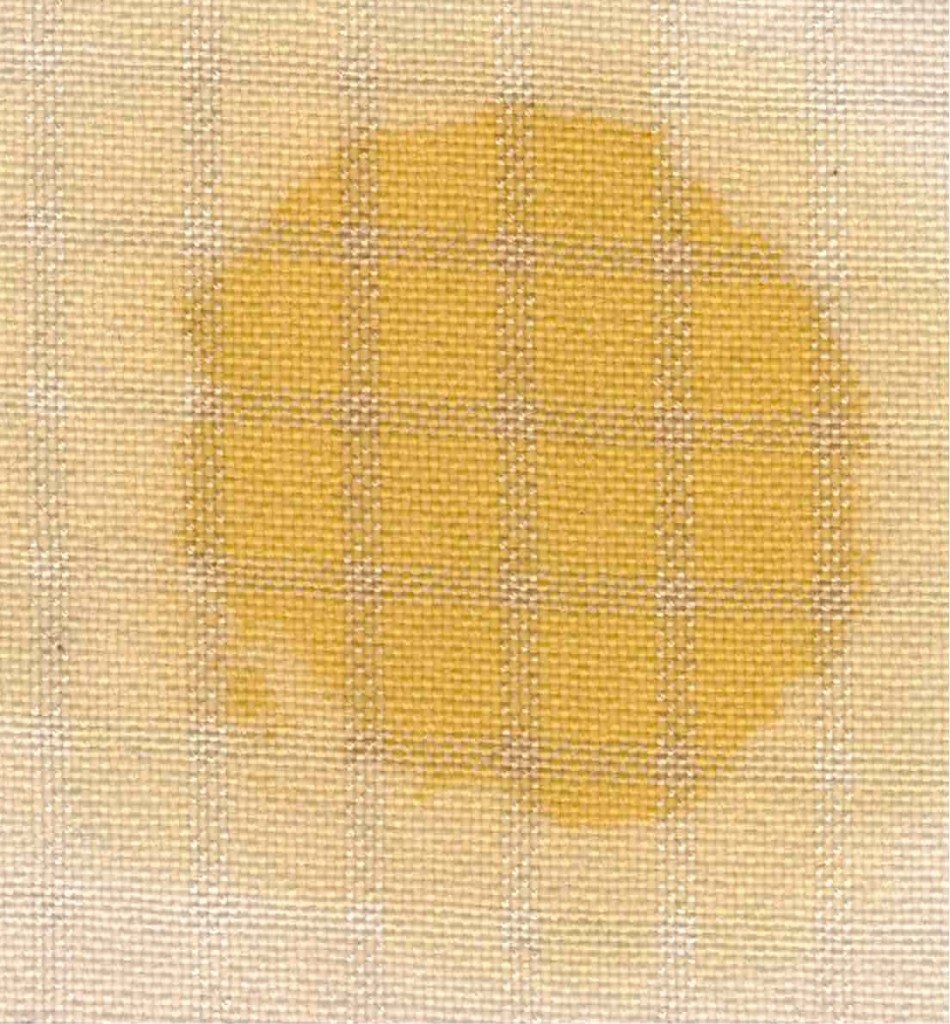
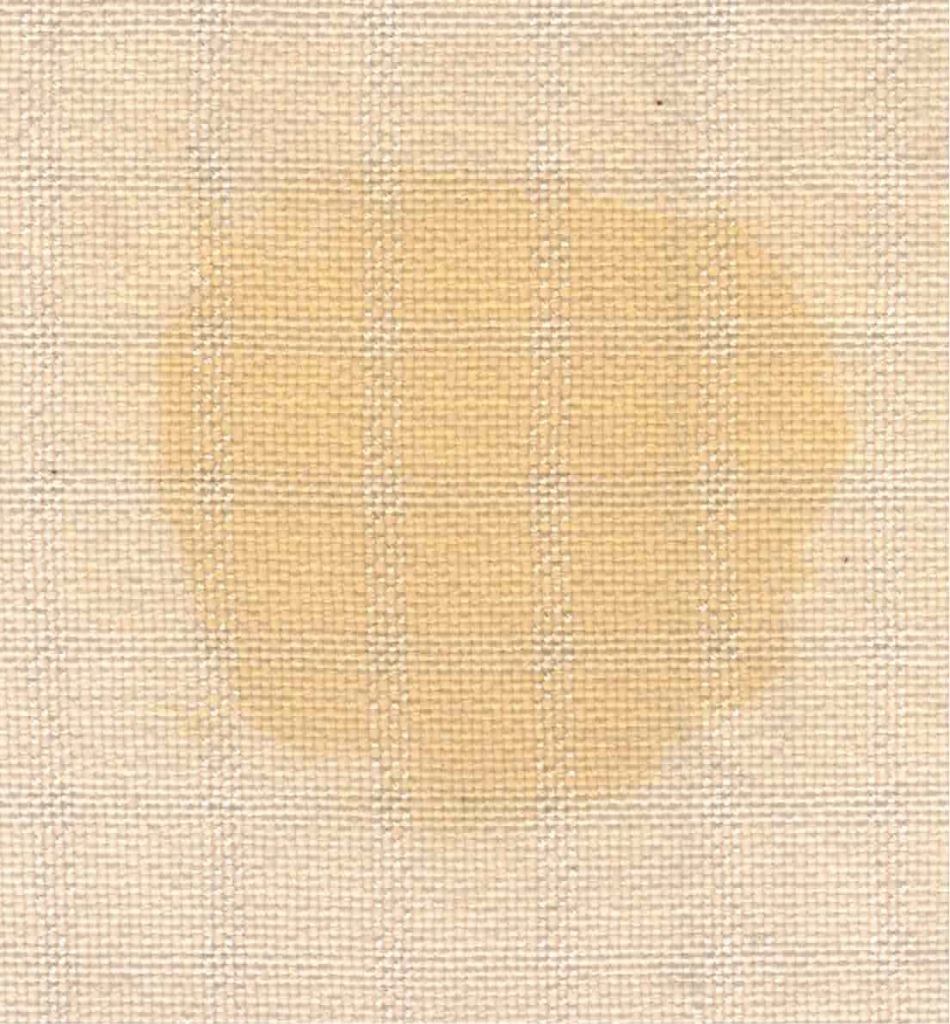
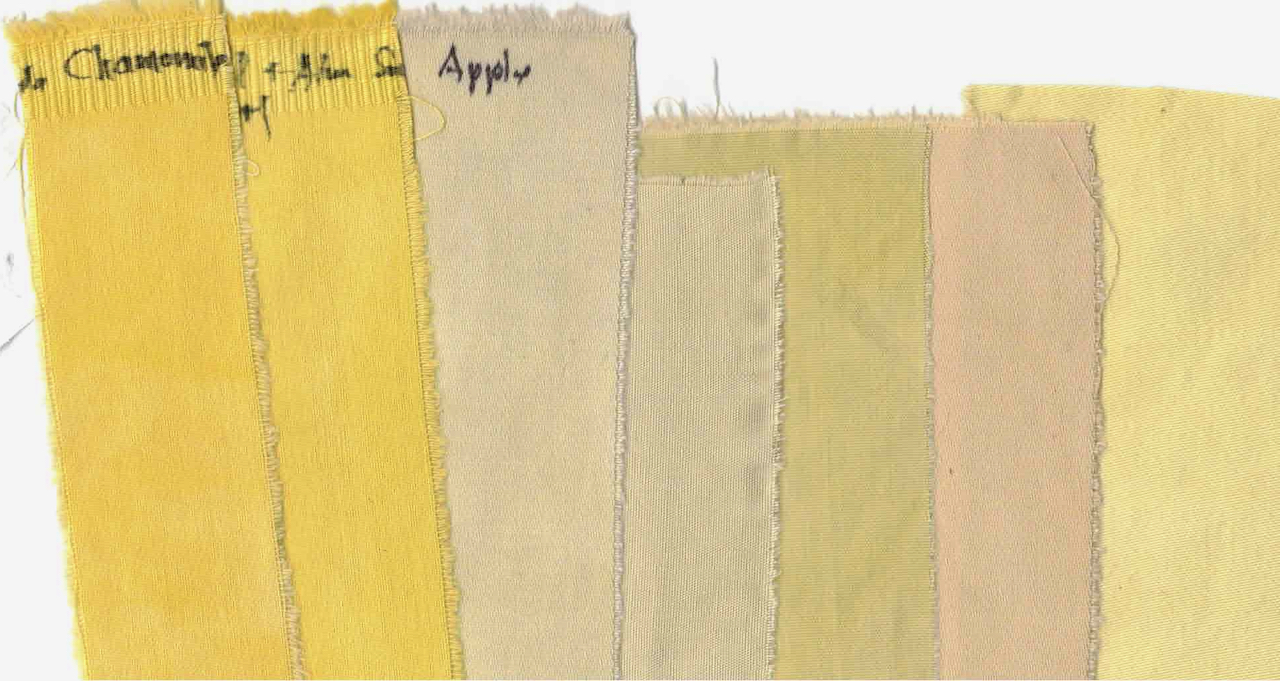
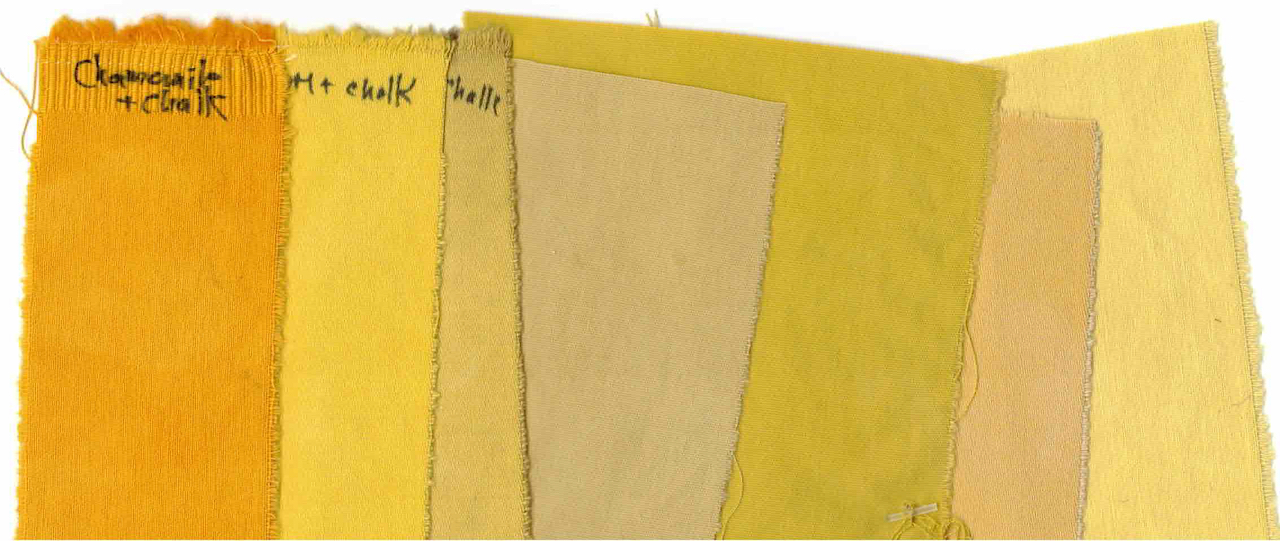
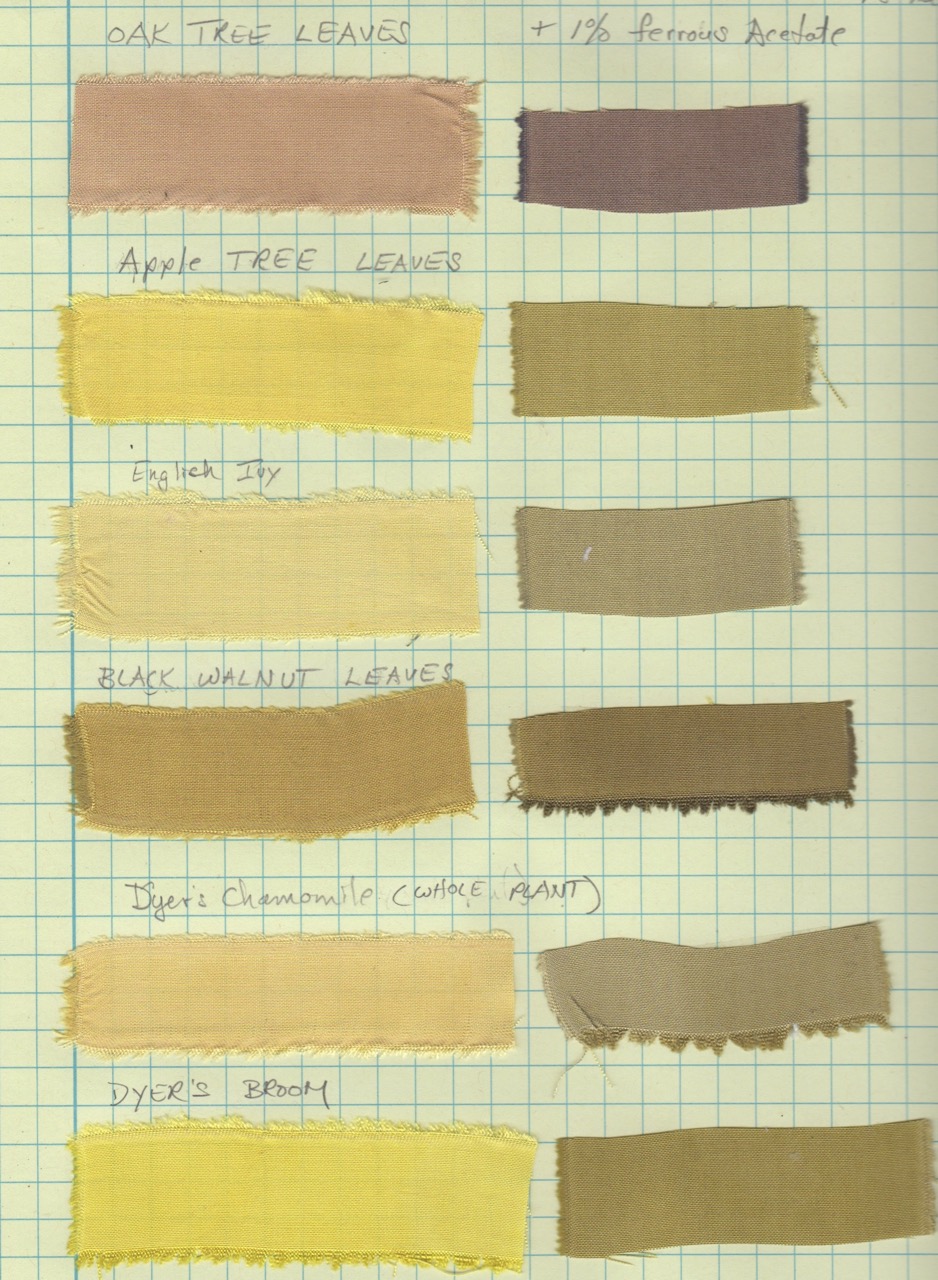
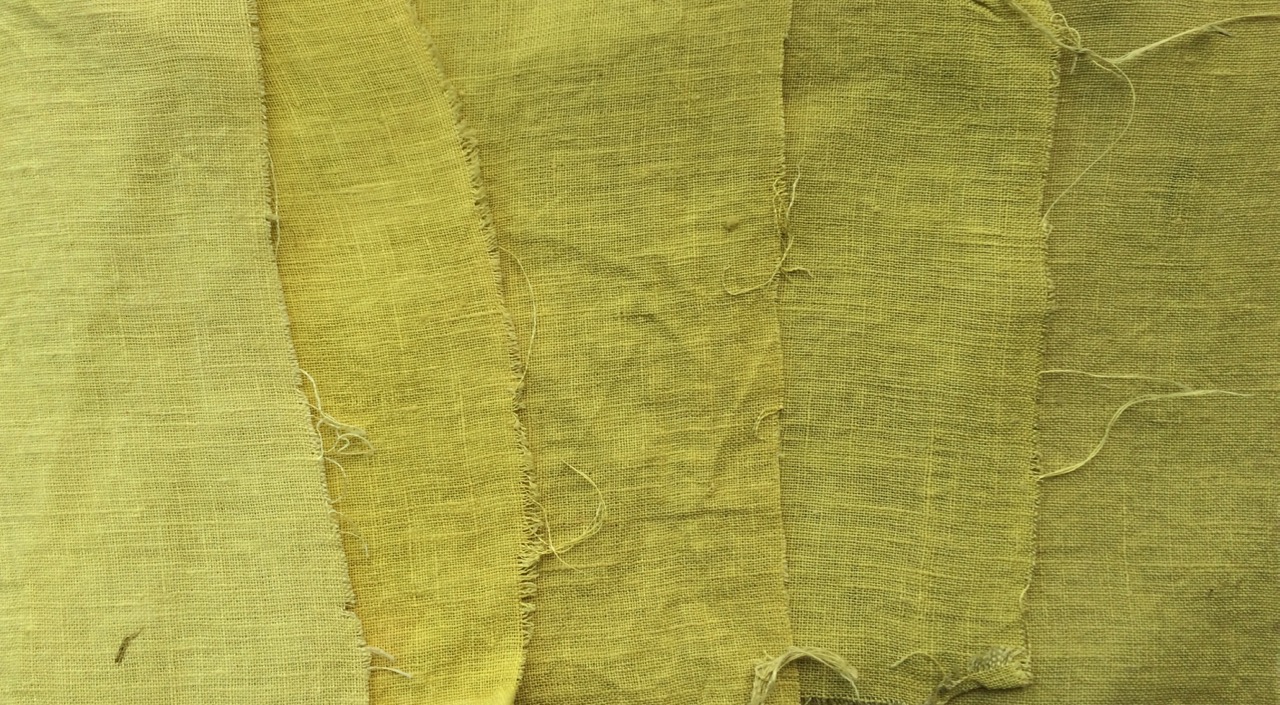
Initial testing indicates that the oiling of cotton prior to dyeing with weld results in a slightly deeper color but it isn’t nearly as dramatic as the madder dyed textiles.
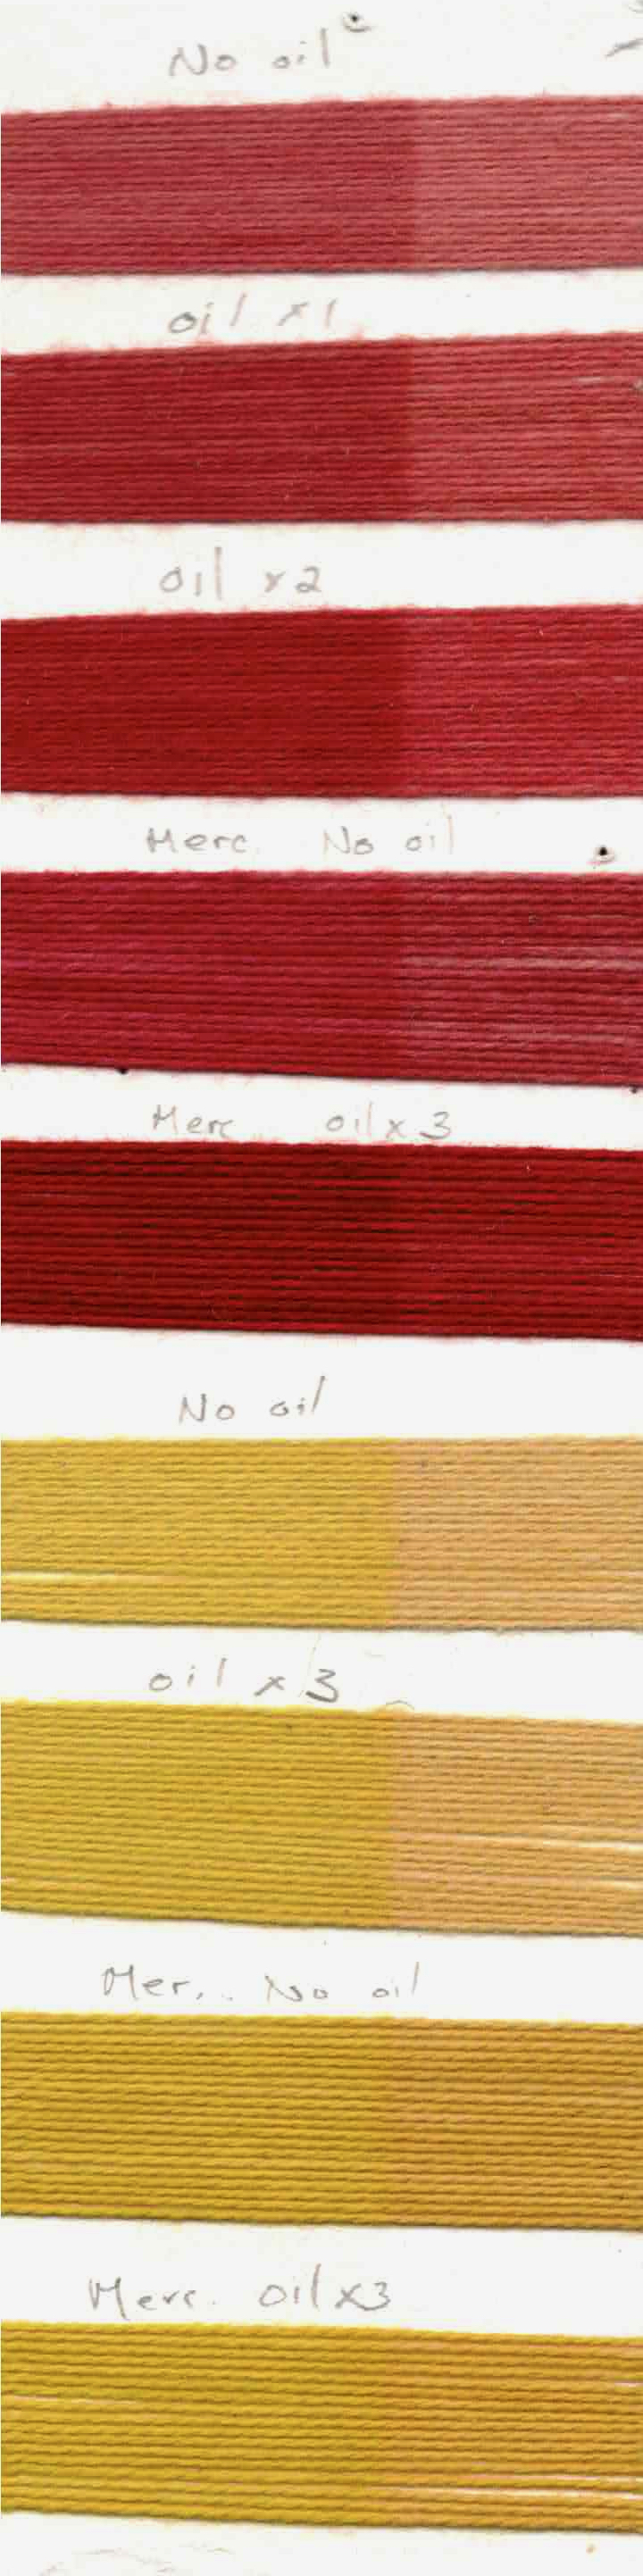
After completing lightfast tests with both dyes, I observed a subtle difference in the way they reacted to light, taking into consideration the relative “before” and “after” of each dyed yarn following 3 weeks of exposure to direct sun.
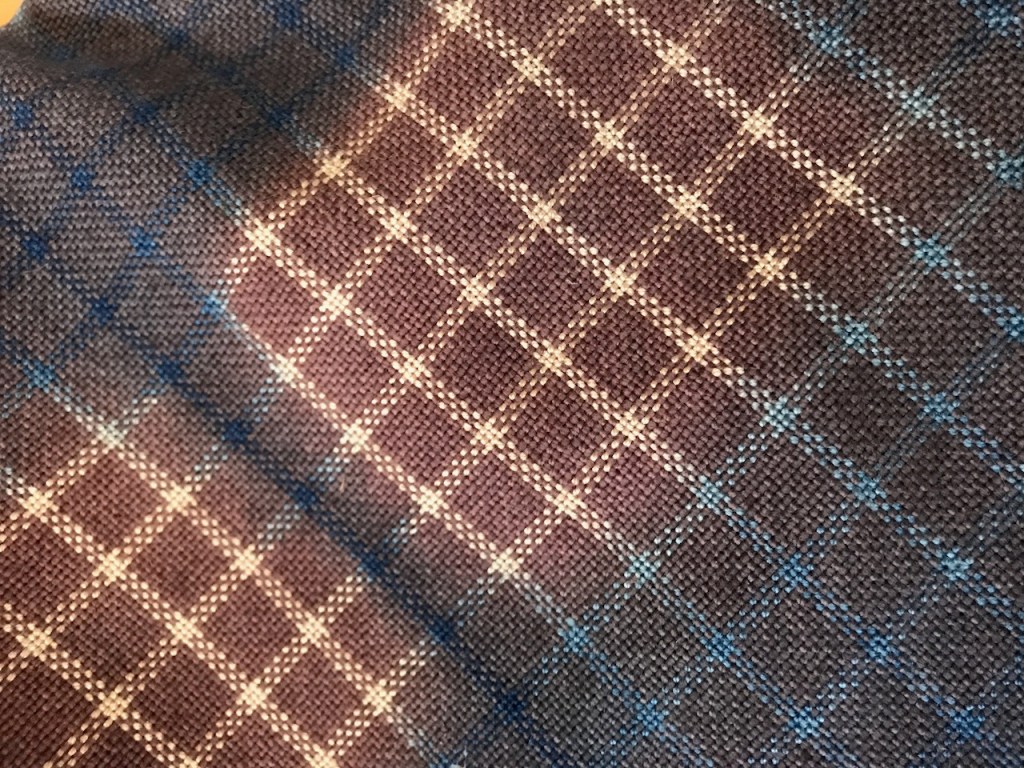
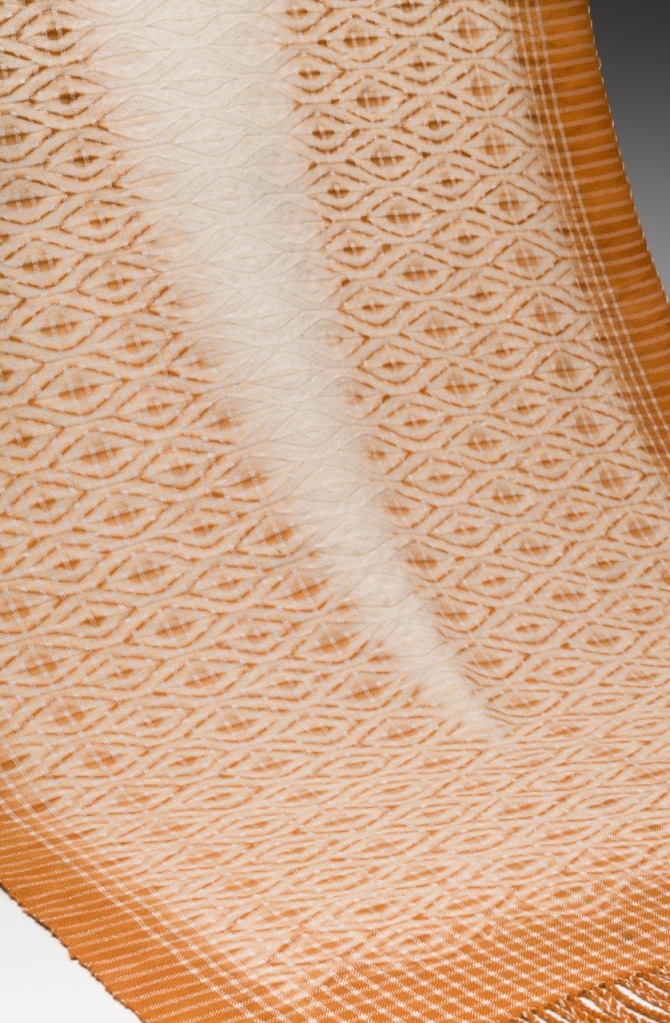
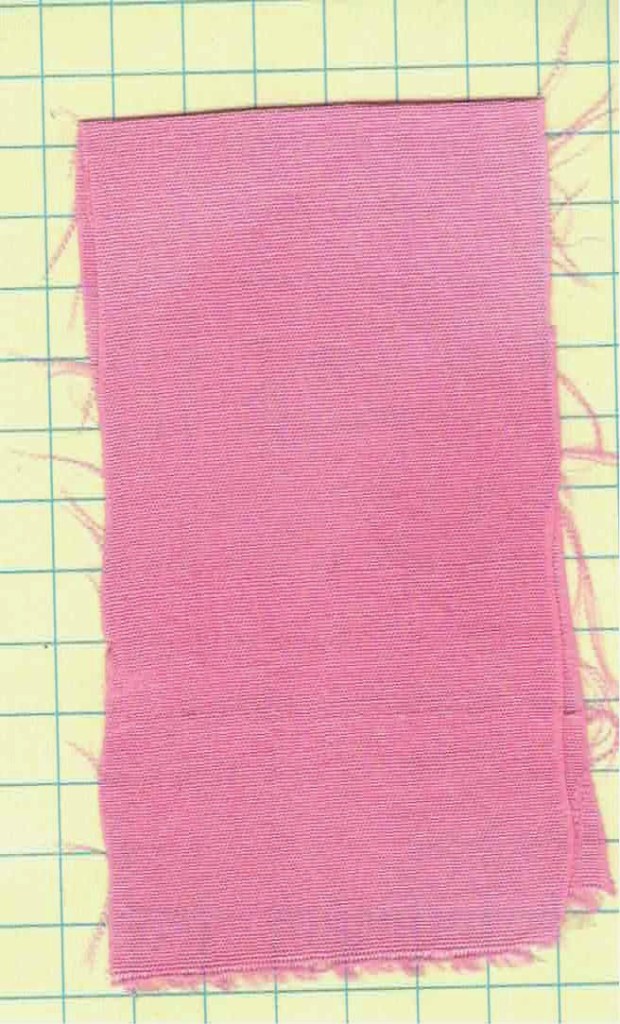
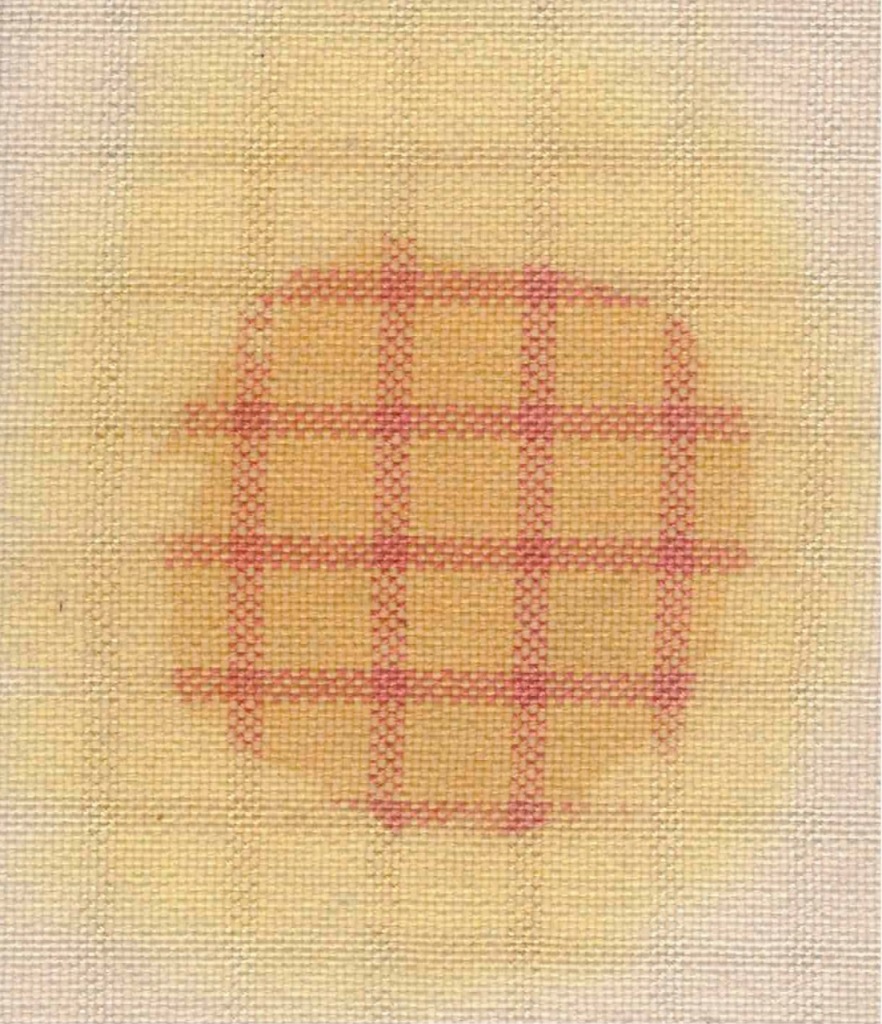
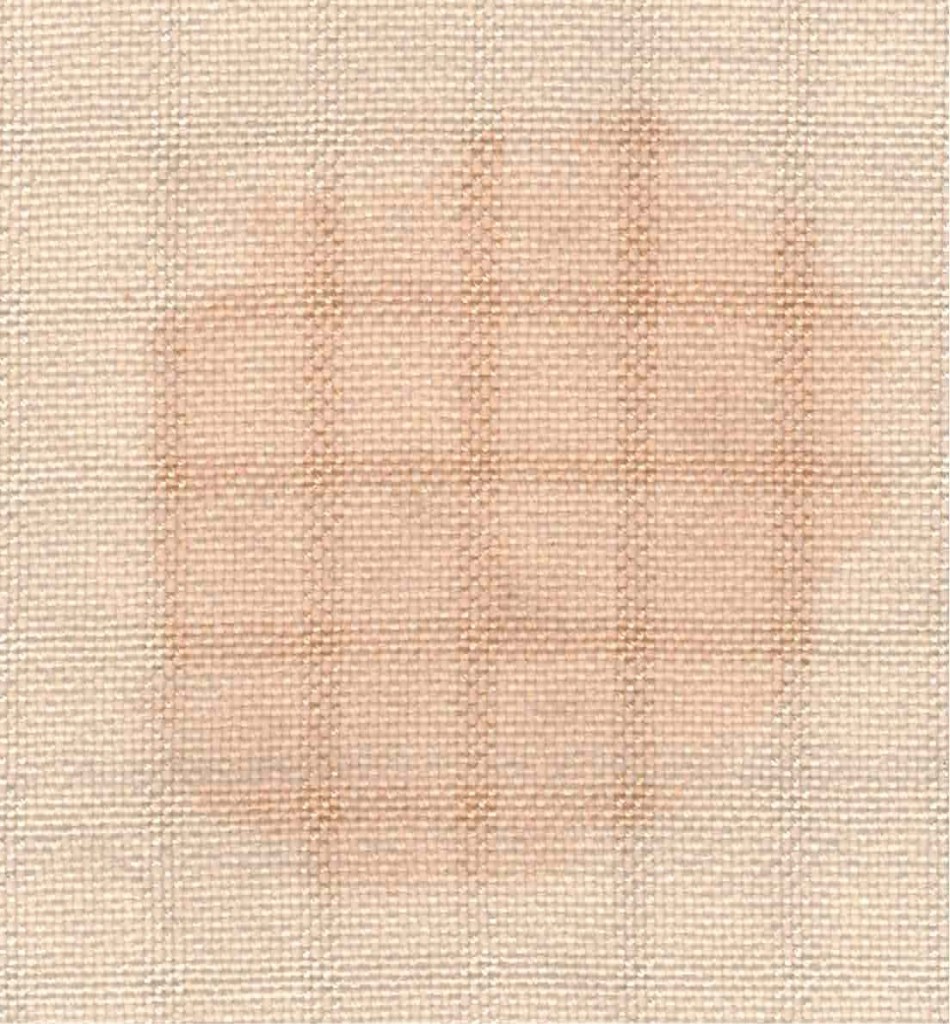
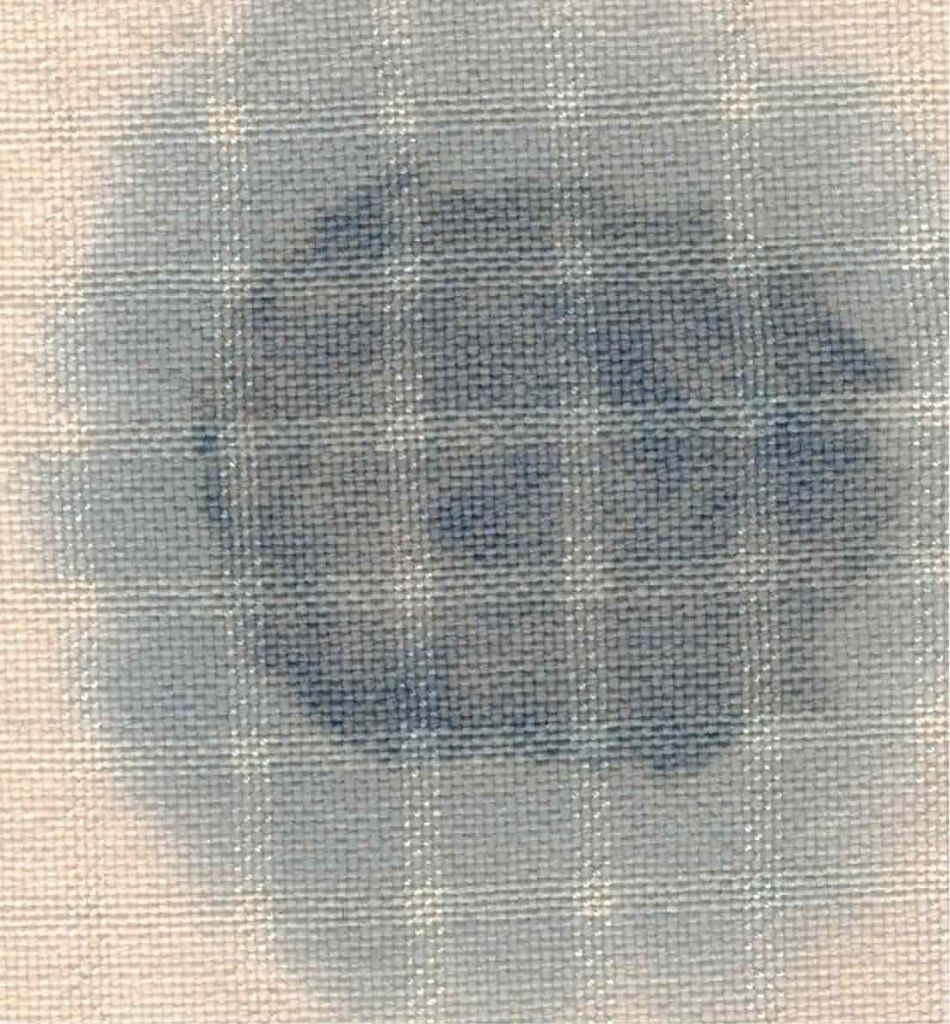
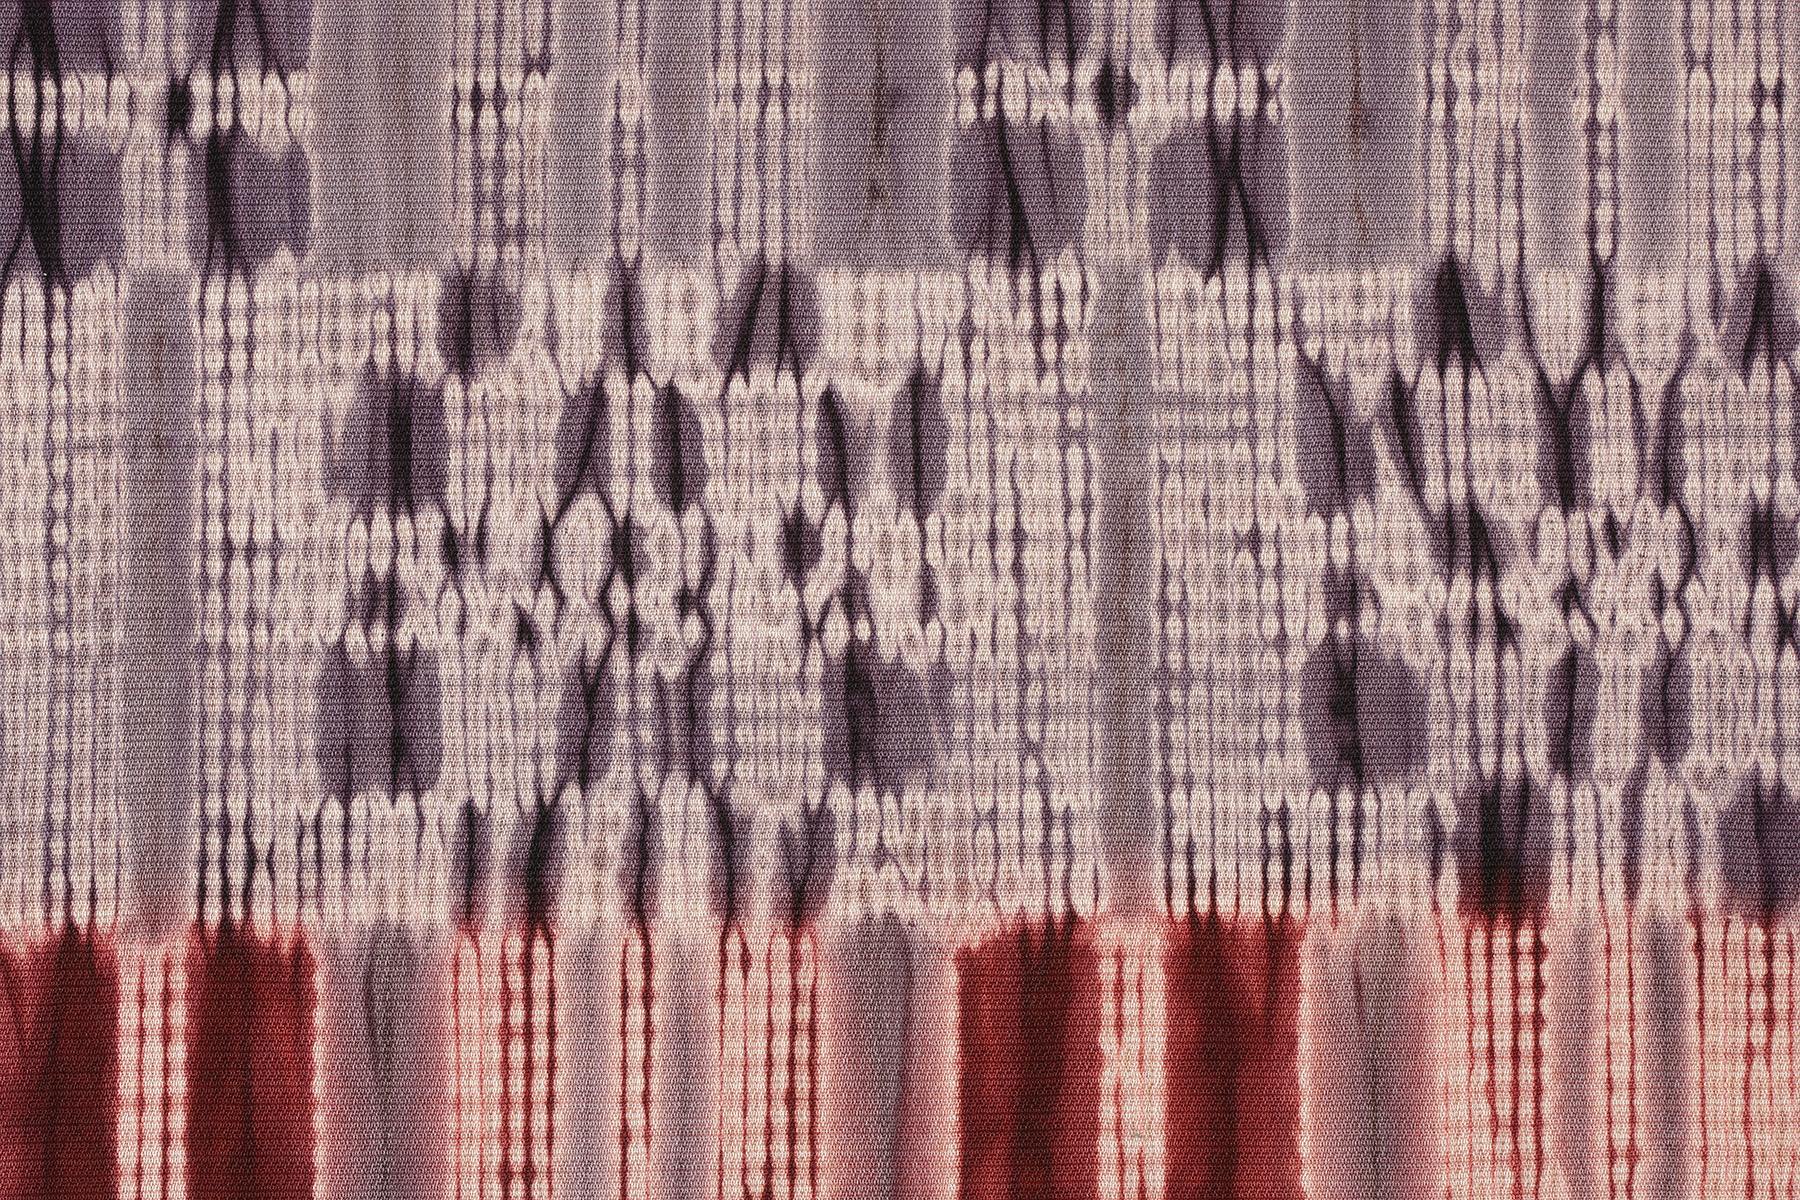
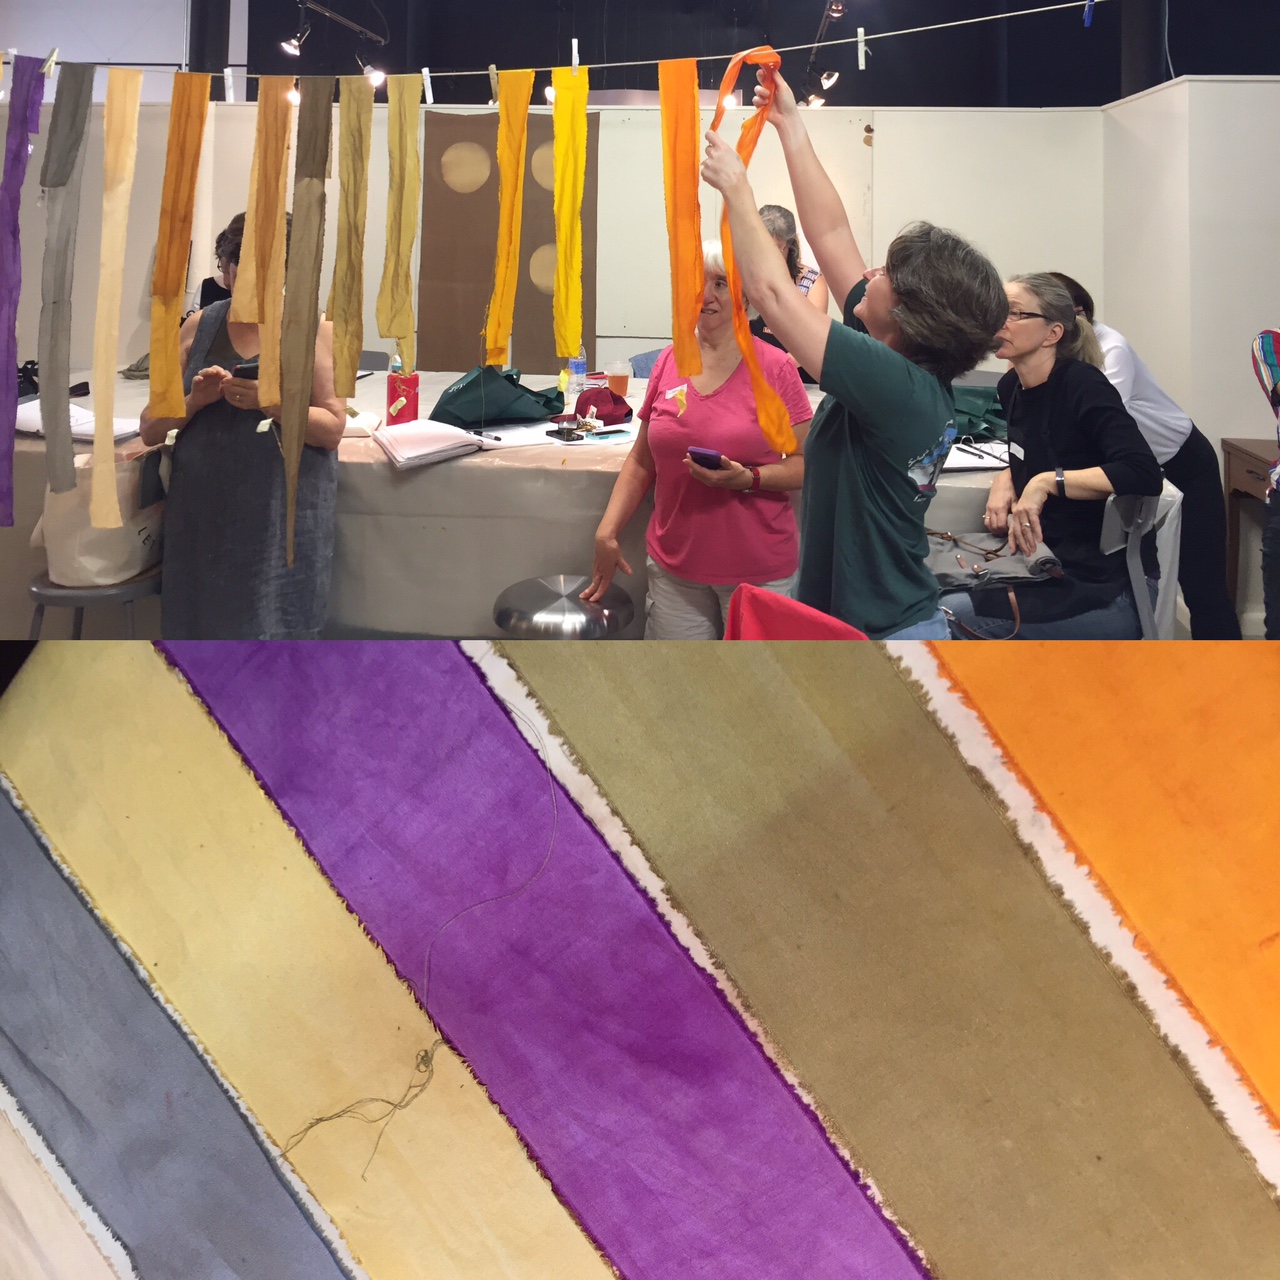
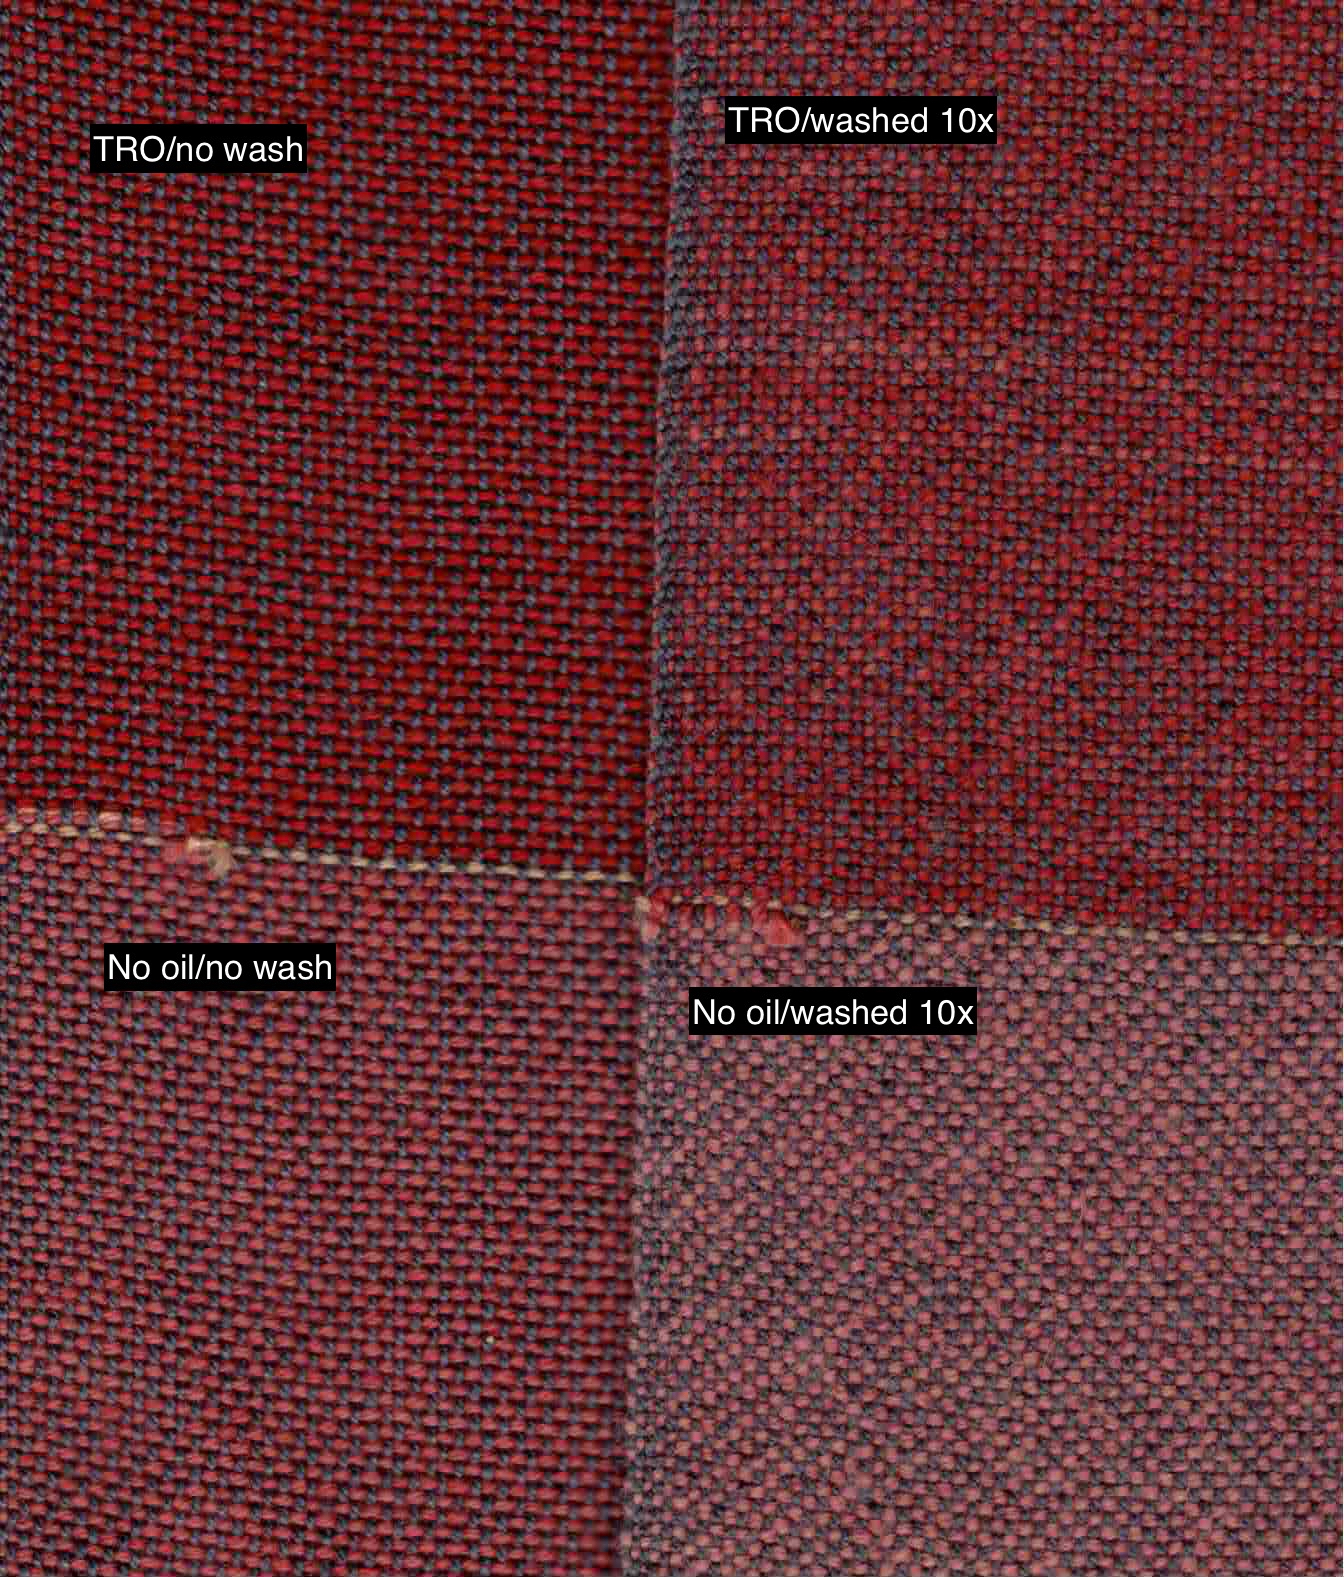
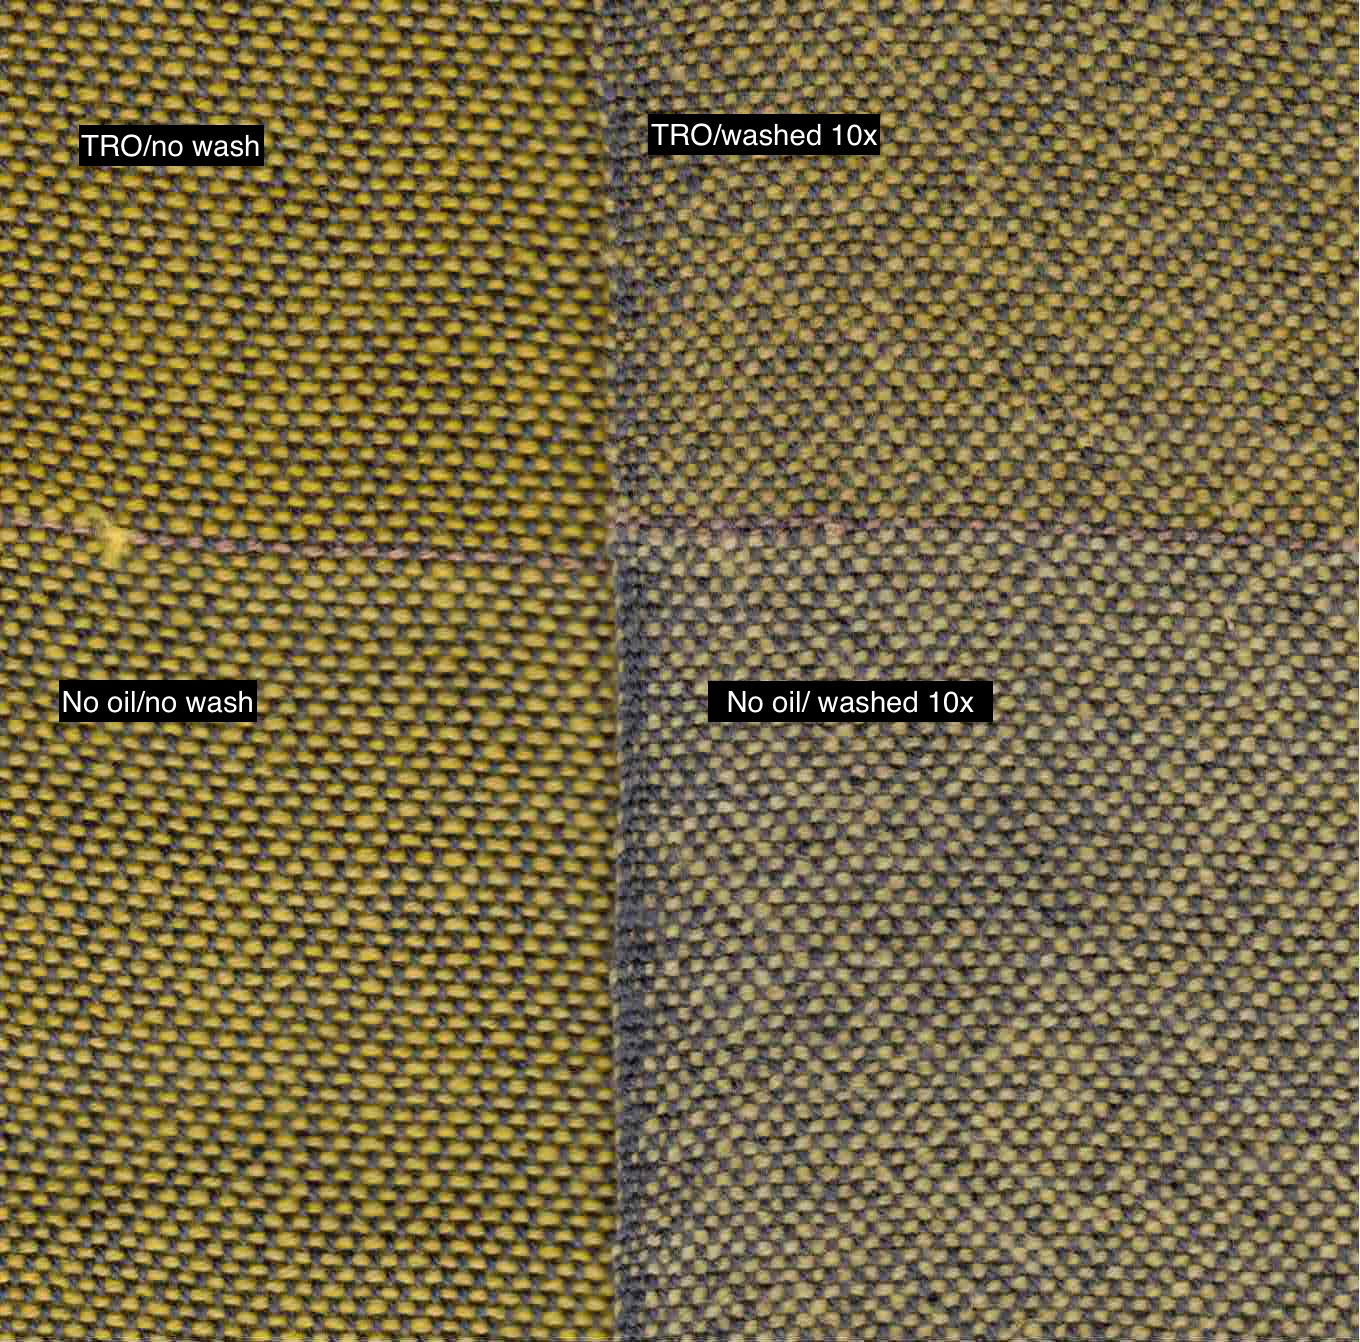
Wash fast tests, on the other hand, were much more dramatic. I used yarns that had been dyed both with and without the turkey red oil treatment. The yarns were then woven into a cloth with a dark grey warp. After only 10 regular wash cycles in my machine (along with the rest of my laundry), I observed a significant difference in the color loss of the dyed yarns with both the madder and the weld.
Once again, I am humbled by the research of dyers who came before us. I will seriously consider using the oil treatment when making textiles that could be laundered frequently.
*General Dyestuff Corporation, Manual for the Dyeing of Cotton and Other Vegetable Fibers (1936)
Kneckt, Rawson, Lowenthal – Manual of Dyeing, Volumes 1 & 2 (1893)