Dyes from the Local Food Co-op

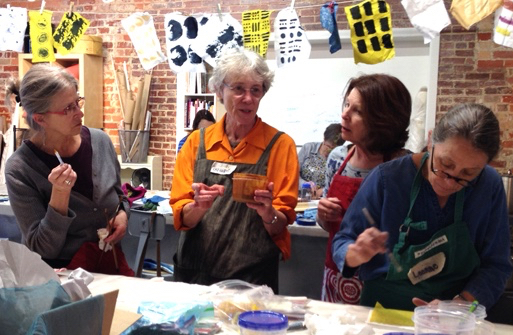
I welcome the opportunity to teach a workshop, especially when it will teach ME something new.

A few days ago I taught Dyes from the Local Food Co-op  at Cloth Fiber Workshop in Asheville. The class came about when I was measuring some herbs and spices at our local food co-op. I noticed that a number of the dried materials in the glass jars were the same as the dye plants I was using in my studio: buckthorn bark, annatto, chamomile, and dock root. Obviously, the co-op was not stocking these substances for dyers, but….. it caused me to think about the multiple uses of these plants. For many years I have been taking a tincture of Isatis tinctoria, or WOAD, prescribed by my Chinese medicine doctor. How much overlap would I find between the dye and culinary/medicinal plants?

IMG_6449
French Broad Co-op, Asheville, NC

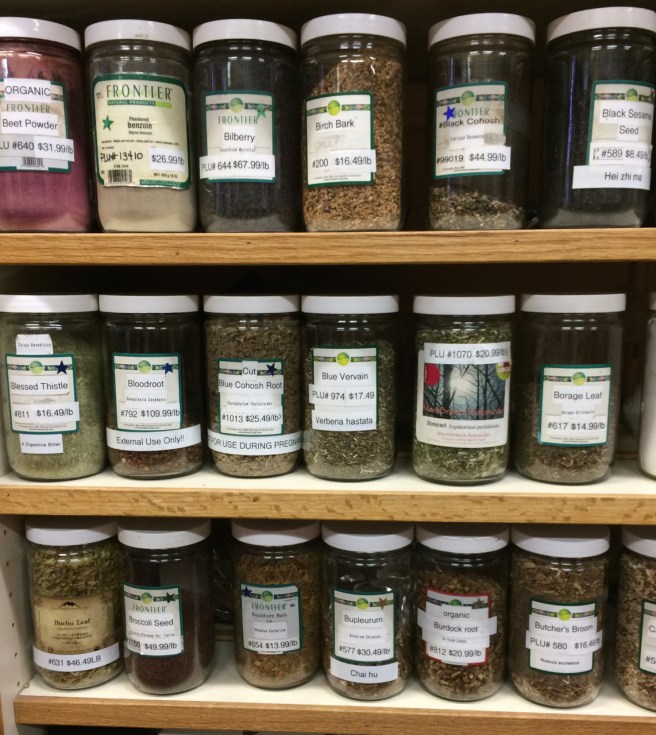
After taking an inventory of the materials available at the local co-op I decided on a collection of plants for this class. The criteria for the dyes included the following:

  • Each plant has some historical reference as a dye plant, and is preferably included in Natural Dyes: Sources, Tradition, Technology, and Science by Dominique Cardon.
  • Each has an alternative use, such as medicinal or culinary.

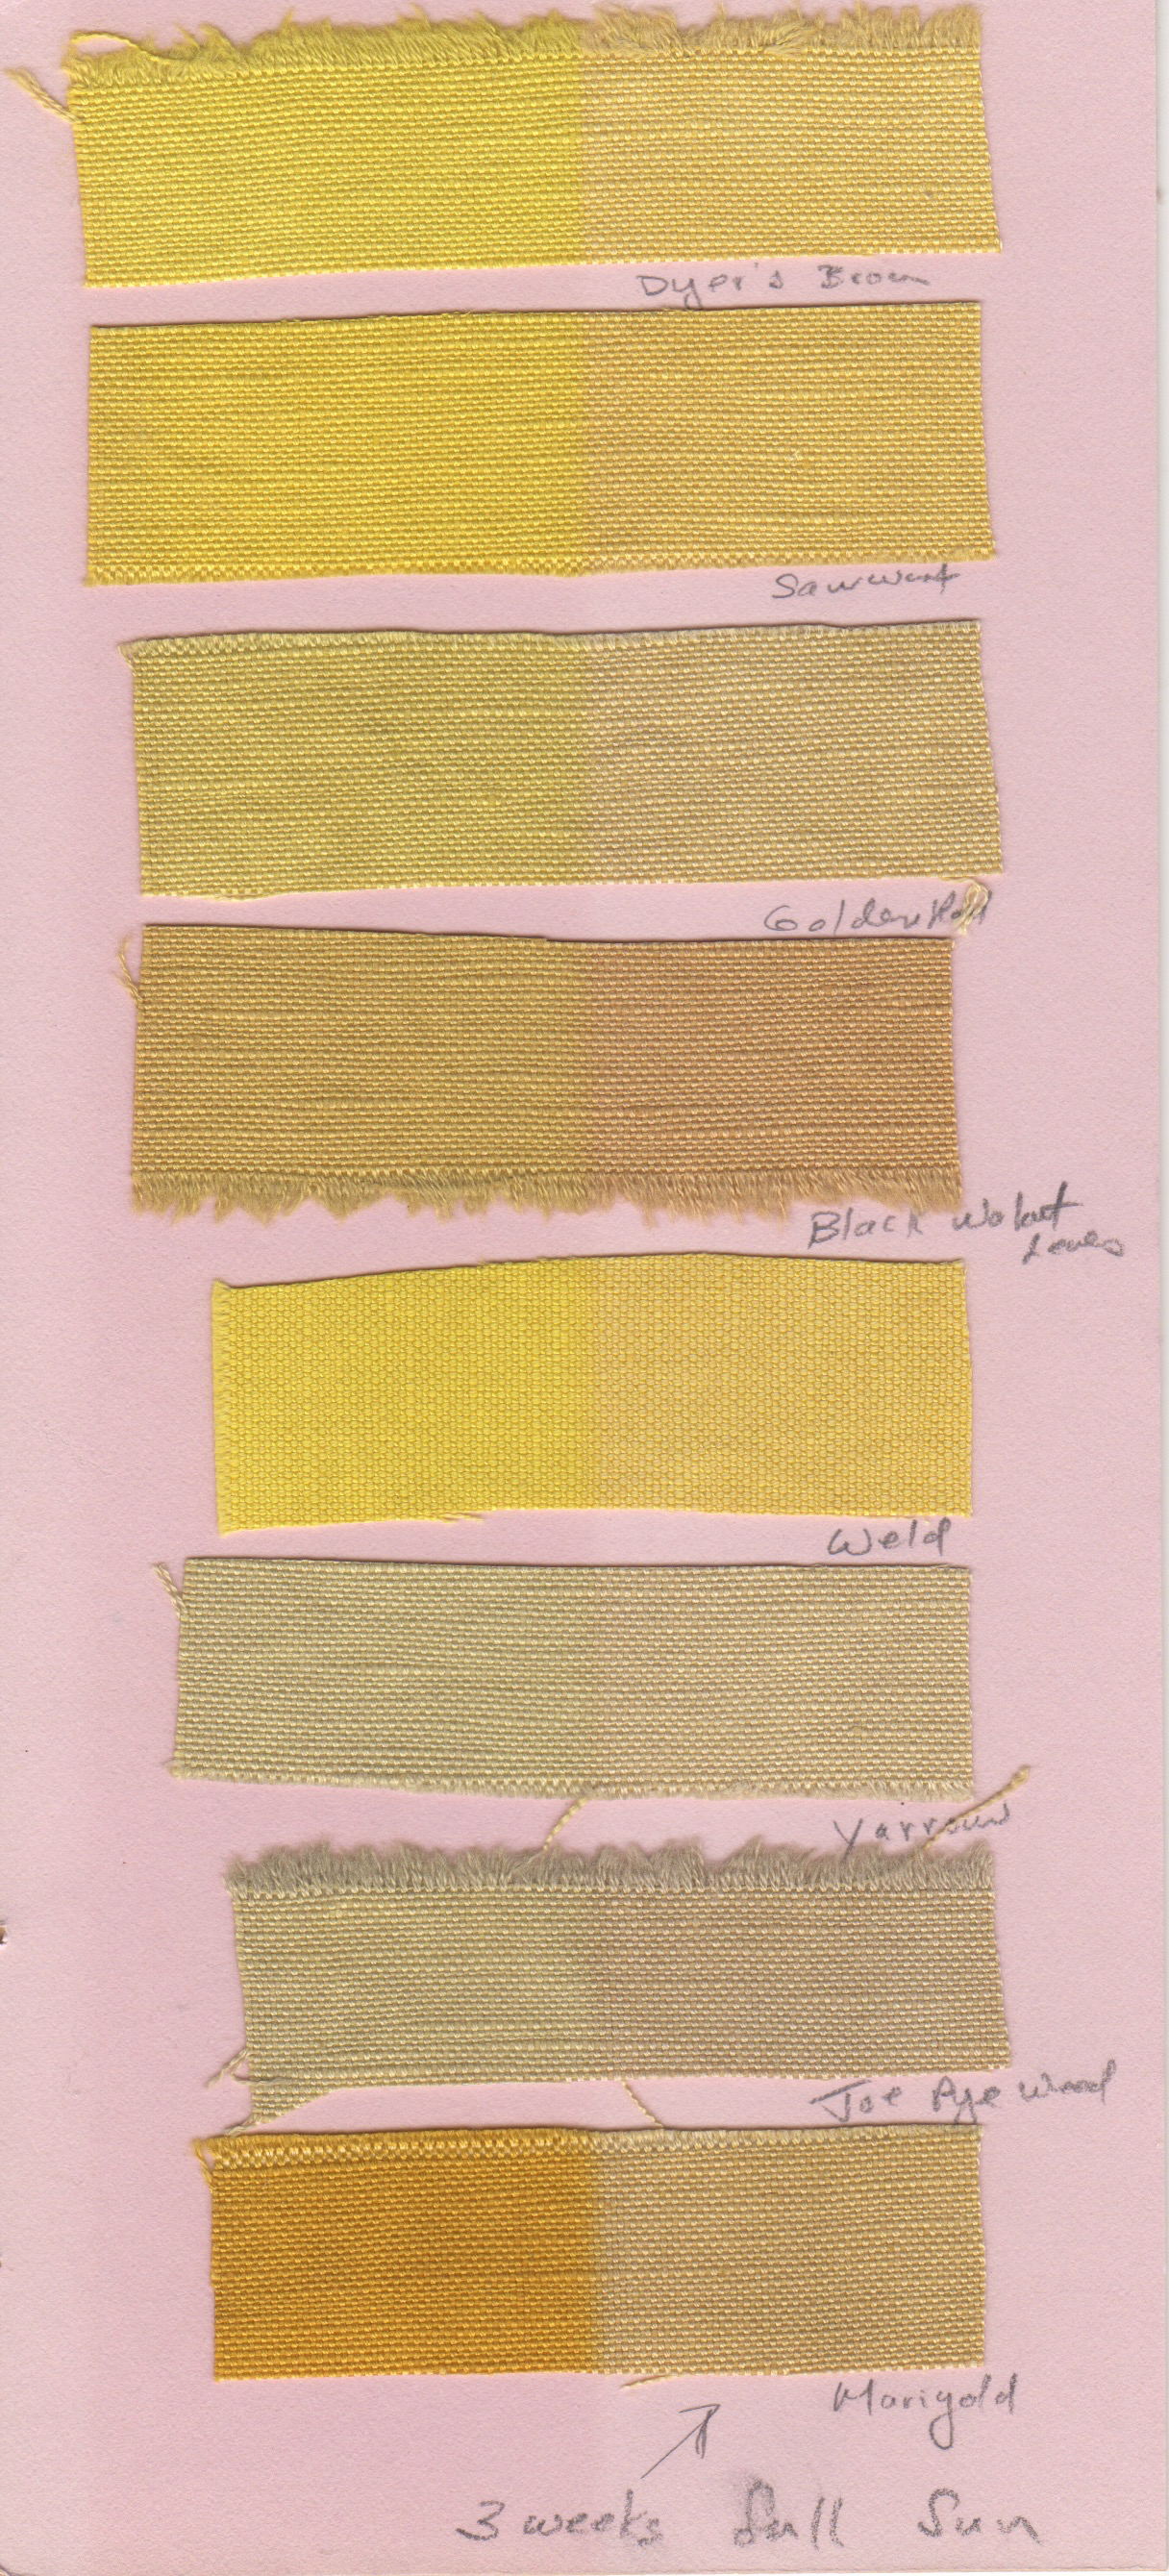
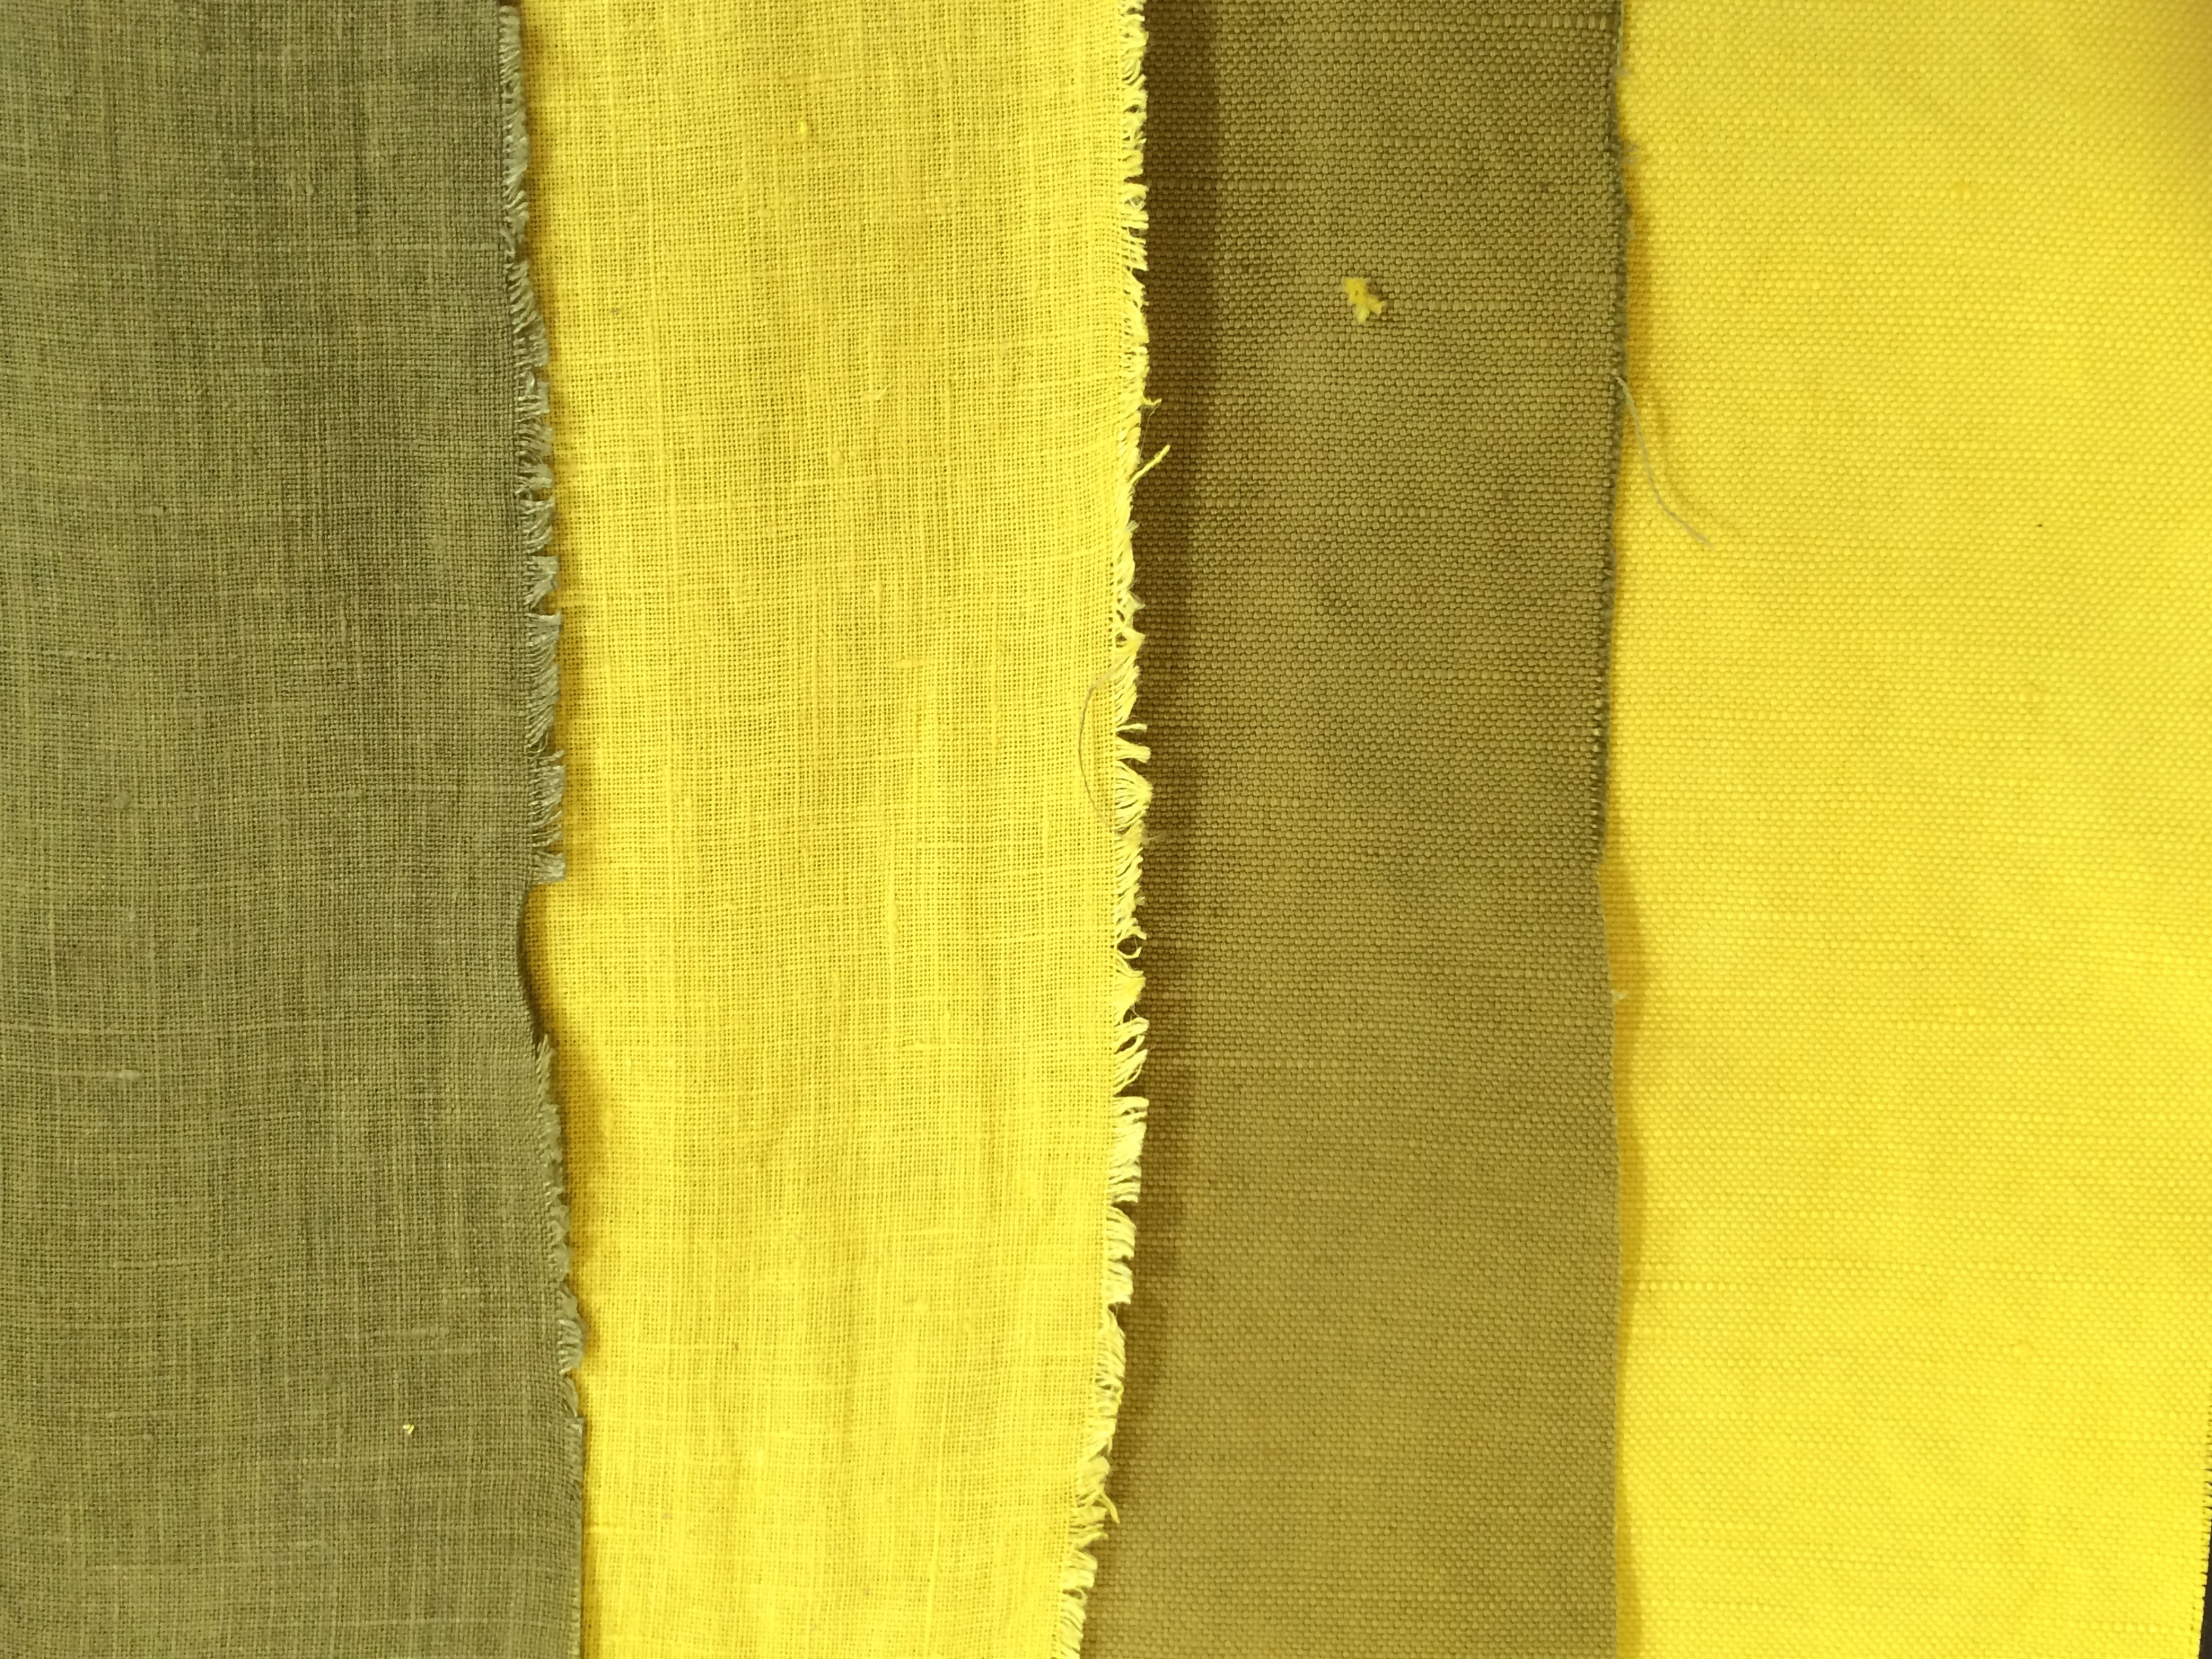
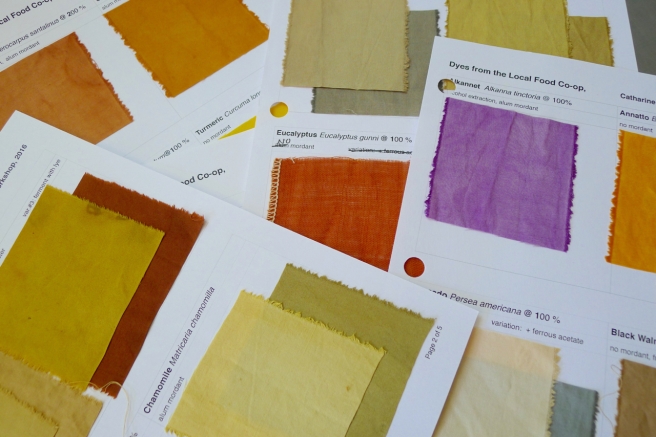
Not all of these dyes are excellent performers. For reasons of poor light fastness or wash fastness I would not choose to use many of them in my regular studio work. But each dye has a story and may have been used throughout history because of its striking hue, availability, and/or affordability, despite a poor performance as a color over time.

Some of the dyes have been assigned a Natural Color Index Number (CI#). This is a reference database of color hues, names, and products maintained by the Society of Dyers and Colorists and the American Association of Textile Chemist and Colorists. It includes both synthetic and natural pigments. The inclusion of these natural colorants confirms the important historical reference  and unique quality of their colors.

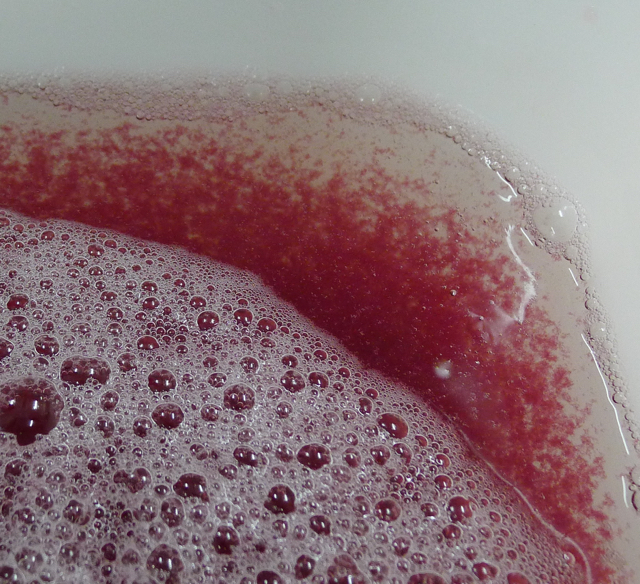
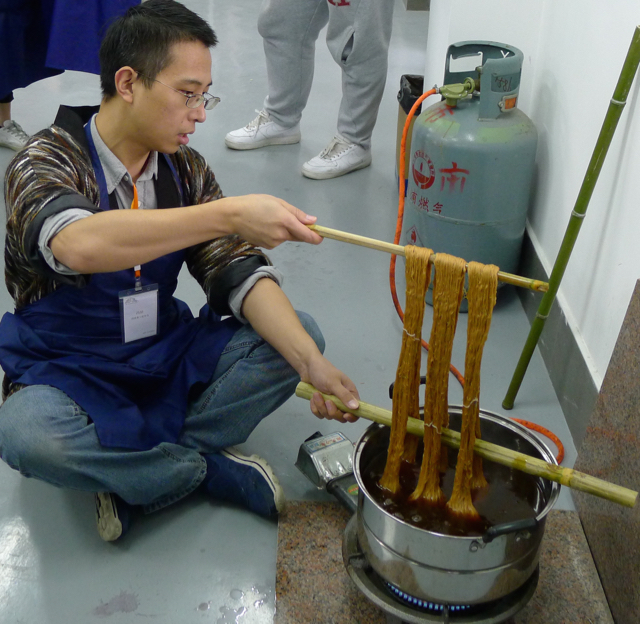
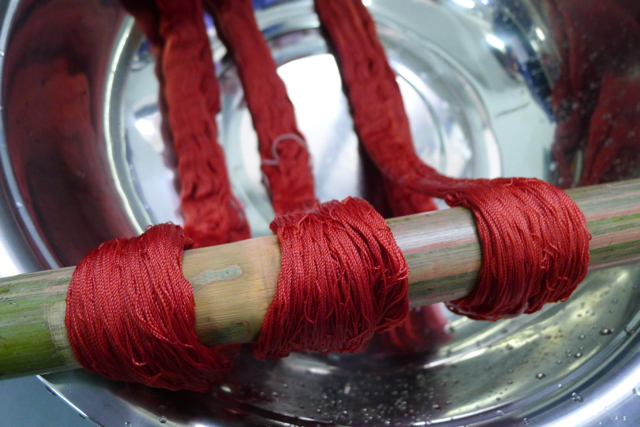
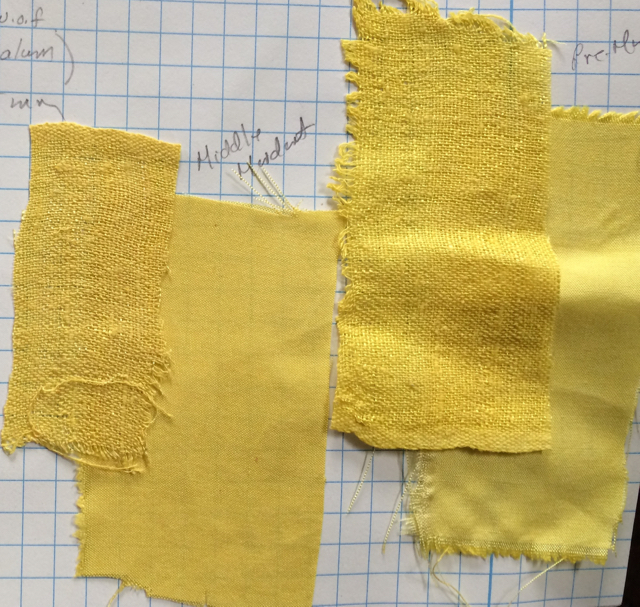
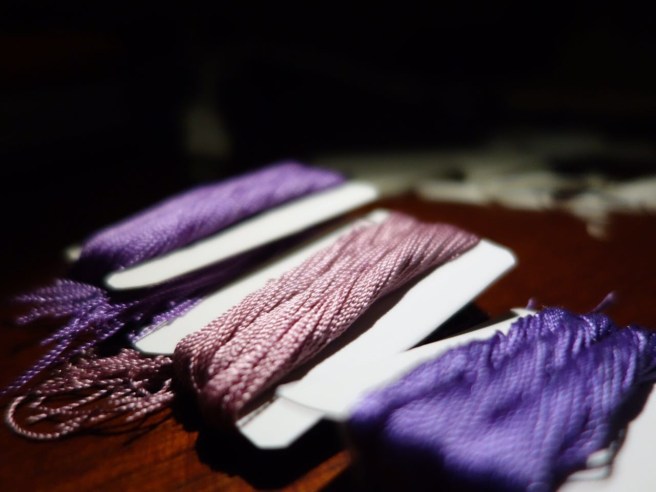
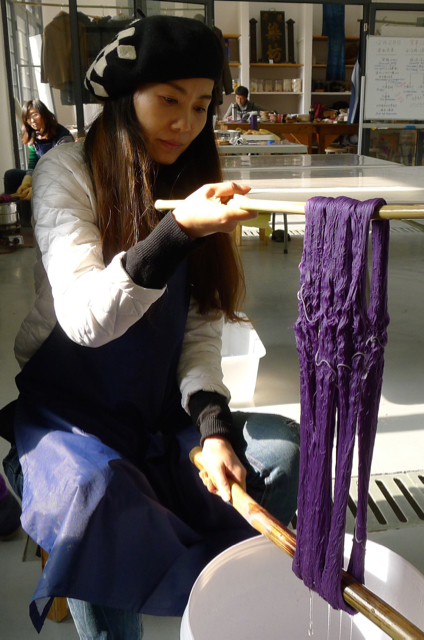
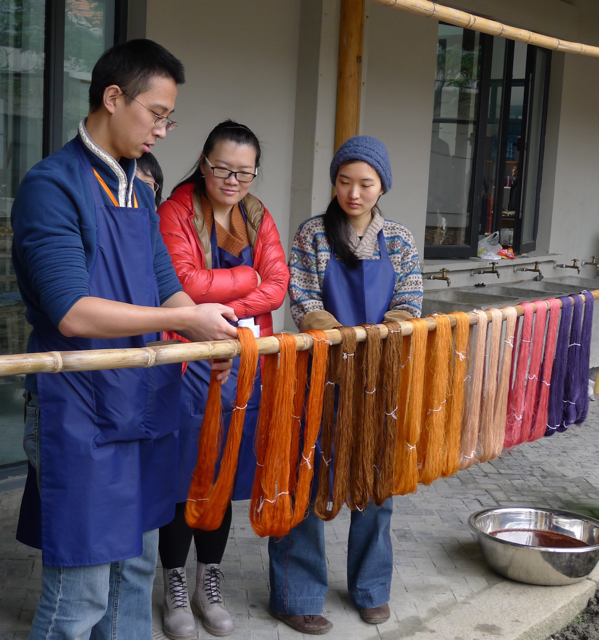
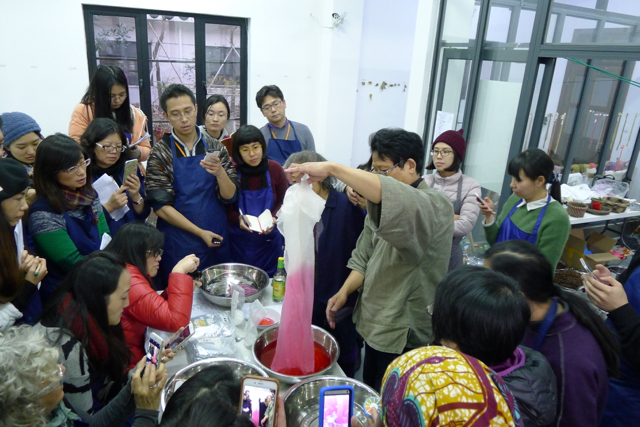
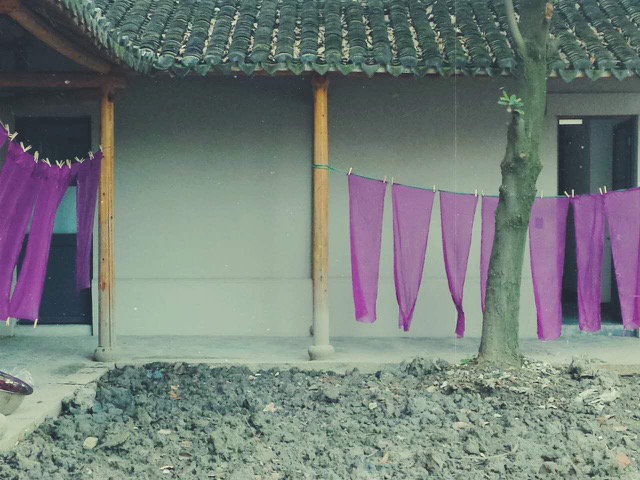
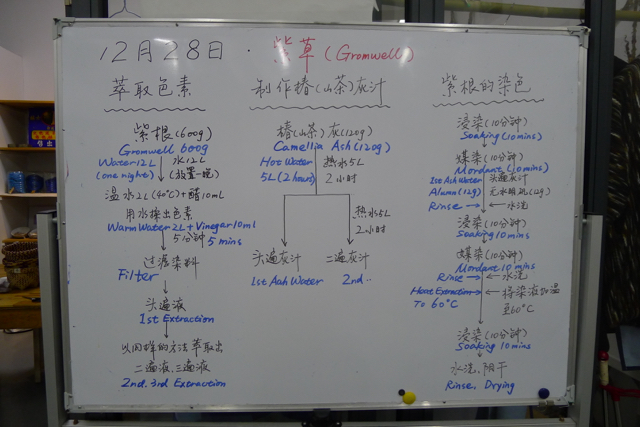
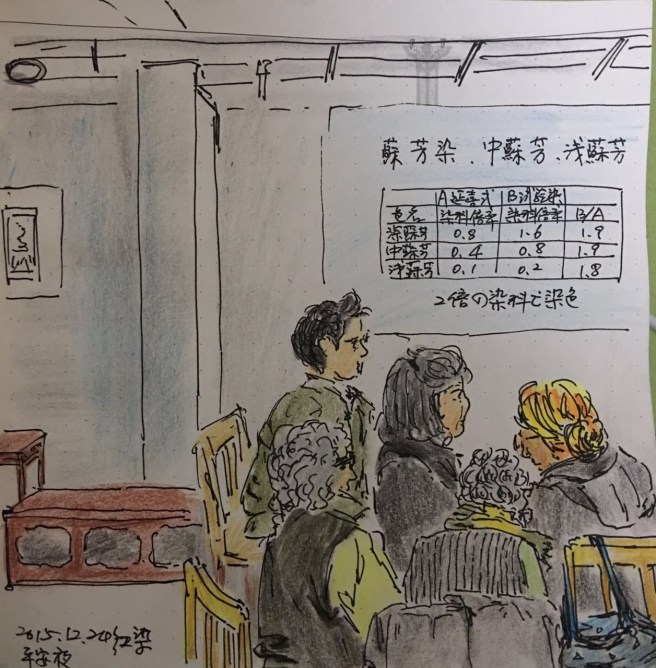
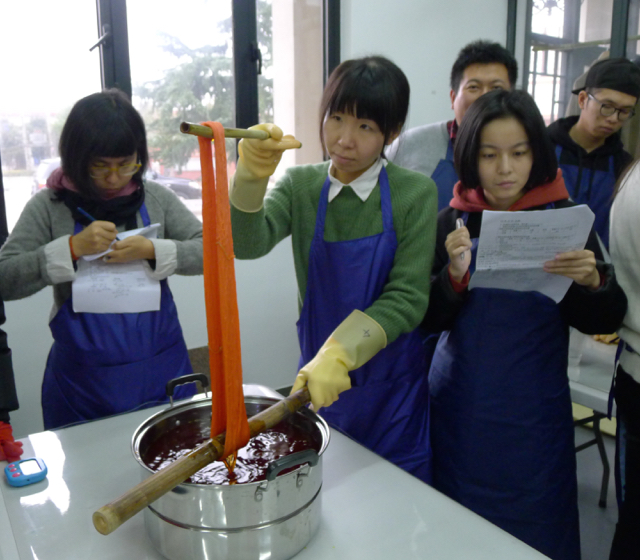
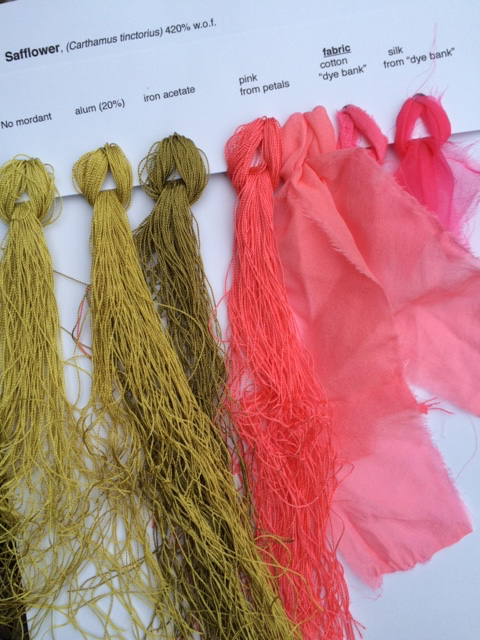
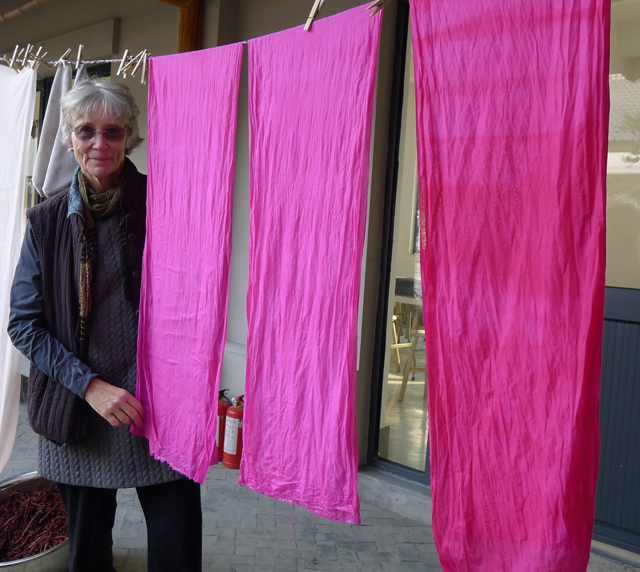
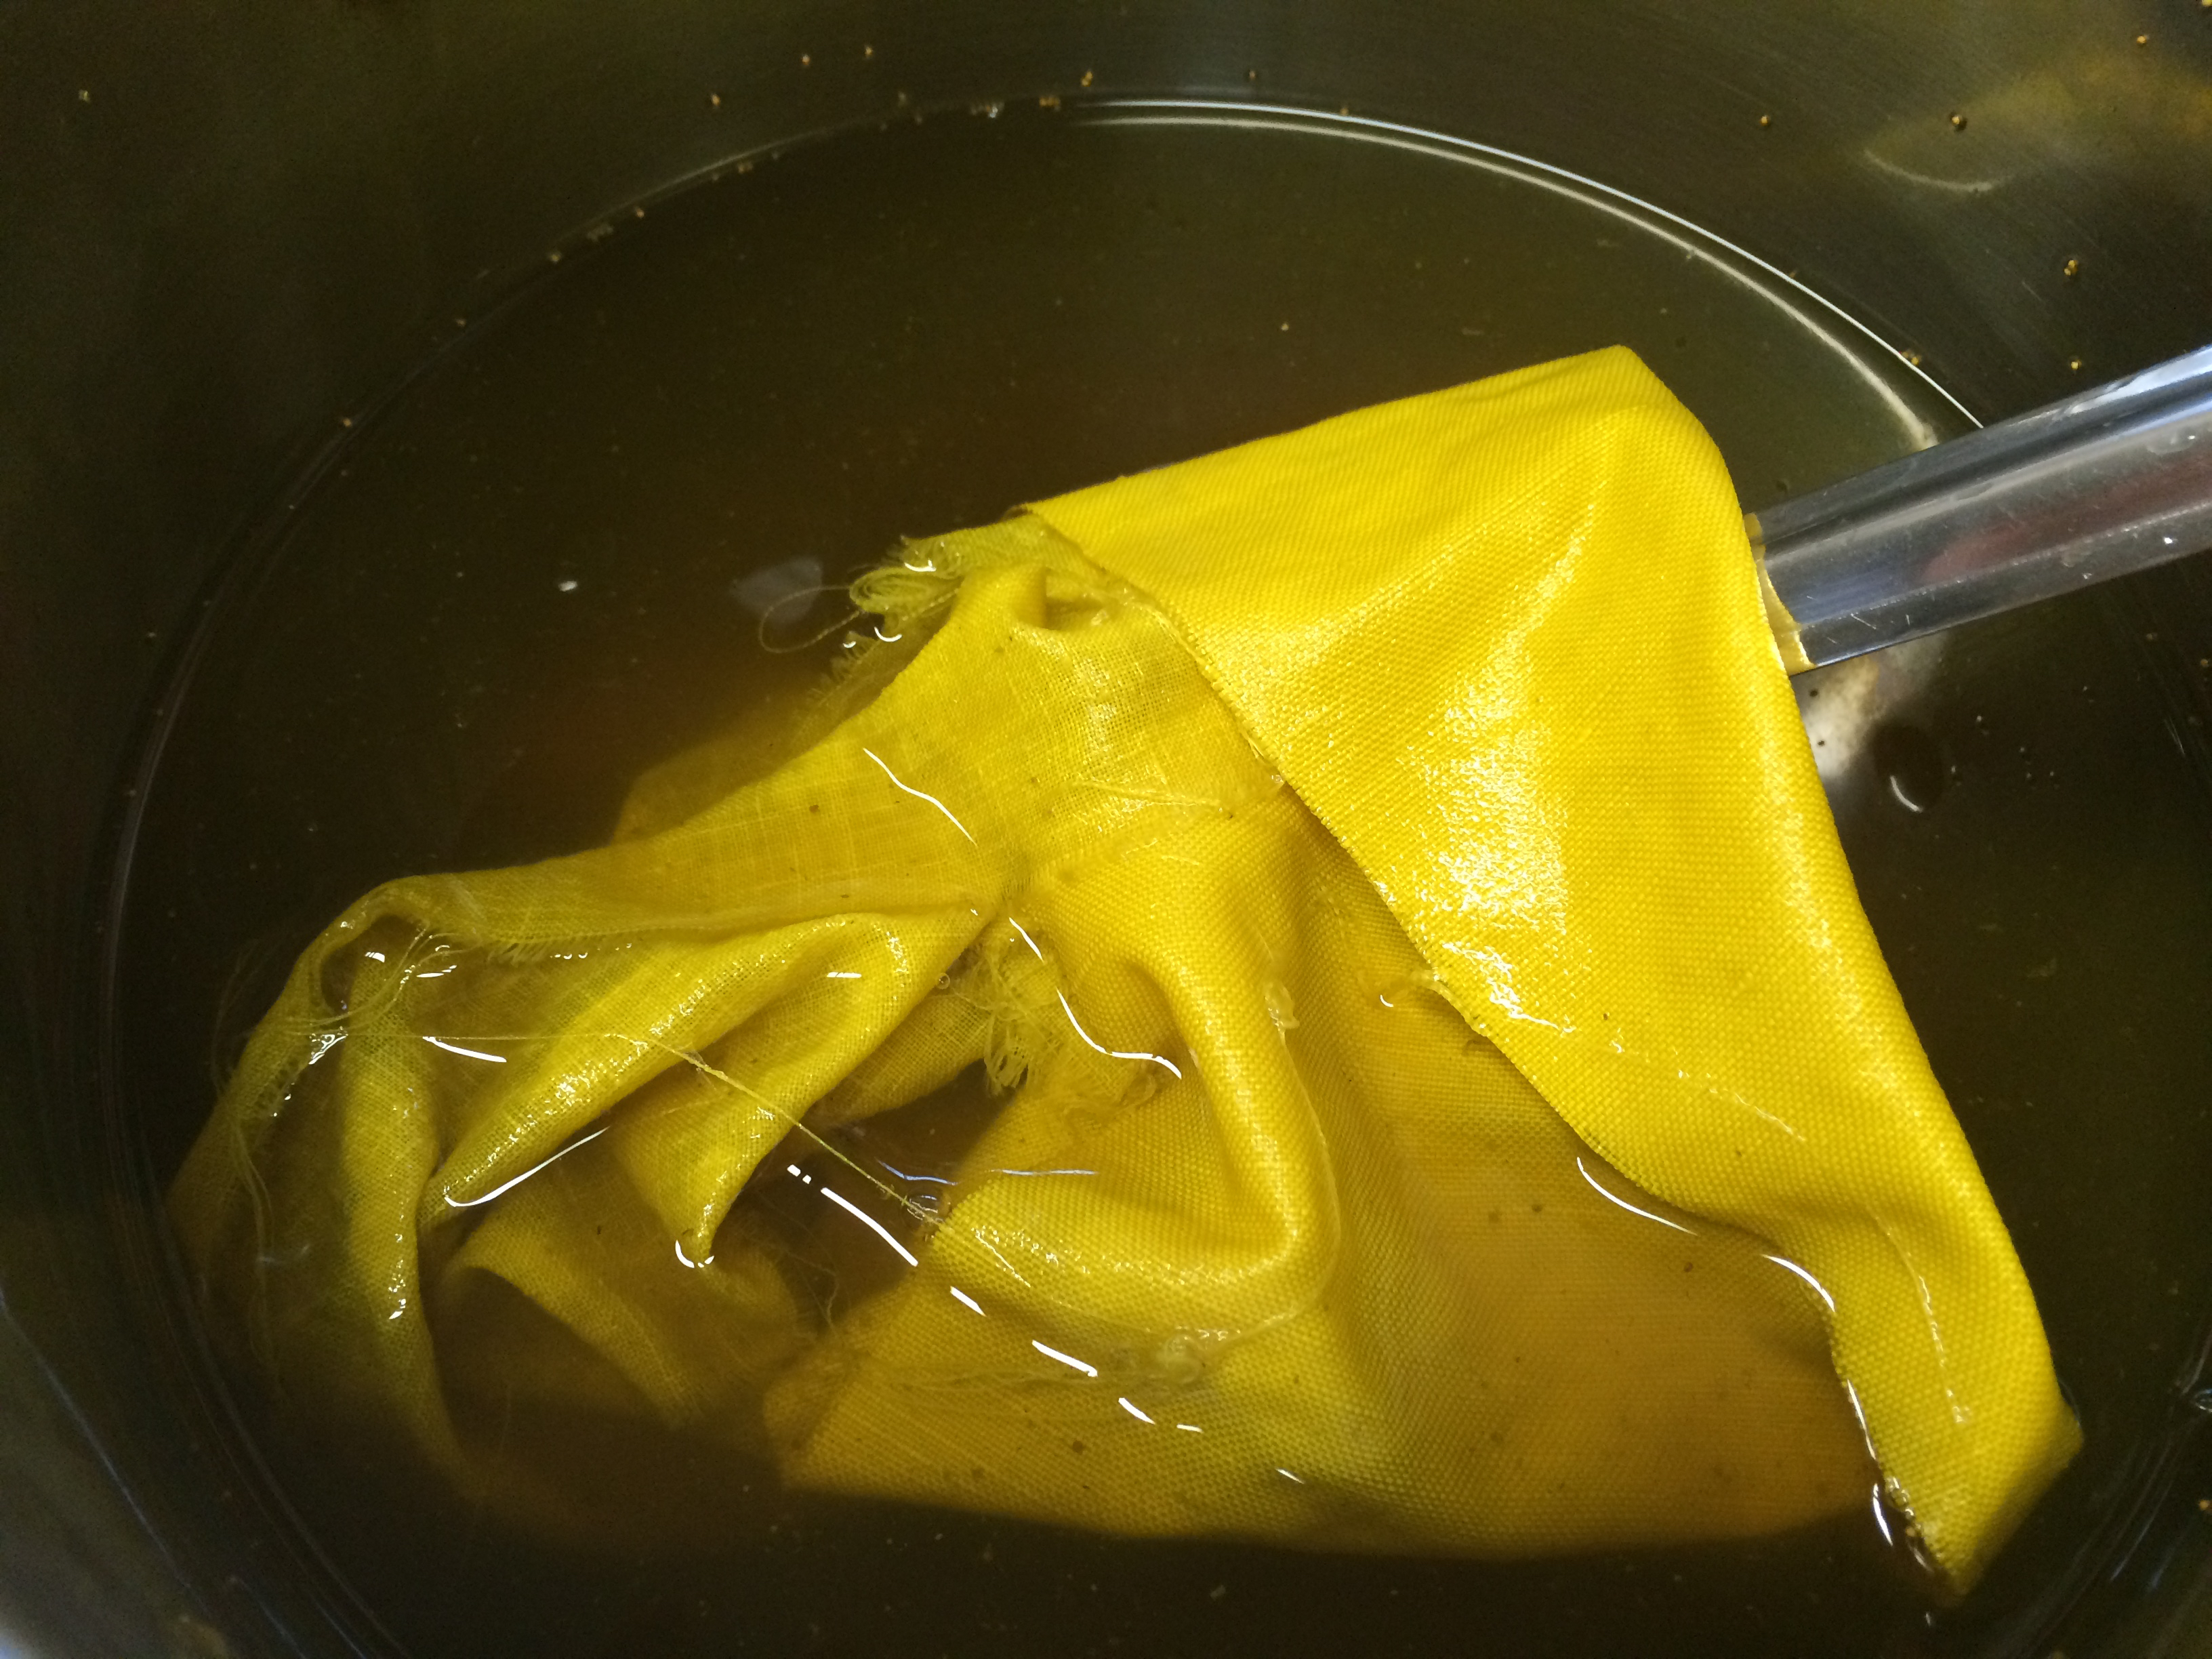
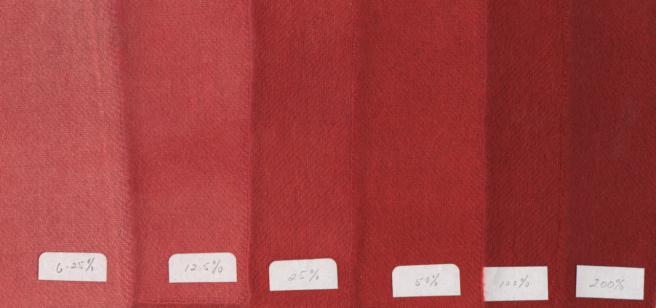
Our dyeing was done on silk fabric. Some dyes required mordants, while others did not. Some roots and barks required alcohol extractions, while others extracted in water. Some dyes were affected by alkalinity. Others contained tannins and were altered with ferrous acetate. Alternative sources of the same plant resulted in color variations, suggesting that different parts of the plant were used, or possible changes in the growing season or drying process. When appropriate, we used alternative methods of dyeing such as a one-bath acid dye or fermentation.

Christina Whiteman photo2
Chris Whiteman photo

The dyes we used:

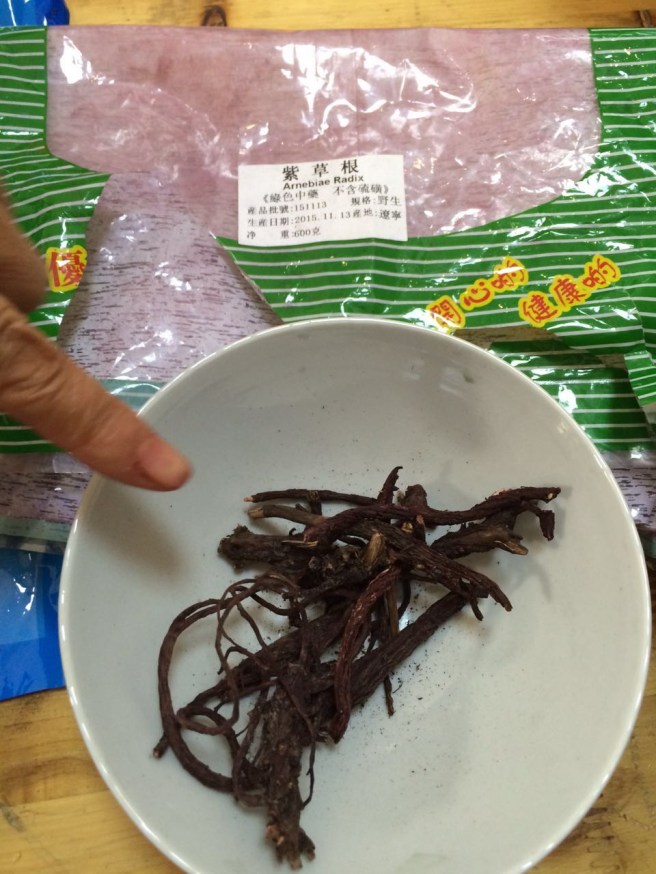
  • Alkanet, Alkanna tinctoria
  • Annatto, Bixa orellana
  • Avocado pit, Persea americana
  • Black Walnut, Juglans nigra
  • Bloodroot, Sanguinaria canadensis
  • Buckthorn, Rhamnus frangula                
  • Chamomile, Matricaria chamomilla
  • Cloves, Syzygium aromaticum
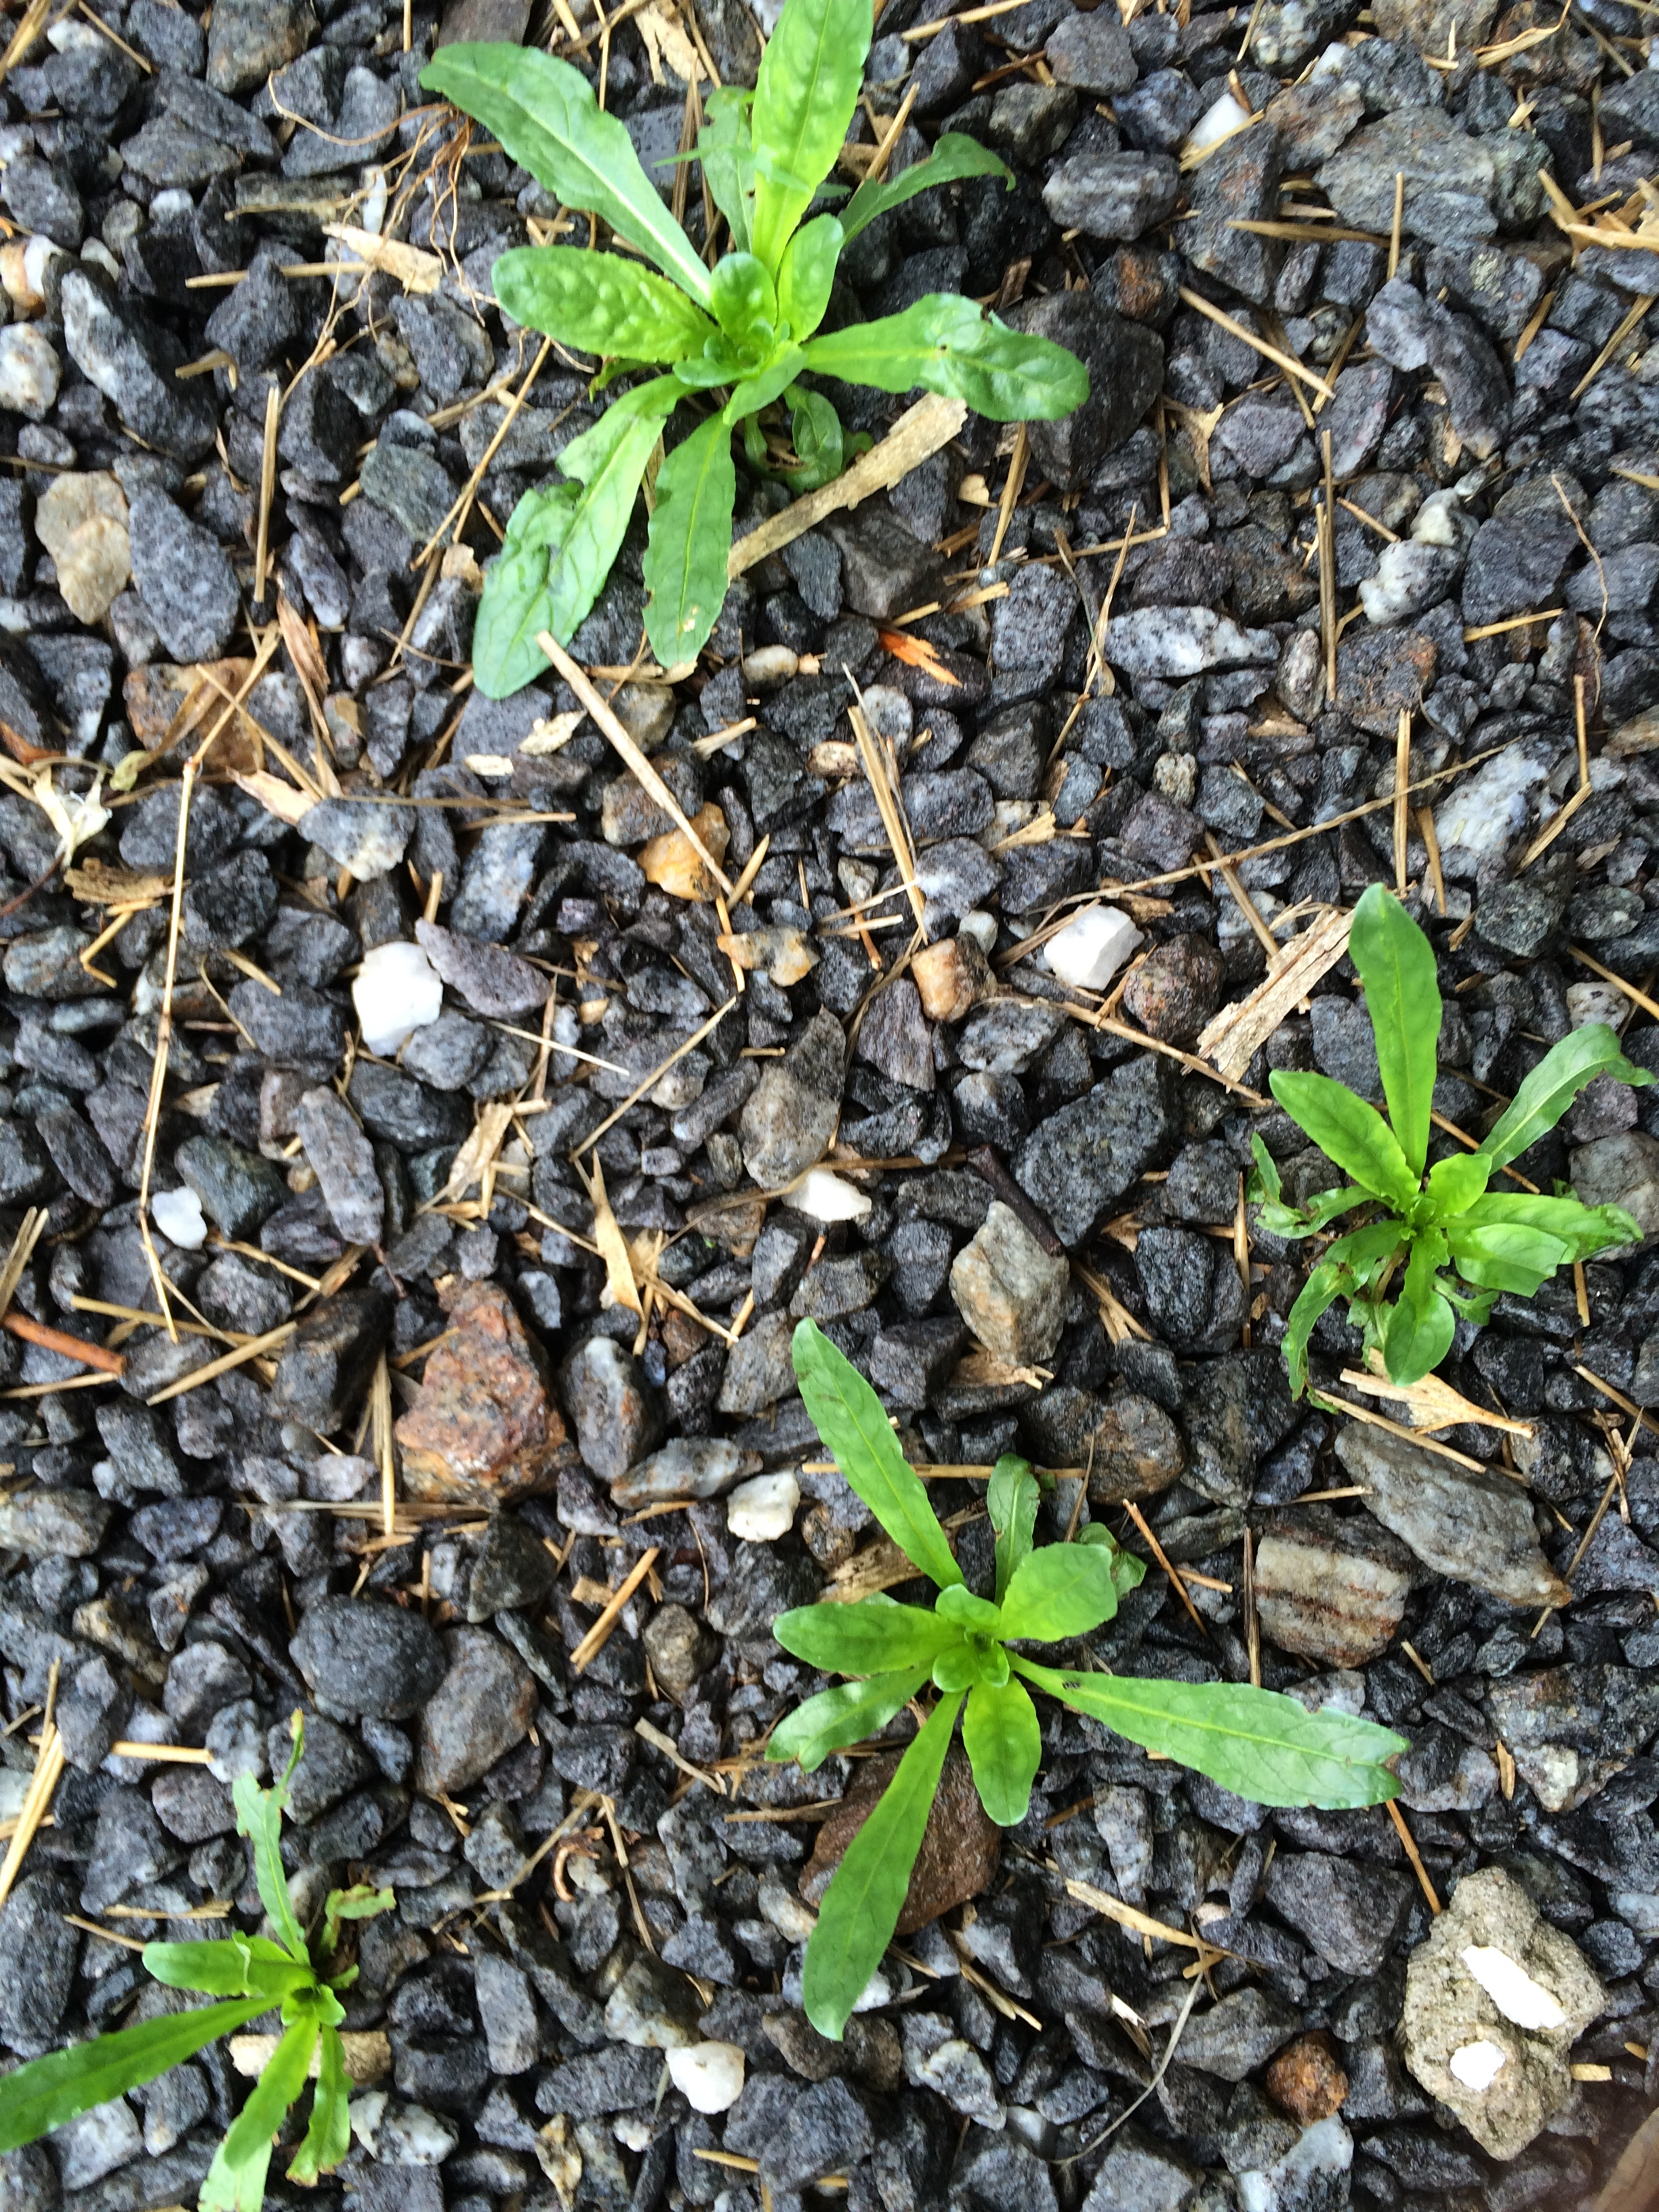
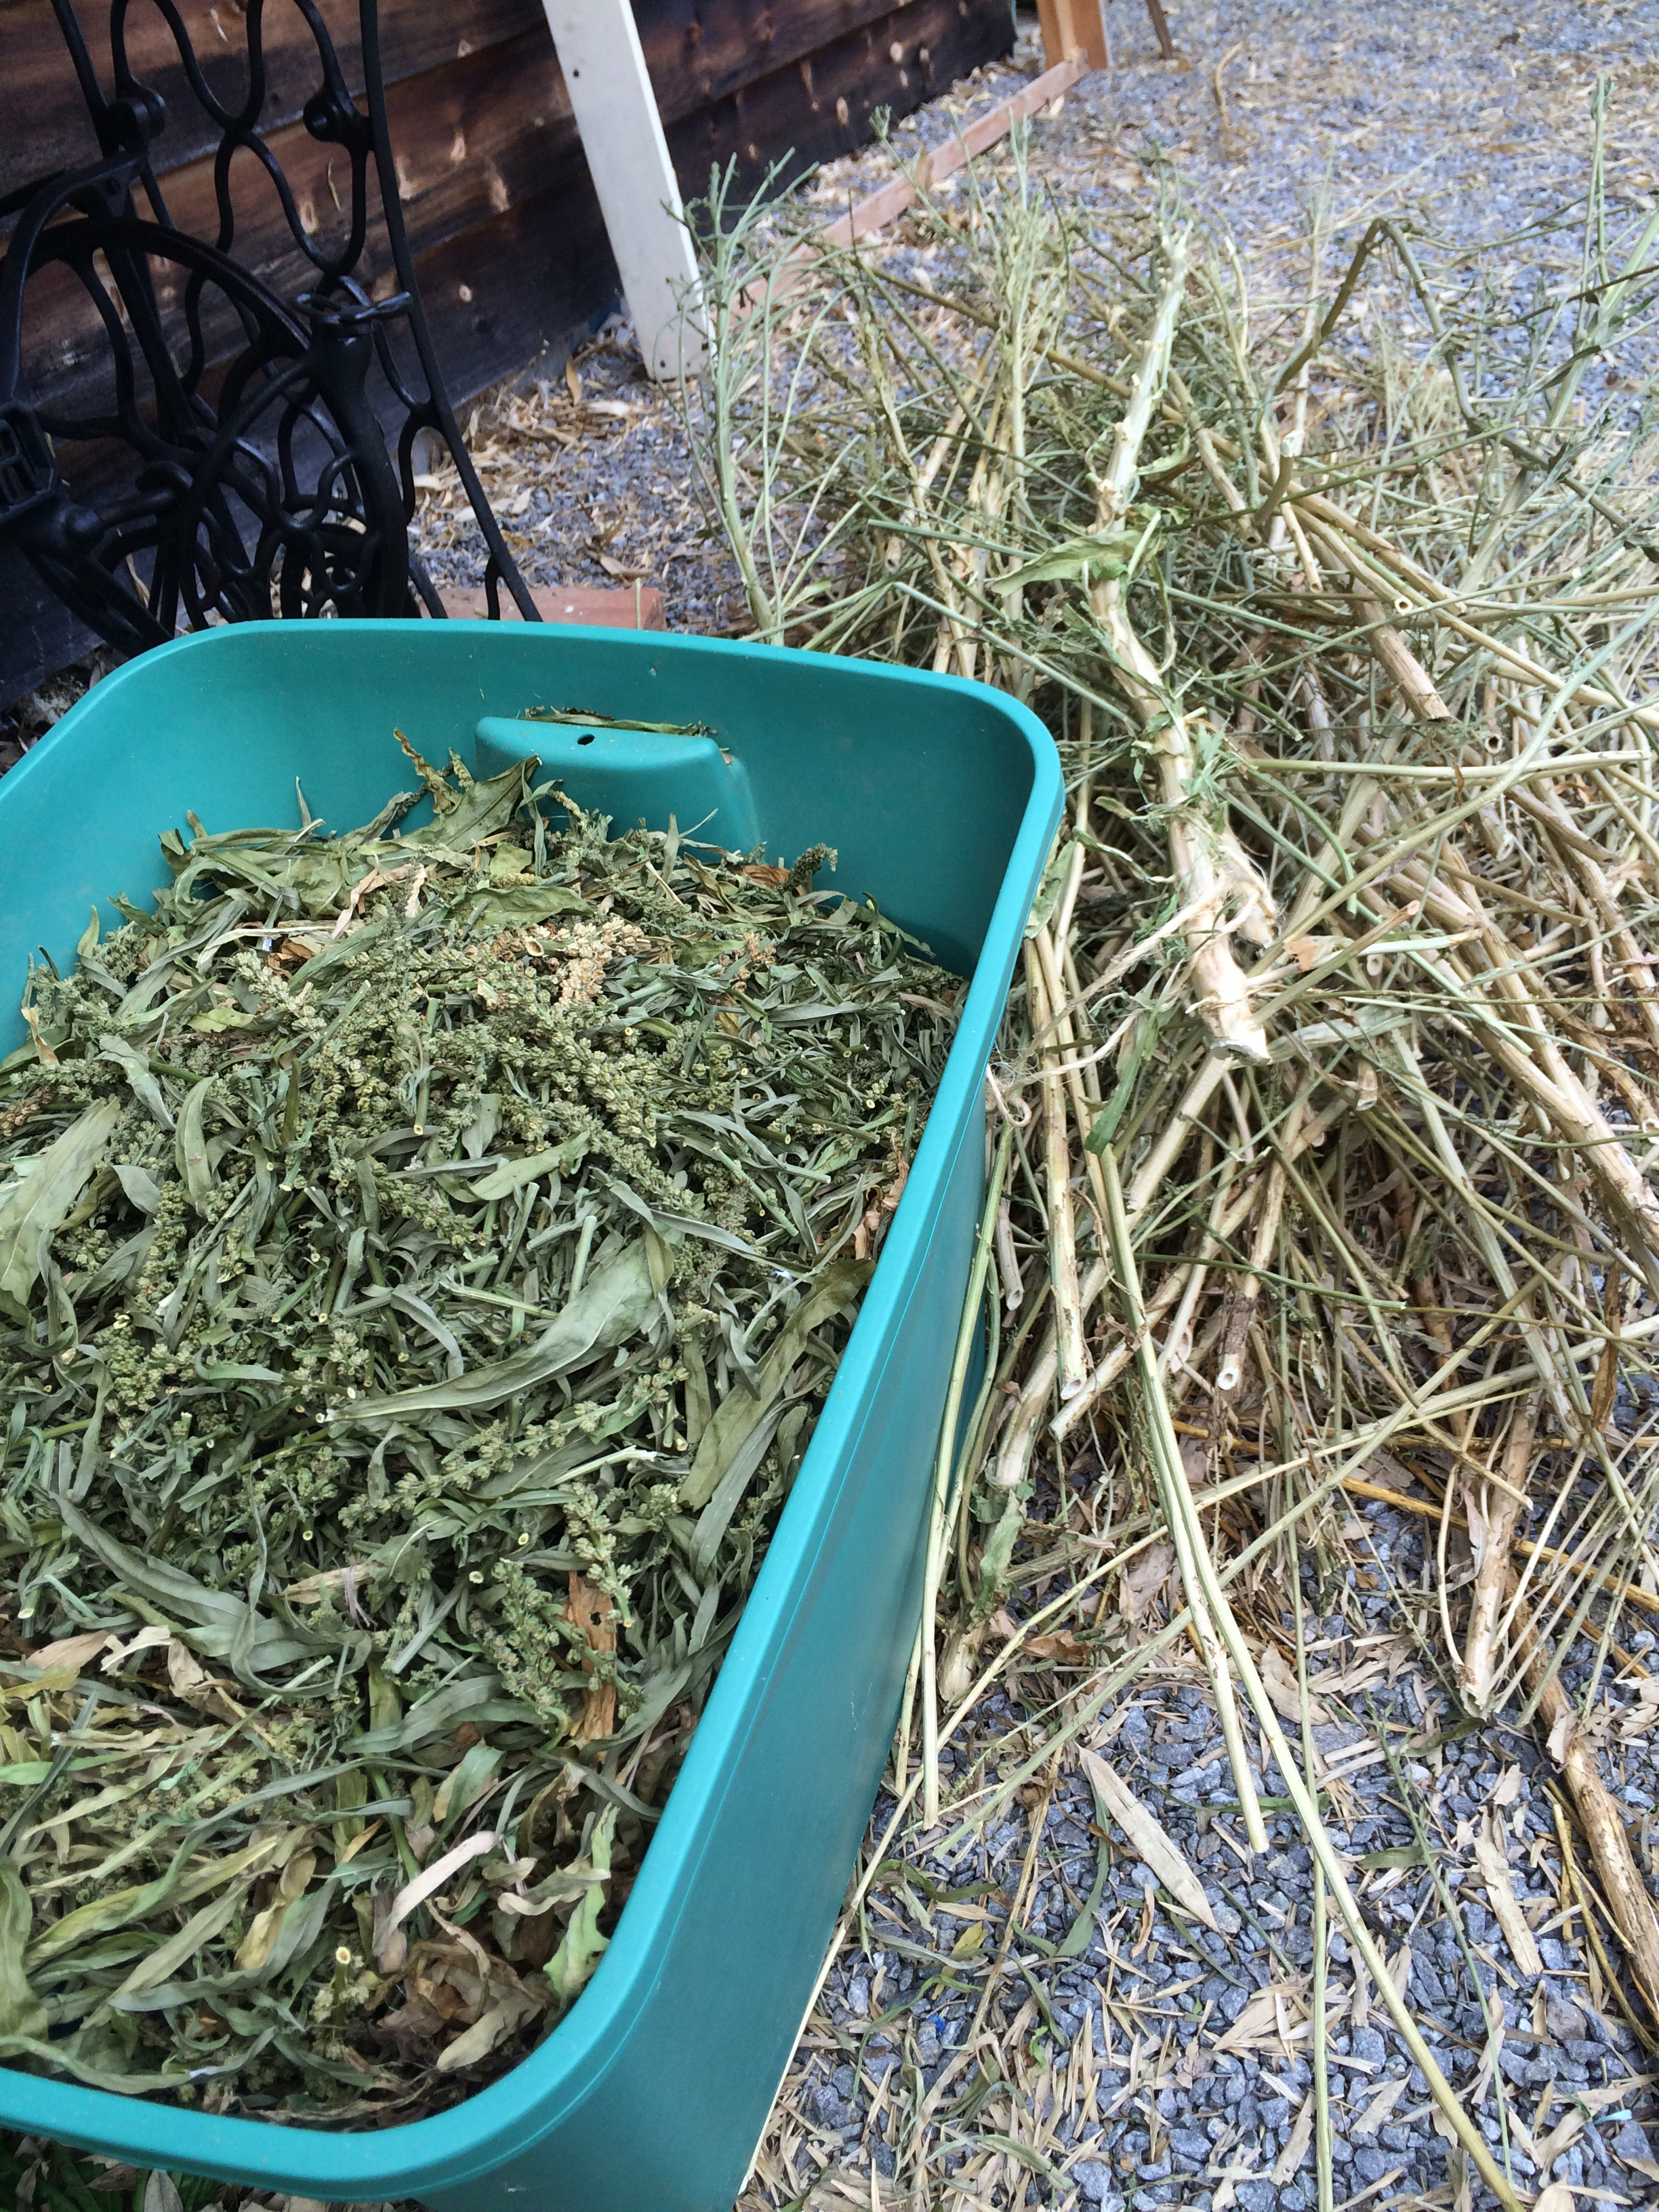
  • Dock root, Rumex crispus
  • Eucalyptus leaf, Eucalyptus gunni
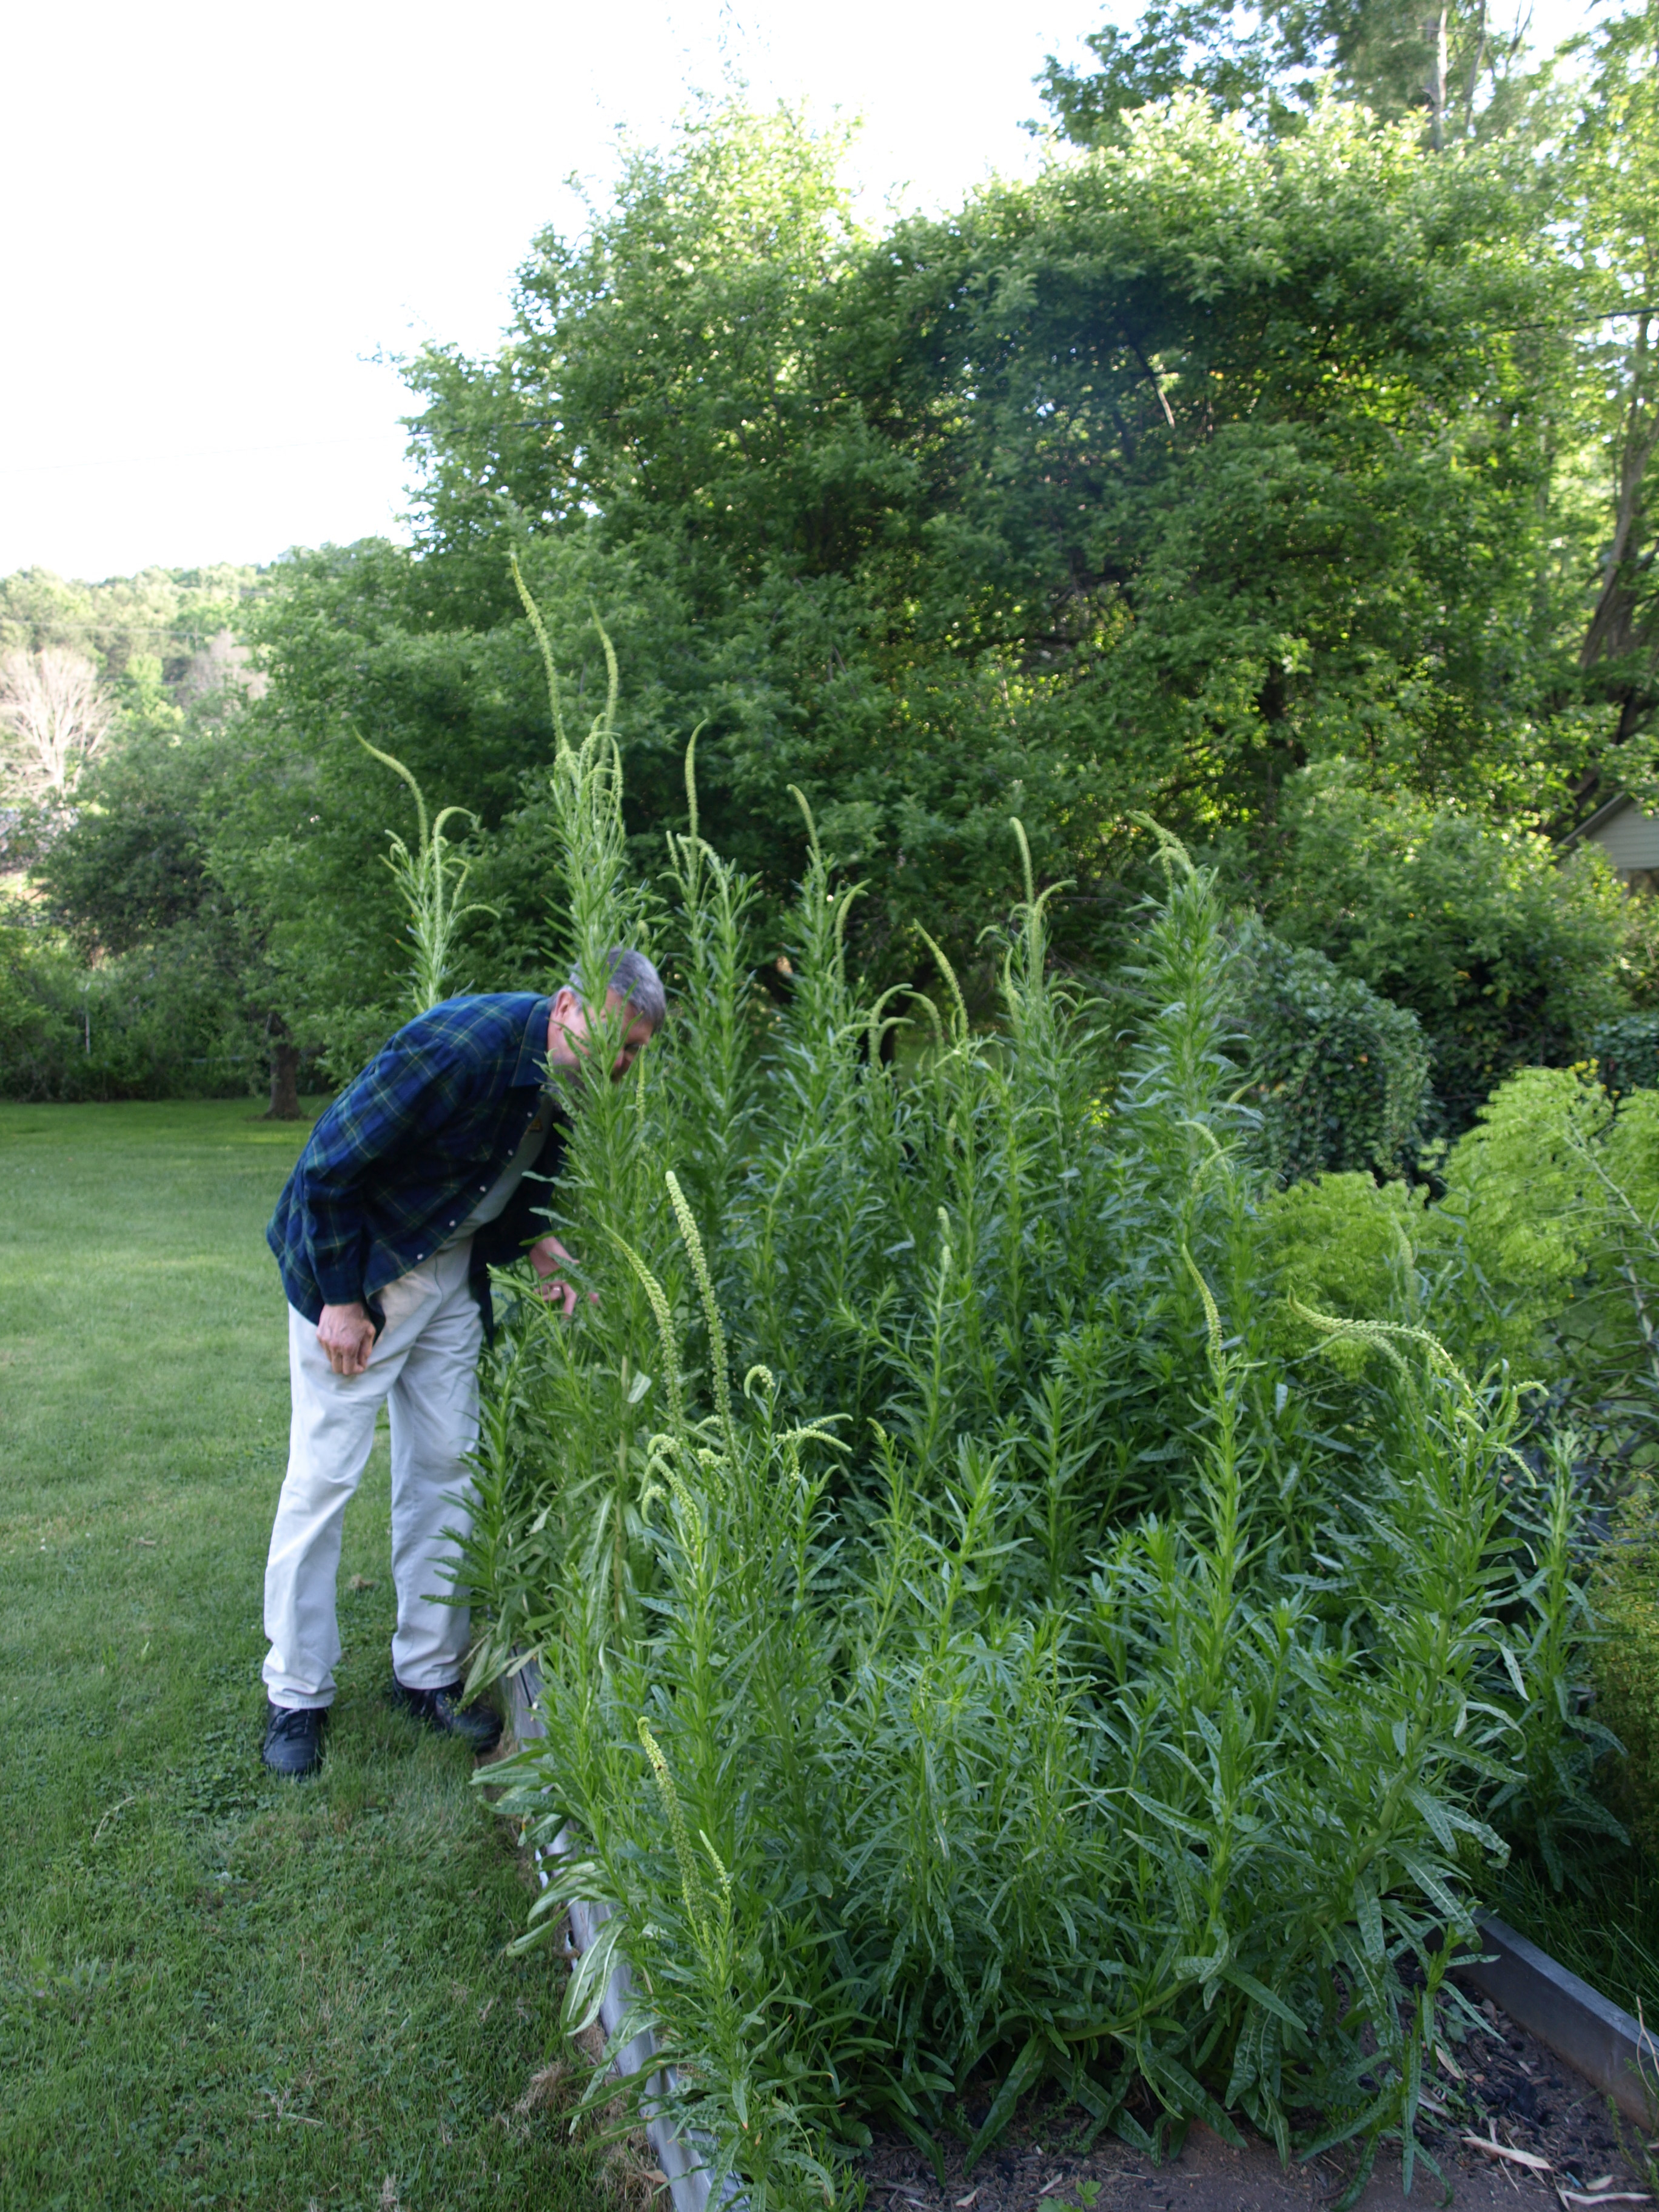
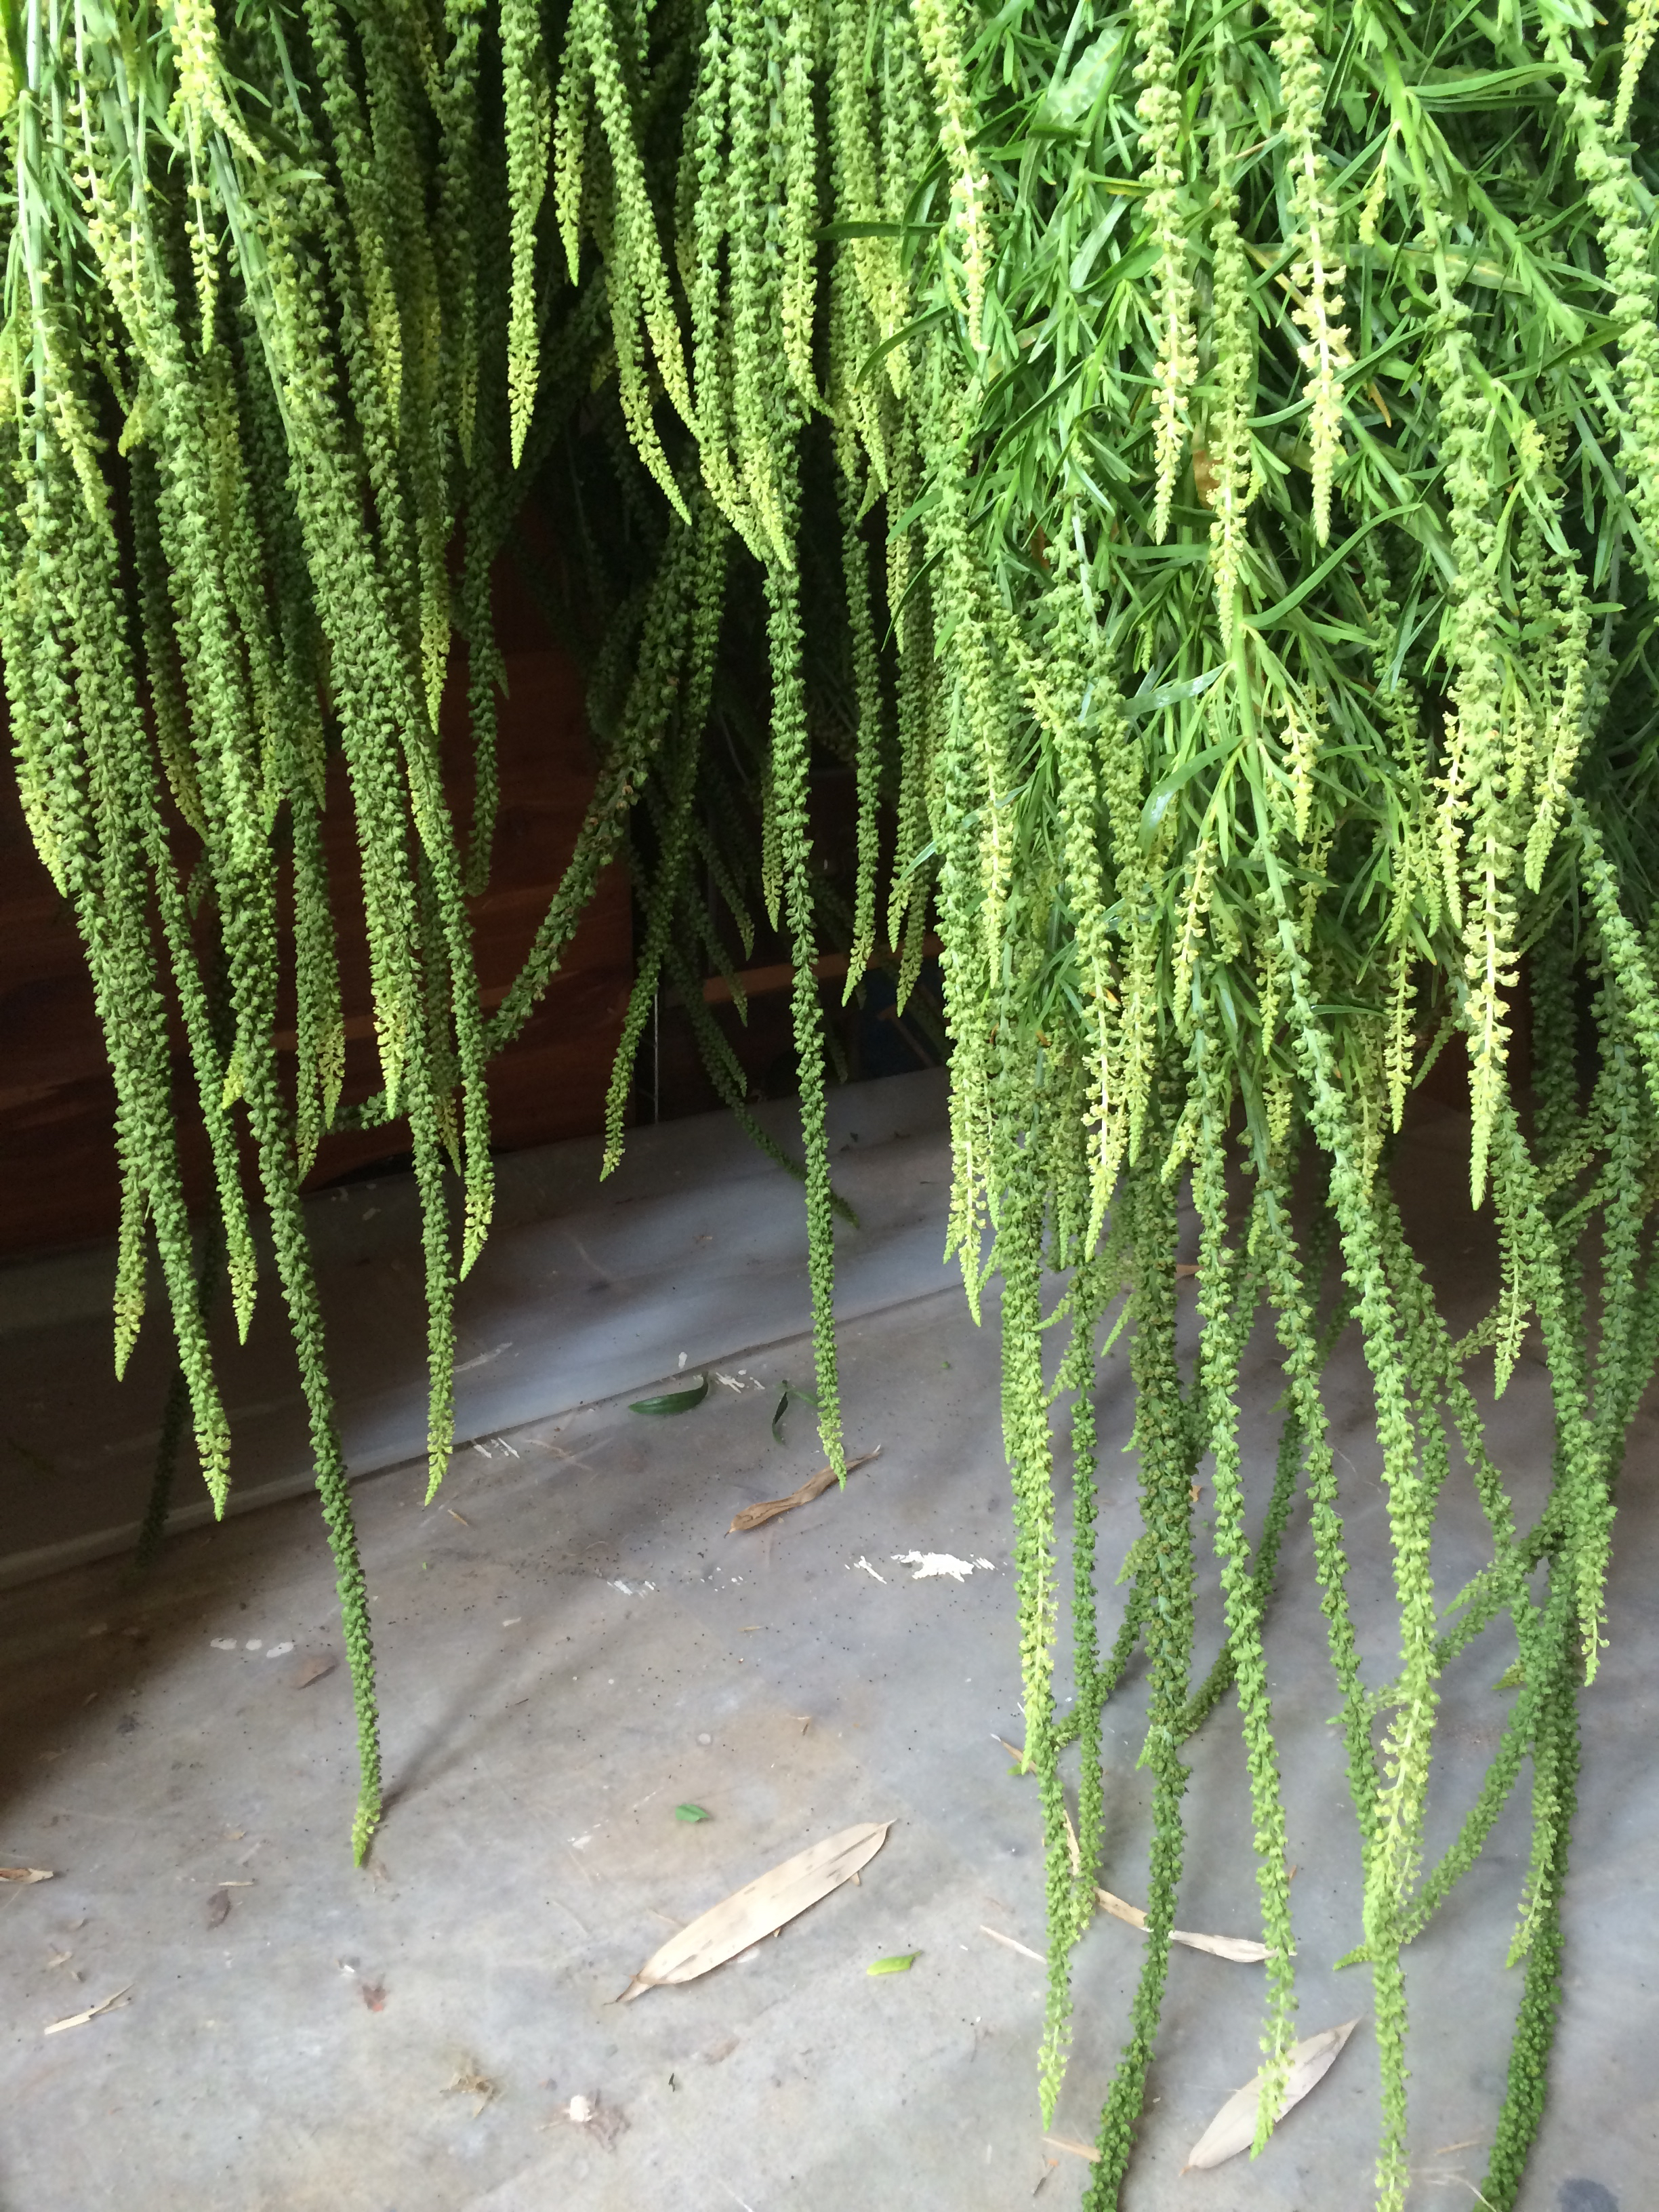
  • Goldenrod, Solidago canidensis
  • Henna, Lawsonia intermis
  • Mahonia, Mahonia aquifolium
  • Rhubarb root, Rheum officionale
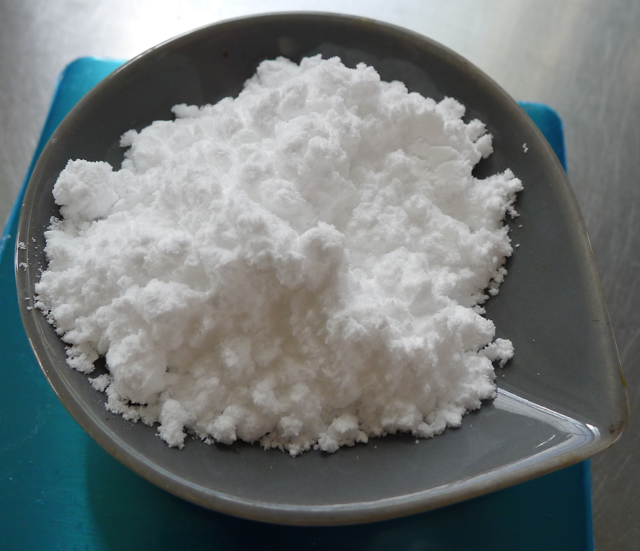
  • Sandalwood, Pterocarpus santalinus
  • Sassafras bark, Sassafras albidum 
  • St. John’s Wort, Hypericum perforatum
  • Turmeric, Curcuma longa

P1080547

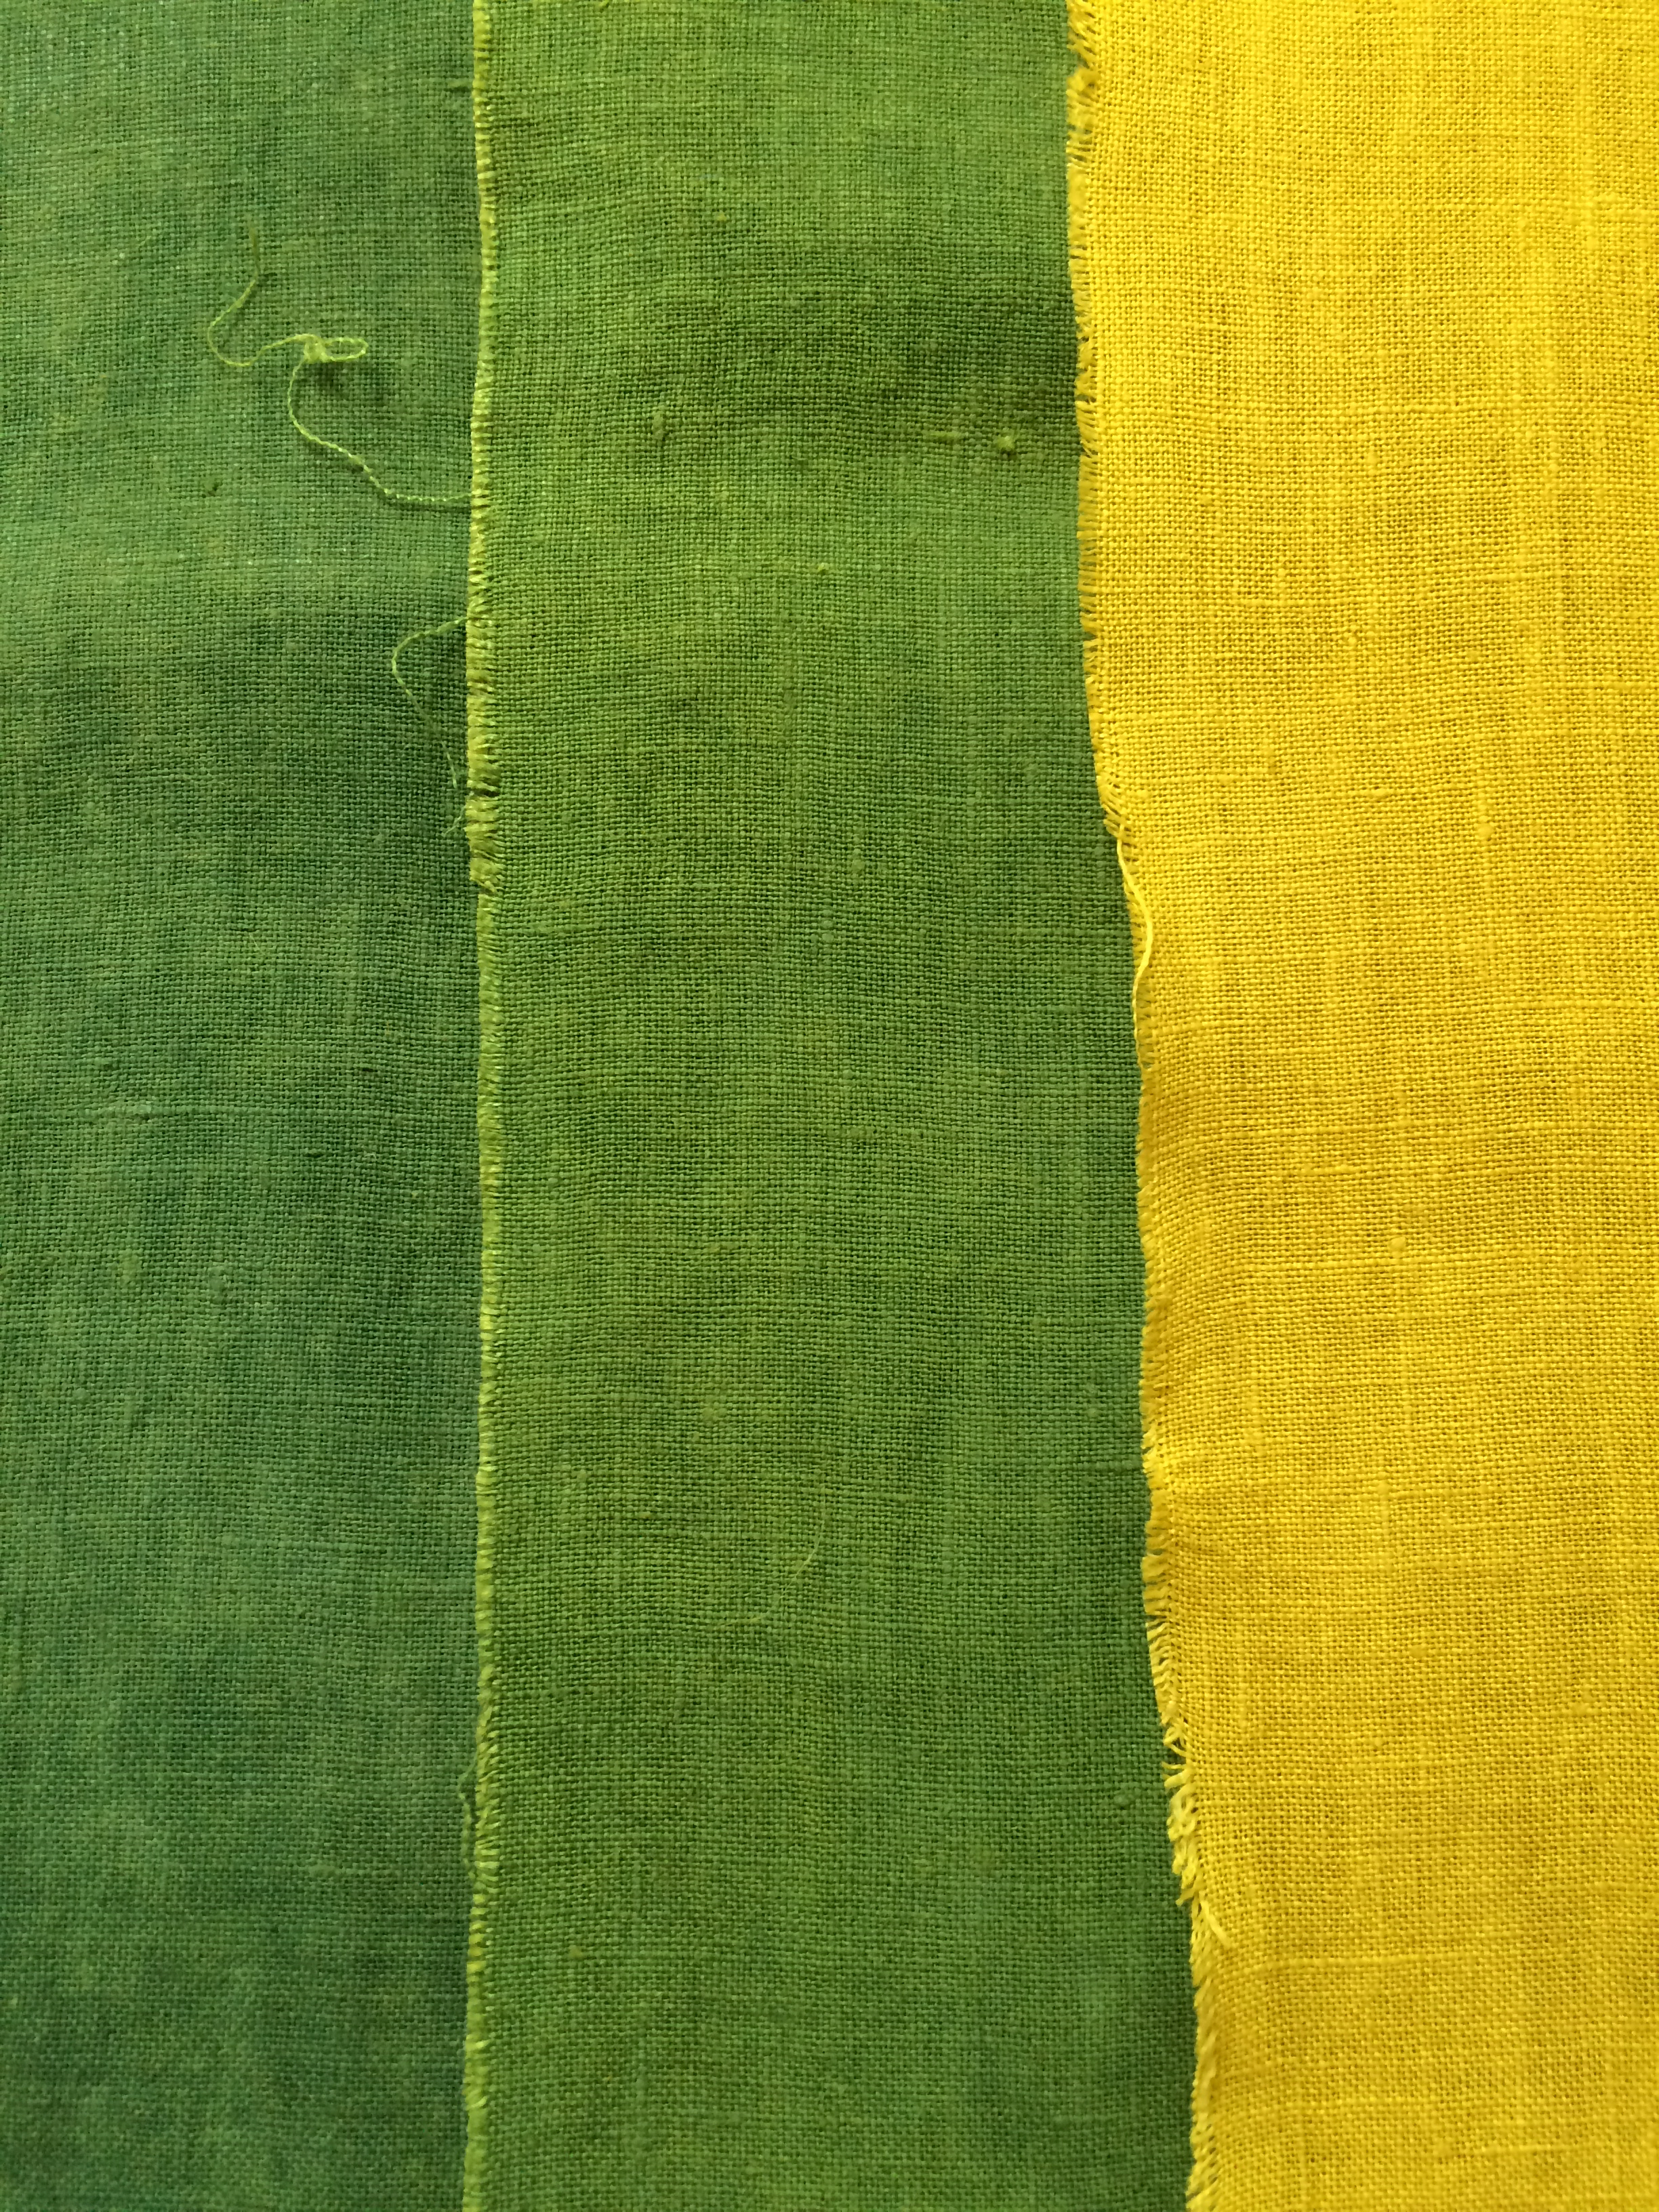
The exploration of natural dye continues….

WovenShibori_Revised_FrontCover


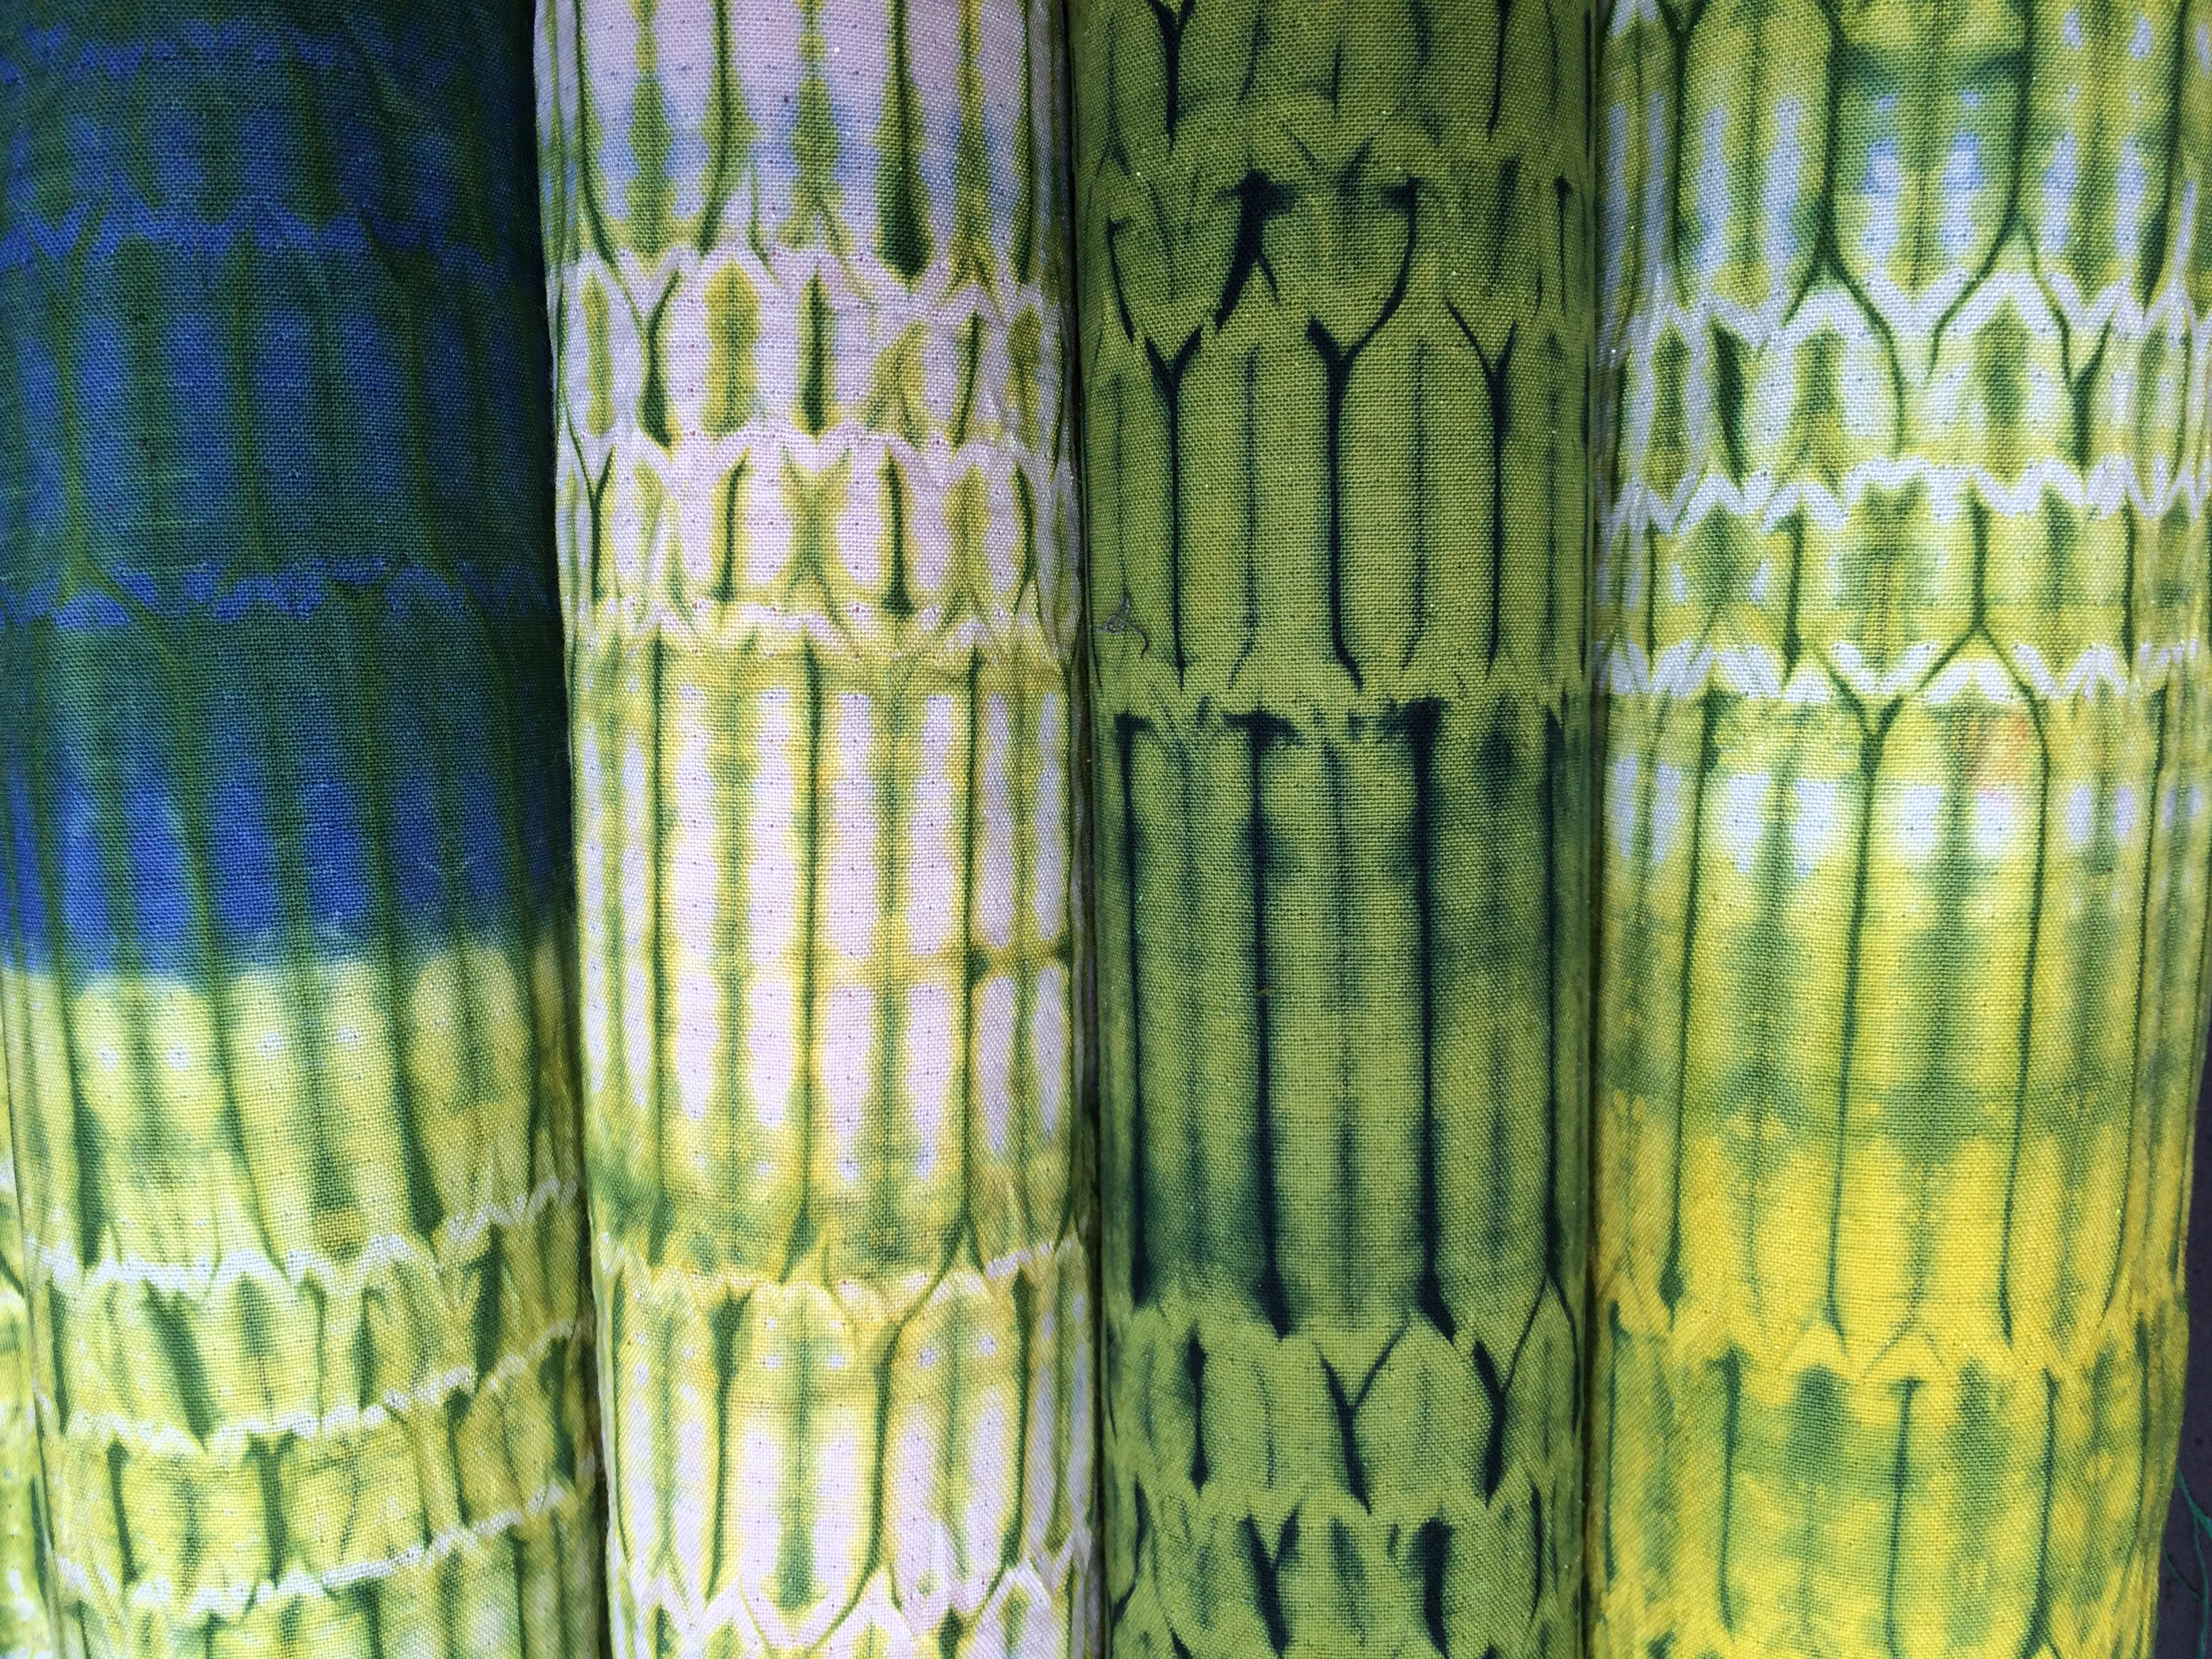
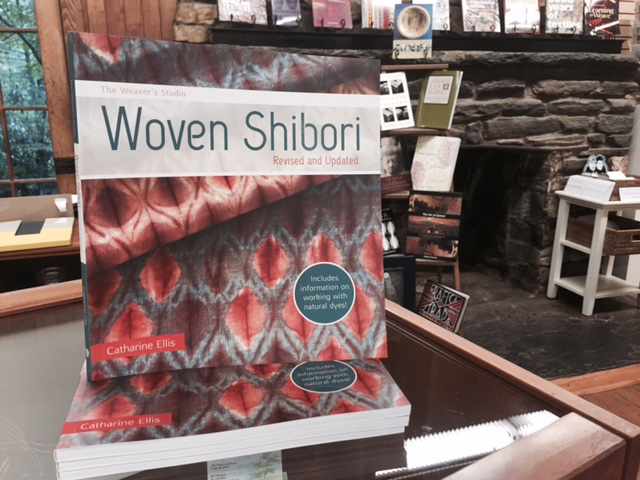
Woven Shibori with natural dyes is here!

Book is out! & Teaching at Penland


FullSizeRender (3)
On the shelf at the Penland Supply Store – photo by Debra Frasier

Woven Shibori has been printed and is on the shelves of your favorite bookseller (also available at Amazon).  I had some of the first copies delivered to me while teaching natural dye with Joy Boutrup at Penland School of Crafts. It was a fitting place to receive the first books. Joy has helped me over the years to understand the chemistry of natural dyes, various finishing processes, and textiles in general. I could not have completed even the first version of Woven Shibori without her input.

ellis-boutrup-4

Catharine and Joy at Penland  –  photo by Robin Dreyer

I love teaching at Penland! The studios are beautiful, thoughtfully cared for, and well supplied.  Our students were fabulous and ready for whatever we brought to class. We focused on experiments, observations, and clarifications. The class worked with all natural fibers, and processes included dyeing, printing, and discharge. We were focused on WHY things happen rather than simply how they are done.

Every time I teach with Joy, I  walk away feeling that I’ve taken a  a class as well. We learn from each other as we solve problems, observe results, and identify the best practices for the studio.

This slideshow requires JavaScript.

So here is one of the things that FINALLY became clear to me.

I’ve heard/read for years that if animal hide glue was added to the indigo vat, then it would be better for wool or other protein fiber. But WHY? That had never been explained. Did the glue coat the fiber in some way?

The organic sugar vats, that I learned to make from Michel Garcia, use sugars from fruit or plants to create the reduction. Lime (calcium hydroxide) provides the alkalinity.

The vat begins with a quick reduction that eventually becomes a fermentation vat. These vats require a very high pH (about 13-14) in order to start the reduction. If the pH is too low the vat will not reduce. But it does not need a high pH to stay in reduction or for dyeing. A pH of 10 is more suitable for dyeing wool, while cellulose fibers do better with a higher pH of 11. The vat will eventually get to a pH 10 as the sugars create lactic acid in the fermentation but this could take a long time. I’ve had vats take weeks to reach pH 10.

photo by Robin Dreyer
Indigo!  – photo by Robin Dreyer

The addition of dissolved animal hide glue (a protein) to the vat will gently lower the pH by absorbing some of the excess lime. The glue will precipitate to the bottom of the vat along with unreduced indigo and sugars. Joy also suggested using natural gelatin (another protein) as an alternative to the glue but we did not have a chance to try this.

It’s very important to insure that the vat is fully reduced before adding anything that will lower the pH. I would wait at least a few days after making the vat before doing this.

I’ve had dyers tell me that the addition of the glue does indeed improve the hand of wool fibers. How much glue? I’m not sure. We started by using a recommendation by Michelle Whipplinger  in her Natural Dye Instruction Booklet. She suggests using the equivalent of approximately 1%  fiber weight. The glue needs to be dissolved in water.  That seemed a reasonable place to start. The key is to watch the pH and observe with both the eye and the hand.

Digging Deeper into a Single Dye – Madder (Rubia cordifolia)

I’ve been using a lot of madder. I have madder roots from my own garden and extracts on the shelf,  but right now I’m focused on the fabulous ground Rubia cordifolia from India that I purchased from Maiwa. It’s ground very, very fine. Charllotte tells me that it’s ground on a mill stone.

P1080247
Madder (Rubia cordifolia) on linen

Because the particles are so small, the dye is extracted more easily than from chopped madder root. The color is redder than I would expect from a rubia cordifolia. I love it!

Once the fibers are mordanted correctly I’ve usually been content to make a full strength dye bath. There is always leftover dye in the bath, which most often  gets turned into a dye lake. I didn’t have a full understanding of how much dye was actually in the dye pot or what  remained after the initial dyeing. In order to control my colors and  mix them effectively I needed a clearer picture of dye strength and hue.

I embarked on a systematic observation of the dye. The fiber was linen. It was treated with tannin and mordanted with aluminum acetate. I weighed out the total amount of dye that was needed for my various samples.  Typically I do 2-3 extractions in order to make my dye bath but this time I decided to continue extracting until there appeared to be no more color coming from the ground root. This took SIX 20 minute extractions! I realized that I had previously been wasting some of the dye.

The fabric was dyed with the extracted liquid. The amount of dye ranged  from 6.25% w.o.f. to 100% w.o.f. I also did exhaust baths of the dye.

P1080249
Madder exhaust bath, linen

Madder is an interesting dye because it contains so many different colorants. The alizarin is what gives us the red, but it also contains other colorants: yellow, orange an brown. The initial dye at each depth of shade was dominated by the red. Exhaust baths contained less  red, while the orange dominated. The colors obtained from the initial dyeing at 50% w.o.f. and 100% w.o.f.were very similar but the stronger bath continued to give me red before the color turned more orange.

madder % 1
Dye % range and exhaust baths

The test was repeated  on wool with similar results.

madder % 3
Madder % range on wool

Dye extracts are what drew me back into natural dyeing but I’m finding that working with plant material is far more compelling. Each plant and dyestuff is unique and since these are natural products they are subject to the changes in growing seasons and processing. Testing my dyes in order to understand the nuances is time well spent. It will make me a better dyer.


Woven Shibori and Teaching Natural Dyeing

The new edition of Woven Shibori, (Interweave Press) – with a focus on natural dyes – is at the printers right now and will be available by late June! It’s exciting to see the cover and the layout complete. I first wrote Woven Shibori in 2005 and it sold out several years ago. The book has introduced weavers to the concepts and specifics of weaving fabric with woven resist patterning. When the book was originally written I was using many different types of synthetic dyes and layering them in order to accomplish rich color surfaces.

WovenShibori_Revised_FrontCover

I have now been using natural dyes exclusively for 8 years. My challenge was to develop methods of resisting, mordanting, mordant discharging, and cross dyeing  to create unique fabrics that have all the elements I love: texture, color, woven structure, and always some surprises. The natural dye palette and processes not only rival, but I think surpass, the effects I was achieving with synthetic dyes.

Last week I taught a class on cotton printing with natural dyes at Cloth Fiber Workshop in Asheville. I was reminded once again why I teach and why I have written this book. It is gratifying to work with people who are curious, skilled (or not), and eager to learn more. The students in my classes keep pushing me to increase my own knowledge, to better understand what I do know, and to clarify my reasons for working with natural dye.

zce 2 (1)
Class photos from Cloth Fiber Workshop by Barbara Zaretsky

I would not be the dyer I am today without my own teachers and mentors. Michel Garcia of France and  Joy Boutrup of Denmark have been guiding influences. They are both curious and knowledgable and have inspired me to continue down this path. Michel and Joy are also generous teachers. None of us can do this by ourselves.

Although Woven Shibori includes lots of technical information about weaving fabrics for shibori, the dye information should be of interest to anyone who combines resist techniques with natural dye on their cloth.


Why I Switched from Synthetic to Natural Dyes

The Surface Design Association News Blog just published a piece I wrote on dyeing.  Here is the link. The transition from synthetic to natural dyes and ingredients took some time, a lot of thought, and some real determination. I have reached the point of no return…..

IMG_8409
Sodium hydrosulfite or thioruea dioxide was both the reduction agent for indigo/vat dyes and a discharge agent for fiber reactive dyes. Now I use plants and sugars to reduce the indigo vat and citric acid or lemon juice to discharge mordants.

The importance of THINKING for a natural dyer

I am a natural dyer but I also enjoy reading about and cooking food. I was recently perusing Michael Ruhlman’s book, Twenty: 20 Techniques, 100 Recipes. The first chapter is titled “THINK: Where Cooking Begins”. The author talks about the importance of thinking to the cook.  I might say the same thing about the dye kitchen. Dyeing is not just about following a recipe, but thinking about and understanding the role of each of the ingredients.

Ruhlman recognizes that his list of techniques includes many that are also ingredients: salt, acid, sugar… One might say the same thing about our dye ingredients: mordant, acid,  base, or dye plant…  Awareness of what each ingredient contributes to the process is key to understanding how it fits into the larger picture of dyeing.

Let’s talk about mordants – alum specifically.

The alum we typically use in the dye studio is potassium aluminum sulfate [KAl(SO4)]. It is most likely made in a laboratory, is in powder or small crystal form, dissolves easily, and contains no contaminants such as iron.

P1080146
Alum (potassium aluminum sulfate) in powder form

Aluminum sulfate [Al2(SO4)3] is made by a different process and may be contaminated with small amounts or iron.  The first dyeing I ever did utilized naturally occurring alum gathered from the ground surface – no telling how impure or contaminated it was.

We often shorten the name of our mordant to simply  “alum” but there are many different types of alum and it may be best to use (and specify) potassium aluminum sulfate. I never purchase from a supplier who cannot provide material with that specific name.

Potassium aluminum sulfate bonds with the dyestuff and makes an insoluble lake INSIDE the fiber. Without this insoluble bond, the dye can wash out. This is why we don’t put dye, alum, and fiber in the same pot; inevitably some of the dye will bind with the alum in the bath OUTSIDE the fiber. That would be a waste of our dye and mordant.

Version 2
Alum and dye in the same bath to make a lake. The dye has bonded with the alum and become an insoluble pigment.

The traditional  approach to mordanting and dyeing is broken down into two steps.  1.) The alum is applied to the fiber. 2.) The fiber is dyed in a second bath, attaching the dye to the mordant and making the lake inside the fiber.

It’s important to get the mordant INSIDE the fiber. That is why we pre-wet and heat wool so that the scales will open up and the mordant goes inside. Otherwise we have ring dyeing, with the mordant and dye just sitting on the surface.

I have lately learned to dye silk using the Japanese approach of “middle mordanting” with Dr. Kazuki Yamazaki. The fiber is first dyed, then mordanted, and then re-immersed in the dye. This approach didn’t make a lot of sense to me until I experienced it and observed that it accomplished the same thing as pre-mordanting. The dye and mordant still go into the fiber and make the insoluble lake there. It’s a slower, quieter process which has the potential of building up layers of mordant and dye on the silk. This process is not suitable for wool.

P1070012
Sappanwood (Caesalpinia sappan) on silk: the first dyeing before the “middle mordanting”
P1070025
Sappanwood (Caesalpinia sappan) on silk yarn after the “middle mordanting” and subsequent dyeing

Some things to THINK about:

  • Alum is acidic – a useful thing to remember.
  • Once a fiber is mordanted, it is always mordanted. The mordanted fiber can be dried and stored indefinitely.
  • The more dye there is, the more mordant is needed.
  • Alum can be removed with a stronger acid, such as citric acid.
  • I typically use my alum at 15% of the fiber weight but I always test a new source of mordant in order to be sure that the strength is the same. Test by mordanting, dyeing, and observing.
  • Potassium aluminum sulfate is an excellent mordant for protein fibers.  I would take a different approach to mordanting cellulose.
  • When a dye lake is made OUTSIDE the fiber it results in an insoluble pigment.
  • When a dye lake is made INSIDE the fiber it results in an insoluble pigment.
  • How the mordant and dye are applied to the fiber is very important.
IMG_8355
Comparison of “middle mordant” and “pre-mordant” on silk. Weld (Reseda luteola) dye.

More thoughts on Natural Dye and Cultural Exchange in China…

Yoshiko I. Wada wrote the follow comment in response to the latest blog post. She was a very important part of this experience and I thought her words, with  additional insight,  deserved their own spot and thus the following:

“This is a friend of Catharine’s, Yoshiko I. Wada from slowfiberstudios.com and naturaldyeworkshop.com, where we re-blog Catharine’s blog in our Dye Nerds’ Blog. Since the person in charge of our blog is on vacation until the end January and I was g Japanese to English translator for Dr. Yamazaki I am jumping in for some additional thoughts and information.

The Jinze Art Centre in Shanghai and Slow Fiber Studios in Berkely, CA organized the workshops with Japanese masters working with my colleague Edith Cheung who is in charge of the textile program there.

P1070455
Yoshiko Wada and Edith Cheung in Jinze Town.

RE: Camellia ash (椿灰汁) since the Asuka Period (538 to 710 ) and Nara Period (AD 710 to 794) documents recorded that the Japanese dyers used the liquid strained from the camellia ash as a vehicle to shift pH and at the same time to access its alum as a mordant. Camellia is a plant which is called bio-accumulator of aluminum similar to symplocos, lycopodium and miconia. Those plants have been used as mordants in Southeast Asia, northern Europe, and Mexico respectively. The anthology of poems Man’yōshū 万葉集 literally means “Collection of Ten Thousand Leaves” contains many poems associating with purple colors (murasaki) and gromwell roots (shikon) and madder as well as camellia ash. The collection contains poems ranging from AD 347 (poems #85–89) through 759 (#4516), the bulk of them representing the period after AD 600.

image1
Gromwell on silk

Catharine: At the bottom is the love poem by Princess Nukata I told you about. And it starts with madder (akane) as a pillow word but scene is the gromewll field (known to belong to Tenchi Emperor). Murasaki is purple and the plant was a precious medicinal herbs. From the poem, the guarded field may have hosted wild gromwell plants like the Super Gromwell Roots that Edith found in Hong Kong where herbalist told her “only the very best is found in Hong Kong.”

image3
Purple Gromwell roots (Arnebiae radix)

The wild purple roots were so strange looking compared to the ones imported from China that Dr. Yamazaki uses in Japan that it gave him such worries during the class. He thought after making the students knead the soaked roots for 2 hours on their knees on the floor, only grey pale purple is achieved.

On the contrary, we achieved the most beautiful purple even with limited time we had to process it all. Did he mention that in his studio, he kneads the roots a few times in the morning and some more in the afternoon to get maximum colorants from the plants? And he repeats dyeing, middle mordanting, and dyeing, many times in a few days to get saturated deep purple? He did say the purple dye extracted in this way has much more complexity and depth than the easy extraction with alcohol.

Yoshiko I. Wada

P1070308
Gromwell on silk with extraction by kneading and camellia ash mordant

茜さす紫野行き標野(しめの)行き野守(のもり)は見ずや君が袖振る 額田王(ぬかたのおおきみ).

訳)茜色を帯びる紫草が生い茂る(天智天皇の御料地である)野を行き,貴方は袖を振る.野守りが見とがめはしないでしょうか?

Dyeing Naturally and Cultural Exchange in China

I just returned from several weeks in China, where I did an artist residency at the Jinze Art Center near Shanghai. The residency was  focused on weaving and the study of Chinese local “tubu” cloth from the 1950’s and 60’s.

tubu
Cotton tubu fabrics

I also participated in a natural dye workshop with Japanese dye master, Dr. Kazuki  Yamazaki. Dr. Yamasaki is a 3rd generation natural dyer and his family has specialized in the traditional dye processes, which they have meticulously researched from the Japanese Heian Dynasty (about a thousand years ago). He is a well-respected practitioner, author and teacher.

tomoko silks
Dr. Tomoko Torimaru with silks dyed by Dr. Yamazaki

Each day we explored a different red dye on silk yarns and fabrics: Sappanwood (Caesalpinia sappan), Madder (Rubia Cordifolia), Lac (Laccifer lacca), Safflower (Carthamus tinctorius), and Purple Root/Gromwell (Lithospermum purpurocaeruleum). These are all special colors that would have been used by nobility (the commoners used mostly indigo and a lot of mousy browns). All of the dyestuffs we used were locally sourced in China.

Version 2
Silk yarns dyed with Sappan wood and Madder

Although  our procedures every day were similar, each dye required special treatment. Dr. Yamazaki has a deep knowledge of botany and chemistry of the dye process so we learned “why” right along with the “how”. It’s rare to find this approach in the dye world.  For instance, the color is drawn out of each plant differently and by tweaking pH the hues can be made to shift dramatically. I very much appreciated his willingness to explain each step clearly.

yamazaki with safflower
Dr. Yamazaki demonstrating one of the steps of safflower dyeing
ash
Camellia ash used as mordant and pH adjustor

Dyeing originated in China and spread to Japan many years ago but without the continued use of dye plants in Chinese medicine, there would be no dye industry to speak of in Japan. Most of the plants we used have medicinal properties in Chinese medicine. There was a young traditional Chinese doctor in the class who wanted to learn about the plants as a source of color, although she uses them regularly in her medical practice.

lac1
Silk dyed with lac

Our class comprised of

  • 1 Japanese teacher
  • 5 assistants
  • 2 translators (Japanese to Chinese, Japanese to English)
  • 3 Americans
  • 20 Chinese

So, as you can imagine it was quite a noisy classroom! Everything was written in Chinese characters, Japanese characters, and English. The Chinese and Japanese characters are similar but not always interpreted the same way.

daily instruction board
The daily instruction board
huddle
Japanese to English translation “huddle”. Sketch by workshop participant, Wang Dan

The 20 Chinese students were all young – in their 30’s or so. They were bright, inquisitive, and interested in their own traditions and history. It was a rich mixture of people and process.

skein dyein
Perfecting the process of dyeing silk skeins

In the west we typically use a European pre-mordant approach to dyeing: mordant first, then dye. But the Japanese approach to dyeing silks is quite different. The mordant comes in the middle: dye first, then mordant, and back to dye. The mordant and dye steps can be repeated many times to build up a greater depth of color. I have known about this approach for a long time but it never quite made sense to my western sensibility. I now see some genuine advantages to dyeing silks in this way and I’m anxious to explore this approach in my own studio dyeing.

There is always more to learn about plants, dyeing, chemistry, and process. Life and learning continues…

lake
Dr. Yamazaki with lake made from lac dye bath


IMG_8331
Colors obtained from safflower petals
Safflower pink on cotton, ready to use for silk dyeing.
Safflower pink on cotton, ready to use for silk dyeing

Finding Craftsmanship and Cooperation in Peru

I just returned from a remarkable trip to Peru with a group from the Center for Textile Research (CTR) in Copenhagen, Denmark. It’s worth looking at their website. This center pursues the study of textiles from an interdisciplinary perspective that includes geology, history, archaeology, conservation, language and craftsmanship. There are parallels between the bog mummies preserved in Denmark and those preserved in the desert of Peru. It was an honor to travel and observe with this group of people. We saw a small amount of natural dyeing but there were other elements, even more compelling, during this trip so I’d like to share some of that.

What is it that compels a craftsperson to excellence? To go beyond what is necessary and to work in cooperation with others?

Early in my own weaving career I learned 4 selvedge weaving from Navajo rug weavers. This experience has stayed with me and done more to sensitize my appreciation and understanding of the textiles we saw in Peru than any other preparation I could have done.

Ellis.1
Wari tapestry, Museo de Arqueologia y Antropologia, Universidad de San Marcos

The Wari (Huari) tapestry tunic that we saw at Museum of Archaeology and Anthropology, was my first indication that things are not always as they first appear. When examining this piece of cloth, I was astounded to realize that the warp actually ran in the horizontal direction of the tunic. This means that this piece of cloth was woven more than 2 meters in width and only a half-meter (approx.) tall. As I am more familiar with the back strap weaving of Guatemala, I had always incorrectly assumed that an individual weaver wove these fabrics as long, narrow panels. The wide cloth indicates that several people could have woven on this cloth at one time, making it a communal effort that might be accomplished more quickly. The repeating patterns with subtle color and motif variations suggest that each weaver had the freedom to interpret and vary the pattern. Yet the overall palette and design were completely harmonious.


Ellis.2
Wari tapestry detail, Museo de Arqueologia y Antropologia, Universidad de San Marco

On the last day of our trip, I re-examined a similar piece at Museo Amano. This one was woven even wider – over 3 meters I would guess – and displayed a similar rhythm of pattern and variation, not unlike that of a piece of jazz music.

Ellis.3
Tapestry, Museo Amano, Lima
Ellis.5
tapestry detail, Museo Amano, Lima Peru, showing selvedges on two sides

The large  tie-dyed piece from the same period at the Museo Amano likely represents another type of cooperation. Many years ago, I was involved in an exploratory weaving project in collaboration with art historian, Jane Rehl. We attempted to duplicate this type of scaffold weaving, creating multi-selvedged pieces that were later resist dyed and then sewn together to achieve the larger textile. Initially we made the assumption that large blankets of these pieces might have been woven together as one large blanket and dyed while still connected. After setting up scaffold looms, we realized that only two pieces need be woven at one time. These small weavings, when done with a group of people, resulted in a cooperative spirit of building something together. After the individual pieces were dyed in different colors, the entire textile was sewn together.

Ellis.6
Wari tie dyed textile, Museo Amano, Lima Peru
Ellis.7
Wari tie dyed textile, detail, Museo Amano, Lima Peru
Ellis.8
Sketch for multi-selvedged, scaffold woven reproduction

At the Weaving Center in Chinchero we saw fabrics that were handspun of either wool or alpaca, naturally dyed, and woven on backstrap looms. The natural dyes have been recently re-introduced here. When synthetic dyes were brought in the natural colors were abandoned until Nilda Callañaupa Alvarez took on the responsibility of learning the local plants and teaching the women to work with them. They do lightfastness tests in the strong sun of the Andes and use only dyes that perform well in these tests. I was not familiar with many of the dye plants since they were particular to this region. They included roots, lichens, indigo, cochineal, and beautiful greens from plants of the Baccharis family.

natural dye colors small
Natural dyes, Chinchero

We watched two women  preparing a warp. I was struck by how these two women (one older, one young) tossed the balls of yarn back and forth in the rhythmic dance of warping. Nilda told us how each woman wove her own individual textiles, but was helped along the way in the spinning, warping, and dyeing processes. I have the honor of bringing home a textile that Nilda warped and her mother wove. And it wasn’t enough to weave a piece with 4 excellent selvedges. Each piece of cloth was finished with an additional woven binding that completely encased the selvedge, strengthening the cloth and adding another element for its complexity and beauty.

Ellis.10
Detail, woven edging on textile
Ellis.11
Nilda Callanaupa Alvarez and her mother, Guadalupe Alvarez De Callanaupa with their collaborative weaving

We saw astounding Inca dry stone masonry at Machu Picchu. What is it that compelled these architects/craftsman to carry, cut, and fit stone with such precision and mastery? Rocks that weighed tons were cut and fitted like small Legos. It required large communities of people working together. Even walkways and water channels required the work and precision of many.

Version 2
Dry stone construction, Machu Picchu
Ellis.14
Stone work, Machu Picchu
Ellis.15
Market walkway, Pisac

In our western countries, we are most apt to work alone, mastering our craft and accomplishing the work as individuals. We tend to put emphasis on MY work, MY process. We witnessed a different approach amongst the craftspeople of Peru, both past and present. Several years ago, while working with weavers in India, I observed them working together, always with many hands on the same piece of cloth. The spirit of cooperation that we saw in Peru was similar. The Peruvian craftsmen shared their labor, yet also shared the experience.


Weld (Reseda luteola)

I recently presented a program at the NC  Arboretum on weld (Reseda luteola). There is a growing interest in natural dyes in our local region and I was hoping to inspire dyers to begin growing their own. A few days before the program, I was asked by a local dyer why I was not talking about native plants such as broom straw or goldenrod, which were both seasonably available at that time. It was a good question. It question deserved some serious thought.

These are the reasons I chose to encourage dyers to use weld:

  • It is considered one of the “classical dyes”, that has been used by dyers for centuries. It is the oldest documented source of yellow and was used by both the Greeks and the Romans.

    Weld on cotton with tannin and aluminum acetate mordant
    Weld on cotton with tannin and aluminum acetate mordant
  • I have observed that it is more lightfast than any natural yellow dye I’ve used. I have performed lightfast tests and it has outperformed any natural yellow dye I have compared it to.
Recent lightfast tests using yellows harvested from my garden, August, 2015. Weld (Reseda luteola), Saw-wort (Serratula tinctoria), and Dyer’s broom (Genista tinctoria) all contain the same colorant, luteolin
Recent lightfast tests using yellow dyes on cotton. All were harvested from my garden, August, 2015. Weld (Reseda luteola), Saw-wort (Serratula tinctoria), and Dyer’s broom (Genista tinctoria) all contain the same colorant, luteolin
  • When combined with alum mordant it produces a brilliant, clear yellow. When combined with indigo it  results in lively, grassy greens. The smallest amount of iron will turn the color to olive green.
    IMG_6949
    Indigo + weld

    Weld + .5% iron on cotton and linen
    Weld + .5% iron on cotton and linen
  • Weld is native to Eurasia but it grows very easily in our NC mountain climate and region (zone 6). It has weathered both mild and very cold winters. I have grown a crop of weld for the last 5 years. Each year I harvest approximately 5-6 pounds of dry dye material from a 4’x8’ raised bed in the garden. That is plenty for my own work and enough to share with the classes I teach. There are also seeds to share.

    Weld will grown over 6 feet tall the second year
    Weld will grown over 6 feet tall the second year
  • A small amount of weld goes a long way. Dried plant material is used at 50% weight of dry fiber and results in very strong color, with plenty of dye left in the pot for over-dyeing other colors.

    Weld + indigo, used with woven shibori resists
    Weld + indigo, used with woven shibori resists
  • Weld is not fussy about its soil and will grown readily wherever the seeds land, though it is not considered an invasive plant.

    Weld seedlings in the gravel outside my studio, where I strip the plants after drying
    Weld seedlings in the gravel outside my studio, where I strip the plants after drying
  • Weld can be difficult and expensive to obtain. There are not many sources where weld can be purchased, either in extract or plant form.  Growing and drying the dyestuff makes sense for the studio dyer.

    Dried weld (leave and flowers) stored for later use and the discarded stems, which don’t contain much dye.
    Dried weld (leave and flowers) stored for later use and the discarded stems, which don’t contain much dye.

All of the attendees at the program left with a small packet of weld seeds. I have already heard from several people that their seeds have sprouted. Weld is a biennial. the plants will establish themselves this fall and then grow to 6’ or more next summer when they go to seed. Then they will be ready to harvest and dry for future use. The seeds will self sow and others can be gathered from the plants

When plants are hung upside down to dry, it is easy to harvest seeds
Seedlings coming up in the garden today. These self sowed from the plants.