Playing with Dyes

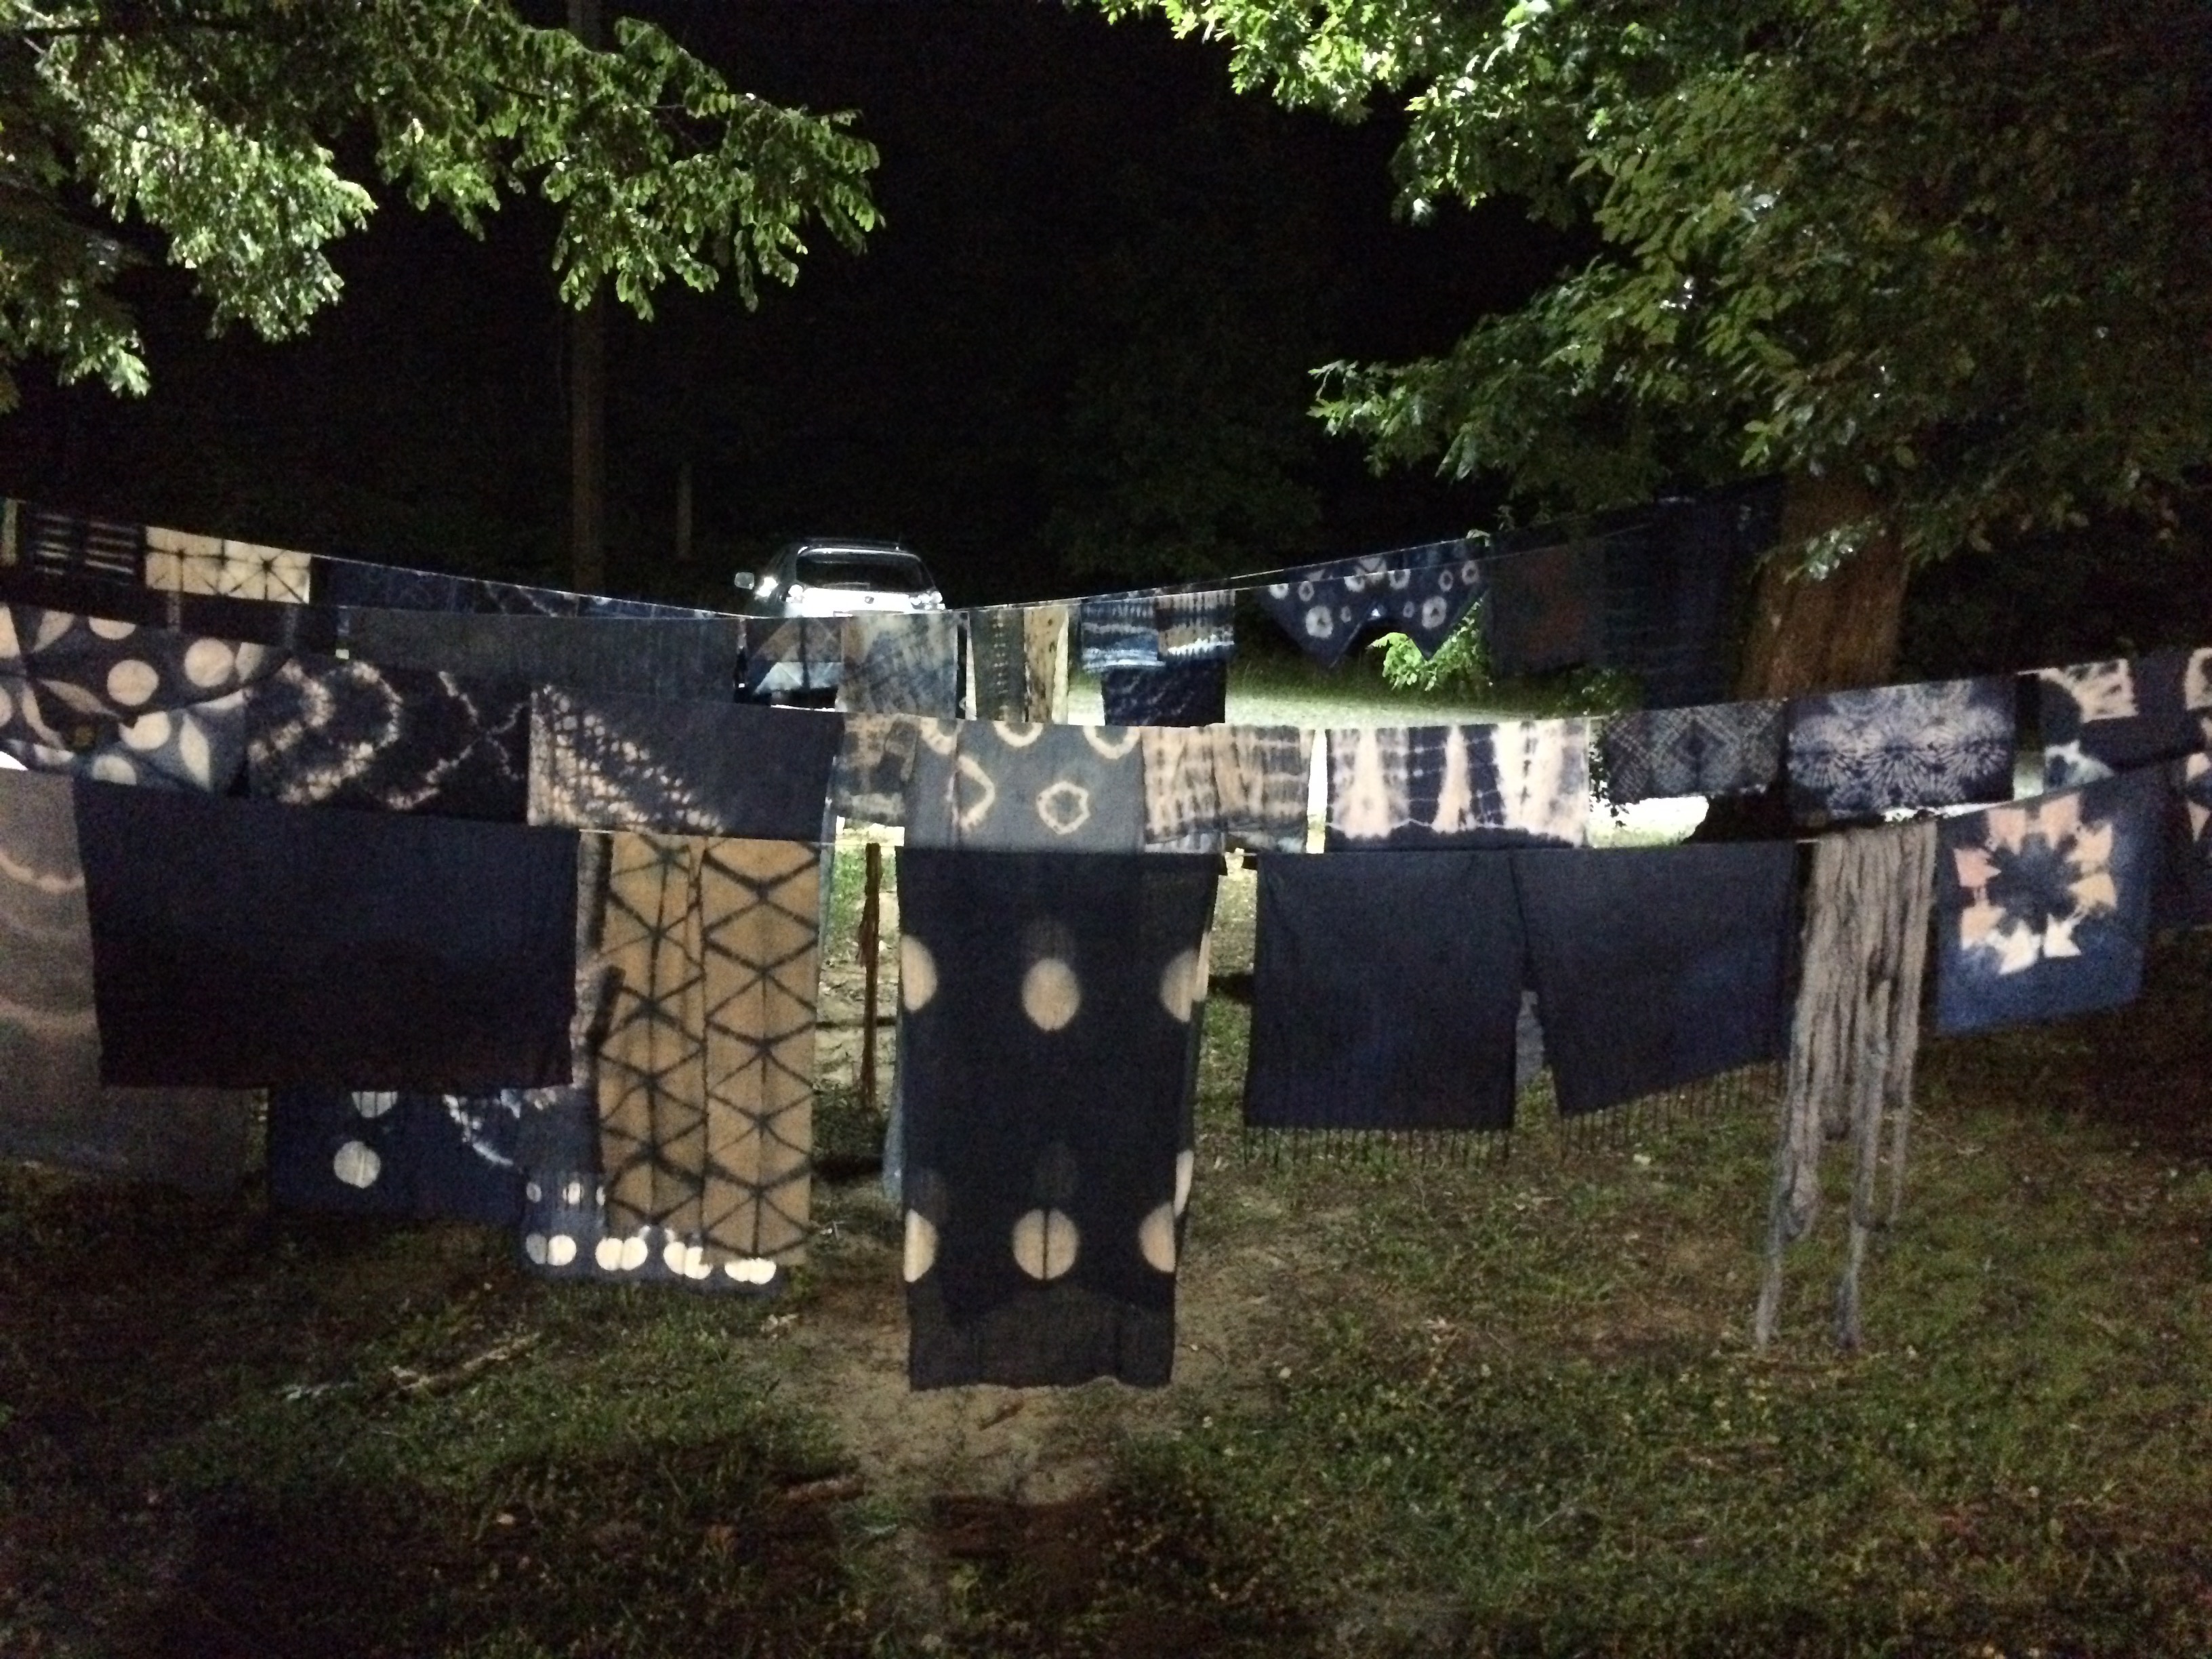
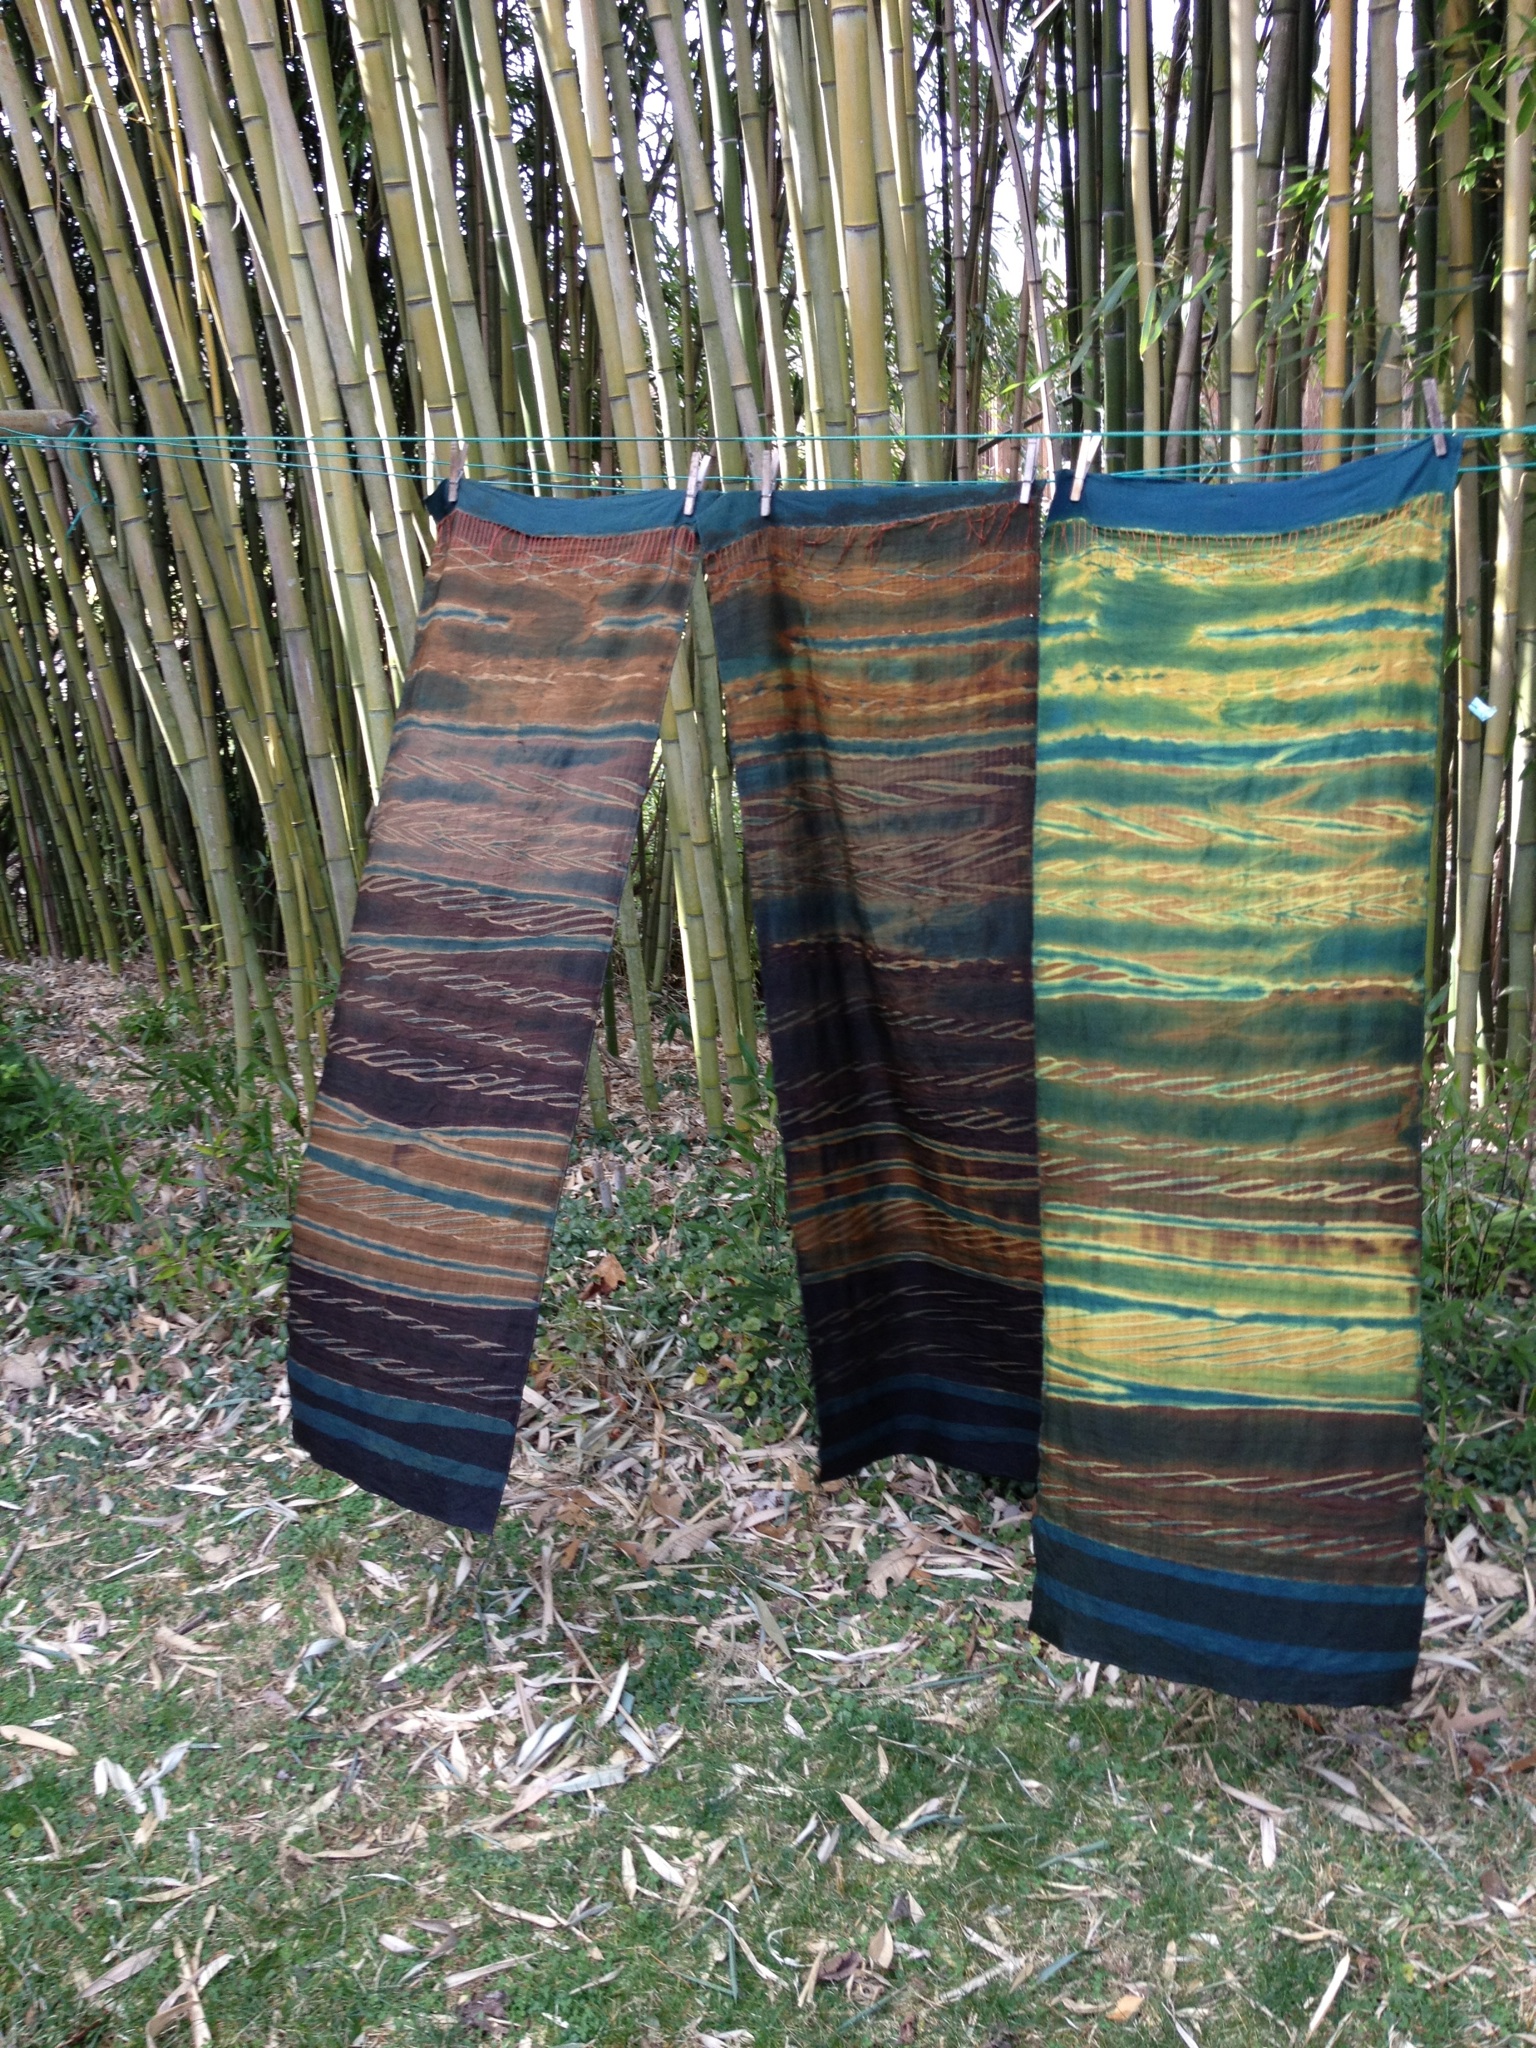
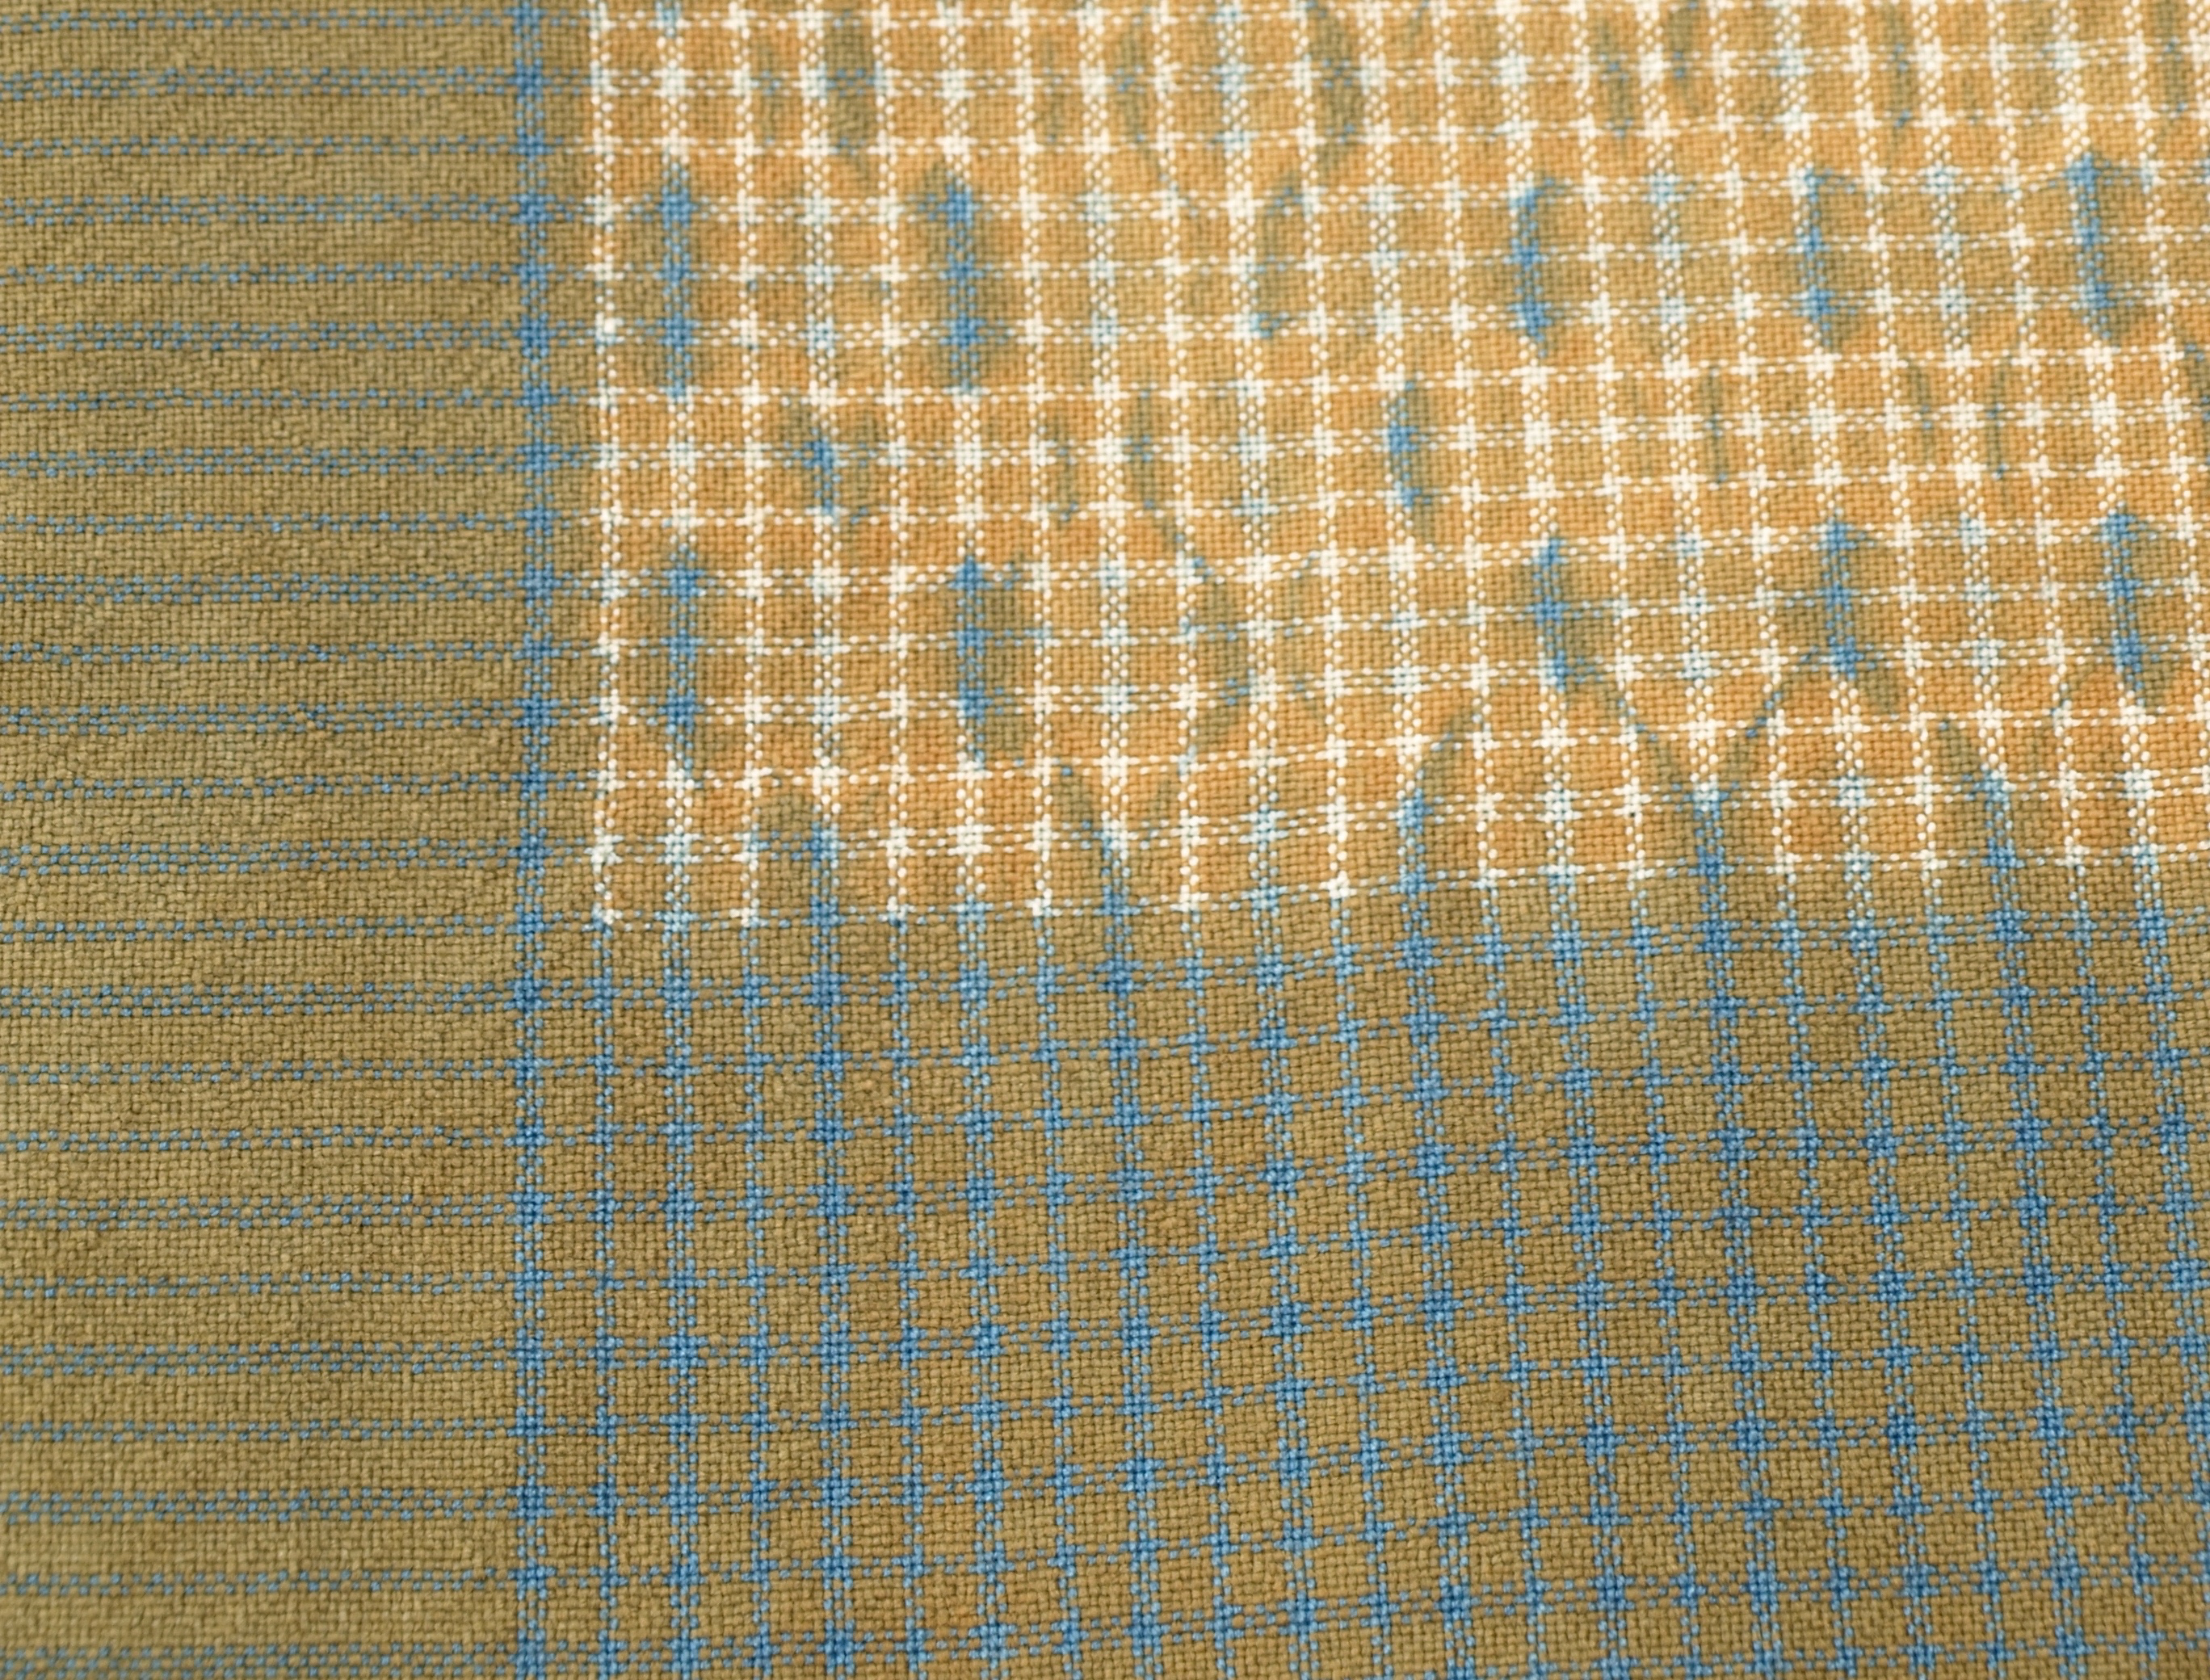
I’m on Cape Cod right now, taking a retreat of sorts at our family home to finish work on a new edition of Woven Shibori, focused on natural dyes.

Wool and cotton cloth, dyed with indigo and lichen

I’m a great fan of the local public radio station here, WCAI. This week I listened to Robert Finch, a naturalist and nature writer who I admire a lot. He does a regular broadcast: A Cape Cod Notebook. The topic this week was “When did you decide you wanted to be a writer and why?” It was quite relevant since I’ve been sitting at the computer for hours each day working out all of the myriad details of the book. Finch told us that his reason for writing was “to play” and to “keep play at the center” of his life.

I could identify. Textiles and dyeing have been a passion, a career, a livelihood, but it really does feel like “play”. I get up in the morning, go to the studio, and discover something new through experimenting, thinking, observing and  “playing”. It’s serious play, but that’s why it is so satisfying. How fortunate I am!

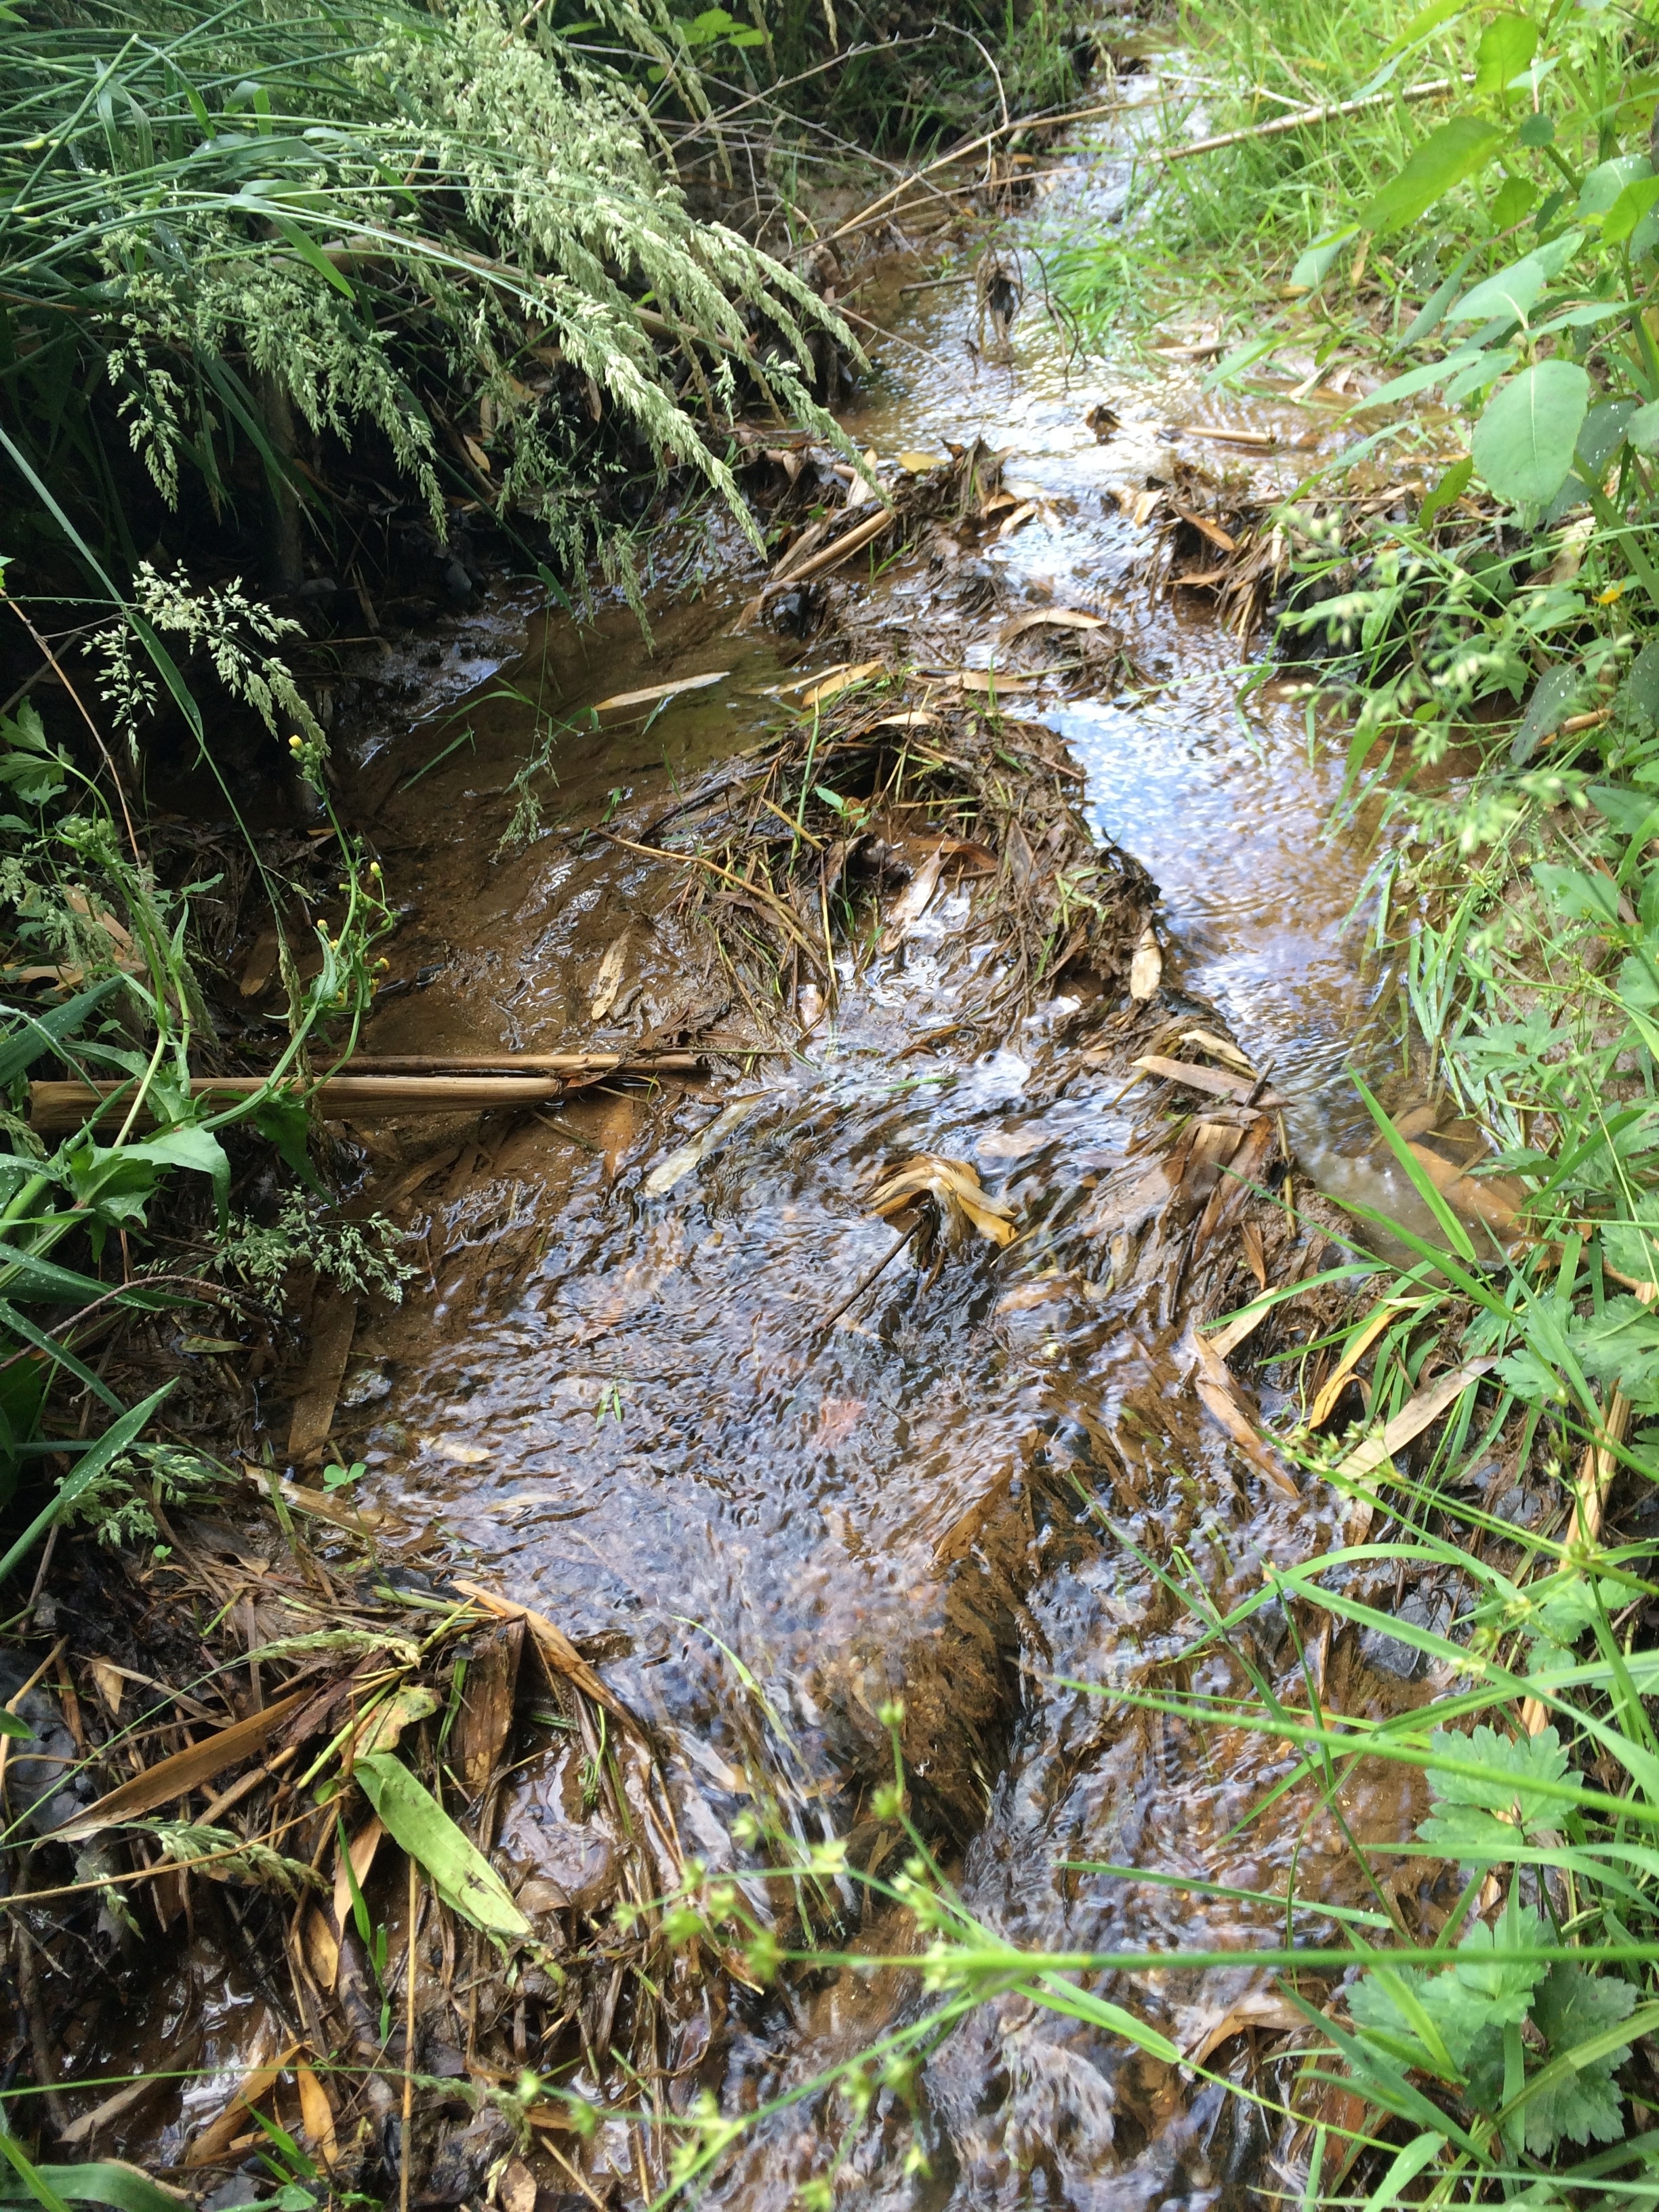
I have no studio on the Cape so I don’t accomplish serious weaving or dye work here but this place has introduced me to one aspect of natural dye: lichens. The woods behind the house are full of trees and those trees are laden with lichen. Each time I come here I pick up branches that have fallen from the trees. They are covered with both foliose and fruiticose lichens.

IMG_1464

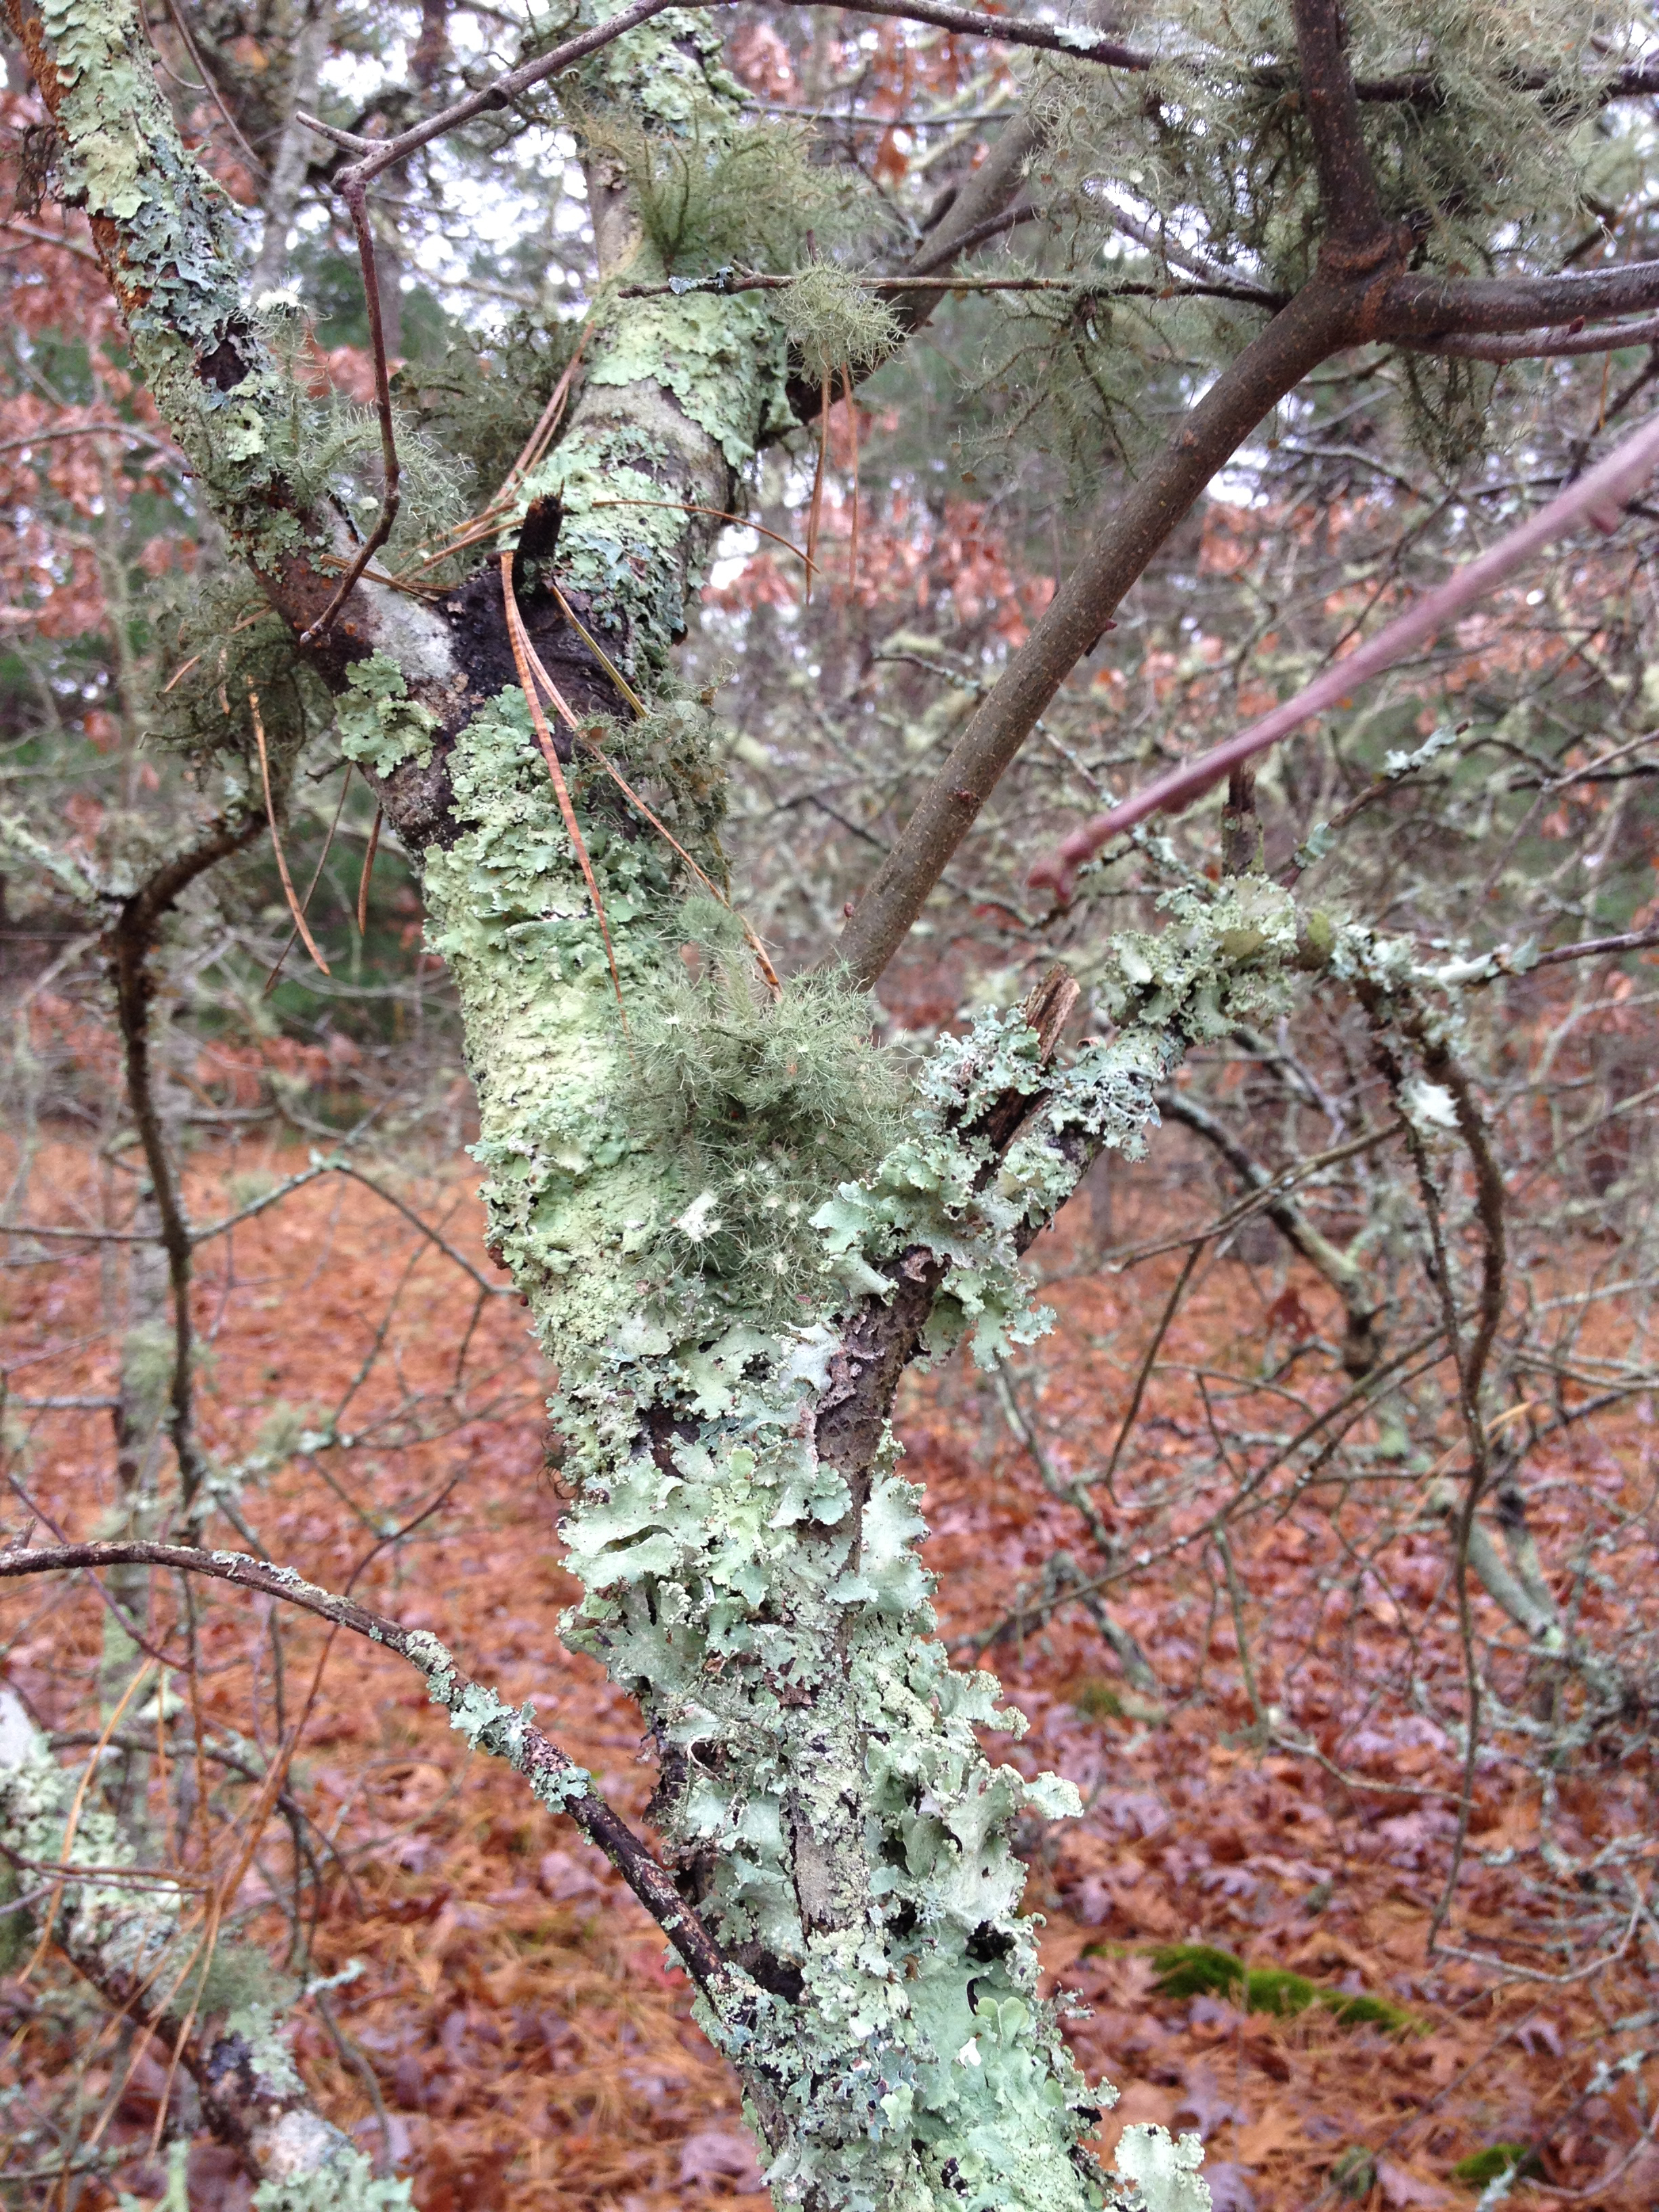
Recently someone told me that the lichen was “killing the trees” here. I don’t think that is the case. The trees are old and branches die. As the canopy diminishes, the light is able to penetrate, making it a more hospitable place for the lichen to grow. The lichen grows best on the old branches without foliage. The branches finally give way, falling to the ground covered with lichen. This is the only lichen dyestuff I gather.

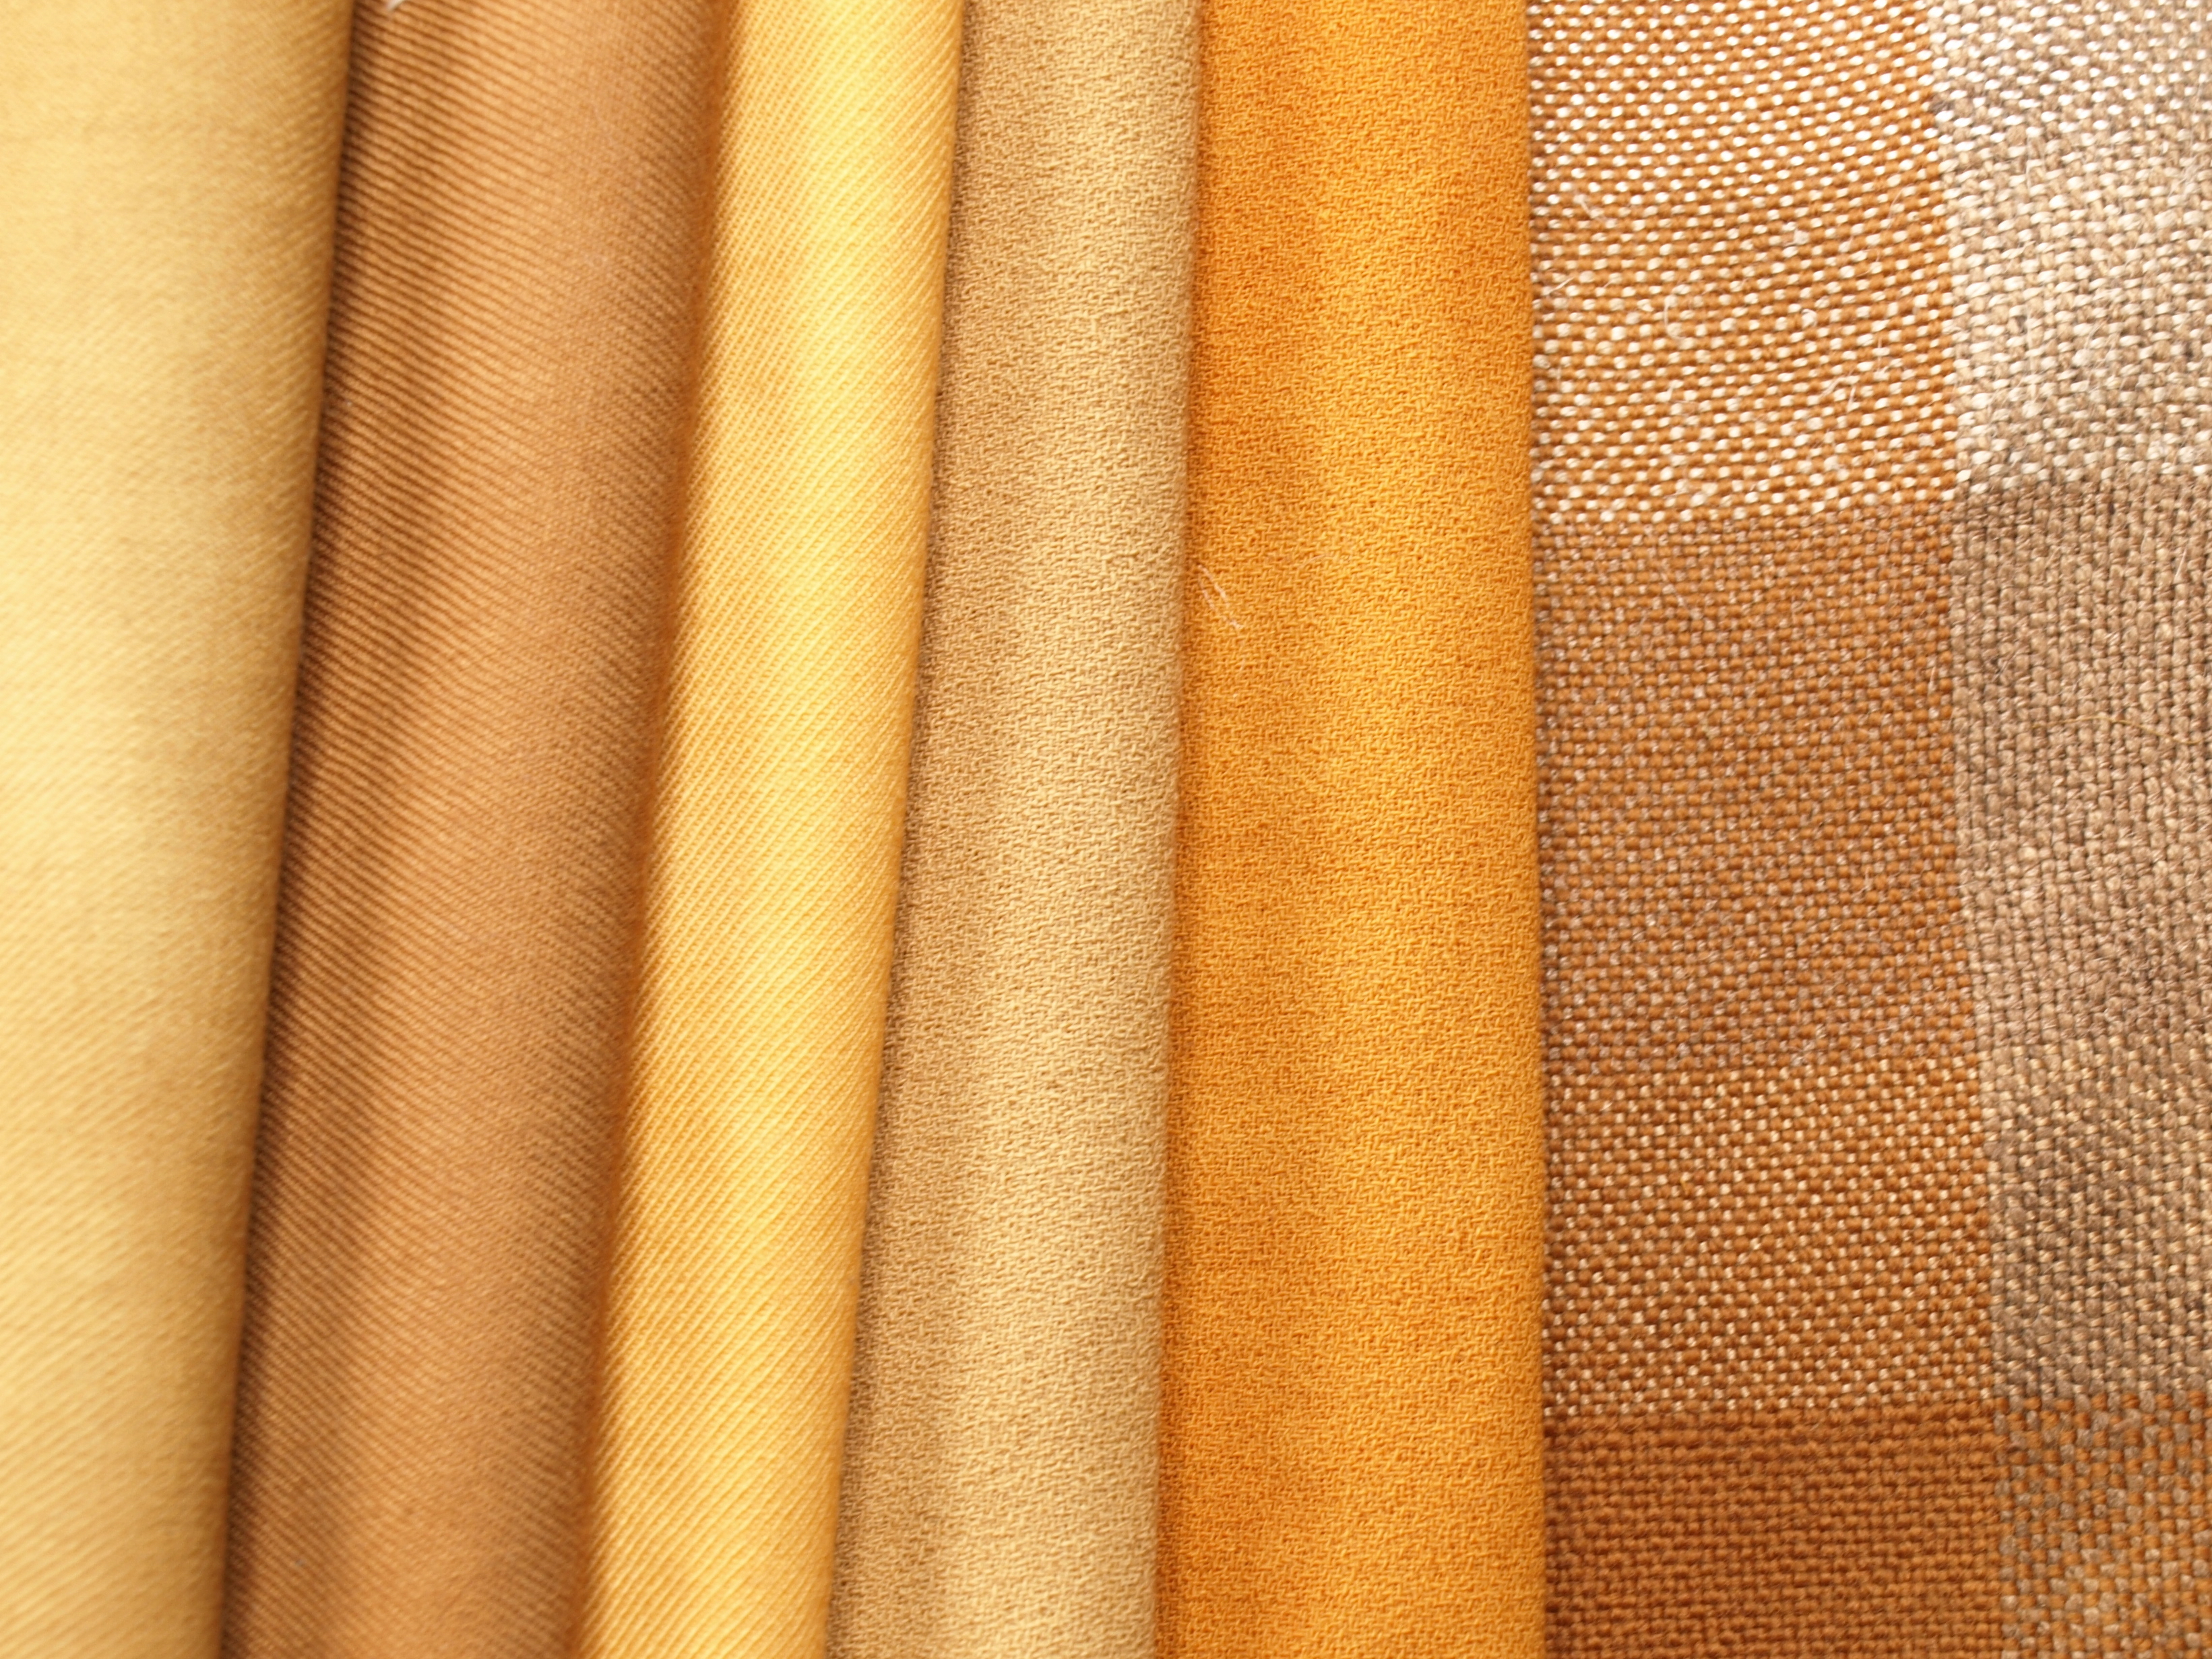
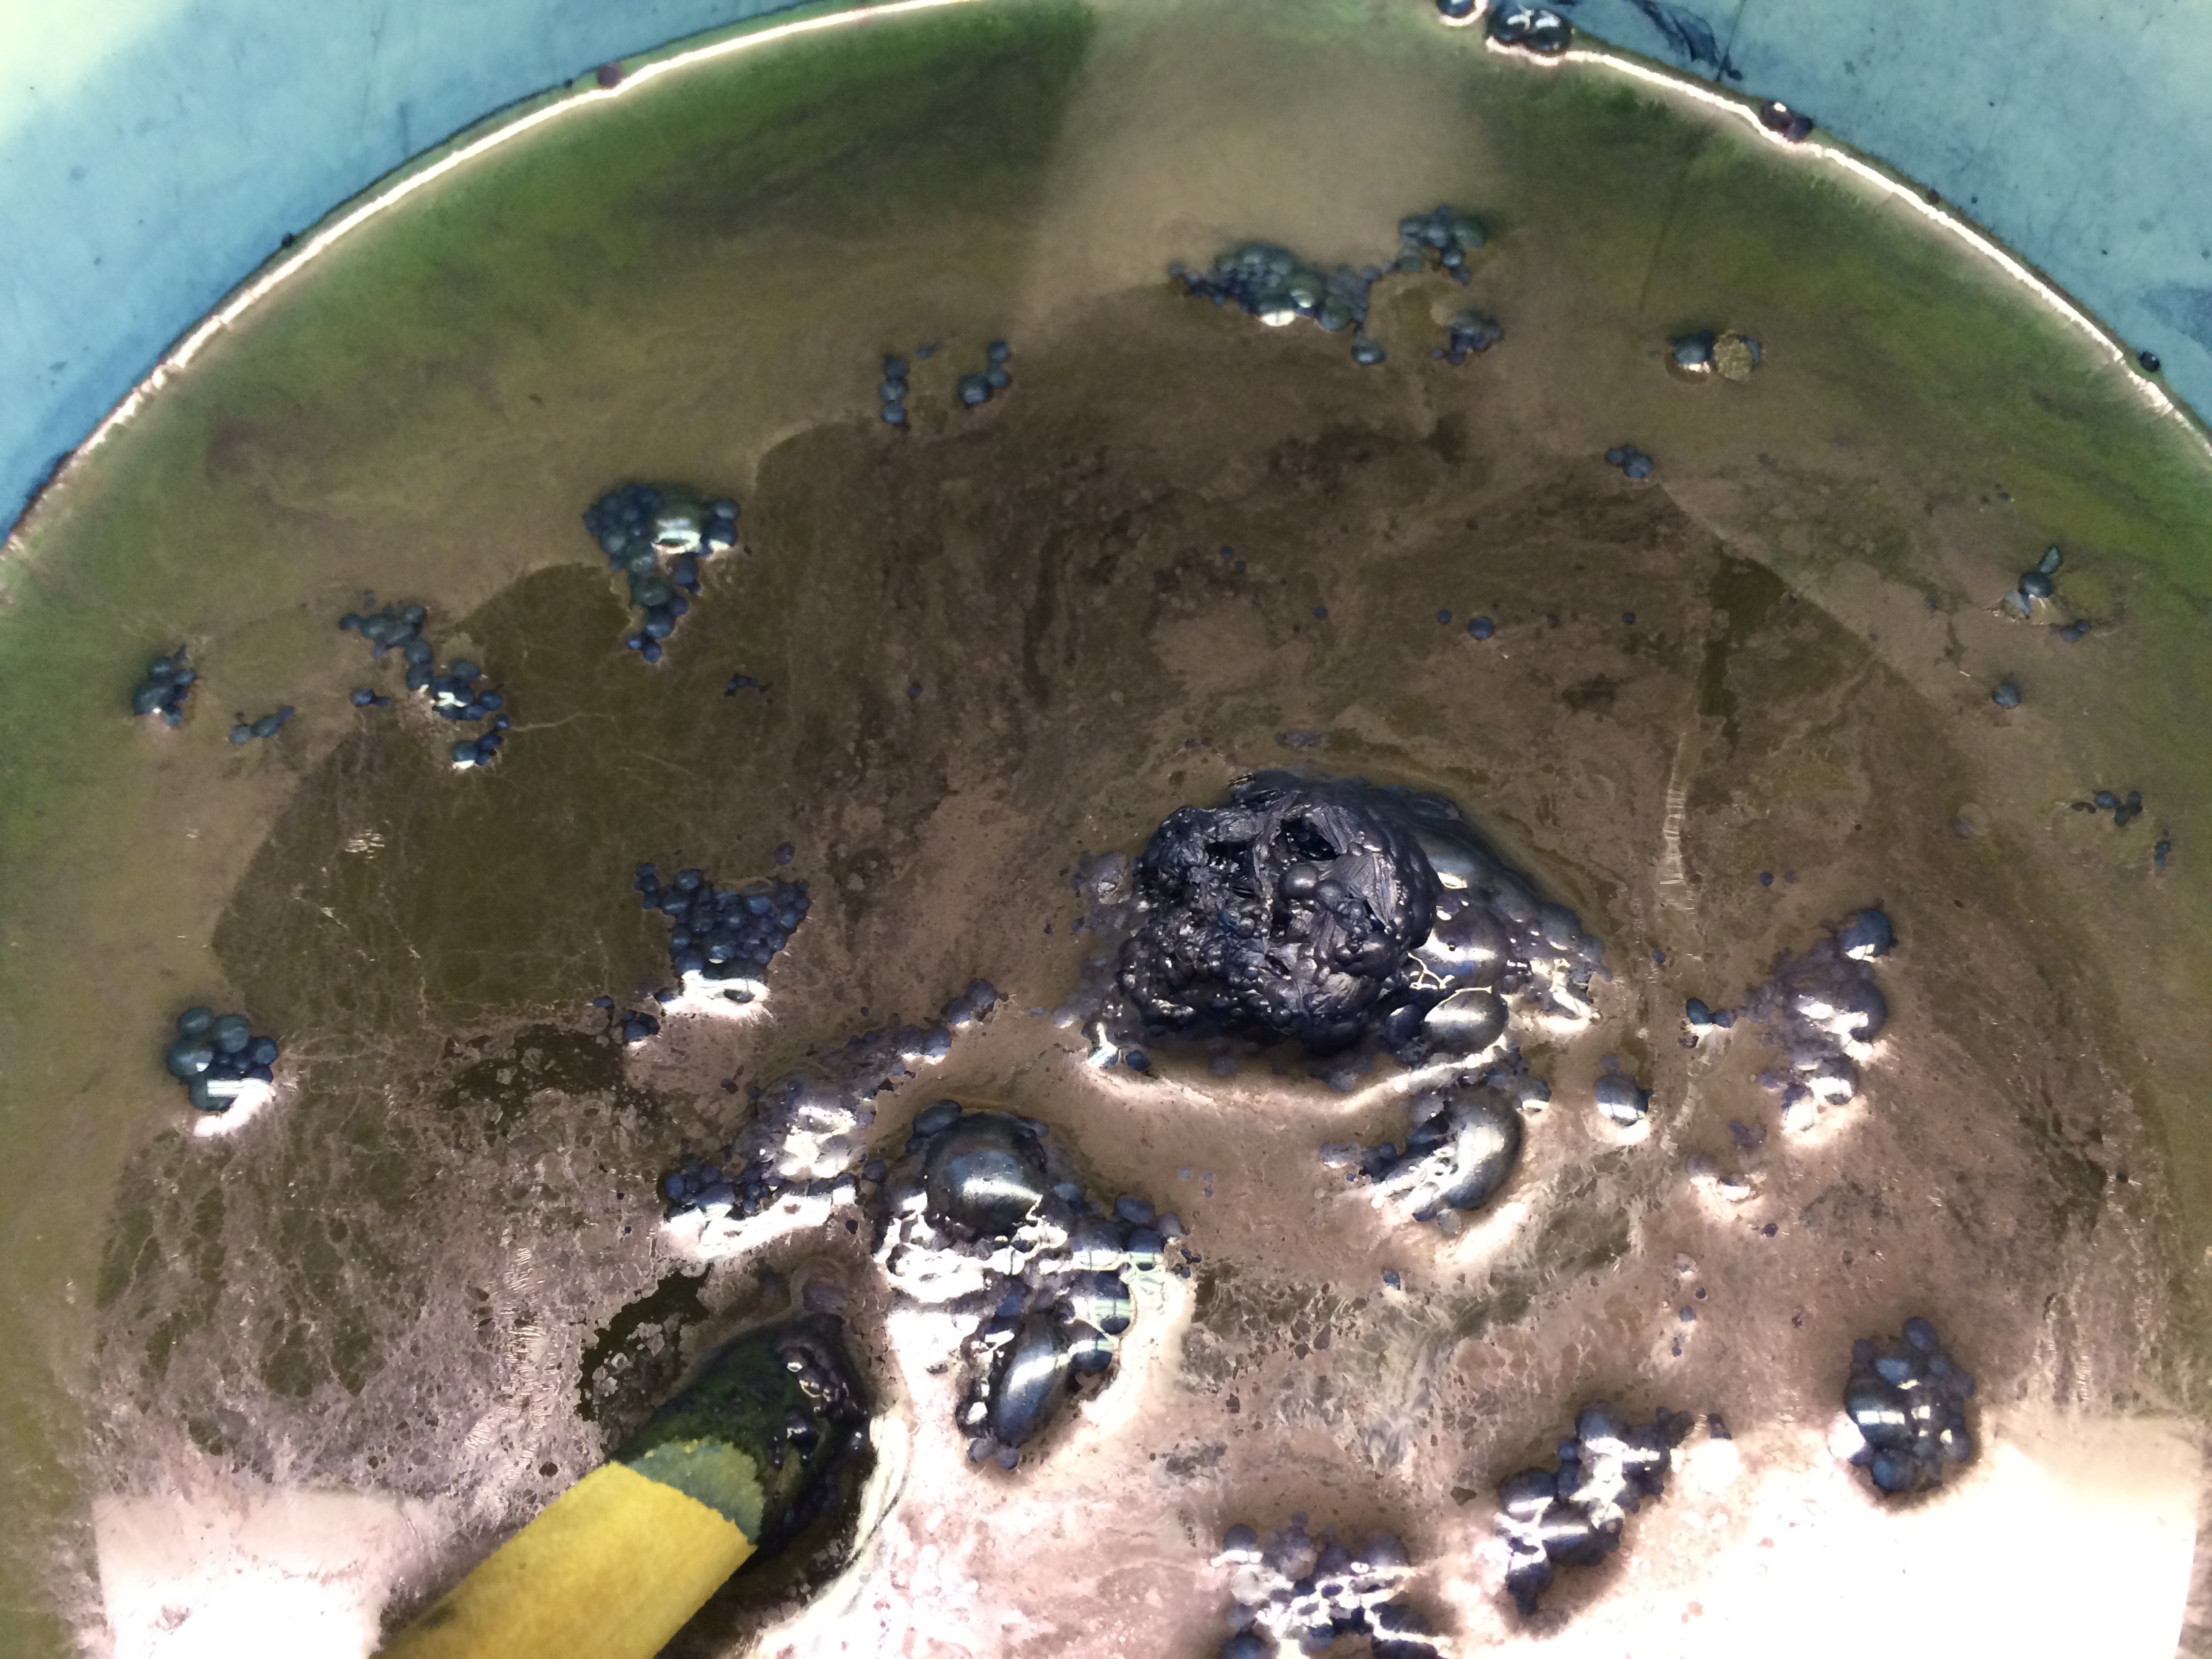
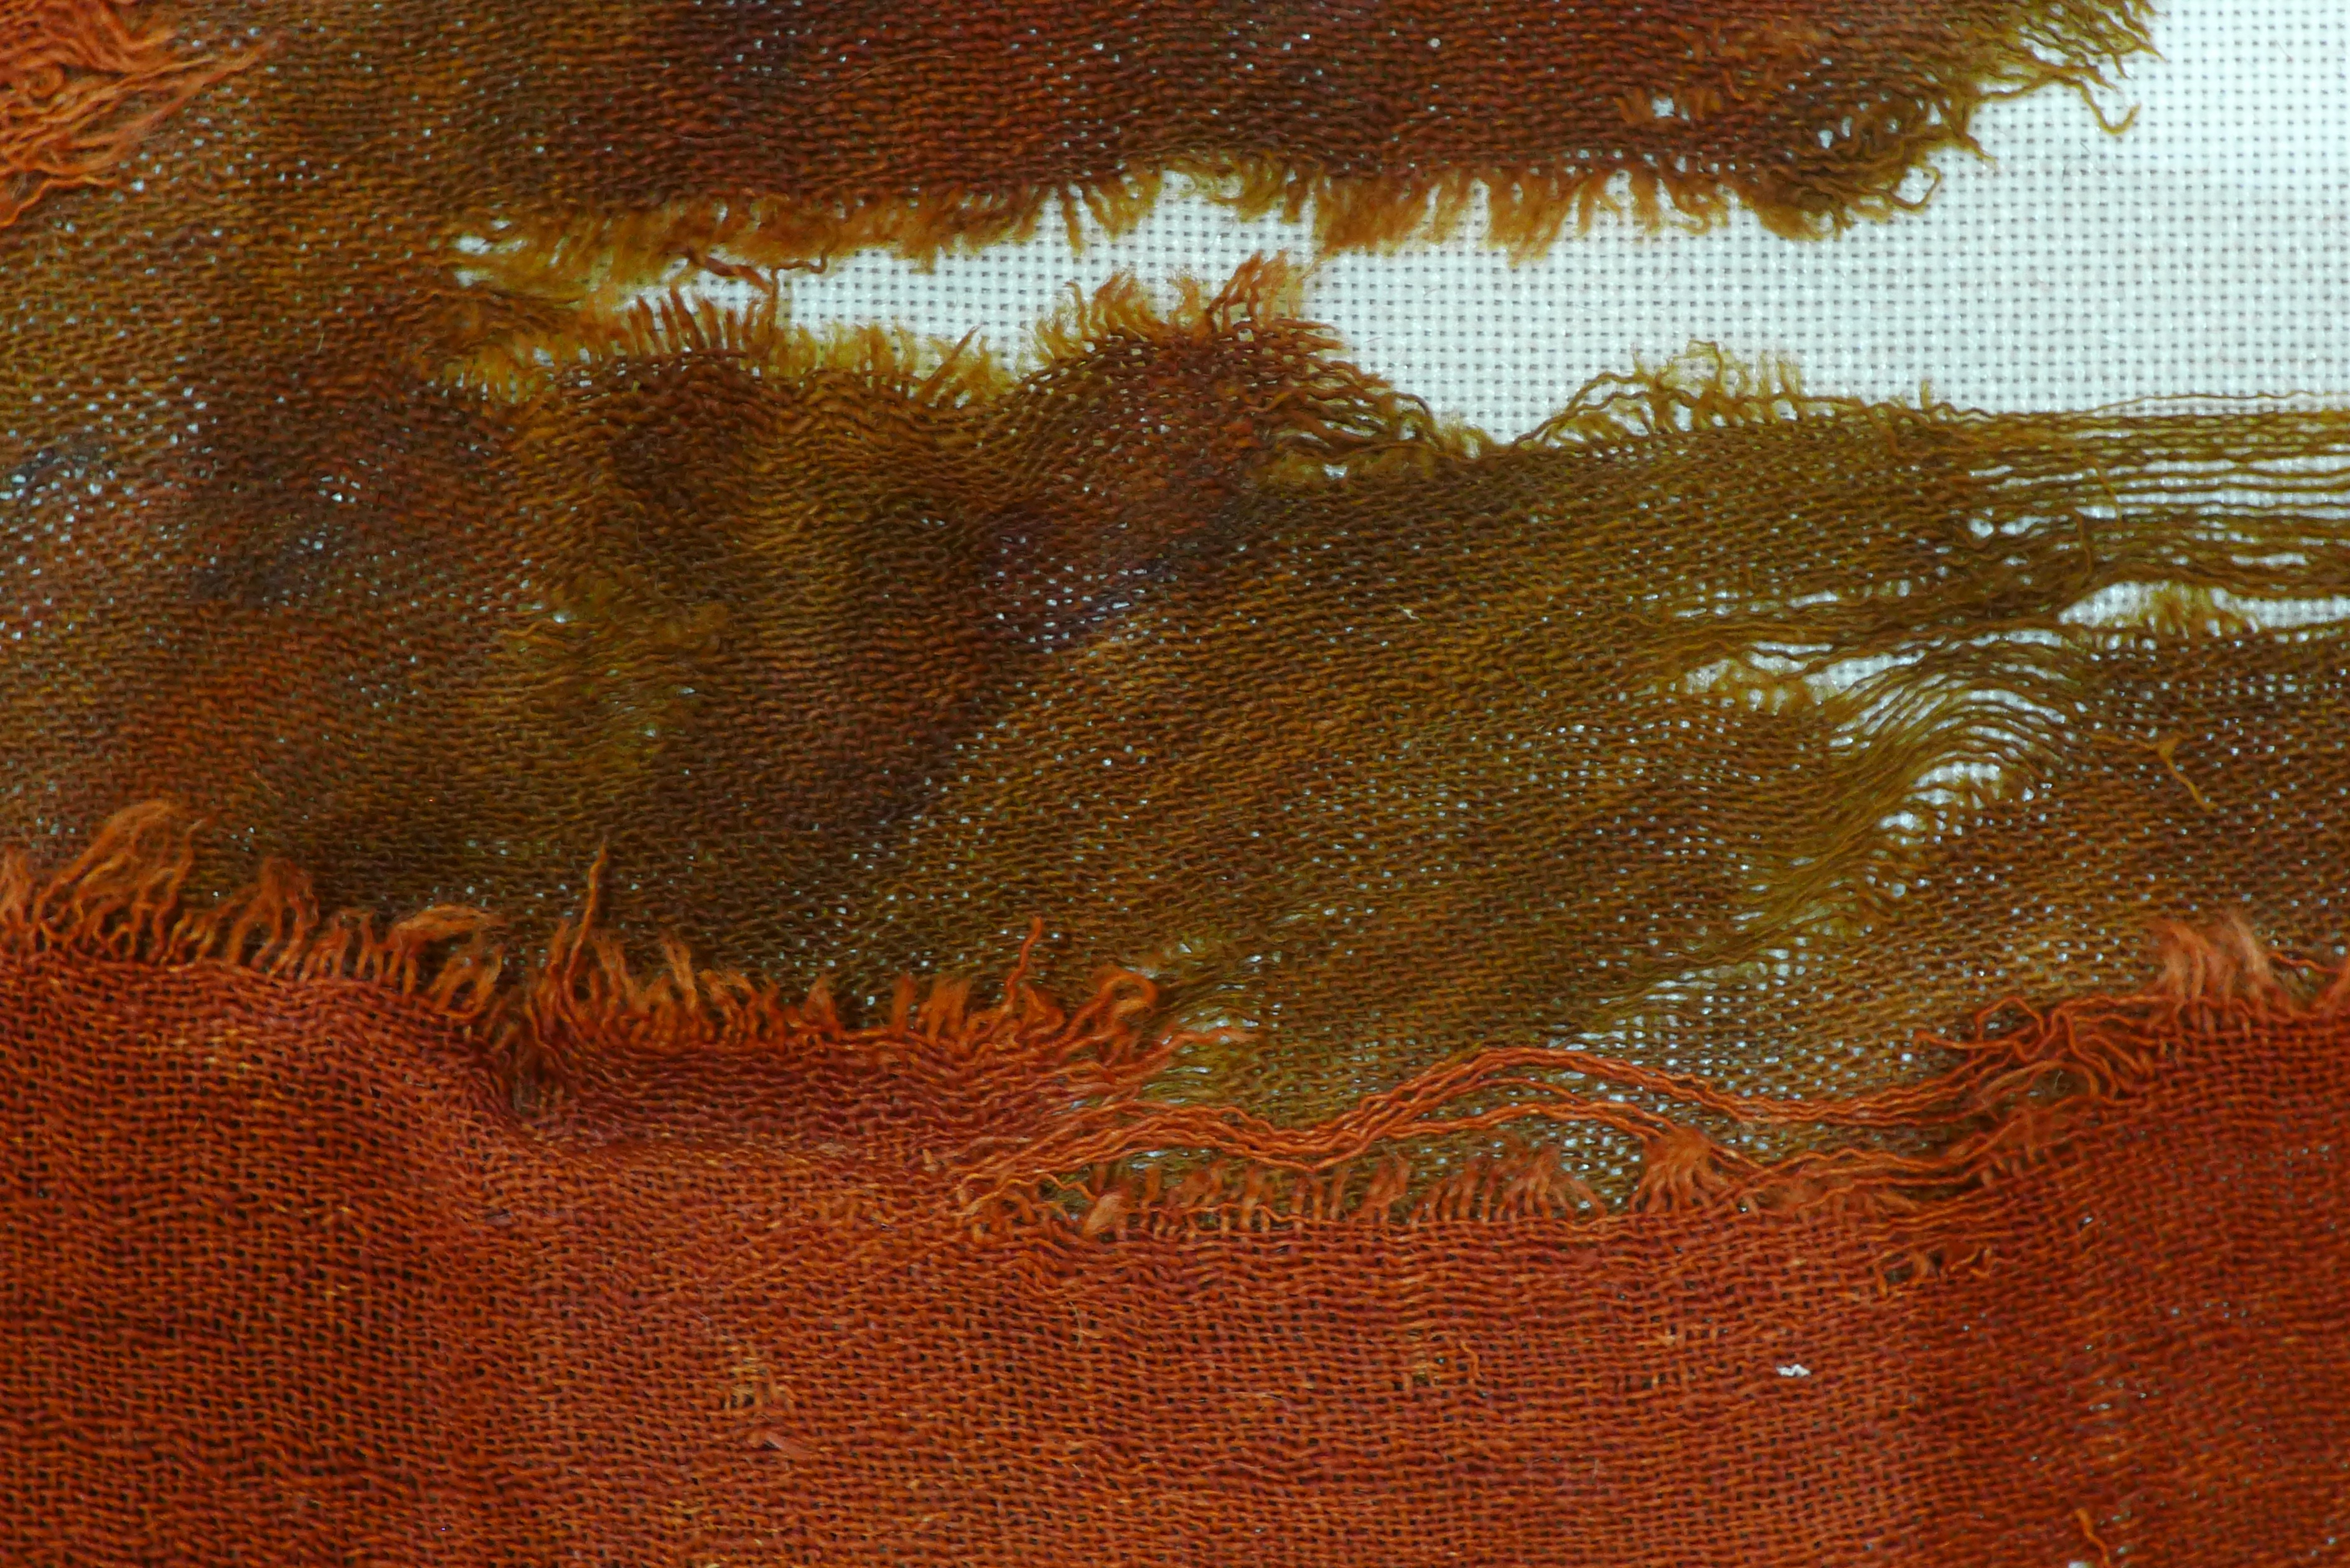
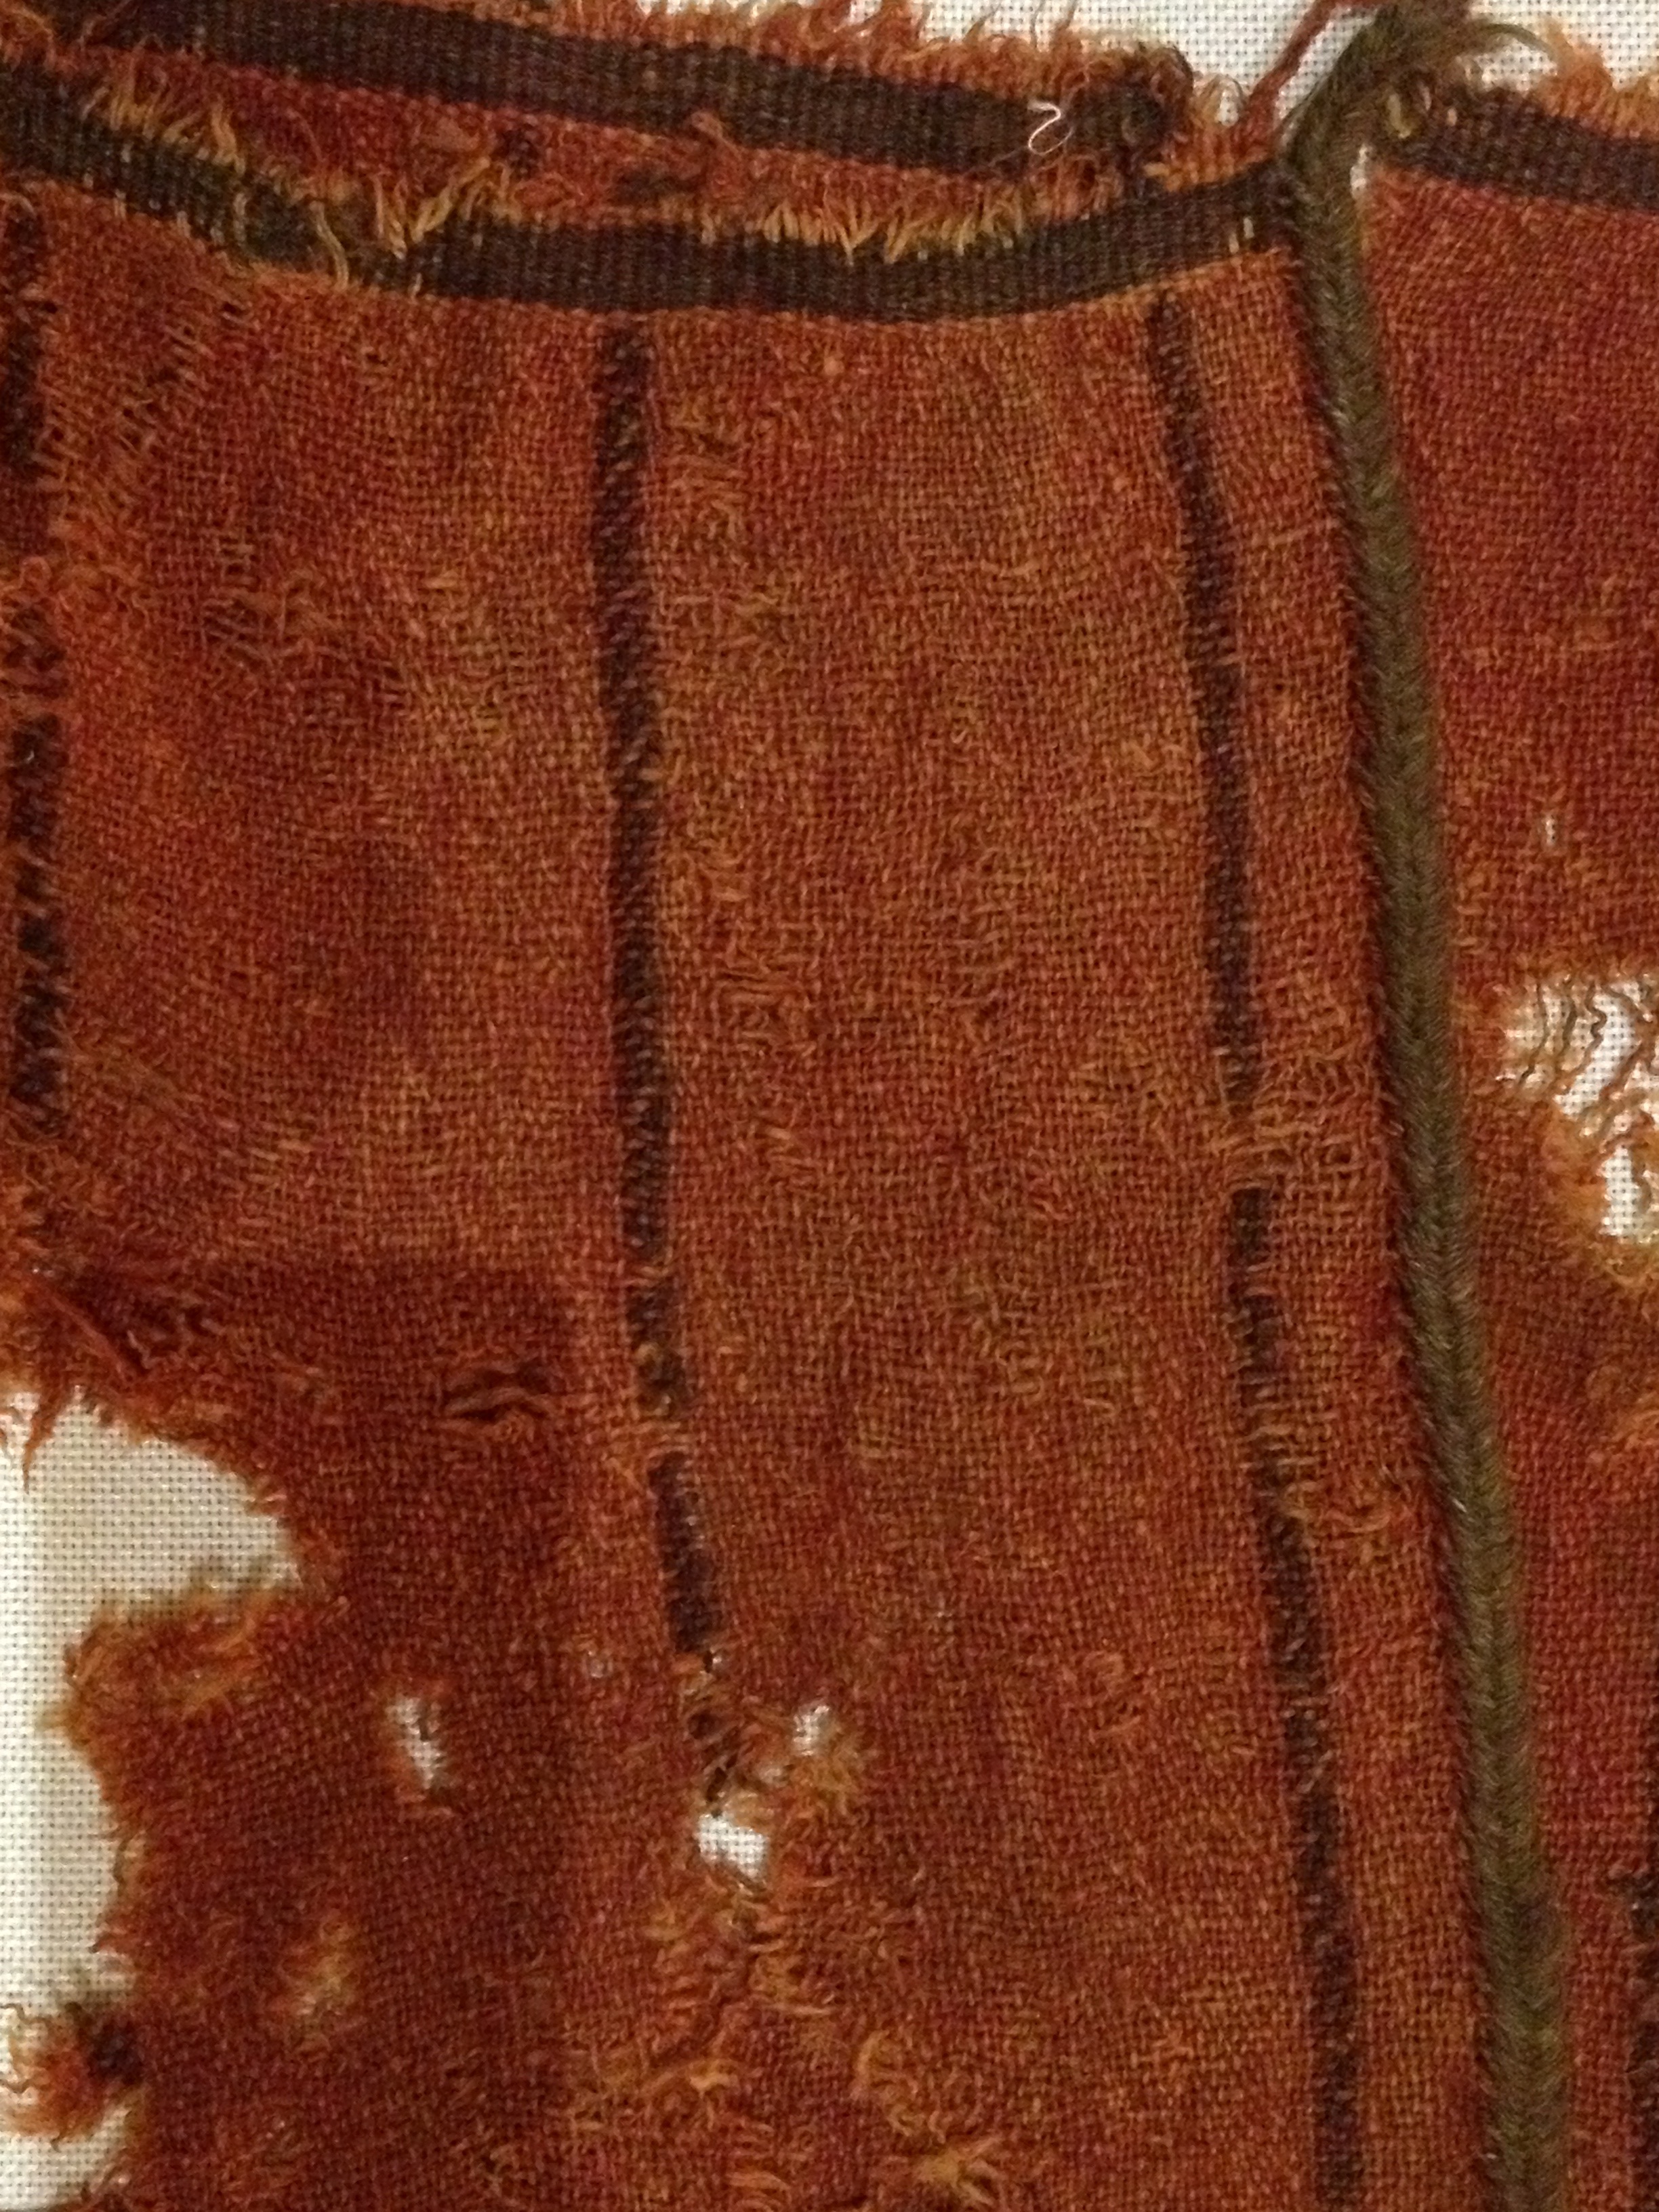
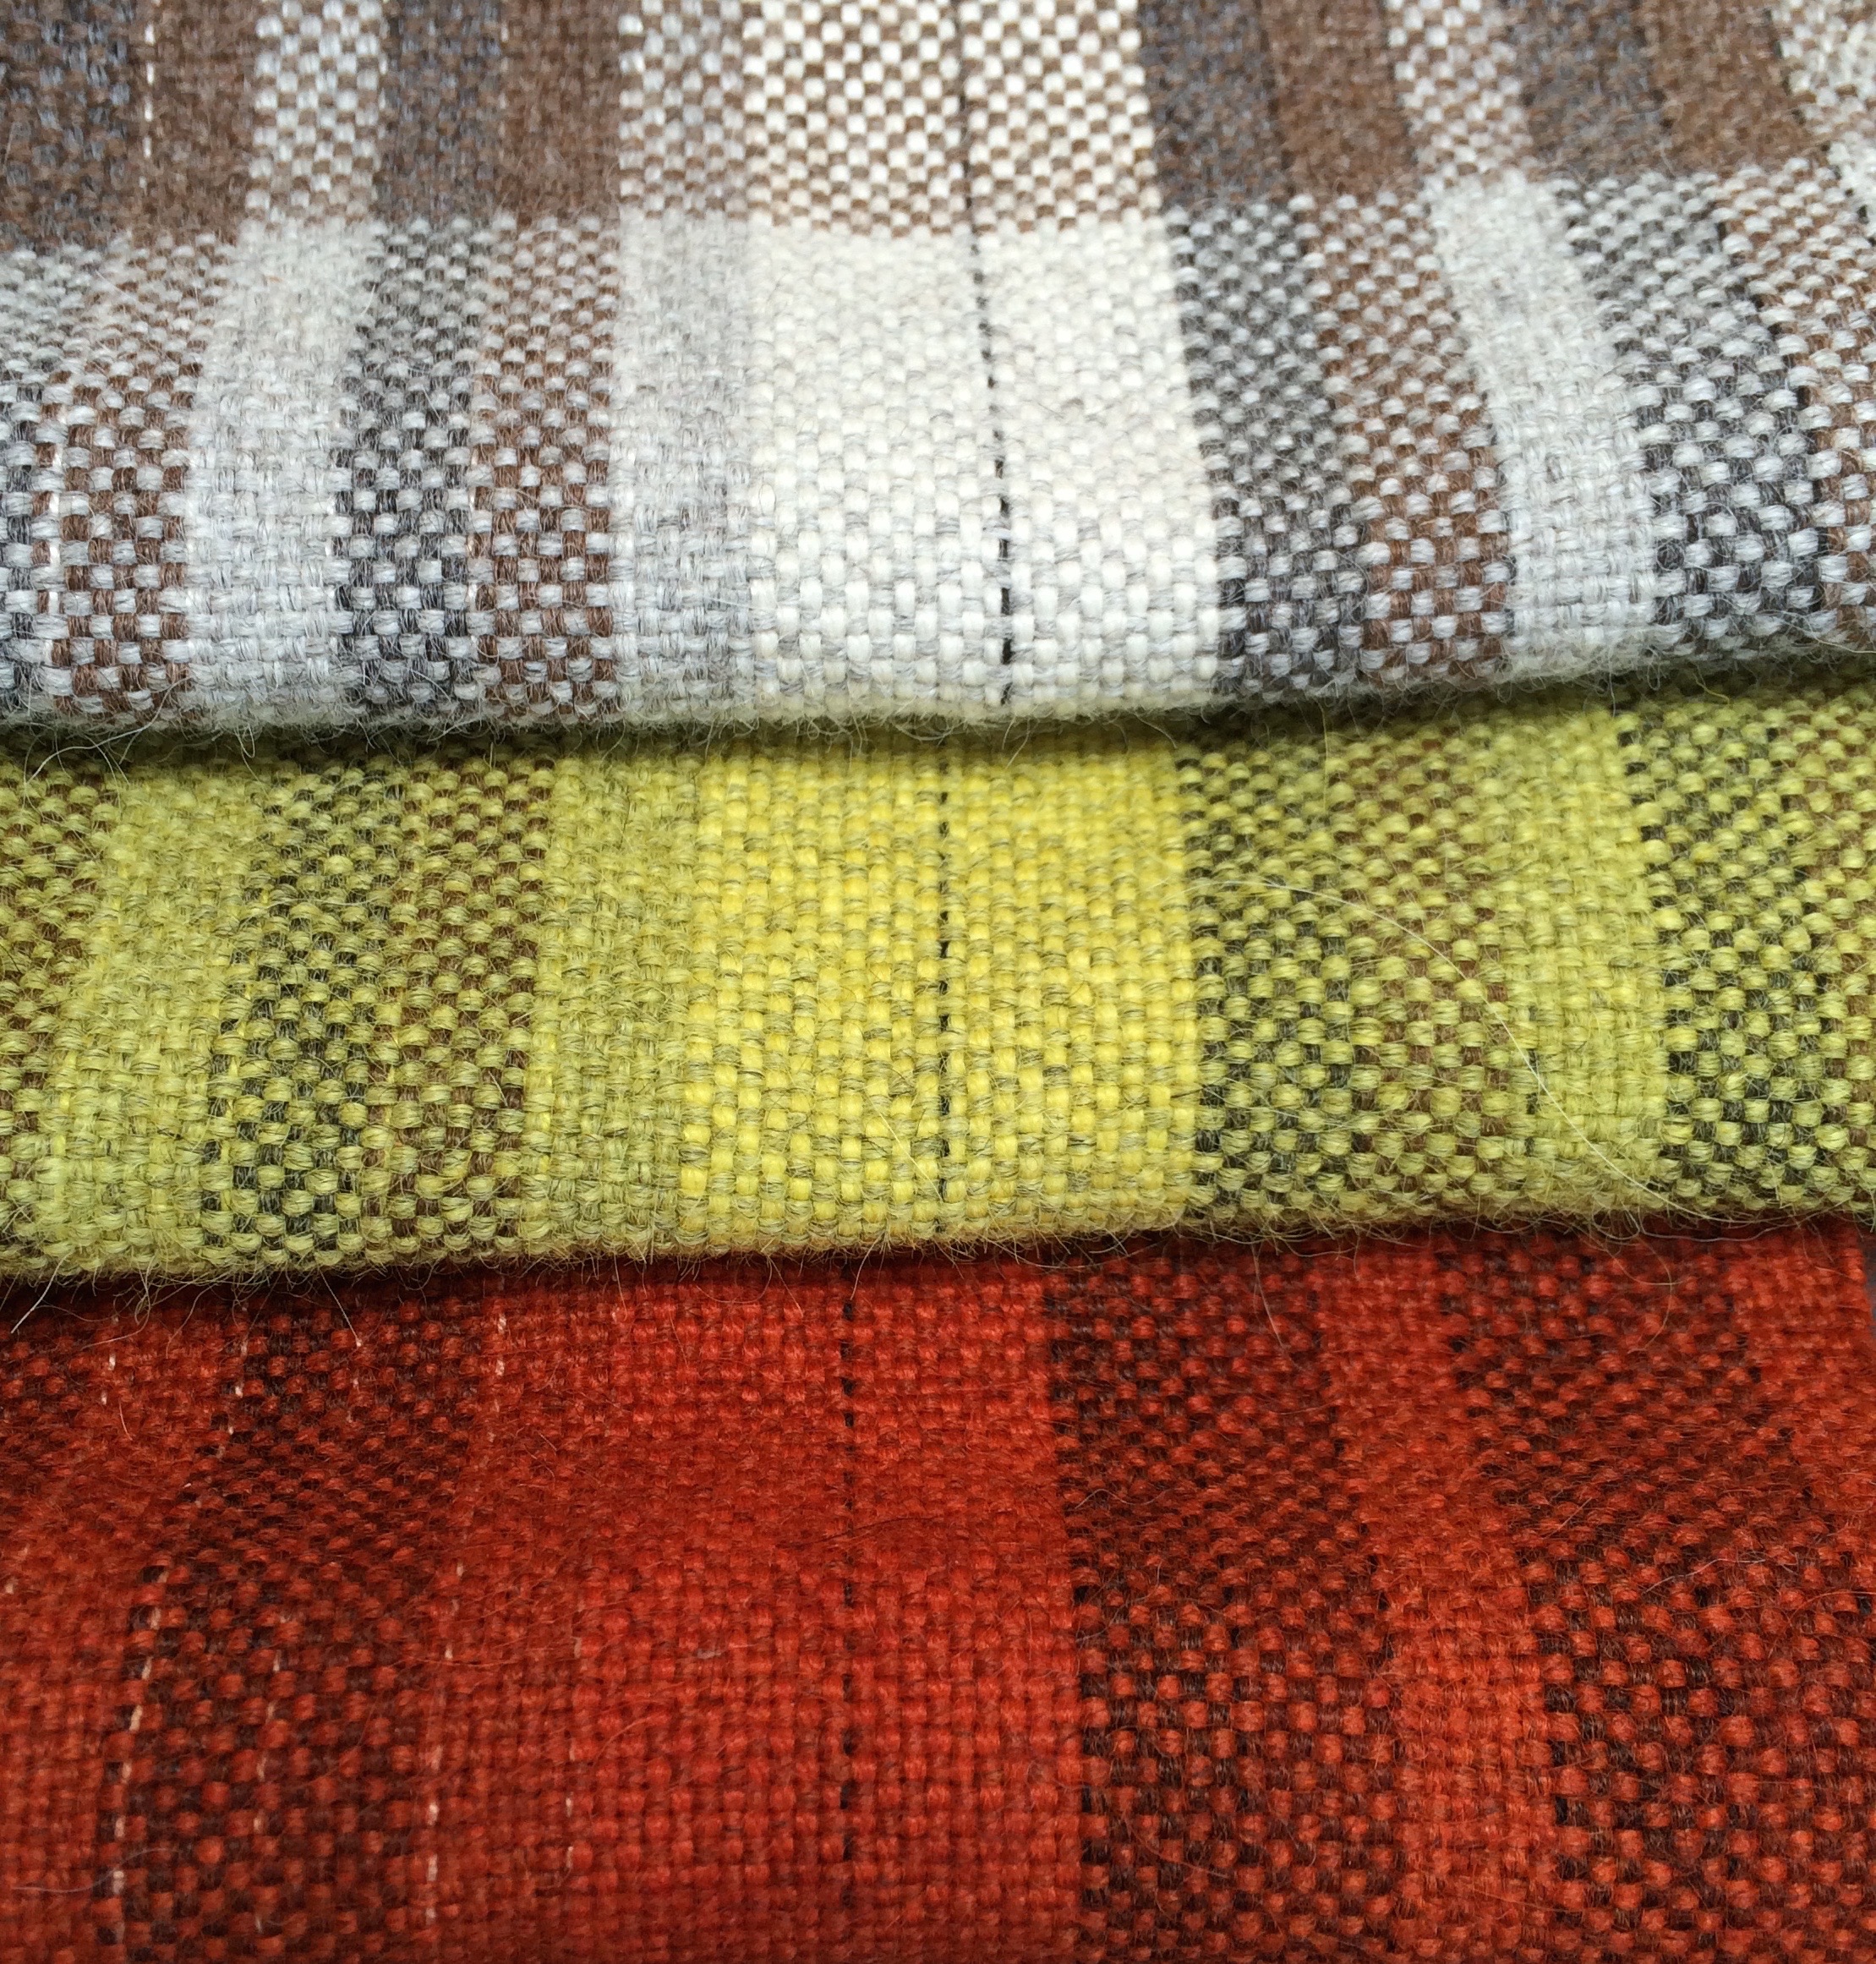
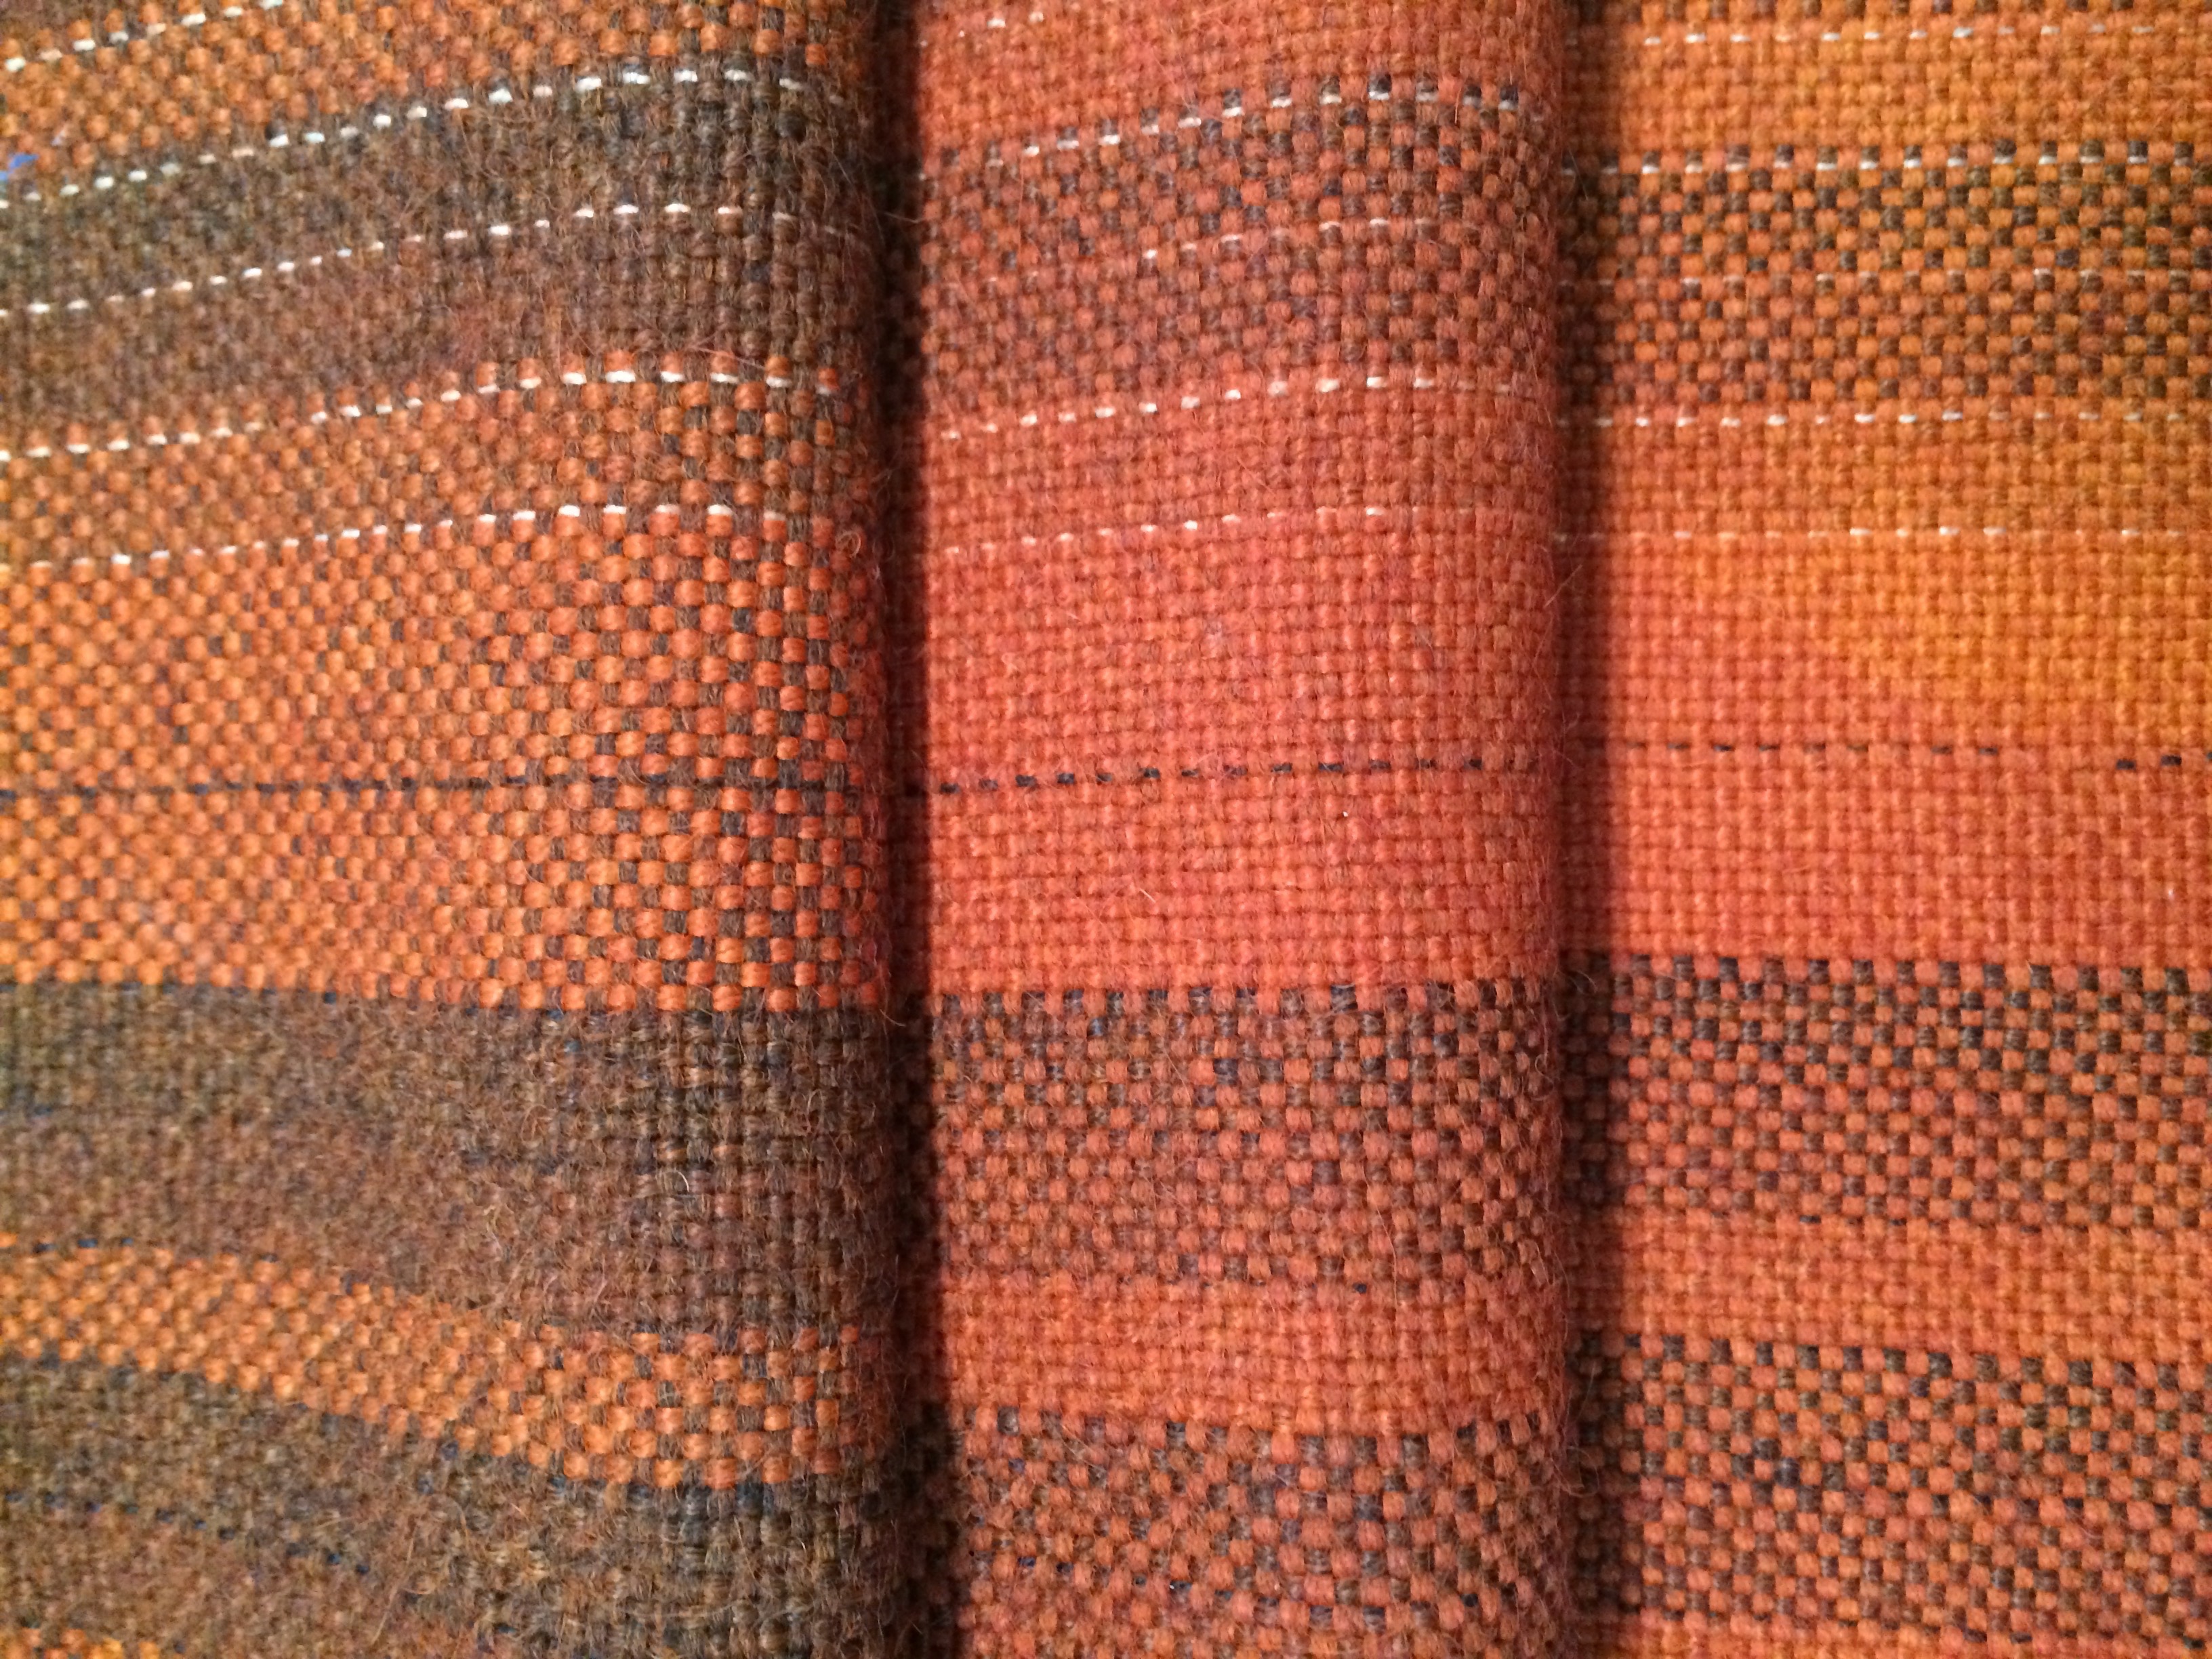
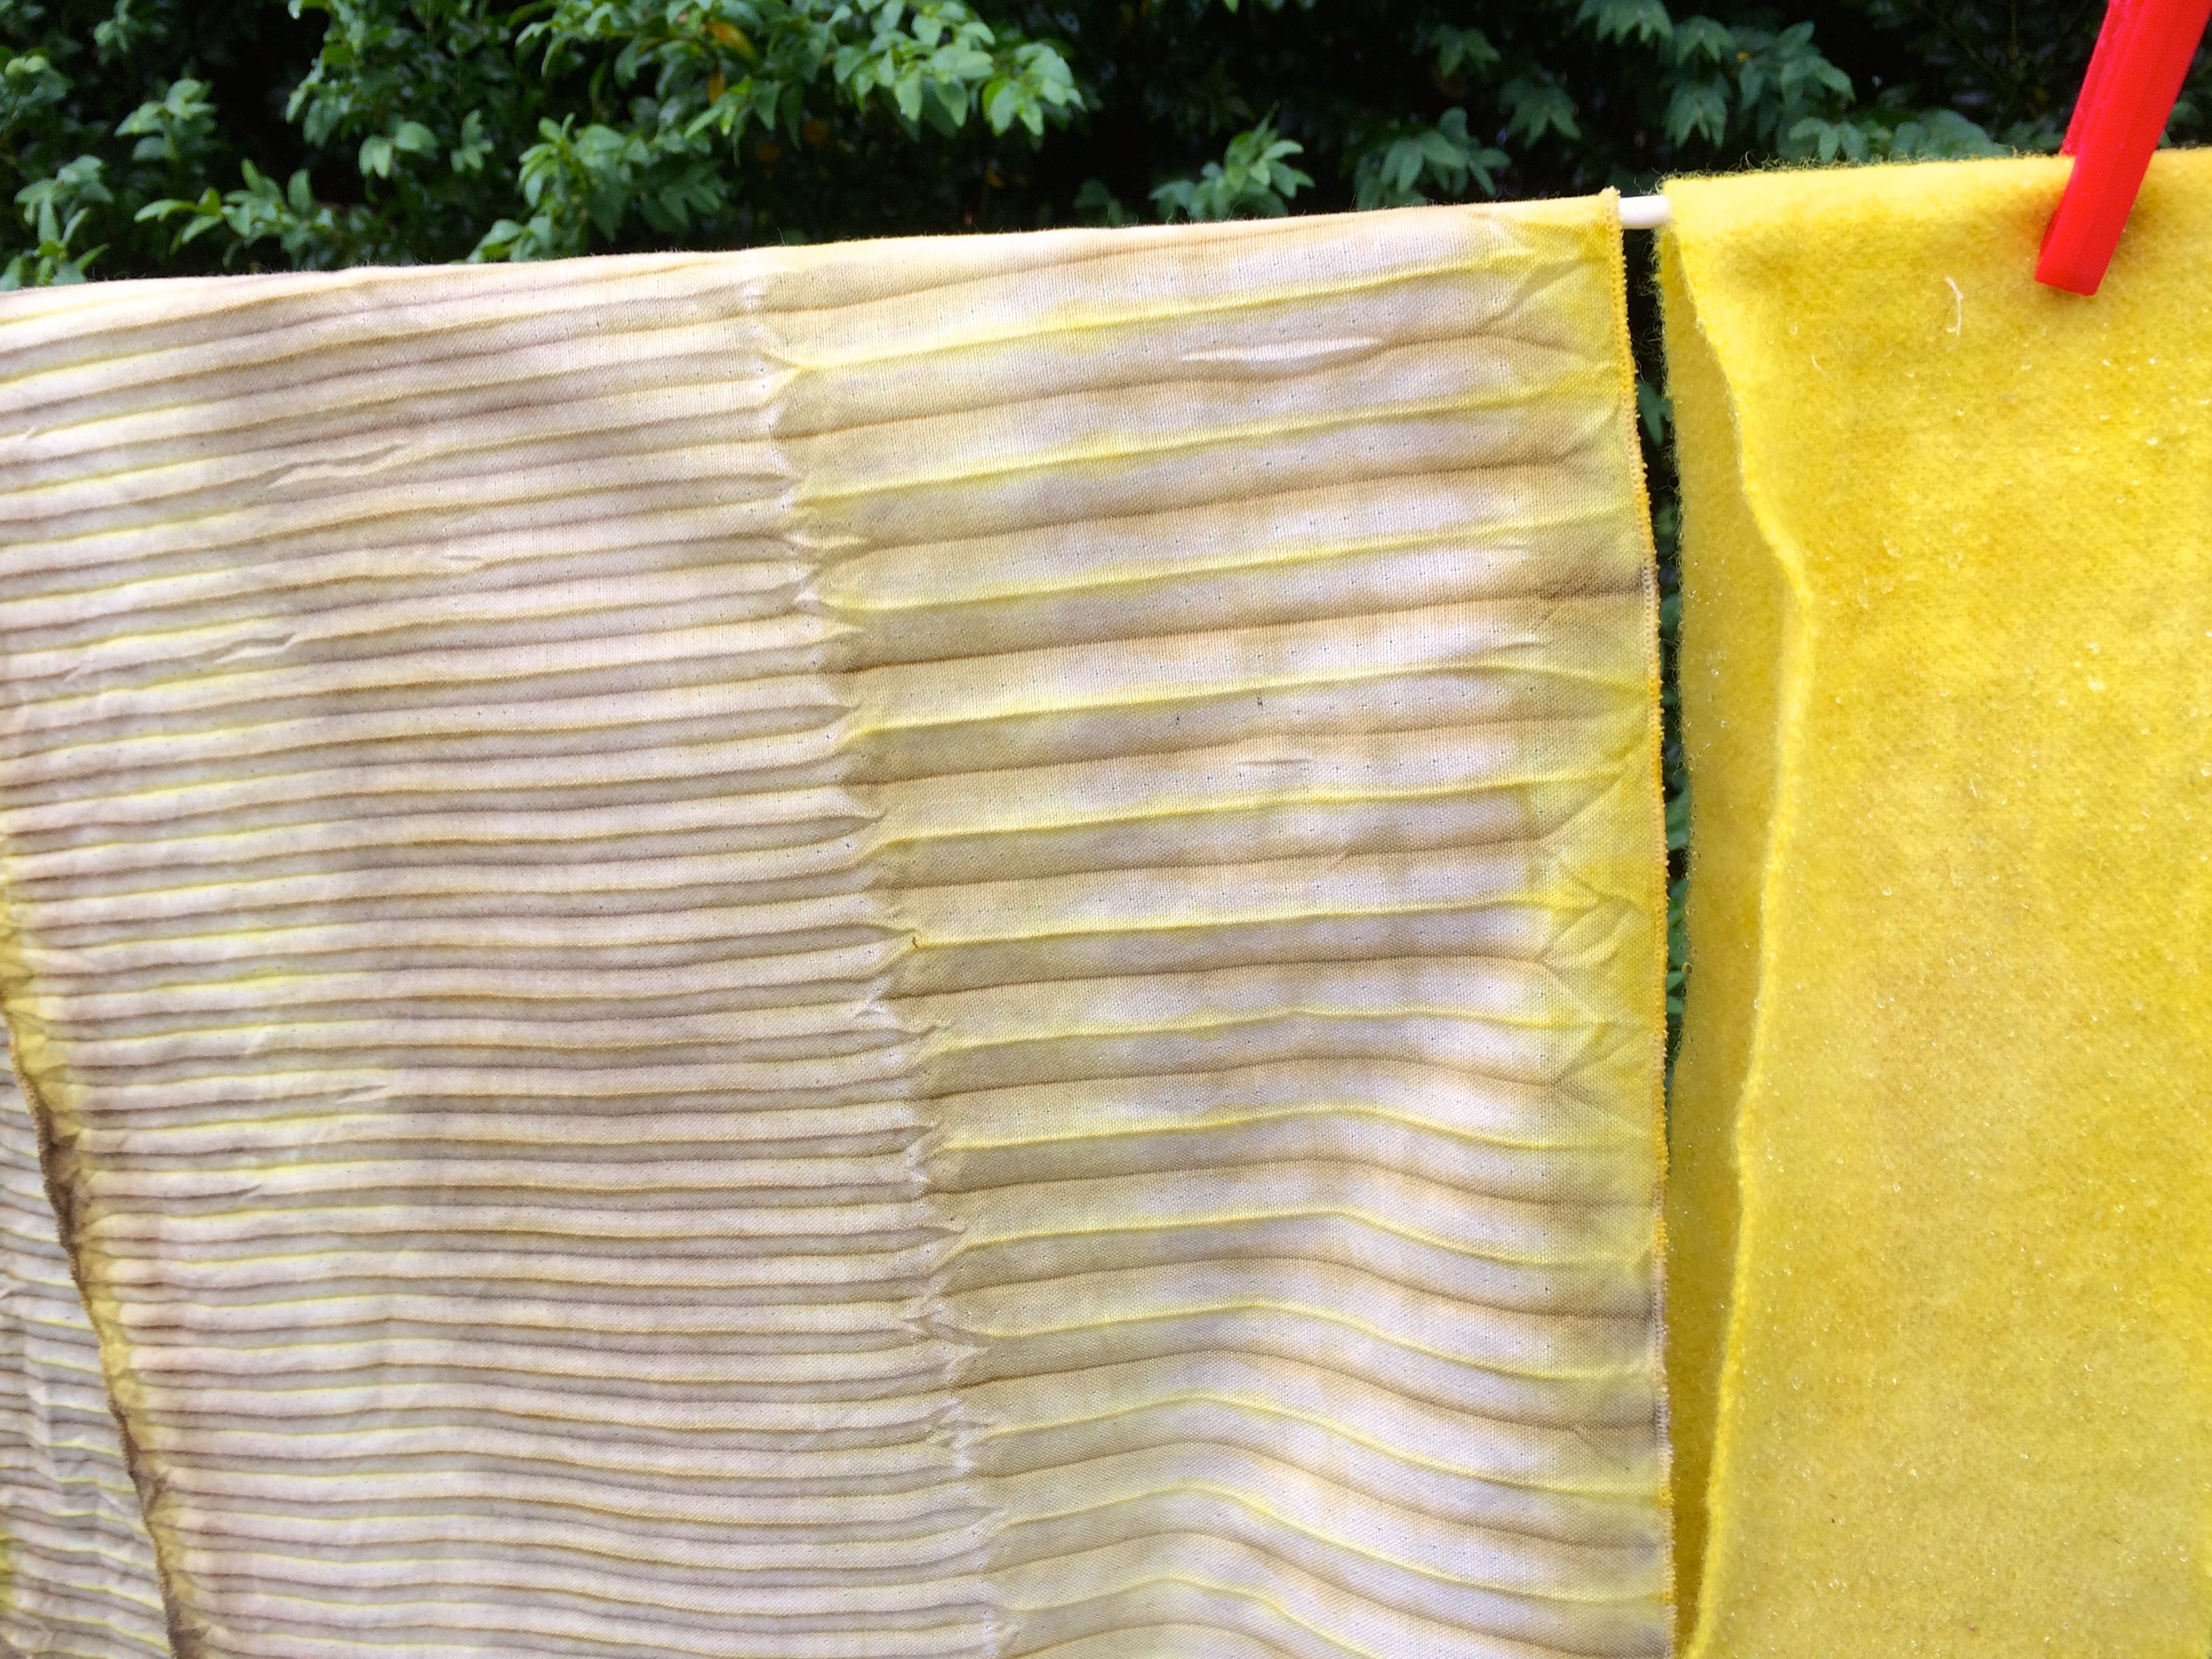
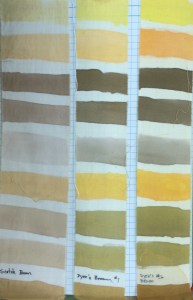
These are “boiling water “ lichens that, after simmering in water (no mordant), will dye wool (protein) various shades of yellow and gold. The dyes are extremely fast to light and washing.

Lichen is an indicator of clean air. They don’t grow where there is lots of air pollution or car exhaust. Lichens are complicated. They are both an algae and a fungus. Karen Casselman has written a good book about lichen dyeing, Lichen Dyes, the New Sourcebook. I have taken classes on lichens at our arboretum where we learned a lot of technical information about identification. There is more to know than I could ever hope to absorb.

Foliose and fruiticose lichen
Lichen attached to fallen birch branch

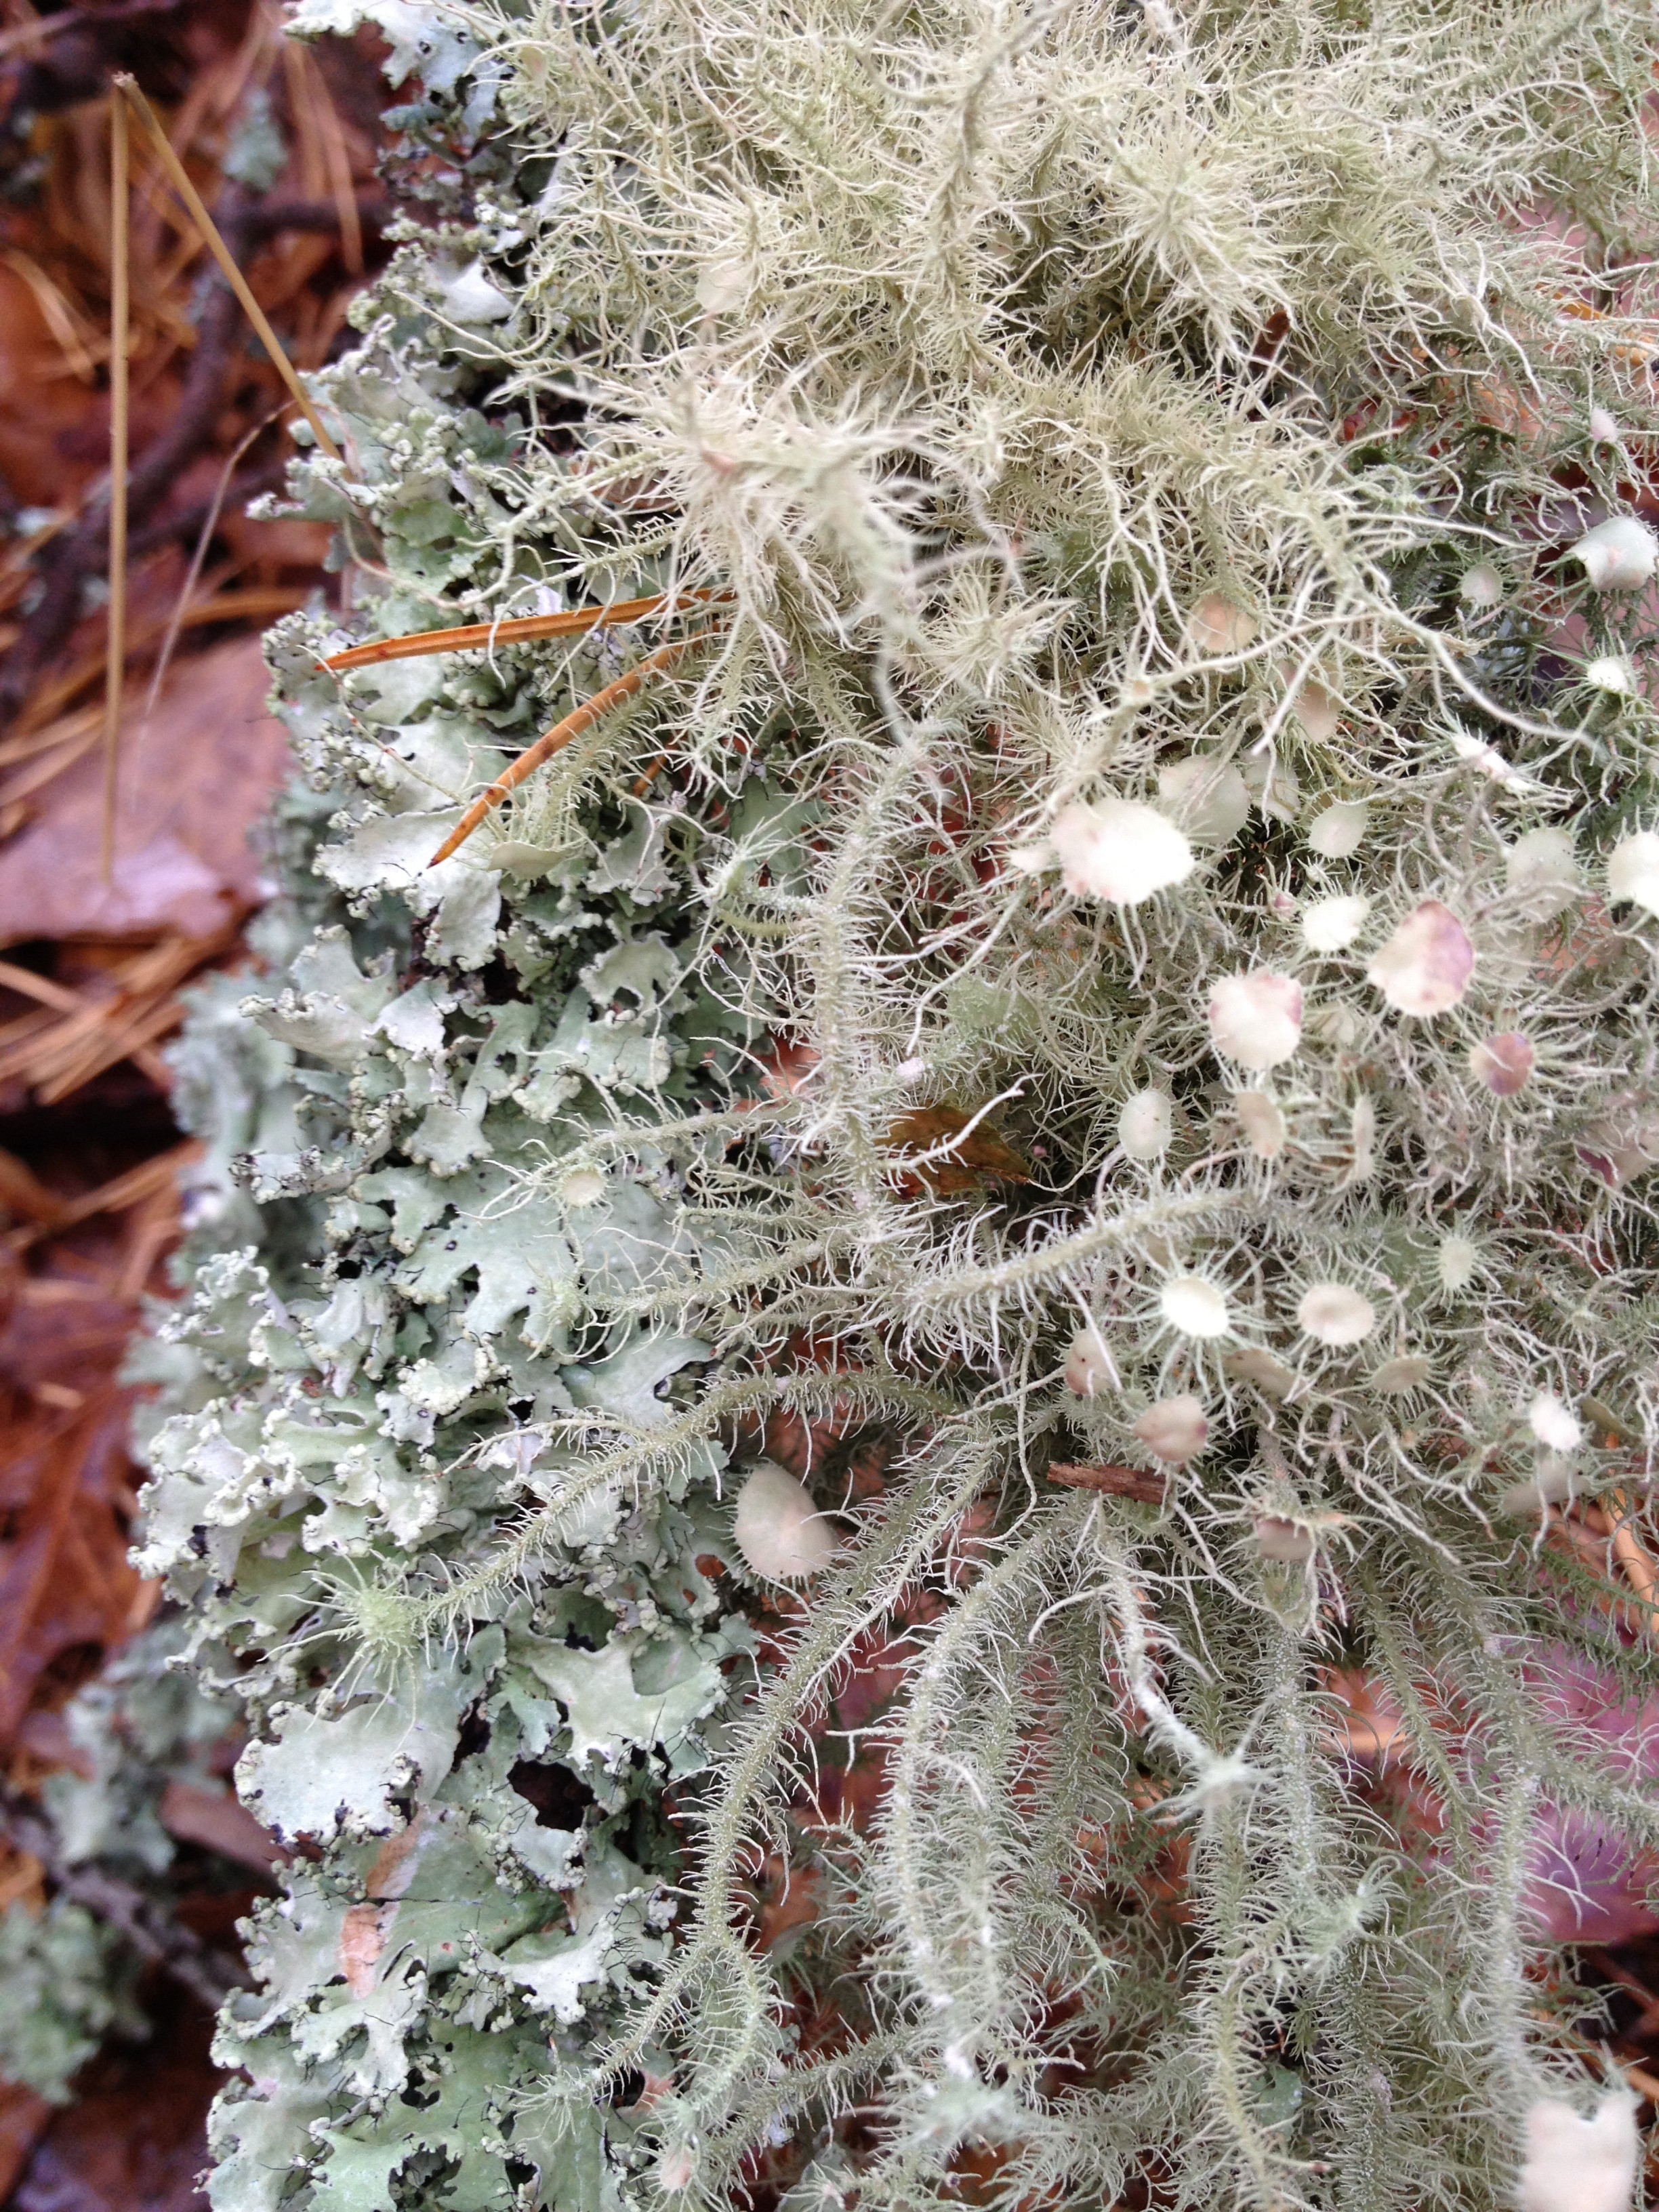
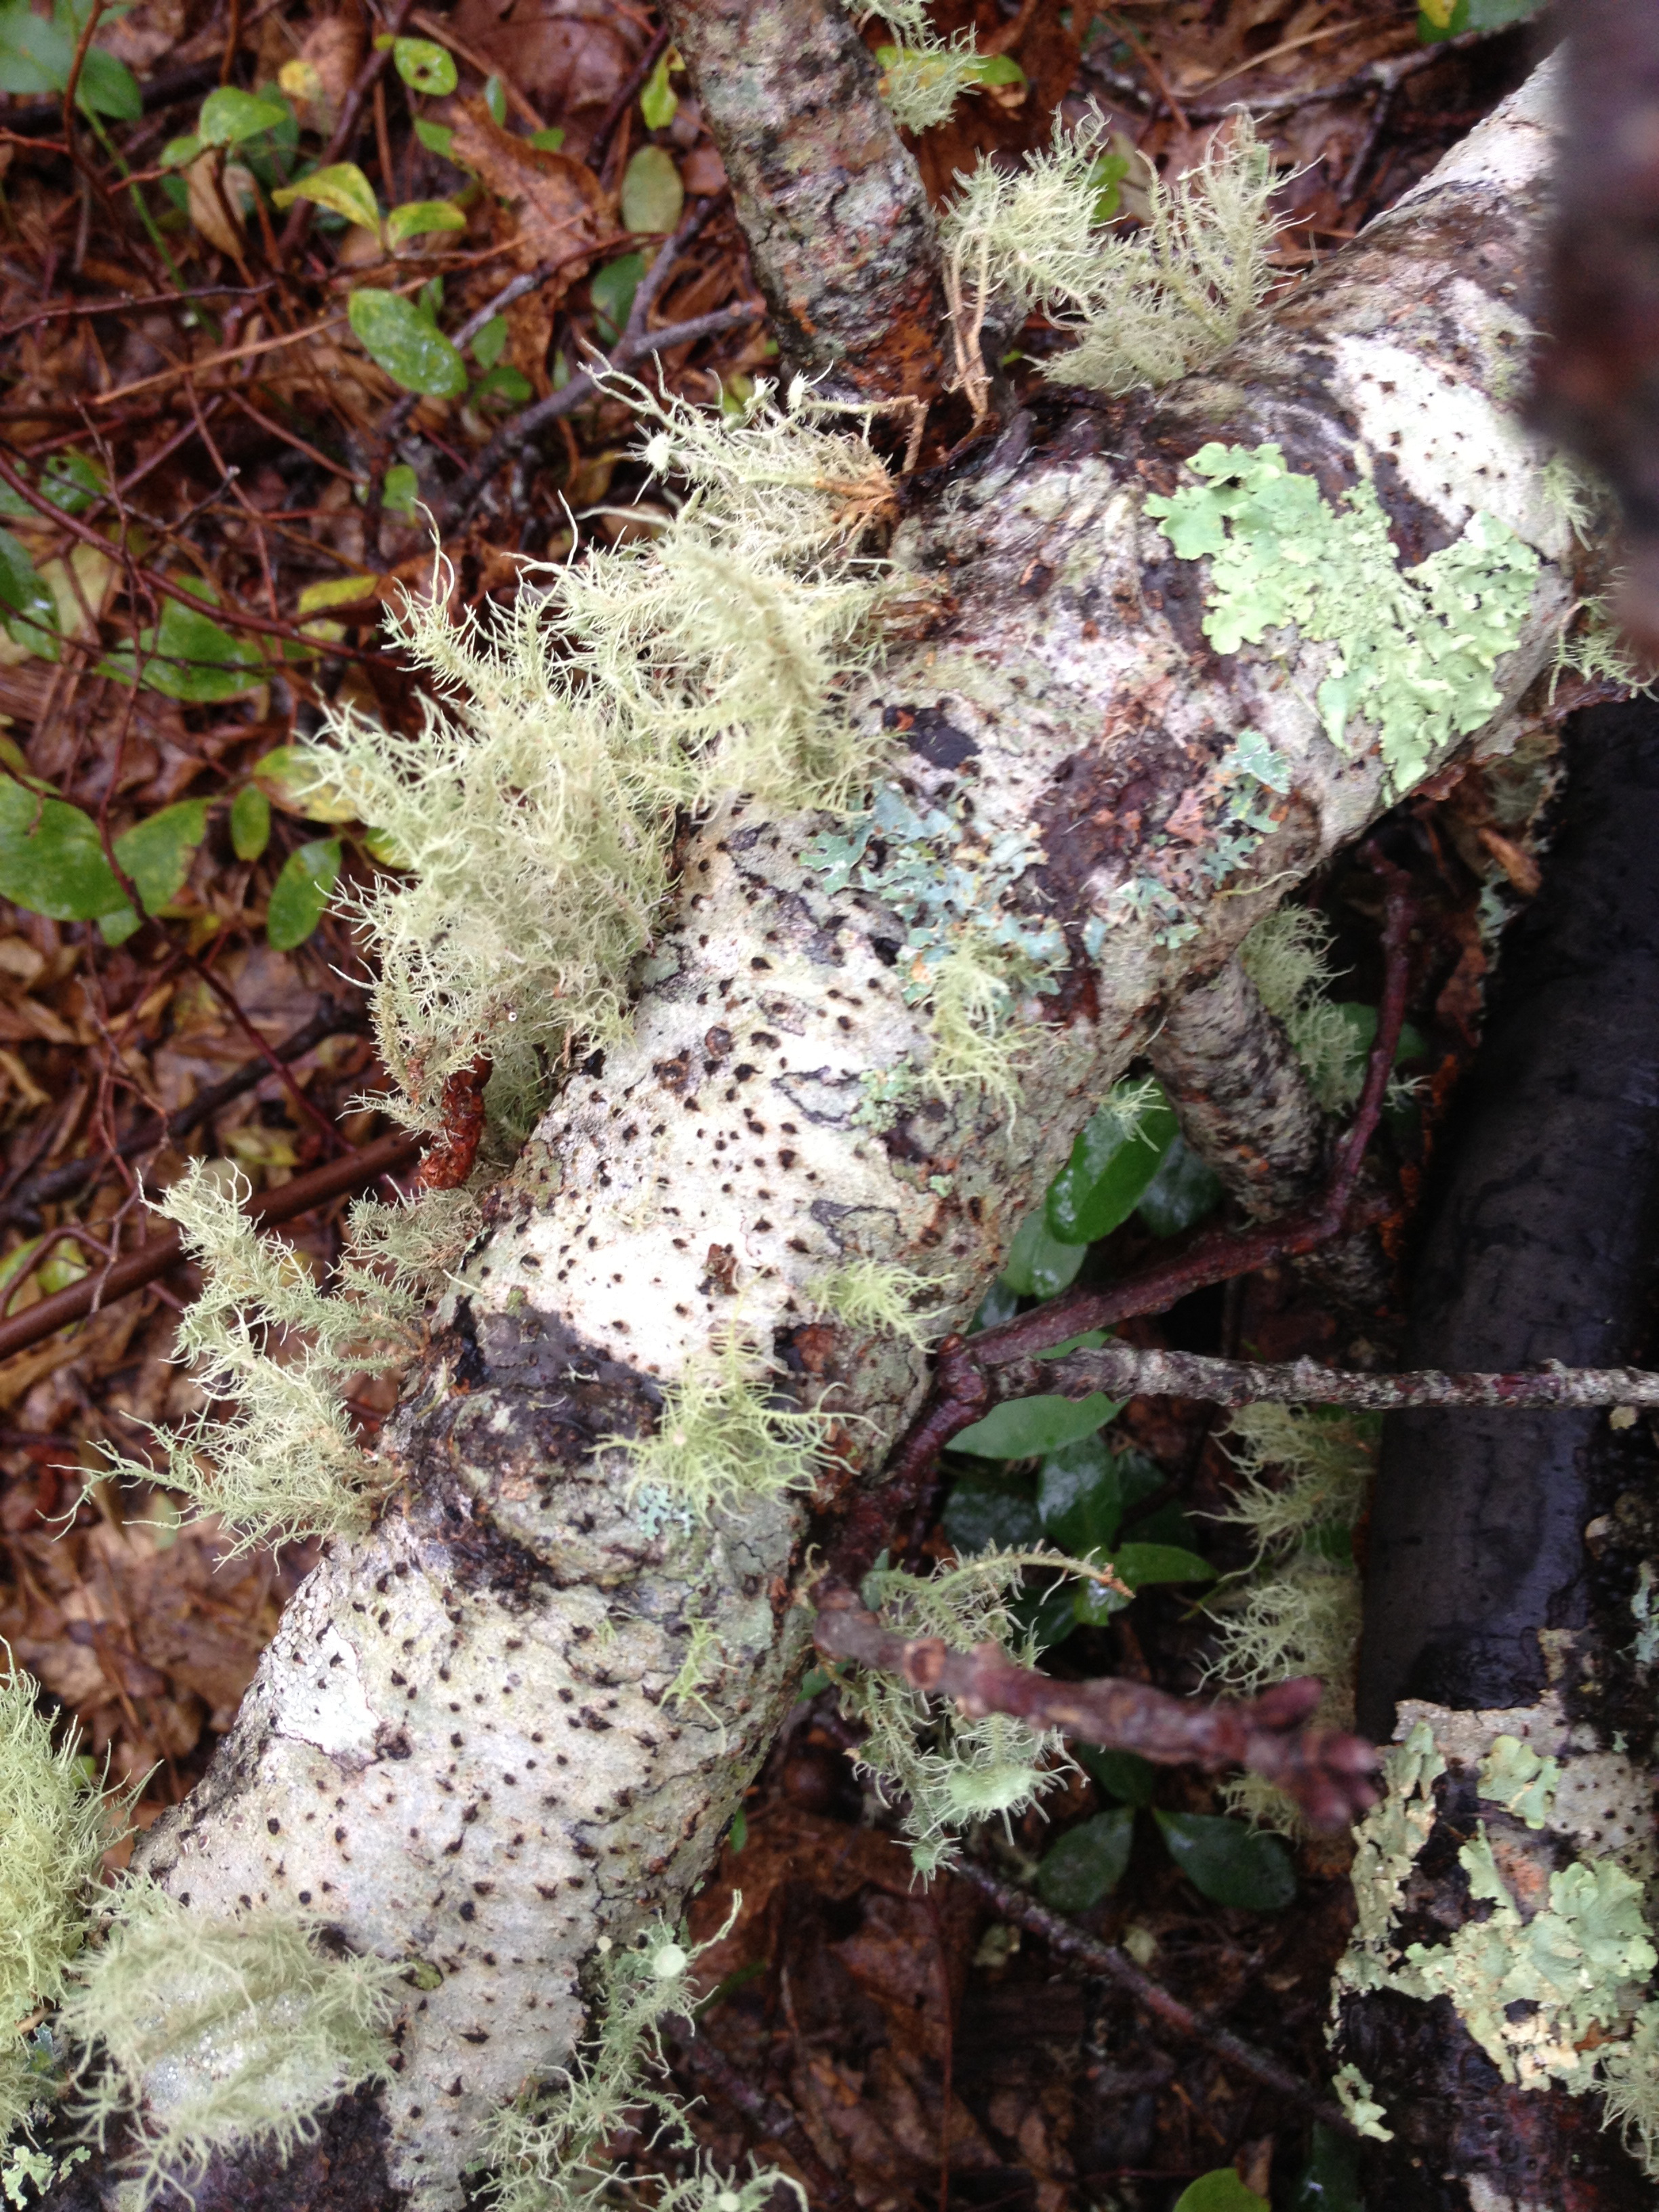
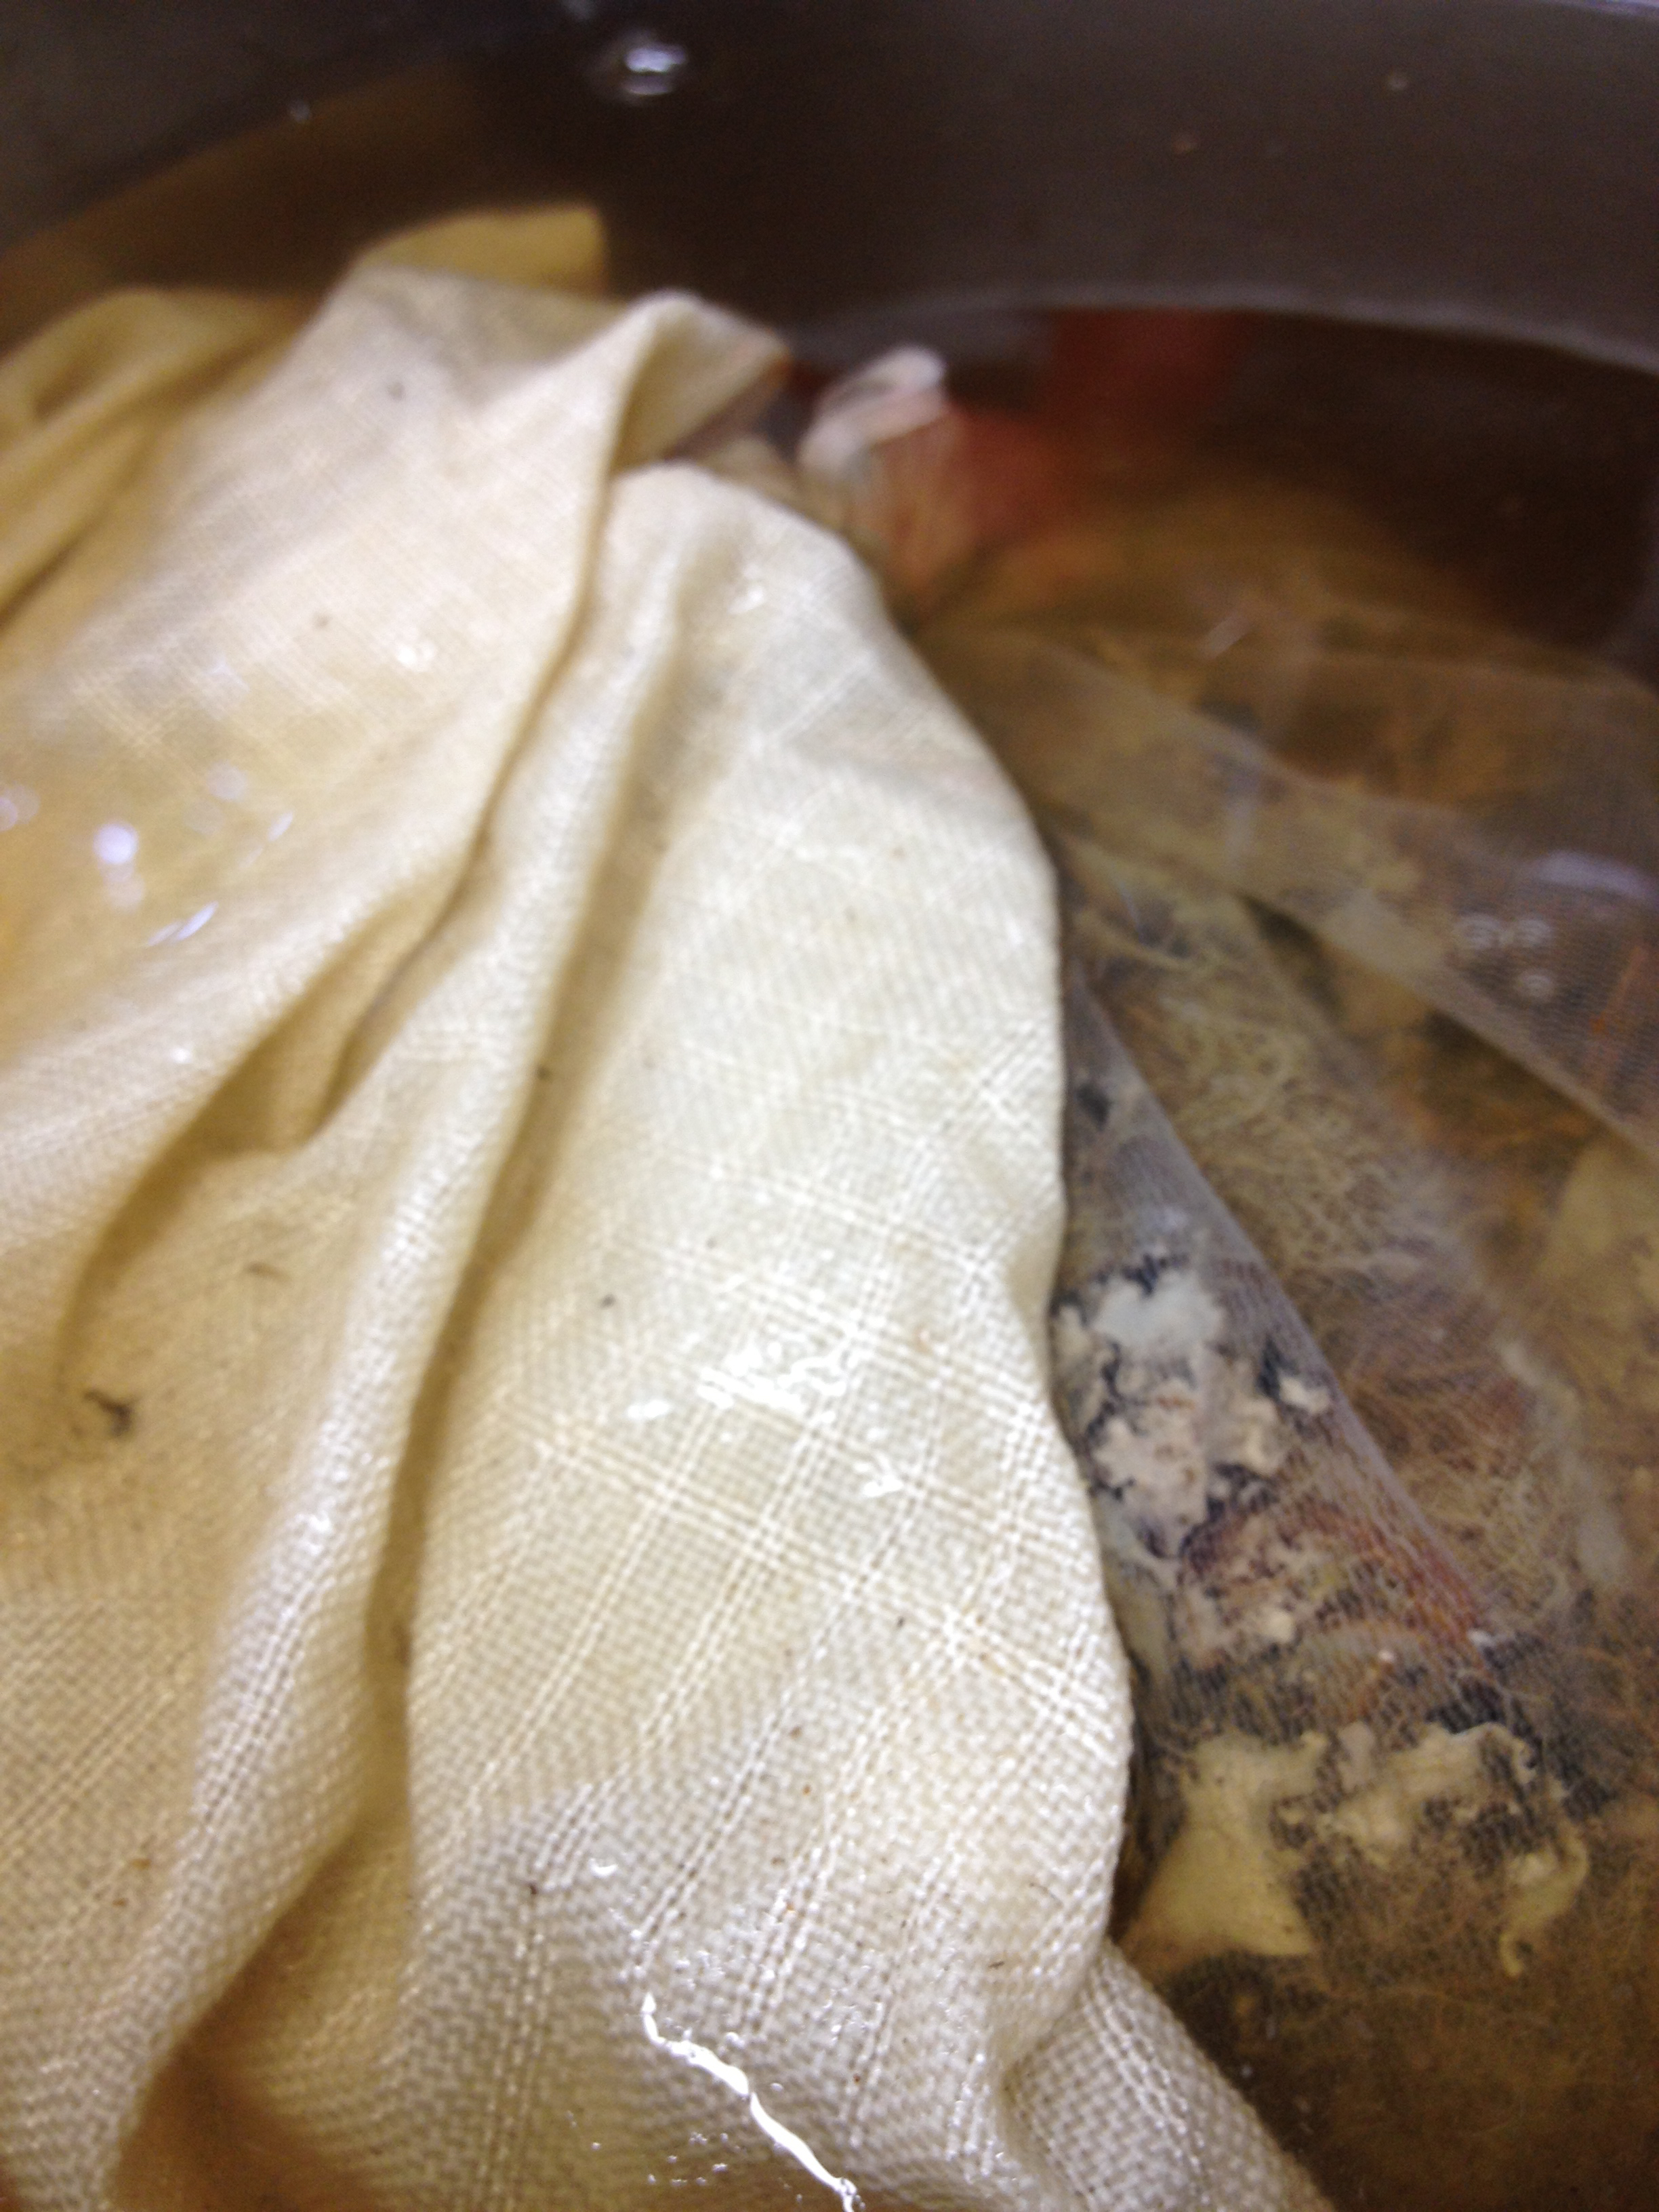
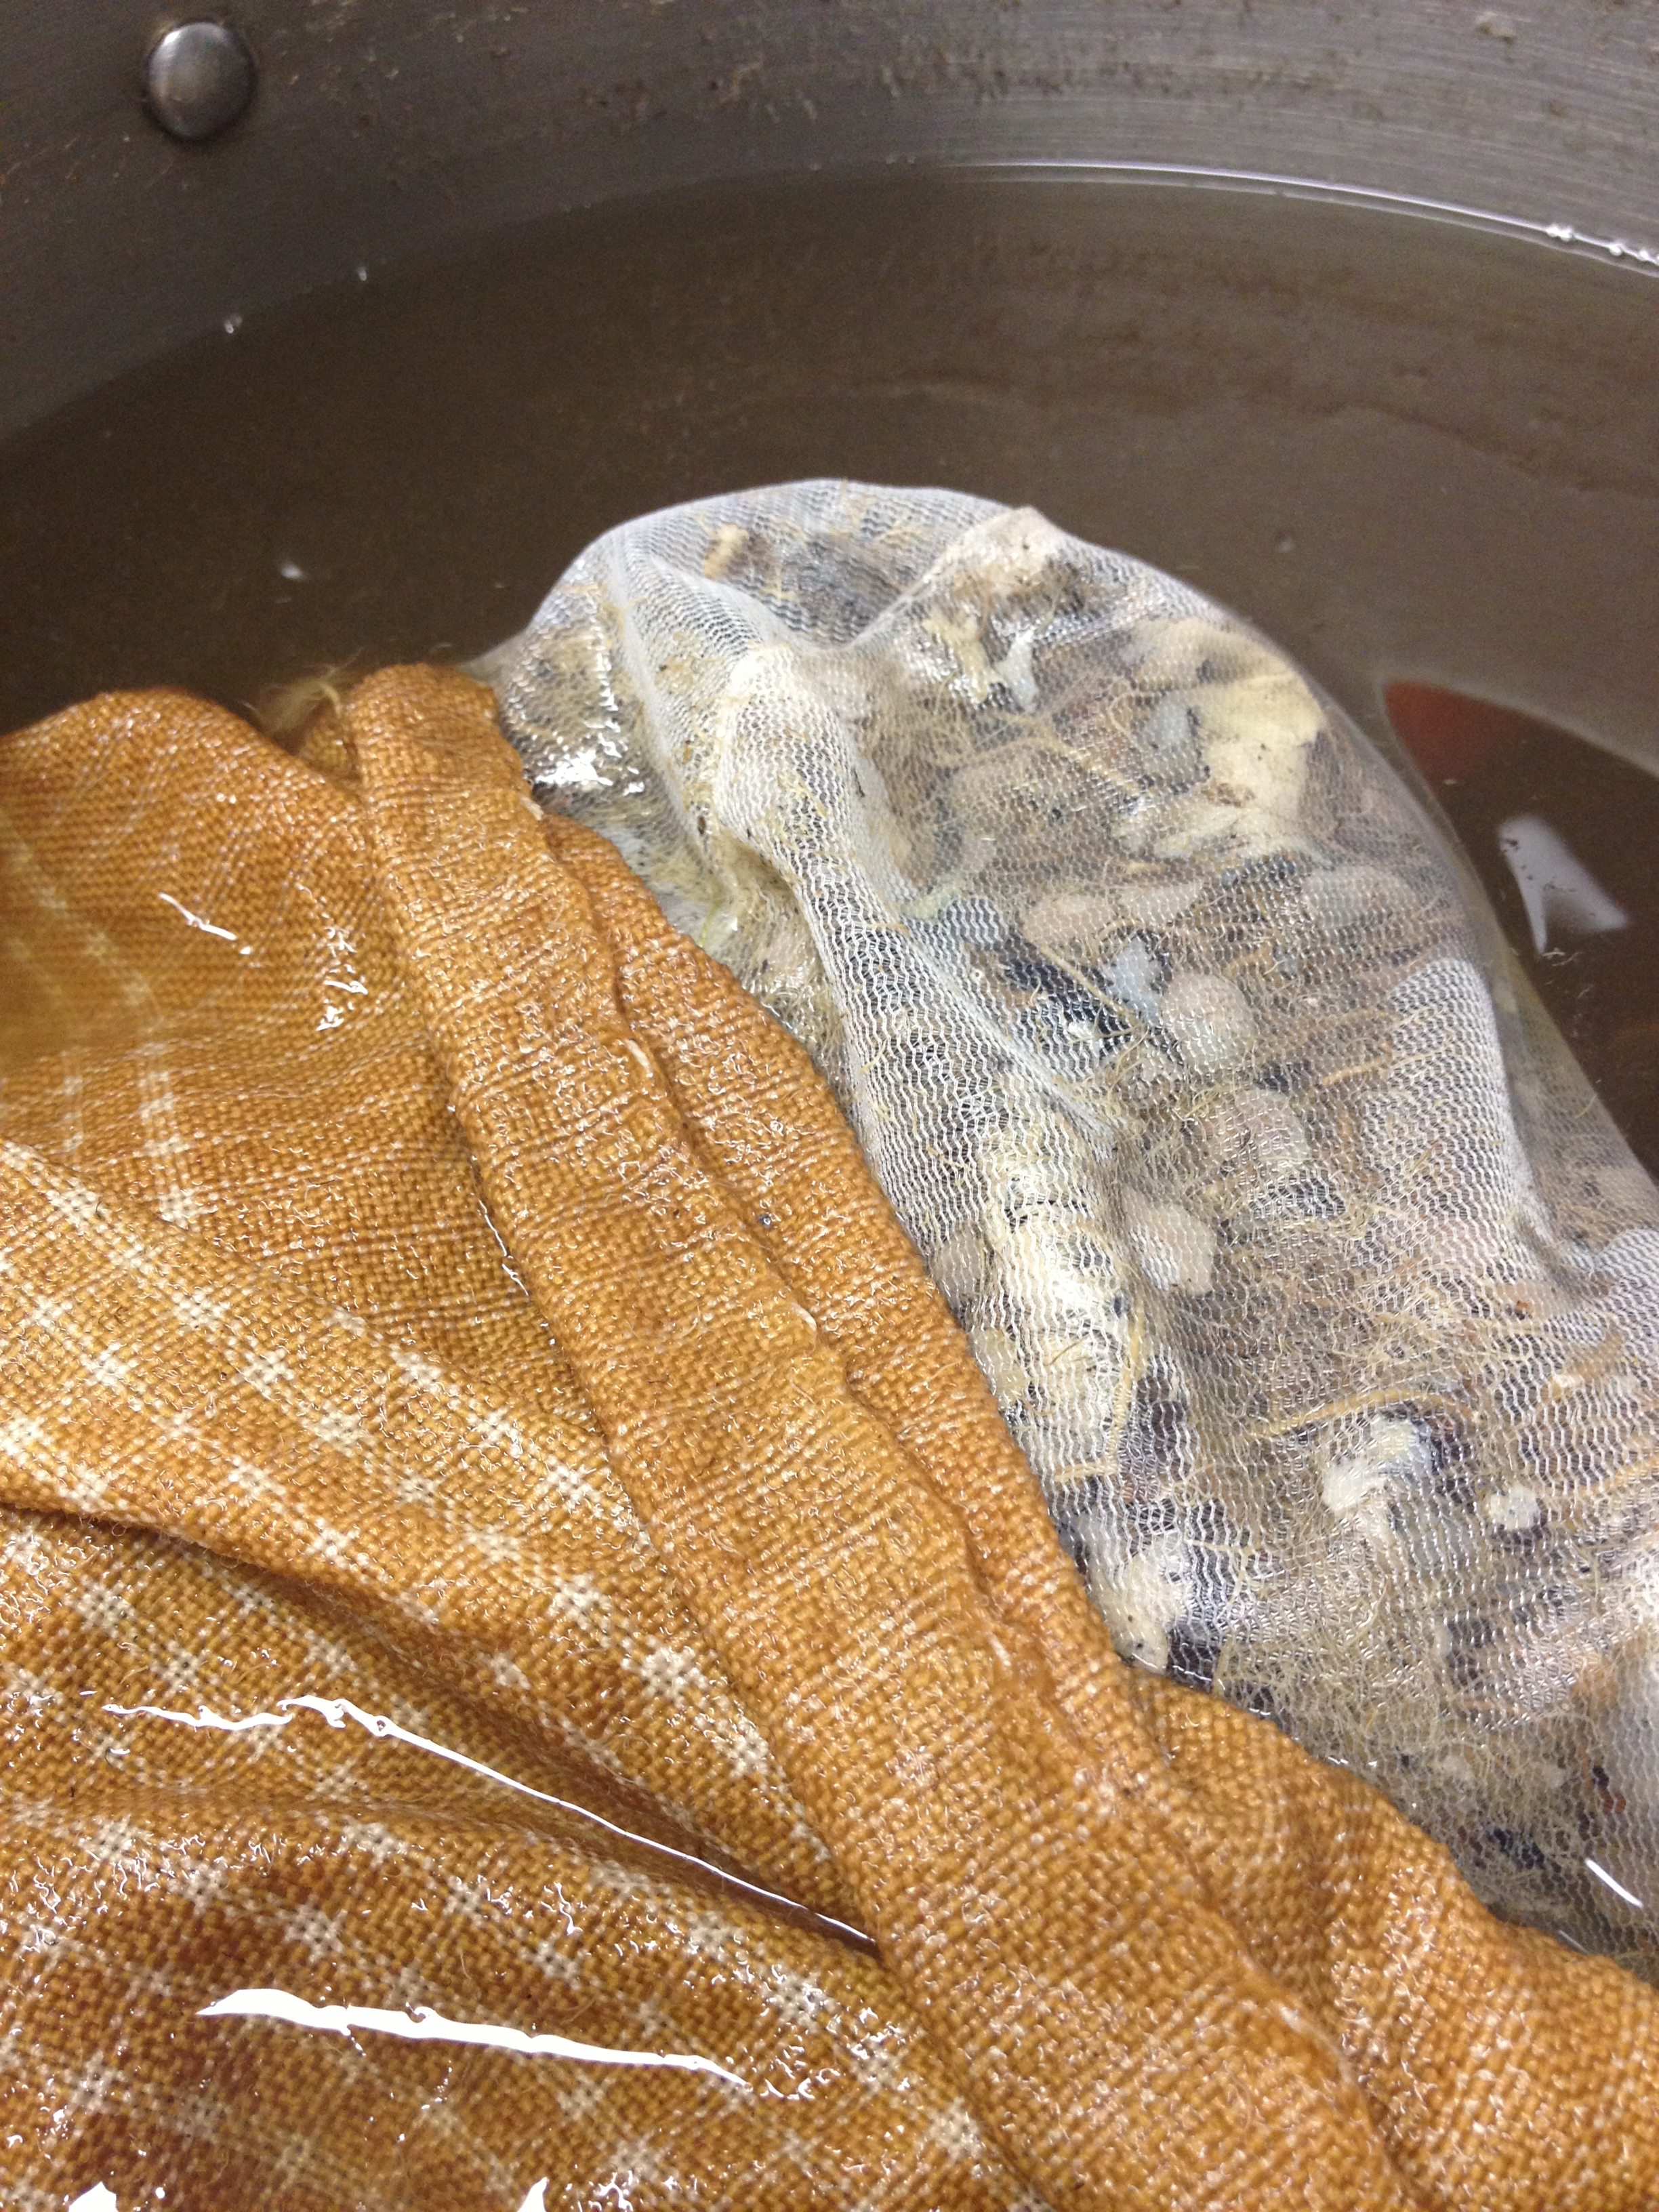
Mostly I like to walk in the forest on the Cape and pick up lichen that I find along the path. I bring it home and scrape it off the branches. I put it in a net bag, cover it with water, add some wool and then simmer for a good long time. The first sign that something is happening is the smell – deep, woodsy, and rich. That smell permeates the wool fiber and stays for a very long time in the wool. I have been told that lichens will leave a yarn mothproofed. I can’t prove that but I have yarns that were dyed years ago that still have that woodsy smell in them. The color is slow to come, but eventually a light beige color will appear, which will get darker and more gold with time and simmering. The various lichens will result in different shades of gold and brown.

Wool and cotton cloth at the start of the lichen dye bath
Wool and cotton cloth after 1hour in the dyebath

Lichen is very slow growing. I would not consider harvesting living lichen.  But once it falls to the ground it will begin to deteriorate.

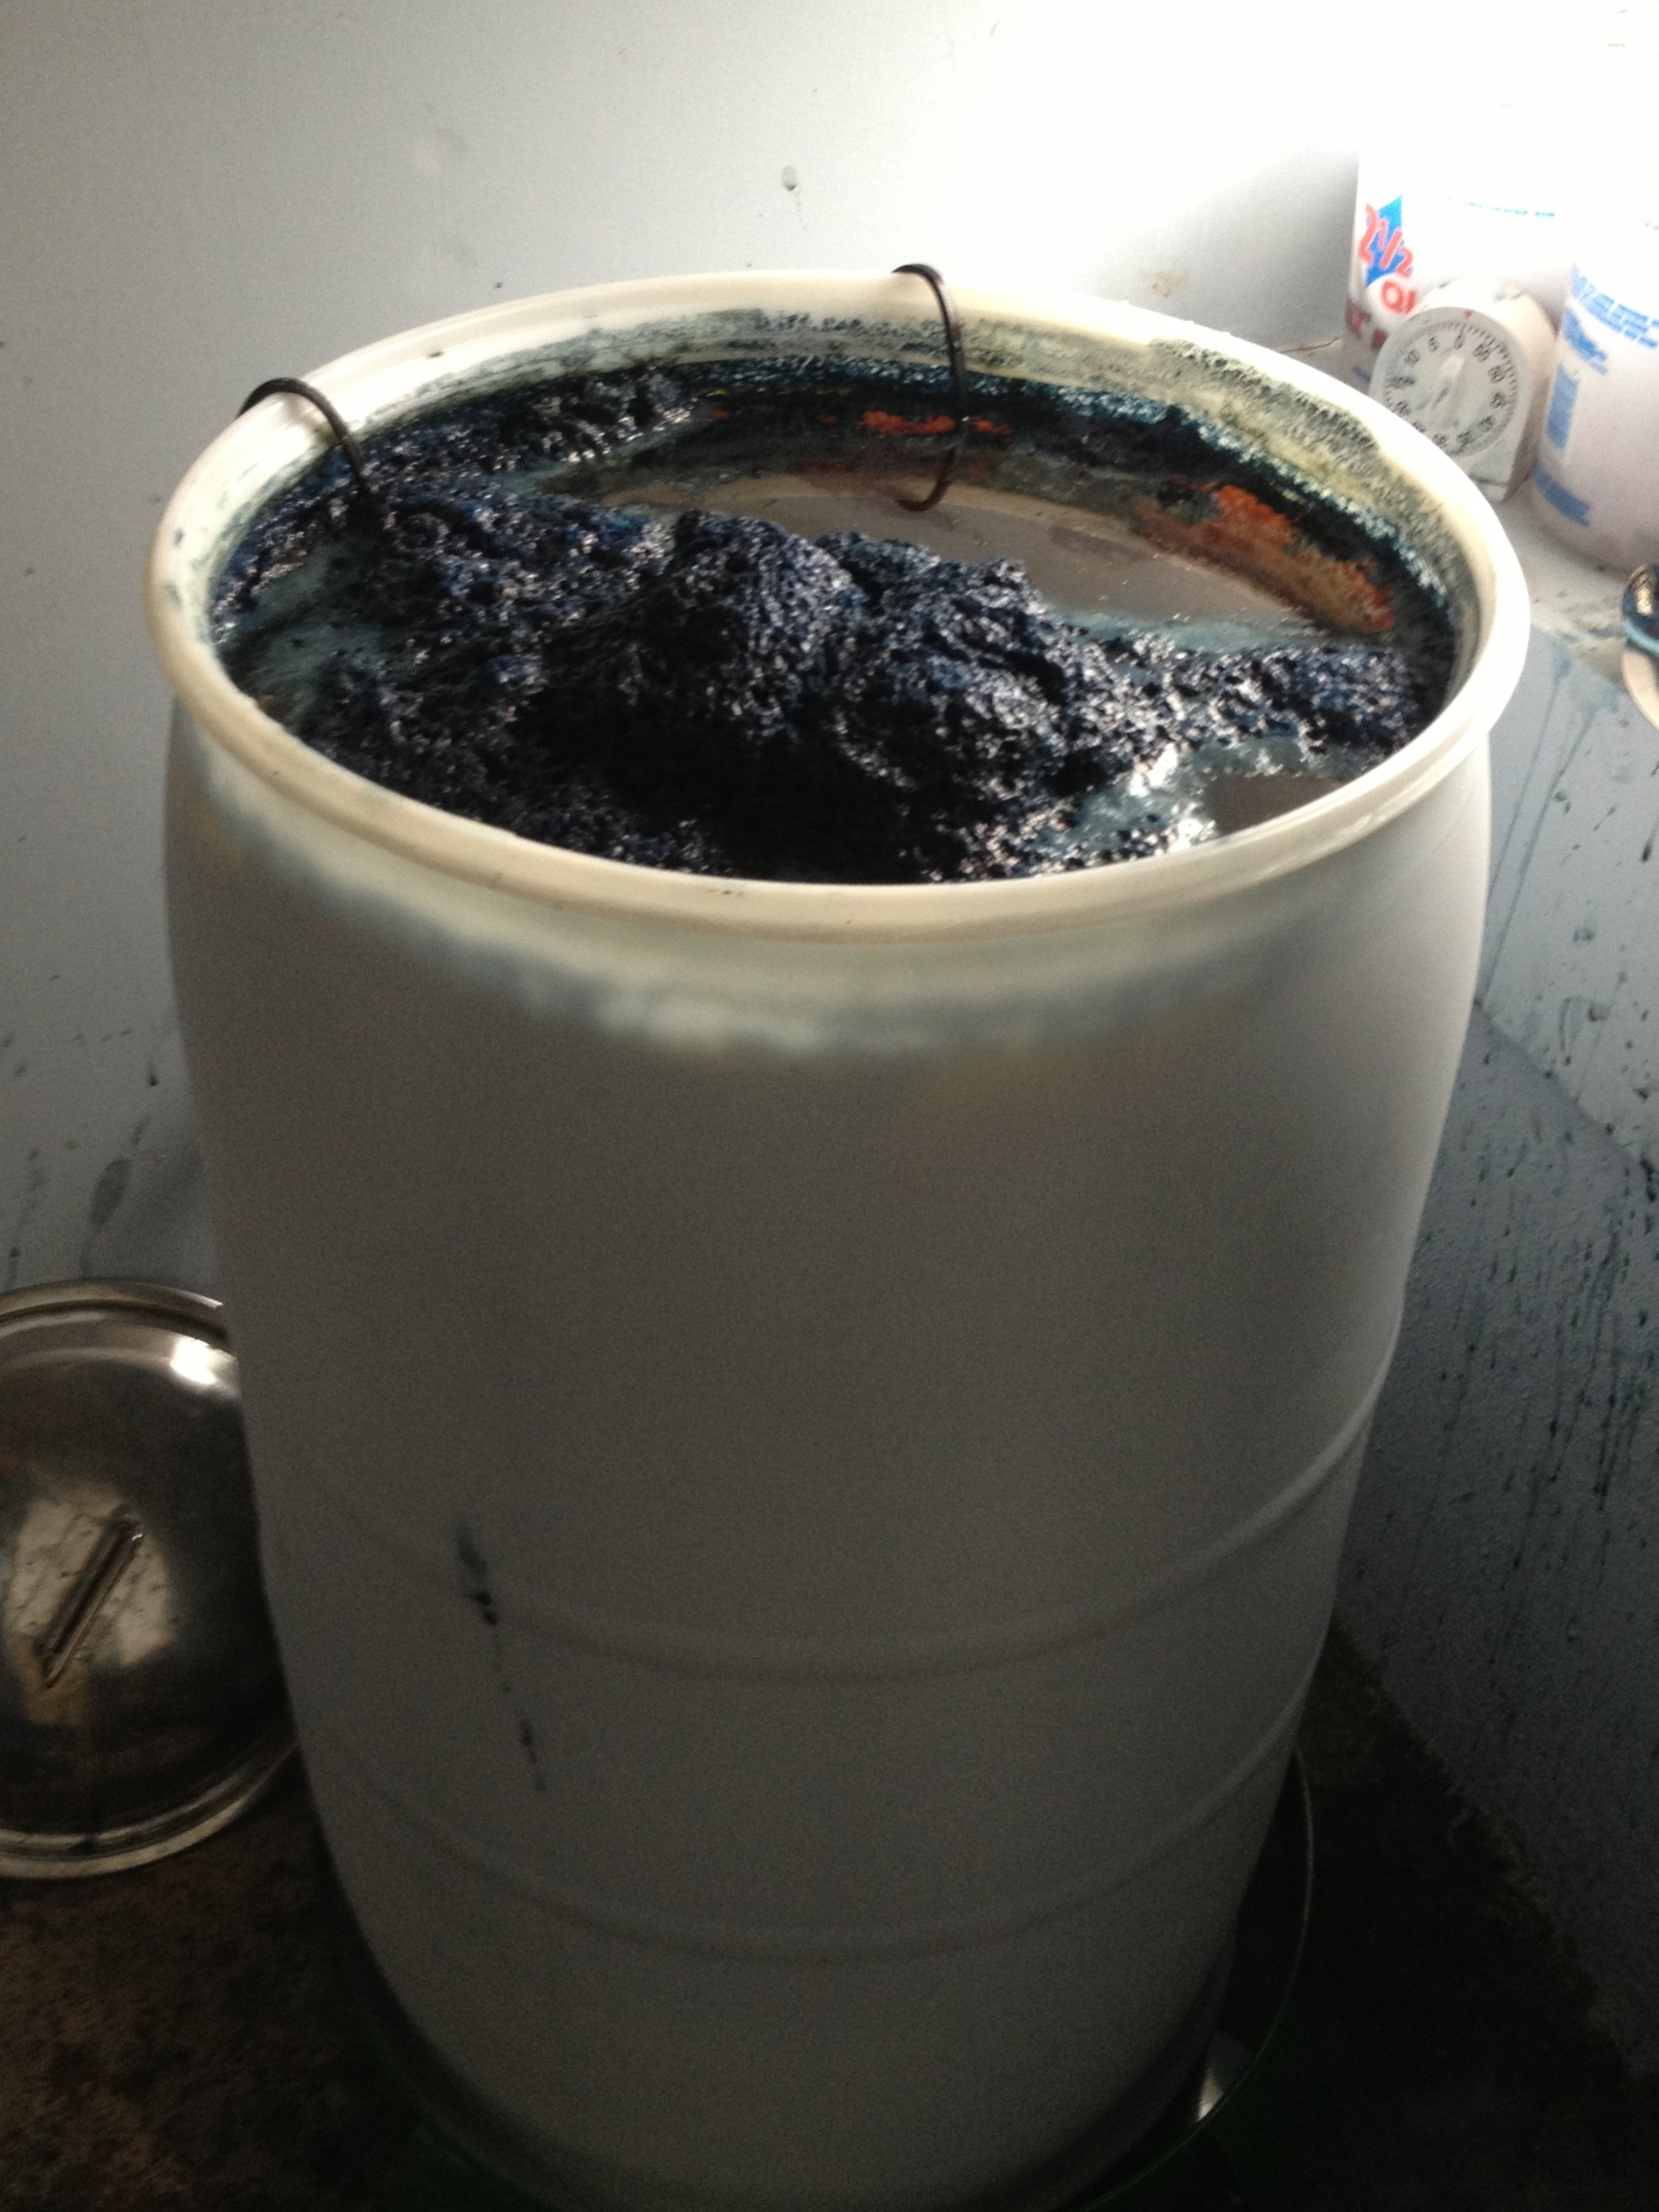
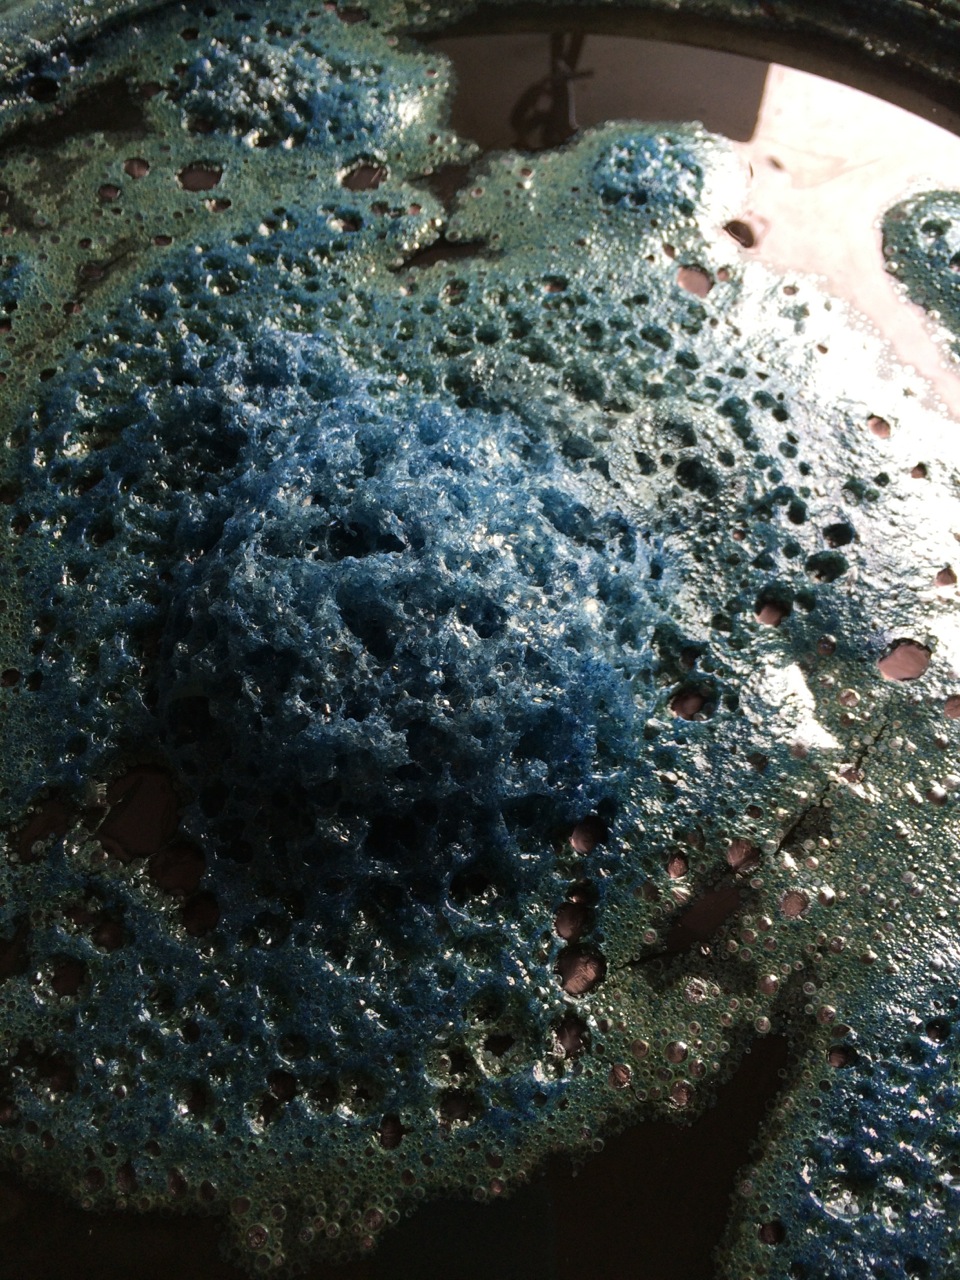
There is another class of dye lichen – the orchil lichens: Umbilicaria mammulata and Umbilicaria papalusa. They grow on rocks at high elevations where I live in NC.  They are even slower growing and should never be harvested from the rocks. Occasionally I will find a piece that has fallen to the ground and bring it home for dyeing. This type of lichen needs to be fermented in ammonia for several weeks. It will dye wool an intense purple but the color is not lightfast and will quickly disappear.

I don’t use lichens as part of my regular dye production or work. They are a special treat.  This type of dyeing is truly “play”. I use them for my own pleasure and to remind me of the walk in the woods that brought them into my path. They are too rare to be able to count on or be available commercially. The windfall gifts are my special pleasure from the woods.

OLYMPUS DIGITAL CAMERA
Colors rom various lichens

A Case for Natural Dyeing – Taking Small Steps in a Big World

I recently read a New Yorker magazine article by Jonathan Franzen entitled Carbon Capture (April 6, 2016). He begins the piece by talking about the new football stadium being built in Minneapolis and how the glass walls could spell the doom for thousands of birds predicted to fly into it each year. Requests to change the design by including specially patterned glass to prevent the collisions (raising the price of the stadium by one-tenth of one percent) were thwarted when the National Audubon Society issued a press release identifying the dangers of climate change. A local journalist responded by claiming that global warming was going to kill off many more than the few thousand birds the windows placed at risk.

Climate change is real, as are so many of our environmental issues. They are bigger than any of us and no one person can be held responsible or fix them. But Franzen makes a good case for each of us doing something. We do have the capacity to act and deal with the issues immediately in front of us – actions we can take right NOW to improve our environment.

the creek behind my dye studio

The author visited a small, isolated, Peruvian community. With the help of the Amazon Conservation Center, the residents are engaged in re-foresting steep slopes by hand, operating an experimental organic farm, and running a small scale fish hatchery that raises native species. All of these ventures are employing local people and helping them raise a bit of extra cash. Yet the most important results are enriched soil, the mediation of erosion problems, and increased populations of native bird species.

Franzen also went to Costa Rica where a tropical biologist and his wife have created a Reserve of Pacific Dry Forest. The area hosts a complex inventory of hundreds of thousands  of plant and animal species occurring within the space. This is “hands-on” science, engaging graduate researchers, school children, and local communities.

What struck him about both of these projects was the size of each of the component parts. They are small! Every one of them is manageable by individuals or small groups of people, yet the results are real and are making a tangible difference. Working at this scale reflects a meaningful engagement by a few in something that they love and believe in, yet the benefits affect many.

Eight years ago I made the commitment to study natural dyeing. I have investigated, learned, and integrated the use the natural dyes into my daily studio practice.  I was motivated to make this change by several factors: my water source is a shallow well, I have a septic system, and my studio is right next to a small creek that feeds into a larger river  – a home to local trout.  The other incentive is a desire to learn and master new information.

my vegetable garden
my vegetable garden

Last fall I had a special dye project  that I thought would best be accomplished with a chemical vat dye.  I decided to make an exception to my natural dye commitment. It had been many  years since I used these dyes and when I had the bath ready, I was struck by the unpleasant chemical smell of the vat. Vat dyes had been a regular part of my studio practice in the past and I was never bothered by, or even much aware of the smell.  Now I have become accustomed to the distinct and fragrant “natural” smells of the plant dyes: marigolds, weld, madder, and rhubarb root. Vat dyes are a petrochemical product, smell like one, and are notorious for the pollution caused in their manufacturing, not to mention their potential deleterious impact on the environment when the depleted solutions are discarded.

Weld in the garden,  ready to be harvested
Weld in the garden, almost ready to be harvested

I have decided not to use the chemical vat dyes again. Instead, I will continue dyeing with plants and  using colors that are of the earth. The only vat dye I will use is indigo, reduced with plants, plant sugars or minerals.  I will engage in and support the use of something that I love and believe in.

Can we stop global warming by using natural dyes? That is not likely.  But “one small step” can make a difference. My involvement takes the form of growing dye plants, using them in my textiles, and teaching others how to do the same. This is good for the creek that runs behind my dye studio, the compost pile that feeds my dye and vegetable garden, and for me. I care about these things.

fabrics dyed with various yellow plant dyes
Fabrics dyed with various yellow plant dyes

A Natural Dye Workshop

I teach a great deal, which I love doing.   Yet occasionally I relish the opportunity to learn from someone else – someone who has different experiences and who causes me to look at my own process in a different way. Last week I took a class in natural dyeing at Shakerag in Sewanee, TN with Charllotte and Sophena Kwon of Maiwa. When I immerse myself in a class such as this, I know that I will come away with new understandings but I can never be sure what the lessons will be.

Charllotte organized a week that included dyeing  cellulose and protein fibers in many different dyes, combinations of dyes, and with some ferrous applications. The palette was extensive and yet I knew that we were just scratching the surface of what is possible.

Charlotte Kwon, laying out samples to dry

We used the classic dyes – those that have been tried and true over many years and used in production and industry in different parts of the world. When one invests so much time preparing and mordanting fibers, it’s important to have the best dyes possible and ones that will last as long as the fiber. All the dyeing was done using formulas that are easily repeated.  Maiwa produces a line of naturally dyed clothing and as a result they have refined their processes and dye choices. We found plenty of inspiration in Maiwa’s collection of masterfully dyed fabrics from all over the world.

The “palette”
The “palette”

When it became time to dye with indigo, I was surprised that we used chemical vats reduced with thiourea dioxide. Both Charllotte and I learned the organic indigo vats from Michel Garcia, where the reduction comes from plants or fruit sugars.  I have spent the last 8 years using only these organic vats in my studio work: how to start them, to read them, keep them alive, and dye successfully with them. I didn’t think I would ever return to the chemical vats.

Stock solutions, ready to be added to the vats

It was a revelation to be re-introduced to the “thiox vat”, a real “work-horse” indigo vat that is most appropriate for quick samples or when a hard-working vat is needed for a group of people or an intense dyeing period. I was pleasantly surprised to find that the dominant smell of the vat came from the natural indigo and not the reduction chemical.

Indigo vat, fully reduced

We made 8 indigo vats one morning and all the vats worked successfully well into the night.  The organic vats would have required more rest time, more fussing, and ultimately may not have been as rewarding for the dyers in such a setting. The thiox vats were not without maintenance; we checked the pH, added thiox or lye water as necessary, and more indigo when needed.

Indigo dyeing into the night….

The lesson for me last week was to always keep an open mind. My studio practice will continue to include an organic indigo vat. Had I not spent these years committed to these organic vats, I wouldn’t understand them and they would not be an integral part of my studio. But I left last week’s class with a new attitude about choosing a process most appropriate for the setting. I am sure that there will  be a few chemical indigo vats in my future.

Natural Color: Fiber and Dye

Wool textile, Xinjiang Regional Museum

Last fall, I was in China for the 9th International Shibori Symposium (9ISS). Following the conference, I travelled with 20 other adventurers on a remarkable tour of the Silk Road in Xinjiang Province. We began at the Xinjiang Regional Museum in Urumqi.  My first introduction to this part of the world was through Elizabeth Wayland Barber’s book, Mummies of Urumqi. We viewed these mummies and dozens of remarkable textiles dating back 2,000-3,000 years. I couldn’t help but think about the fibers, the colors, and of course the dyes: brilliant, deep reds that have truly survived the test of time. Madder is the dye. It has been documented. I have never seen such richness.

Wool textile, Xinjiang Regional Museum

Early one morning we visited an animal market in Kashgar.  This is where locals came to buy and sell camels, goats, donkeys, and of course sheep. What struck me as significant were the different colors of sheep. Today, in the larger commercial wool industry, nearly every color has been bred out, leaving only pristine white wool. White fiber is typically where we begin our dyeing.

Animal market, Kashgar

When the starting point for dyeing is already shaded with tones of brown, beige, and grey, the colors we dye will take on an added depth and richness. Michel Garcia refers to this the DVD, Colors of the Americas. He begins with dark colored wools to obtain near black with combinations of madder, cochineal and indigo. Two thousand years ago in China, it’s likely that there was very little white wool. Naturally, the question I ask is “what if I use different colors of animal fibers in my woven textiles and dye the fabric afterwards for various shades from a single dye bath?”

Alpaca, various colors in warp and weft, dyed with madder (rubia tincotia) and weld (reseda luteola)
Alpaca, various natural colors in warp and weft, dyed with madder (rubia tincoria) and weld (reseda luteola)

It proved a challenge to find commercial sources of colored wools in a weight suitable for my weaving. I settled for alpaca, which was readily available in a variety of grey and brown, light to dark. I wove fabric with multiple shades in the warp, and then chose some of those yarns for the weft.

Alpaca, various colors in warp and weft, dyed with madder (rubia cordifolia)
Alpaca, various natural colors in warp and weft, dyed with madder (rubia cordifolia)

I have grasped a deeper appreciation for fiber and natural color. Our starting point deeply affects the ultimate result. We’re not just dyeing cloth, but yarn and ultimately the fiber itself. I have a new appreciation for diversity of that fiber. Many of our local breeders raise naturally-colored sheep, but these wools rarely become commercially spun yarns. During the plenary sessions at 9ISS both Zhao Feng, Director of the China National Silk Museum and Alejandro De Avila, Director of the Ethnobotanical Gardens in Oaxaca Mexico, referred to similar historical fabrics, from their respective countries. Each of the fabrics was woven in a simple check pattern of natural brown and white fiber. The fabrics were resisted with similar tie-dye processes and then dyed red. Resourceful and creative weavers and dyers have used naturally colored yarns for centuries.

Alpaca, woven shibori resist, dyed with madder (rubia tinctoria), inspired by  check patterned textile from China and Mexico
Alpaca, woven shibori resist, dyed with madder (rubia tinctoria), inspired by historical check patterned textiles from China and Mexico

The presentations by both Zhao Feng, and Alejandro de Avila, as part of the 9ISS proceedings, may be viewed here.

Broom Update

The Scotch broom (Cytisus scoparius) is gone. I appreciate all of you who warned me about the potential problem of letting it go to seed.

The dyer’s broom (Genista tinctoria) is now in full bloom and there is plenty of room for it to spread.

broom in bloom
broom in bloom
dyer's broom, detail
dyer’s broom, detail
left, cotton woven shibori with various mordants, right, wool  with alum mordant. dyed with broom
left, cotton woven shibori with various mordants                                                                                   right, wool with alum mordant                                                                                                                        dyed with broom

Maintaining and Troubleshooting an Organic Indigo Vat

Jacquard woven shibori, indigo dye

The questions I receive most frequently about natural dyeing seems to center on  the indigo vat and its maintenance. Since 2011 I have been making and using organic indigo vats, an art and  skill that I learned from Michel Garcia.

My current vat began in a 5 gallon vessel over 2 years ago. I enlarged it to fill an 8 gallon vessel, and then last year I enlarged my vat again to fill a 30 gallon container. The increased size was needed because I was dyeing larger pieces of cloth.

my current indigo vat, 30 gallons
My 30 gallon indigo vat

The vat was made using henna as a reduction material. I chose to use this material because the slow release of sugars is good for a vat that will be maintained for a long time.  I add fructose after each use and additional henna when I need to boost the reduction. Lime (calcium hydroxide) is the alkaline.

The vat is used regularly and I achieve excellent color from the indigo.  The large size challenges me to solve problems as I encounter them. It would be tempting to discard a small vat that was not behaving well and begin again, but emptying this vat would require a great amount of effort. As a result I’ve learned a lot about maintaining the indigo vat.

An indigo vat is happiest when it is used on a daily basis. After each dyeing session I “feed” it with a bit of fructose, stir it to bring the un-reduced indigo and reduction materials up from the bottom, check the pH, and let it rest for a few hours before dyeing again.

Occasionally I run into problems that I need to solve. Recently I was away from home for several weeks. Before I left, the vat was dyeing rich, deep blues. The color of the vat was a golden bronze and there was a good healthy “metallic” sheen on the surface and plenty of bubbles.

surface of a healthy vat
Surface of a healthy vat

When I returned home the first thing I did was add lime to the vat.  When an indigo vat sits dormant for any amount of time it becomes more acidic and the pH goes down. I can test this with pH papers but a good visual indicator is to sprinkle some lime on top. If the lime is immediately “sucked” down into the vat – you can assume that the vat is in need of the lime. If the lime just sits on the surface, the pH is probably fine.

Next, I stirred the vat and waited for it to settle. The color of the vat looked good, as well as the surface. The vat was a clear gold color and there was a coppery sheen on top. But the first test sample resulted in barely any color at all!  That was a surprise, since I thought there was plenty of indigo in the vat. I thought I had also been “feeding” it with plenty of sugar. The vat had been used very heavily before I went away. I thought that possibly the indigo had finally been exhausted.

Before adding more indigo to the vat, I decided to add more sugar – a generous amount. Once added, the vat was stirred and I waited until the next day to do another test strip. It produced a  blue, though it was relatively light. I repeated the sugar-stir-rest and dyed again the next day. It was darker. I repeated the sequence again, and finally got back to a shade of blue similar to that which I had before going away.

dye test strips
Dye test strips

The lesson here is that before adding indigo to a vat, test it thoroughly for pH and reduction.  Although it “appeared” to be healthy, my vat was not reduced and the indigo wasn’t available to dye the fibers.

A Lesson About Dye Plants: Broom

Several years ago, as a novice dye gardener, I was perusing dye books to determine which plants I could grow here in the mountains of North Carolina, and I found a mention of the plant called broom. I had never grown it before and had never dyed with it, so I ordered two of the plants that were specified in the book: Cytisus scoparius, otherwise known as scotch broom. I had seen this plant growing along the roadsides in the west and knew that this plant was very invasive. Were all of those plants a potential source of great color?

After the plant had been in the ground for a year, I did more investigation and learned that scotch broom (Cytisus scoparius) was NOT the great dye plant I thought it might be. The one I should have planted was dyer’s broom, (Genista tinctoria). Other names for this dye plant are dyer’s greenwood or woad waxen. It has a long and distinguished history as a plant used for dyeing. In fact the word “tinctoria” is the latin word meaning “used for dyeing” and any plant that has “tinctoria” in its name has been traditionally used for dyeing. All dye plants, though, do not contain the word “tinctoria” in their name.

I ordered two dyer’s broom (Genista tinctoria)  plants and put them into the bed outside my studio next to to the scotch broom. When both plants were large enough I did some dyeing and compared the samples. I needed to see for myself what, if any,  difference there was in the two plants. There was clearly “no contest” in the results obtained The dyer’s broom dyed both wool and cotton in brilliant yellows and yellow greens. The color is  very similar to the one I get from weld plants. In fact both weld (Reseda luteola) and dyer’s broom (Genista tinctoria) contain luteolin, which gives a clear yellow that is extremely fast to washing and light. The scotch broom (Cytisus scorpius) gave me a very pale yellow or beige color.

The scotch broom (Cytisus scoparius) in my garden is blooming this spring for the last time. As soon as the flower “show” is over I plan to  remove it in order to make additional room for the dyer’s broom (Genista tinctoria).

Last year I was able to harvest enough of the dyer’s broom (genista tinctoria) for several projects and dry some of the shoots and leaves for later use. Genista tinctoria has earned a place in my garden. I still have a lot to learn from this plant, such as when is the best time to harvest for dyeing or drying and how to keep it pruned properly. I have learned to do more research about my plants and ALWAYS to pay attention and use their latin or scientific names.

Cytisus scoparius, left Genista tinctoria, right
Cytisus scoparius, left. Genista tinctoria, right

Experiments and Results

I am a weaver of textiles and a dyer. In the past I have used all types of chemical dyes to obtain desired results with my woven shibori fabrics. I live and work in the mountains of North Carolina near a small creek that flows into a river full of native trout. Our water comes from a shallow well and we have a septic system.  I have developed an an increased awareness of potential chemical pollution of these water sources and systems and have been inspired to begin a study of natural dyeing.

For the last 8 years I have been engaged in a learning adventure about natural colorants which I have found deeply satisfying. I have been exposed to great teachers: Michel Garcia of France and Joy Boutrup of Denmark. They are both scientists, and dyers, who have both helped me find a path which includes questioning and observing. Michel Garcia once stated in a class that it was more important to understand “why” than “how”. I have thought about this a great deal and always try to go beyond a recipe in order to understand the logic behind it.

IMG_0506

I am an artist, not a scientist,  but have developed the skills to observe carefully and trust my own experiments. If I don’t know whether “X”  or “Y” process will work best, I do them both and record the results. My goal, as an artist, is to learn effective processes. I don’t always have a definitive scientific answer but I have learned to  observe objectively and be willing to change the way I work.

Each experiment brings a new insight and the realization of just how complex the field of natural dye is. My understanding of the fibers and interactions with dyes themselves has deepened, and I have a new respect for botany and chemistry.

I regularly carry out lightfastness tests, using the blue wool scale, an international standard to measure  the lightfastness of dyes. As a result of the tests, I have relegated some dyes to the back of my shelves some dyes from my shelf because they don’t perform well enough. When I go back and read old dye books, history usually confirms what I learned first hand.

My teaching and my work is now done entirely with natural dyes. Frequently students and colleagues contact me with questions, requesting further clarification of process, or needing encouragement. I try to answer those questions and at this point have decided to answer them in a more public format in the hope that the information might be of use to others. Hence the creation of this blog: Natural Dyes: Experiments and Results.

I don’t always have definitive answers. I know only what I have experienced and that knowledge is constantly evolving. I trust and depend on my teachers and colleagues who are using natural dyes and we have begun to study and question together. So I will share some of my own lessons from my own dye studio, my “kitchen of natural colors”, as we all learn together.

Your feedback is welcome and desired.

working in the window
Lightfast test “working” in the window