How to Finish Indigo and a Natural Dye Book in the Works…

Last week I received several questions about how to finish textiles after dyeing with indigo. What now comes naturally to me, I realize, is not well understood by all dyers.

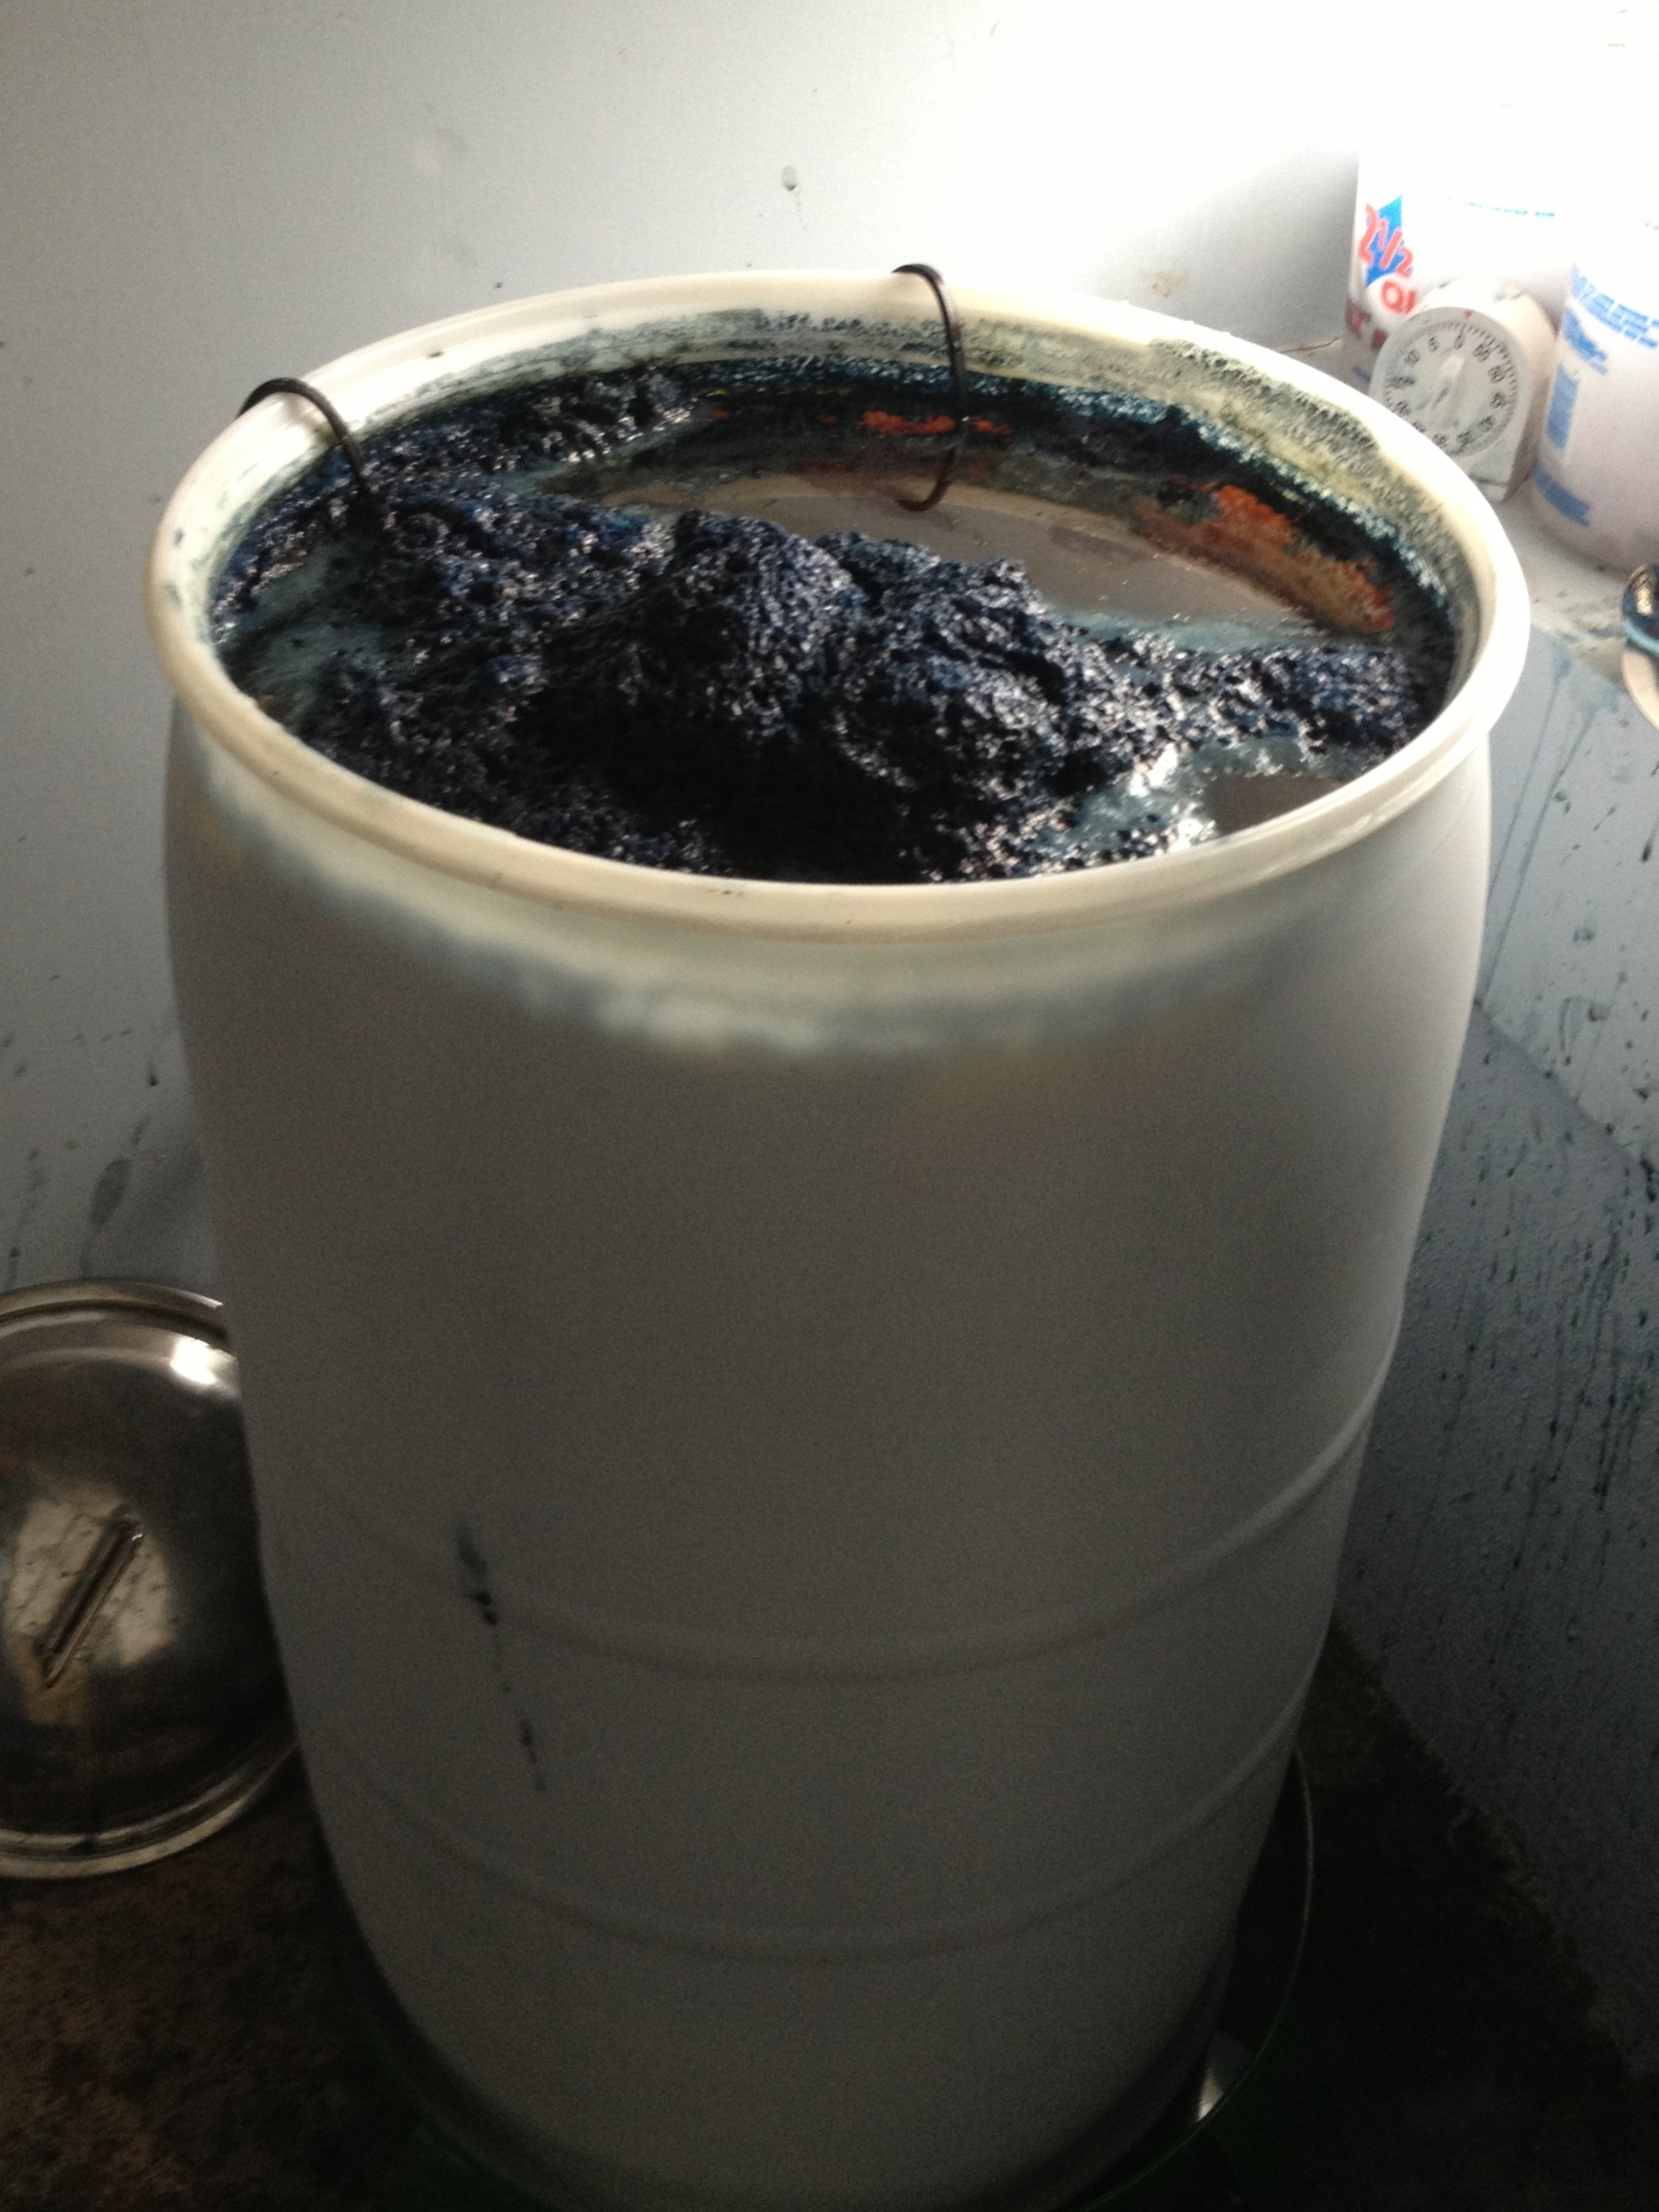
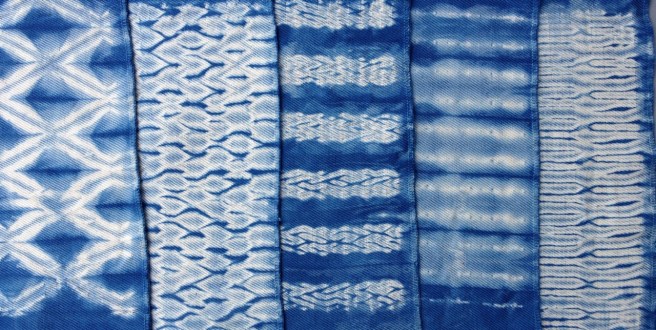
First, back to the dyeing: the textile should be dyed in long immersion baths (10-20 minutes). Without the long immersion, the dye will only sit on the surface of the textile and will not be lightfast.

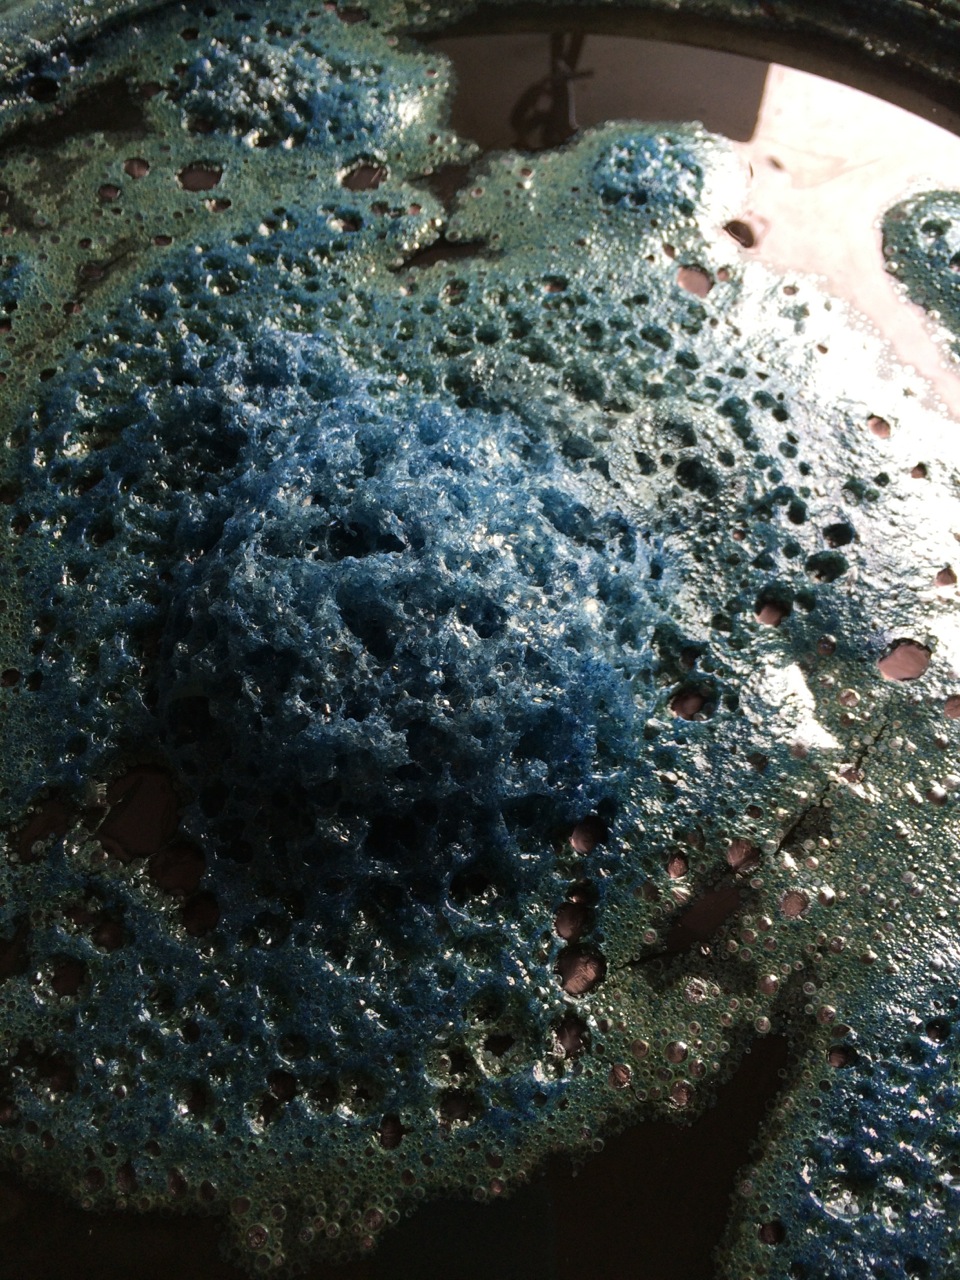
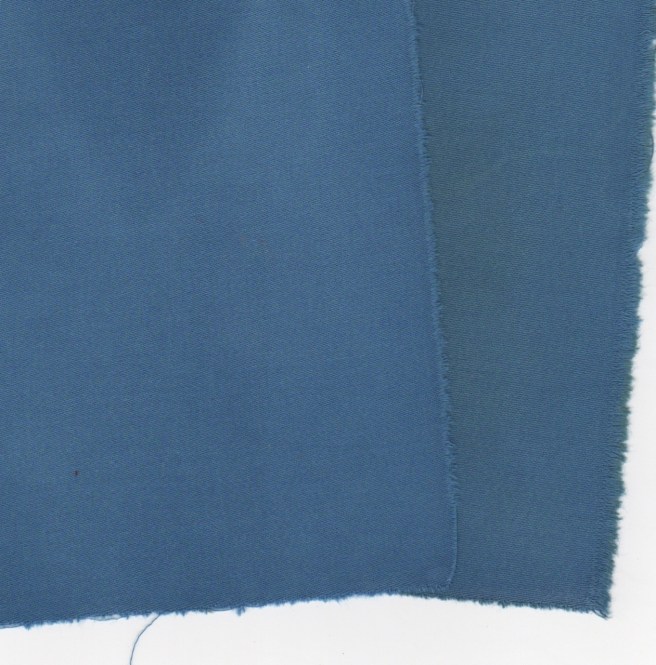
Once the dyeing has been completed (and all the dye has oxidized) the textile must be neutralized. There is a great deal of alkalinity in the fibers from the calcium hydroxide (lime, calx) and that requires neutralization. Without this step, the textile will be vulnerable to damage. It will yellow over time and it won’t have a good hand.

IMG_0092


Many years ago, I made the assumption that only protein fibers needed to be neutralized. That is definitely NOT the case. All fibers must be neutralized!

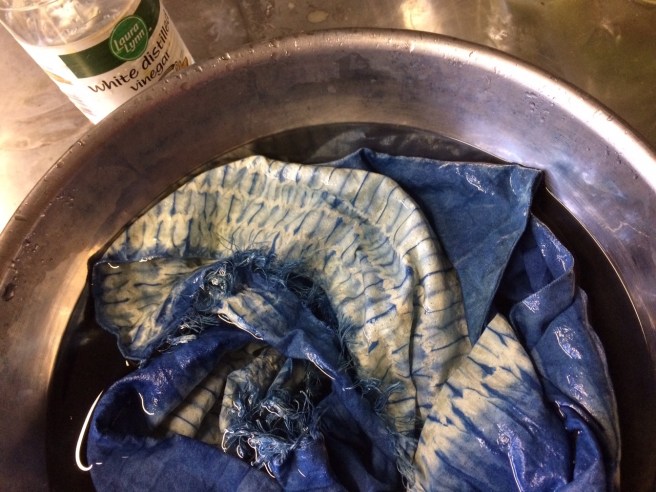
Neutralization takes place in a water bath, to which a few “glugs’ of white vinegar (5% acetic acid) have been added. This is equivalent to about 1 tablespoon (10 ml.) per liter of water. Allow the textile to soak in the vinegar bath long enough for the acid to fully penetrate into the fiber (a few minutes to one hour, depending on the density of the textile). You can actually see the color brighten during this step.

indigo discharge 11
Silk, neutralized fabric on the left
indigo discharge 10
Cotton, neutralized fabric on left

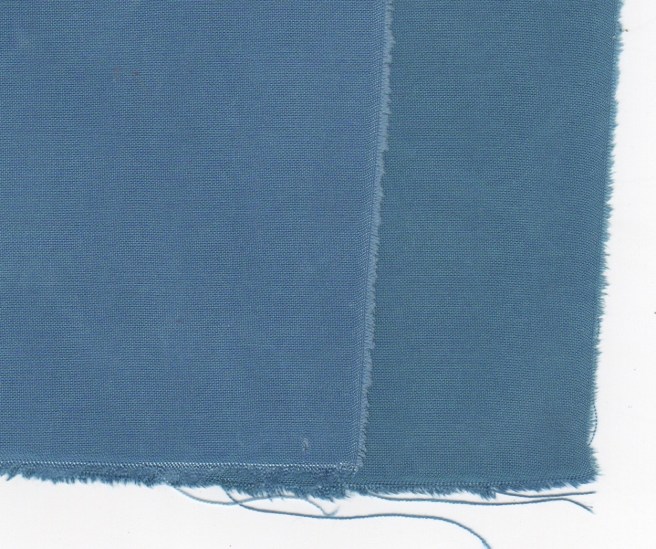
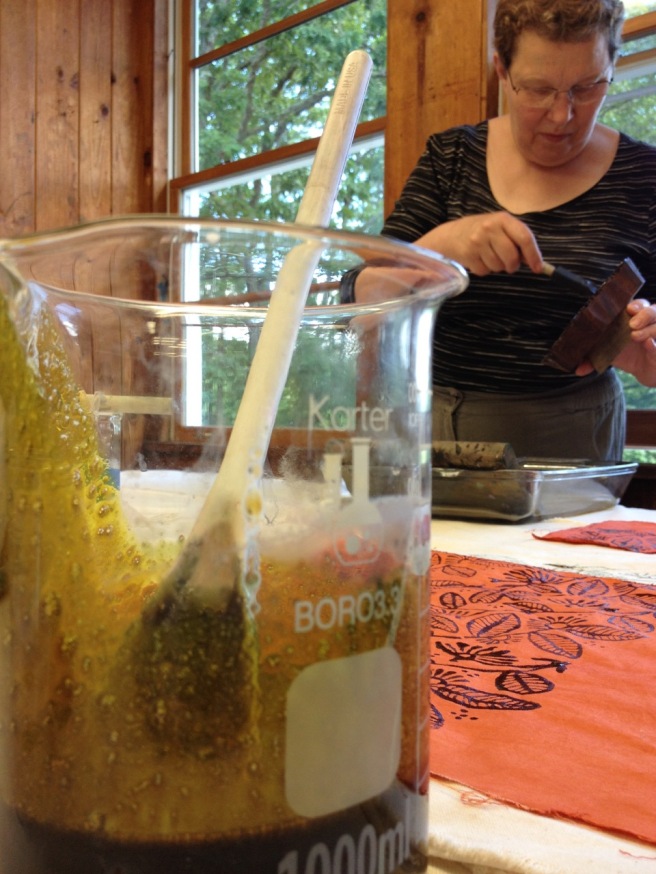
Next, the textile must have all excess dye completely removed. The best way to do this is in a heated bath, to which a small amount of pH neutral detergent is added. Heating will cause the vat dye molecules in the fiber to combine into larger units, making them stronger, while also removing excess dye that has not attached to the fiber. Boil cellulose for about 10 minutes. Protein fibers can be heated to an appropriate temperature and maintained at that temperature for about 10 minutes. After this step a thorough rinsing should be performed. THAT’S HOW TO FINISH INDIGO!

Sample Set B

How did I come to understand all of this? I would still be wondering about much of it without my friend and colleague, Joy Boutrup. Joy is a Danish textile chemist, engineer and creative thinker. In an earlier post, I mentioned that we have taught together many times at Penland School of Crafts. Joy has helped me to understand process and the reasons behind the process. In its most recent issue, Fiber Art Now magazine has published a wonderful article about Joy, written by Lasse Antonsen.  I encourage you to read it here.

Version 2
Penland School of Crafts, NC

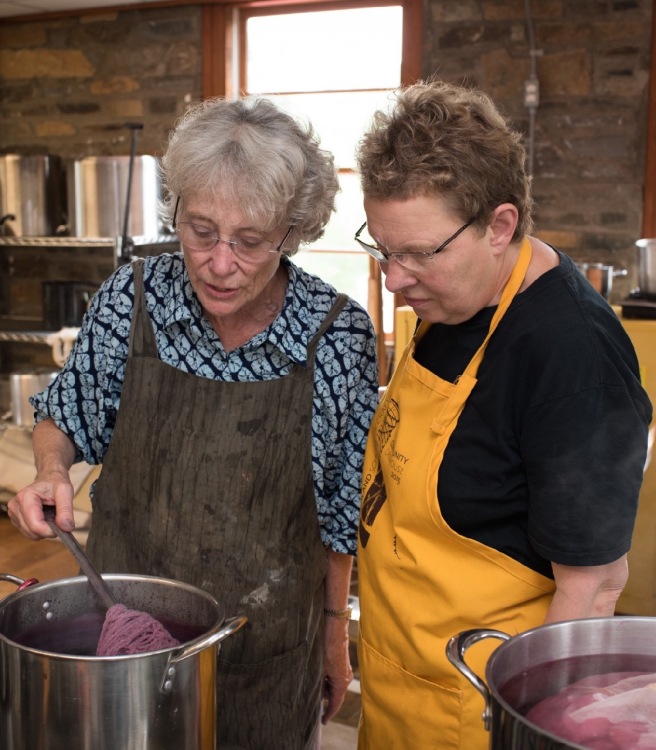
Joy and I are currently writing a book on natural dyeing! It will be a practical handbook for dyers, which not only explains HOW to dye but WHAT is happening in the process and WHY we might choose one process over another. Schiffer Publishing Co. will publish the book. Release date is targeted for late 2018.

Version 2
Joy, printing with indigo in the Penland studio

As I work through studio processes and words of explanation for the book, I realize how much I have learned from Joy’s deep understanding and perspective and I value her as a collaborator. Our book should help all of us to become better dyers.

How Much Indigo in the Vat?

As I learned to use organic indigo vats, I started with recipes from Michel Garcia: “one, two, three”. Michel talks about the vats in simple terms. It’s as easy as 1,2,3. This also represents the proportions of indigo, lime, and sugar that go into the vat:

  • 1 part indigo
  • 2 parts lime
  • 3 parts fructose sugar

It’s simple, right?

Not always.

I probably get more questions about making and maintaining an indigo vat than anything else. There are so many unknowns. It’s taken me a number of years to feel comfortable with those unknowns and to gain the confidence to solve problems with the vat.

I recently had several people ask me about the quantity of indigo in the vat. That’s an important question. Unless you know how much indigo, you can’t really determine how much sugar (or other reduction material) or how much lime.

I’ve watched Michel make vats with very small amounts of indigo and what I would consider very large amounts of indigo. What is the difference? Will you get a darker color from a vat with more indigo?

The answer is “yes” and “no”.

I made 3 small fructose vats with varying amounts of indigo

  • 2 grams indigo per liter of vat liquid volume
  • 5 grams indigo per liter of vat liquid volume
  • 8 grams indigo per liter of vat liquid volume

As you can see from the samples dyed the very next day, there was a great deal of difference in the colors produced from each vat. Even on day 3 there was significant difference. But one week later, the 3 shades of blue are much more similar. All of these samples represent only one 20-minute dip in the vat.

scan-545
Dye tests done with a single long dip in the three different vats

Why would you use 8 grams of indigo per liter instead of 2 when you can get a similar color from both these options? There is more indigo in the vat, which means more can be dyed over a longer period of time before additional indigo must be added. If I were doing a short-term vat for a small amount of dyeing, 2 grams of indigo per liter would probably be plenty.

The questions to ask are:

  • What  quantity of textiles will  be dyed in the vat?
  • How many people will be using the vat?
  • How long do you want to keep the vat?
  • How quickly to you need to get strong color from the vat?

The coloration of the reduced liquid in the 3 vats is different, indicating varying amounts of indigo in reduction. But the textile is only able to absorb so much dye at a time. We always build up color with multiple, long dips in the vat.

img_9825
Three indigo vats reduced with fructose: 8 grams, 5 grams, and 2 grams of indigo per liter

The other thing you can see through these glass jars is the amount of sediment at the bottom of the vat. The weakest vat has very little and it gets progressively deeper with the stronger vats. It’s important to keep our textile above this sediment when it’s dyeing.

I currently have a 30-liter vat that I have been using for over a year now. I’ve added indigo to it a couple of times, and of course plenty of reduction material and lime. The vat is still working well but over the months the sediment has gotten very deep, which has reduced my dyeing space so much that it’s time to make a new vat.

The “1,2,3.. ” proportions are guidelines and easy to measure if you’re using fructose. How many bananas or sweet potatoes do you need to reduce 10 grams of indigo? Take a good guess. Making small experimental vats in glass jars has taught me a great deal about how the vat works. We don’t always know but have to start somewhere.

Observe carefully. One must be patient with the indigo vat.

Indigo Reduction Materials

Michel Garcia has inspired and informed many of us in the use the organic indigo vats. He has given us a simple one, two, three (1:2:3) recipe that refers the proportions of indigo, lime (calcium hydroxide) and reduction material (often a sugar).

But nothing is ever as simple as 1:2:3! Dyers work hard to determine how to keep their vat active, when to add reduction material, when to add  lime, and how to best dye their textiles.

A key issue dyers must think about is the selection of the best reduction material that is also readily available. Michel commonly recommends the use of fructose or a fruit that is high in sugar, such as bananas. These high-sugar materials assure that the indigo vat will go into reduction quickly and successfully. I recently had a reader ask me if dextrose will work as well as fructose. I didn’t know, so I tried it. It was slower to reduce, but in the end resulted in colors very close to those obtained with fructose. On the other hand, cane sugar resulted in no reduction whatsoever.

scan-536
Vats were made with fructose and dextrose

In November I was in Oaxaca, Mexico for the 10th Intentional Shibori symposium, where Michel Garcia and I were both teaching workshops. Our time in Mexico proved to be another opportunity to realize how much more there is to learn about indigo vats.

One day, we were eating fresh oranges and Michel mentioned that we could use the orange rinds to reduce an indigo vat. I was surprised (and a bit skeptical) since I knew that oranges were acidic. It turns out that the orange juice is acidic but the rinds are full of pectin, which is an excellent reduction material.  We ate a lot of oranges, cooked the rinds, and used that juice to make our vat. Of course, it worked!

Further discussion of indigo vats in Michel’s class revealed that some vegetables can also be used to reduce the indigo vat: turnips, zucchini, etc. Some of these vegetables contain pectin as well as sugars.

I never really know something until I’ve tried it. In the last few weeks I have made nine small indigo vats using citrus skins and chopped vegetables. I made the vats in glass jars with 1 gram of indigo per liter of solution.  A great deal can be learned about an indigo vat when it’s made in a transparent container. I can see the color of the vat, the amount of un-reduced material at the bottom, and the speed (or slowness) at which the vats reduce. The use of the vat for dyeing is the ultimate test.

The “citrus series” was made with

  • Cooked orange rinds
  • Cooked lemon rinds
  • Commercially available ground orange peel
  • Commercially available pectin from the grocery story (additives included dextrose and fumaric acid)

When using fruit, I cooked the rinds from several small oranges or lemons in water and used that liquid as the basis of the vat. I used the 1:2:3 proportions (by weight) as a guideline for the commercially available orange peel and pectin (1 part indigo, 2 parts lime or calcium hydroxide, 3 parts reduction material).

scan-535
Samples dyed in the vat 1 day after making the vat and 9 days later. Reduction of the indigo vat is sometimes not complete for several days. The vat made with cooked lemon rinds never reduced well and continued to have a great deal of un-reduced material in the vat. All dying is a single dip in the vat.

The “vegetable series” was made with

  • Zucchini
  • Turnip
  • Carrot
  • Sweet potato
  • White potato

I used the equivalent of one medium sized vegetable per liter of vat liquid. The vegetables were chopped into small pieces and boiled for 15-30 minutes or until the vegetable matter was very soft. The liquid was then strained to make the vat.

img_9717
A vat in a pint size jar is enough for testing.
img_9715
The color of the bubbles on the surface of the vats is an indication of the reduction. The light colored bubbles of the white potato vat (back row, center) indicates the weakest reduction. This is confirmed by the color of the vat and the dyed color on the cloth.

Every vat worked to some degree. In the “citrus series” both the orange rind vats reduced first, the pectin vat was slow but after a week the color achieved matched the orange rind vats. The lemon rind was the weakest from the beginning and also has a great deal of unreduced material at the bottom. The white potato was the slowest of the vegetables to reduce and the resulting color continued to be the weakest.

scan-538
“Vegetable vats” after 24 hours and 5 days.

Some of these latest experiments were more successful than others but they were a huge revelation for me. There are indigo reduction materials everywhere! Some are better (and more available) than others. I can imagine a new use for the abundance of zucchini in the summer garden and I can use waste from my food kitchen to feed my indigo vat.

Several years ago I was doing indigo dyeing on the Island of St. John in the Virgin Islands. We harvested local Aloe Vera leaves as a reduction material. I later tried reducing a vat with Aloe Vera that was growing in a pot as a houseplant. The houseplant did not reduce the vat.

My studio doesn’t smell as sweet after cooking potatoes and turnips as when cooking orange rinds or bananas (neither does the vat), but it’s another valuable reminder of the complex world of natural dye and the resources at our fingers.

New Inspirations and Lessons

This summer took me to the Textile Center in Minneapolis, where I was invited to have a solo exhibition of naturally dyed textiles entitled Natural Dye: Experiments and Realizations.  The title pretty much sums up the way I work: testing, experimenting and finally bringing it all to a conclusion before beginning the next set of investigations.

Version 2
Natural Dyeing: Experiments and Investigations

The Textile Center in Minneapolis is a nucleus of textile energy. Also at the galleries this summer is The Power of Maya Women’s Artistry, a stunning collection of hooked rugs made by women in Guatemala using recycled cotton materials. Mary Anne Wise, the Wisconsin based rug designer who got this project started a few years ago, will be speaking at the Textile Center today, July 21, and a workshop will follow this weekend. The third exhibition on display is Naturally: A Natural Dye Invitational, which is a lively collection of eco-printed textiles done by members of the Minneapolis textile community.These exhibitions will remain in the galleries all summer.

Michel Garcia was at the Center last week as the  first Margaret Miller Artist-in-Residence, a residency named for the founding director of the Textile Center. Michel taught two fully enrolled classes: Color From Plants, A Natural Dye Workshop and Natural Indigo Dye Vat. I had the opportunity to sit in on a day of the natural dye workshop. It happened to be the day the class was working with cotton.


Over the last few years I have had several opportunities to learn from Michel  in both workshops and filming sessions with Natural Dye Workshop and Slow Fiber Studios. Each experience brings me a clearer understanding of process and I can never predict what I will learn.

Version 2

Michel is a philosopher as much as a dyer and chemist. He invites us to think about chemistry, process, and cultural ideas – all at the same time. It is stimulating, hard work to sift through all that he shares. One is not always ready to hear his messages. During this day, I began to get a glimpse of the way in which mordants may be affected (and damaged) by both acids and alkalines.

The next step for me, after being in a workshop with Michel, is always to go home, experiment, and really learn the lesson for myself. I have been trying to grasp the reasoning behind sequencing of dye colors with indigo. Years ago I learned to make greens and violets by dyeing indigo over yellow or red dyes. In 2011 I heard Michel Garcia state that the indigo should always be dyed first. Only then should the cloth be mordanted and dyed with another color. But I continued to work as I always had for a while – it’s sometimes difficult to un-learn what we think we know!

Over time I began observing that when indigo was dyed over a yellow or a red, the initial brilliant green or purple often becomes duller as the indigo dye is neutralized. If indigo is dyed first, and other colors dyed over the blue, the colors remain stable. WHY? Is the mordant damaged? Is the dye damaged? Is the alkalinity of the indigo vat the culprit? Is it the vinegar bath that is used for neutralizing the problem?  It’s a subtle difference but one that I was very aware of.

I made these observations on cotton, but does it hold true for all fibers?

IMG_8940
Cotton and ramie: the sample on the right definitely is a brighter green, when the indigo was dyed first, followed by tannin, mordant, and broom dyebath.

I wanted to test both protein and cellulose fibers that were mordanted. Instead of using indigo, I would simulate the alkalinity of an indigo vat by putting a similar amount of lime (calcium hydroxide) in water. As with indigo, I would also neutralize the cloth in vinegar after it had been in the lime bath. All samples were initially mordanted at the same time and dyed in the same dyebath. Sample #2 was dipped in an alkaline solution prior to dyeing. Sample #3 was dipped in the alkaline solution after dyeing.

from top to bottom

  • #1. Mordant, dye
  • #2. Mordant, dip in alkaline solution, neutralize in vinegar, dye
  • #3. Mordant, dye, dip in alkaline solution, neutralize

What I observed consistently on both cotton and silk is a lighter dye color after the mordanted fiber had been put in to the alkaline solution (sample #2), which would indicate that the mordant had been compromised. When the fiber was put into the alkaline solution after dyeing (sample #3) the final color was brighter than #2, but not as brilliant as #1. This brightening would be consistent with a calcium or chalk treatment of weld in the dyebath.

Wool was a slightly different story. In the past I have not observed there to be major color differences when layering colors with indigo on wool. Mordants attach to wool in a different way than on cellulose and even silk, which leaves the mordants less susceptible to damage by the alkalinity of the indigo bath.

from top to bottom

  • #1. Mordant, dye
  • #2. Mordant, dip in alkaline solution, neutralize in vinegar, dye
  • #3. Mordant, dye, dip in alkaline solution, neutralize

In the wool  samples, #2 was  nearly identical to #1. The alkaline treatment of the dye in #3 is consistent with the effect of pH and calcium on either of these dyes.

Conclusion: the mordant on cellulose and silk is very likely damaged by the alkalinity of the indigo vat. In my own practice, I had already shifted my sequence of colors when using indigo in combination with other dyes. Now I believe I understand more clearly why it is important. Cellulose and silk fibers, especially, should always be mordanted AFTER dyeing in indigo. Both the tannin and mordanting processes are acidic and will assure a thorough neutralization of the alkaline from the indigo. Although it may not be as important with wool, this same sequence may give the dyer more control over the final color.

Maintaining and Troubleshooting an Organic Indigo Vat

Jacquard woven shibori, indigo dye

The questions I receive most frequently about natural dyeing seems to center on  the indigo vat and its maintenance. Since 2011 I have been making and using organic indigo vats, an art and  skill that I learned from Michel Garcia.

My current vat began in a 5 gallon vessel over 2 years ago. I enlarged it to fill an 8 gallon vessel, and then last year I enlarged my vat again to fill a 30 gallon container. The increased size was needed because I was dyeing larger pieces of cloth.

my current indigo vat, 30 gallons
My 30 gallon indigo vat

The vat was made using henna as a reduction material. I chose to use this material because the slow release of sugars is good for a vat that will be maintained for a long time.  I add fructose after each use and additional henna when I need to boost the reduction. Lime (calcium hydroxide) is the alkaline.

The vat is used regularly and I achieve excellent color from the indigo.  The large size challenges me to solve problems as I encounter them. It would be tempting to discard a small vat that was not behaving well and begin again, but emptying this vat would require a great amount of effort. As a result I’ve learned a lot about maintaining the indigo vat.

An indigo vat is happiest when it is used on a daily basis. After each dyeing session I “feed” it with a bit of fructose, stir it to bring the un-reduced indigo and reduction materials up from the bottom, check the pH, and let it rest for a few hours before dyeing again.

Occasionally I run into problems that I need to solve. Recently I was away from home for several weeks. Before I left, the vat was dyeing rich, deep blues. The color of the vat was a golden bronze and there was a good healthy “metallic” sheen on the surface and plenty of bubbles.

surface of a healthy vat
Surface of a healthy vat

When I returned home the first thing I did was add lime to the vat.  When an indigo vat sits dormant for any amount of time it becomes more acidic and the pH goes down. I can test this with pH papers but a good visual indicator is to sprinkle some lime on top. If the lime is immediately “sucked” down into the vat – you can assume that the vat is in need of the lime. If the lime just sits on the surface, the pH is probably fine.

Next, I stirred the vat and waited for it to settle. The color of the vat looked good, as well as the surface. The vat was a clear gold color and there was a coppery sheen on top. But the first test sample resulted in barely any color at all!  That was a surprise, since I thought there was plenty of indigo in the vat. I thought I had also been “feeding” it with plenty of sugar. The vat had been used very heavily before I went away. I thought that possibly the indigo had finally been exhausted.

Before adding more indigo to the vat, I decided to add more sugar – a generous amount. Once added, the vat was stirred and I waited until the next day to do another test strip. It produced a  blue, though it was relatively light. I repeated the sugar-stir-rest and dyed again the next day. It was darker. I repeated the sequence again, and finally got back to a shade of blue similar to that which I had before going away.

dye test strips
Dye test strips

The lesson here is that before adding indigo to a vat, test it thoroughly for pH and reduction.  Although it “appeared” to be healthy, my vat was not reduced and the indigo wasn’t available to dye the fibers.