© Catharine Ellis, as posted to the blog: Natural Dye: Experiments and Results
Fermentation is a biochemical process in which complex organic molecules are broken down into smaller molecules through the action of bacteria, yeasts, or other microorganisms.
In food production, it can broadly refer to any process in which the activity of microorganisms can bring about a desirable change to a foodstuff or beverage, such as the making of cheese, yogurt, sourdough bread, vinegar, fermented vegetables (pickles and kimchi), or beer, wine, or kombucha, in which sugars are transformed to alcohol.
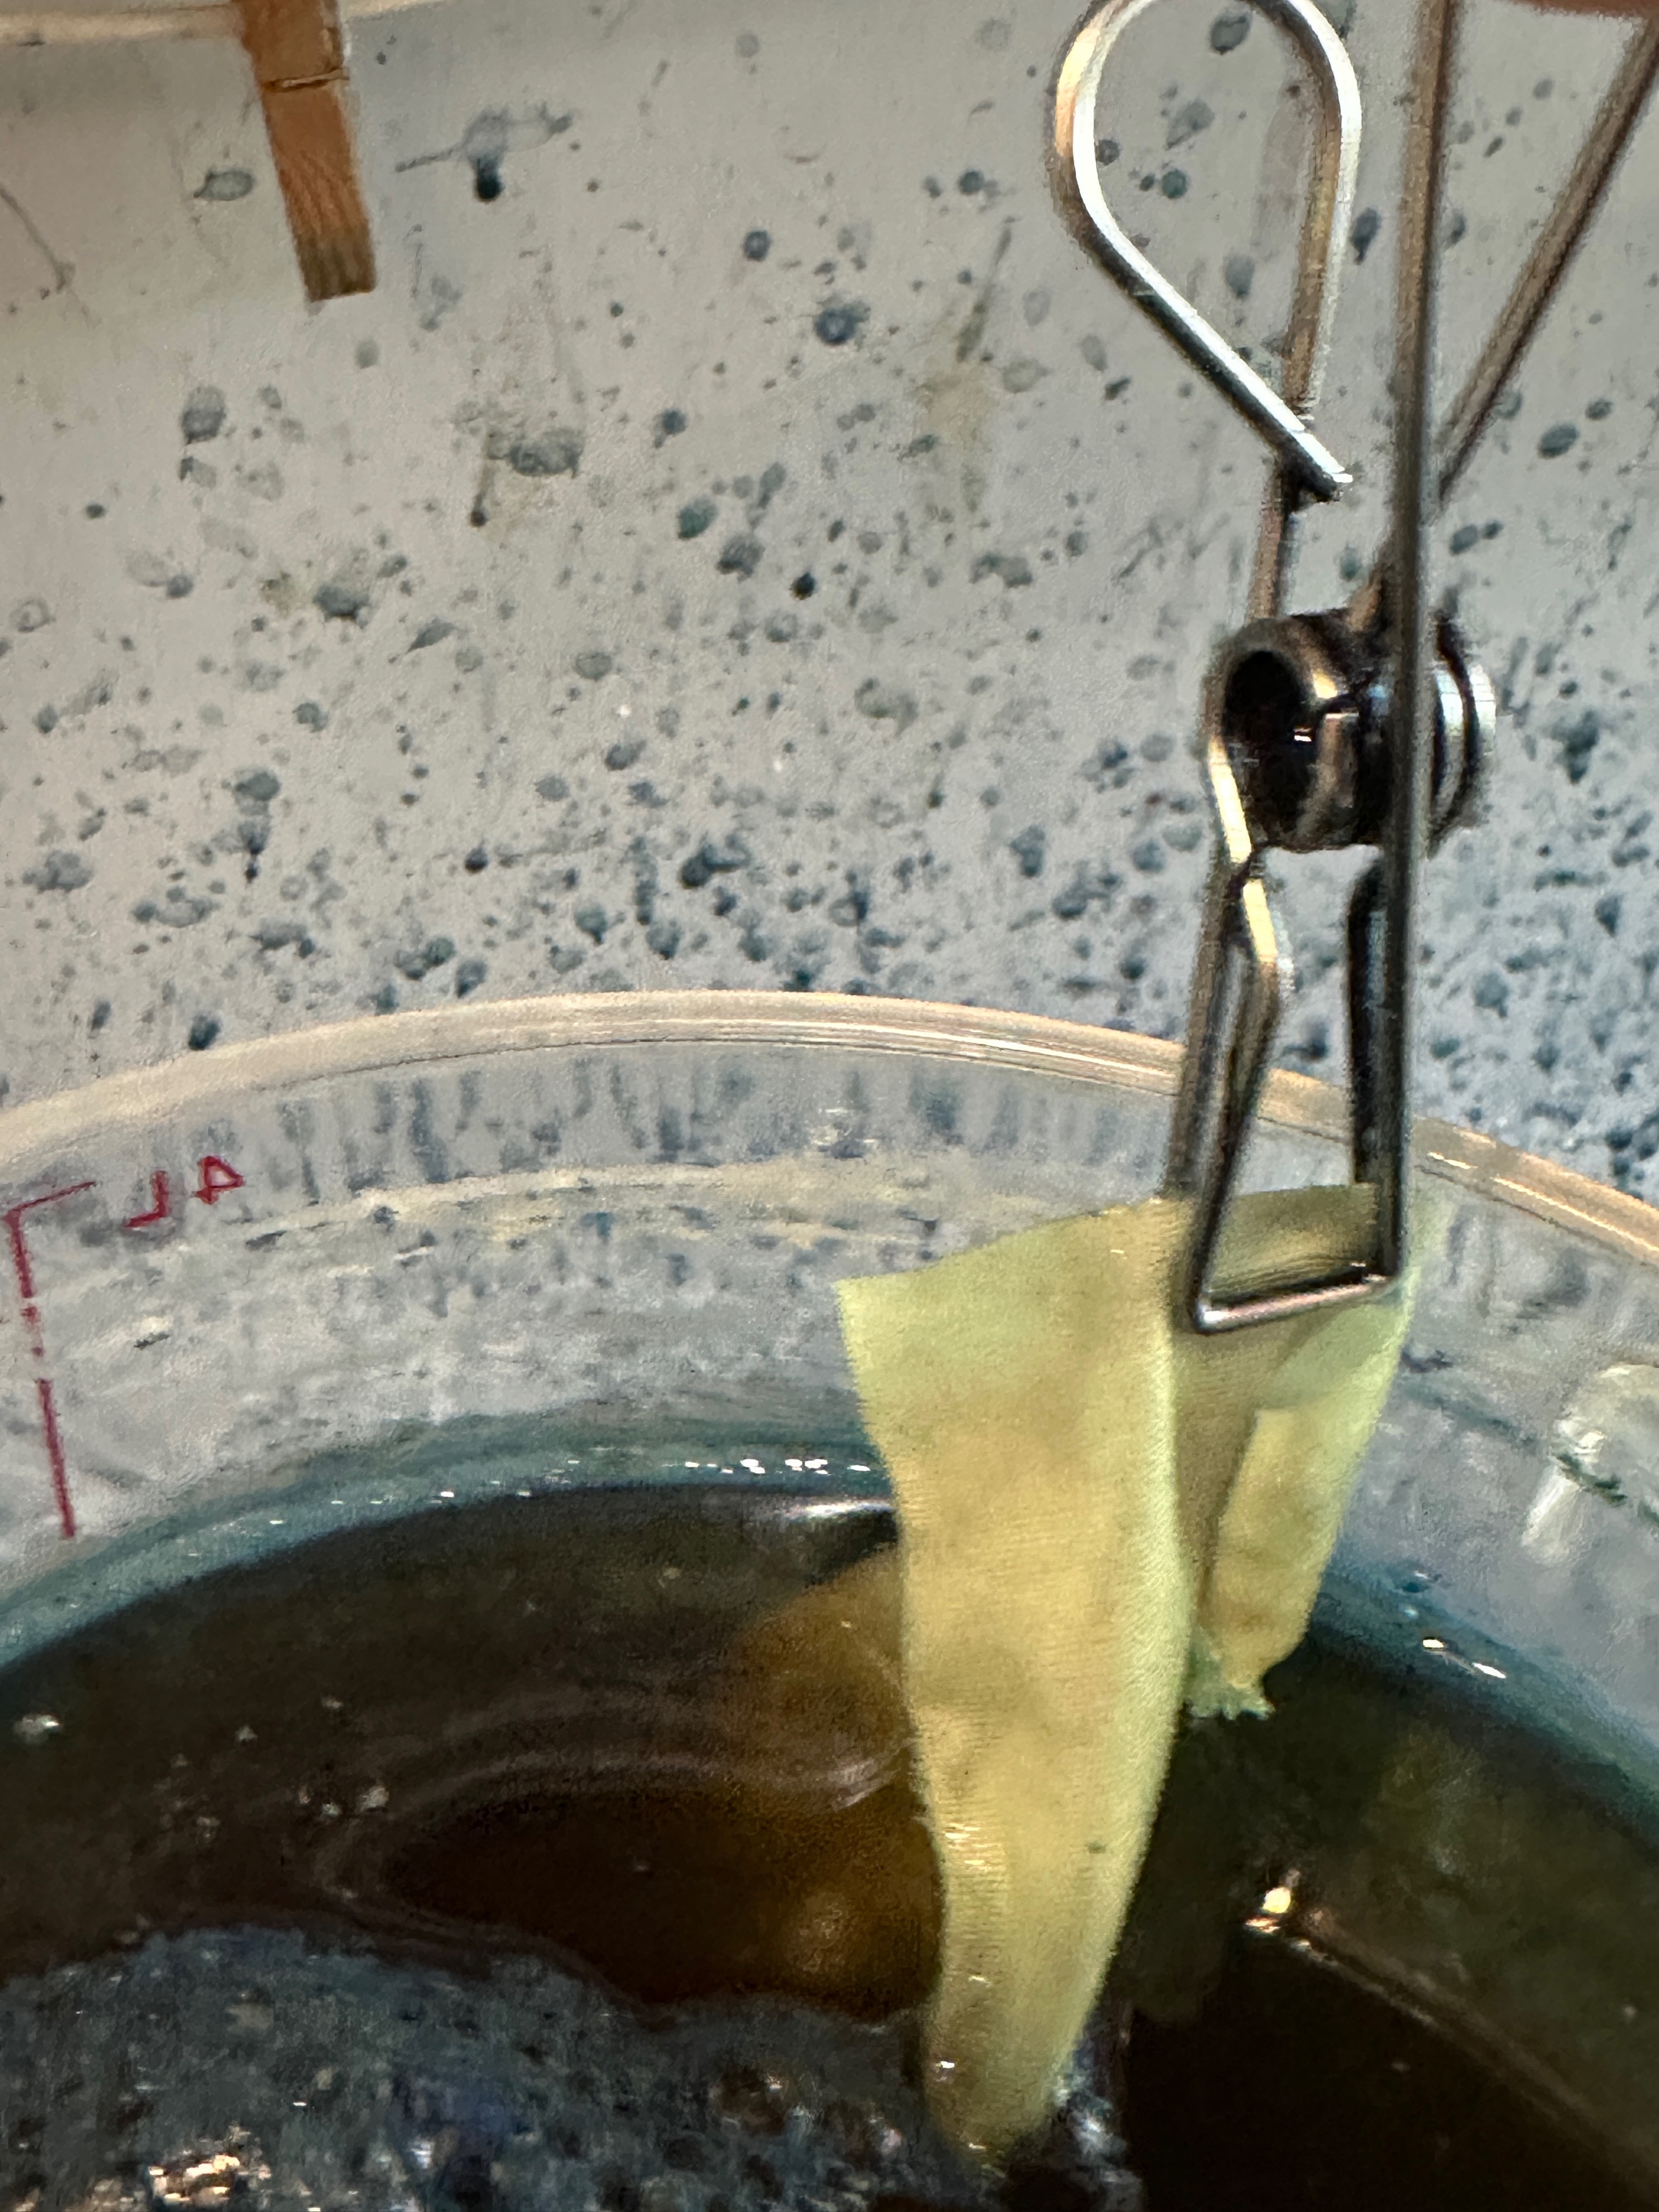
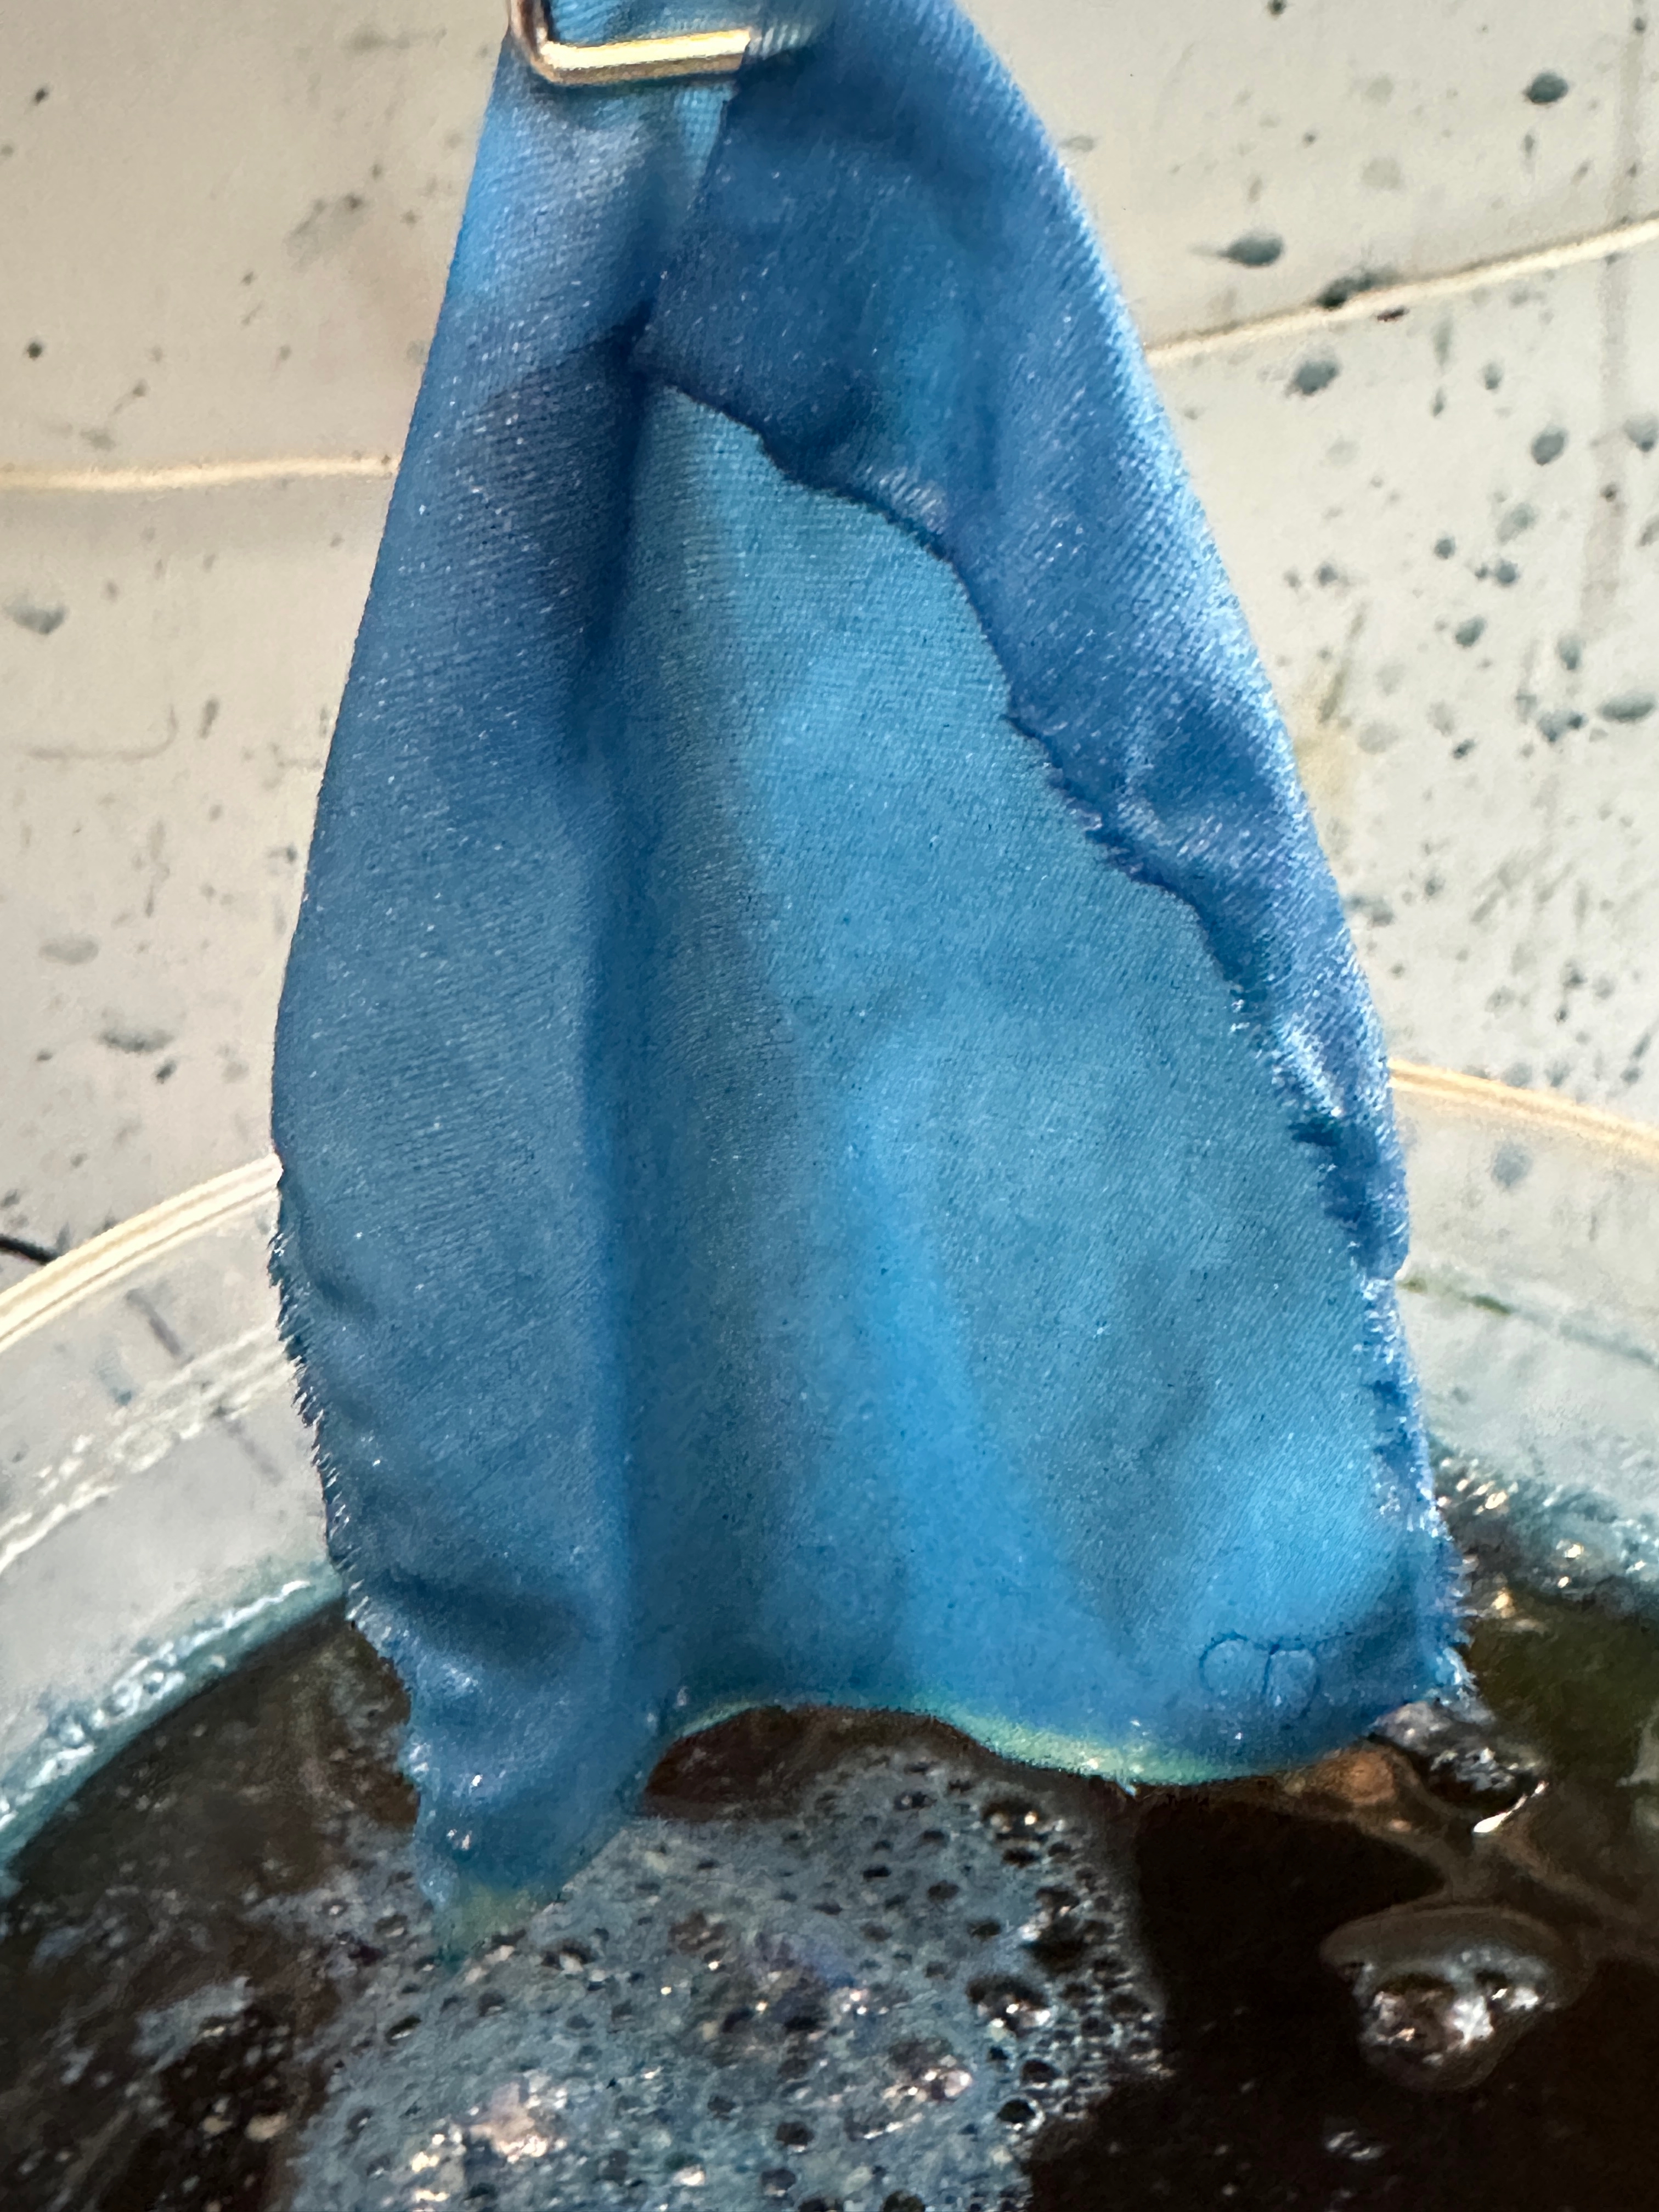
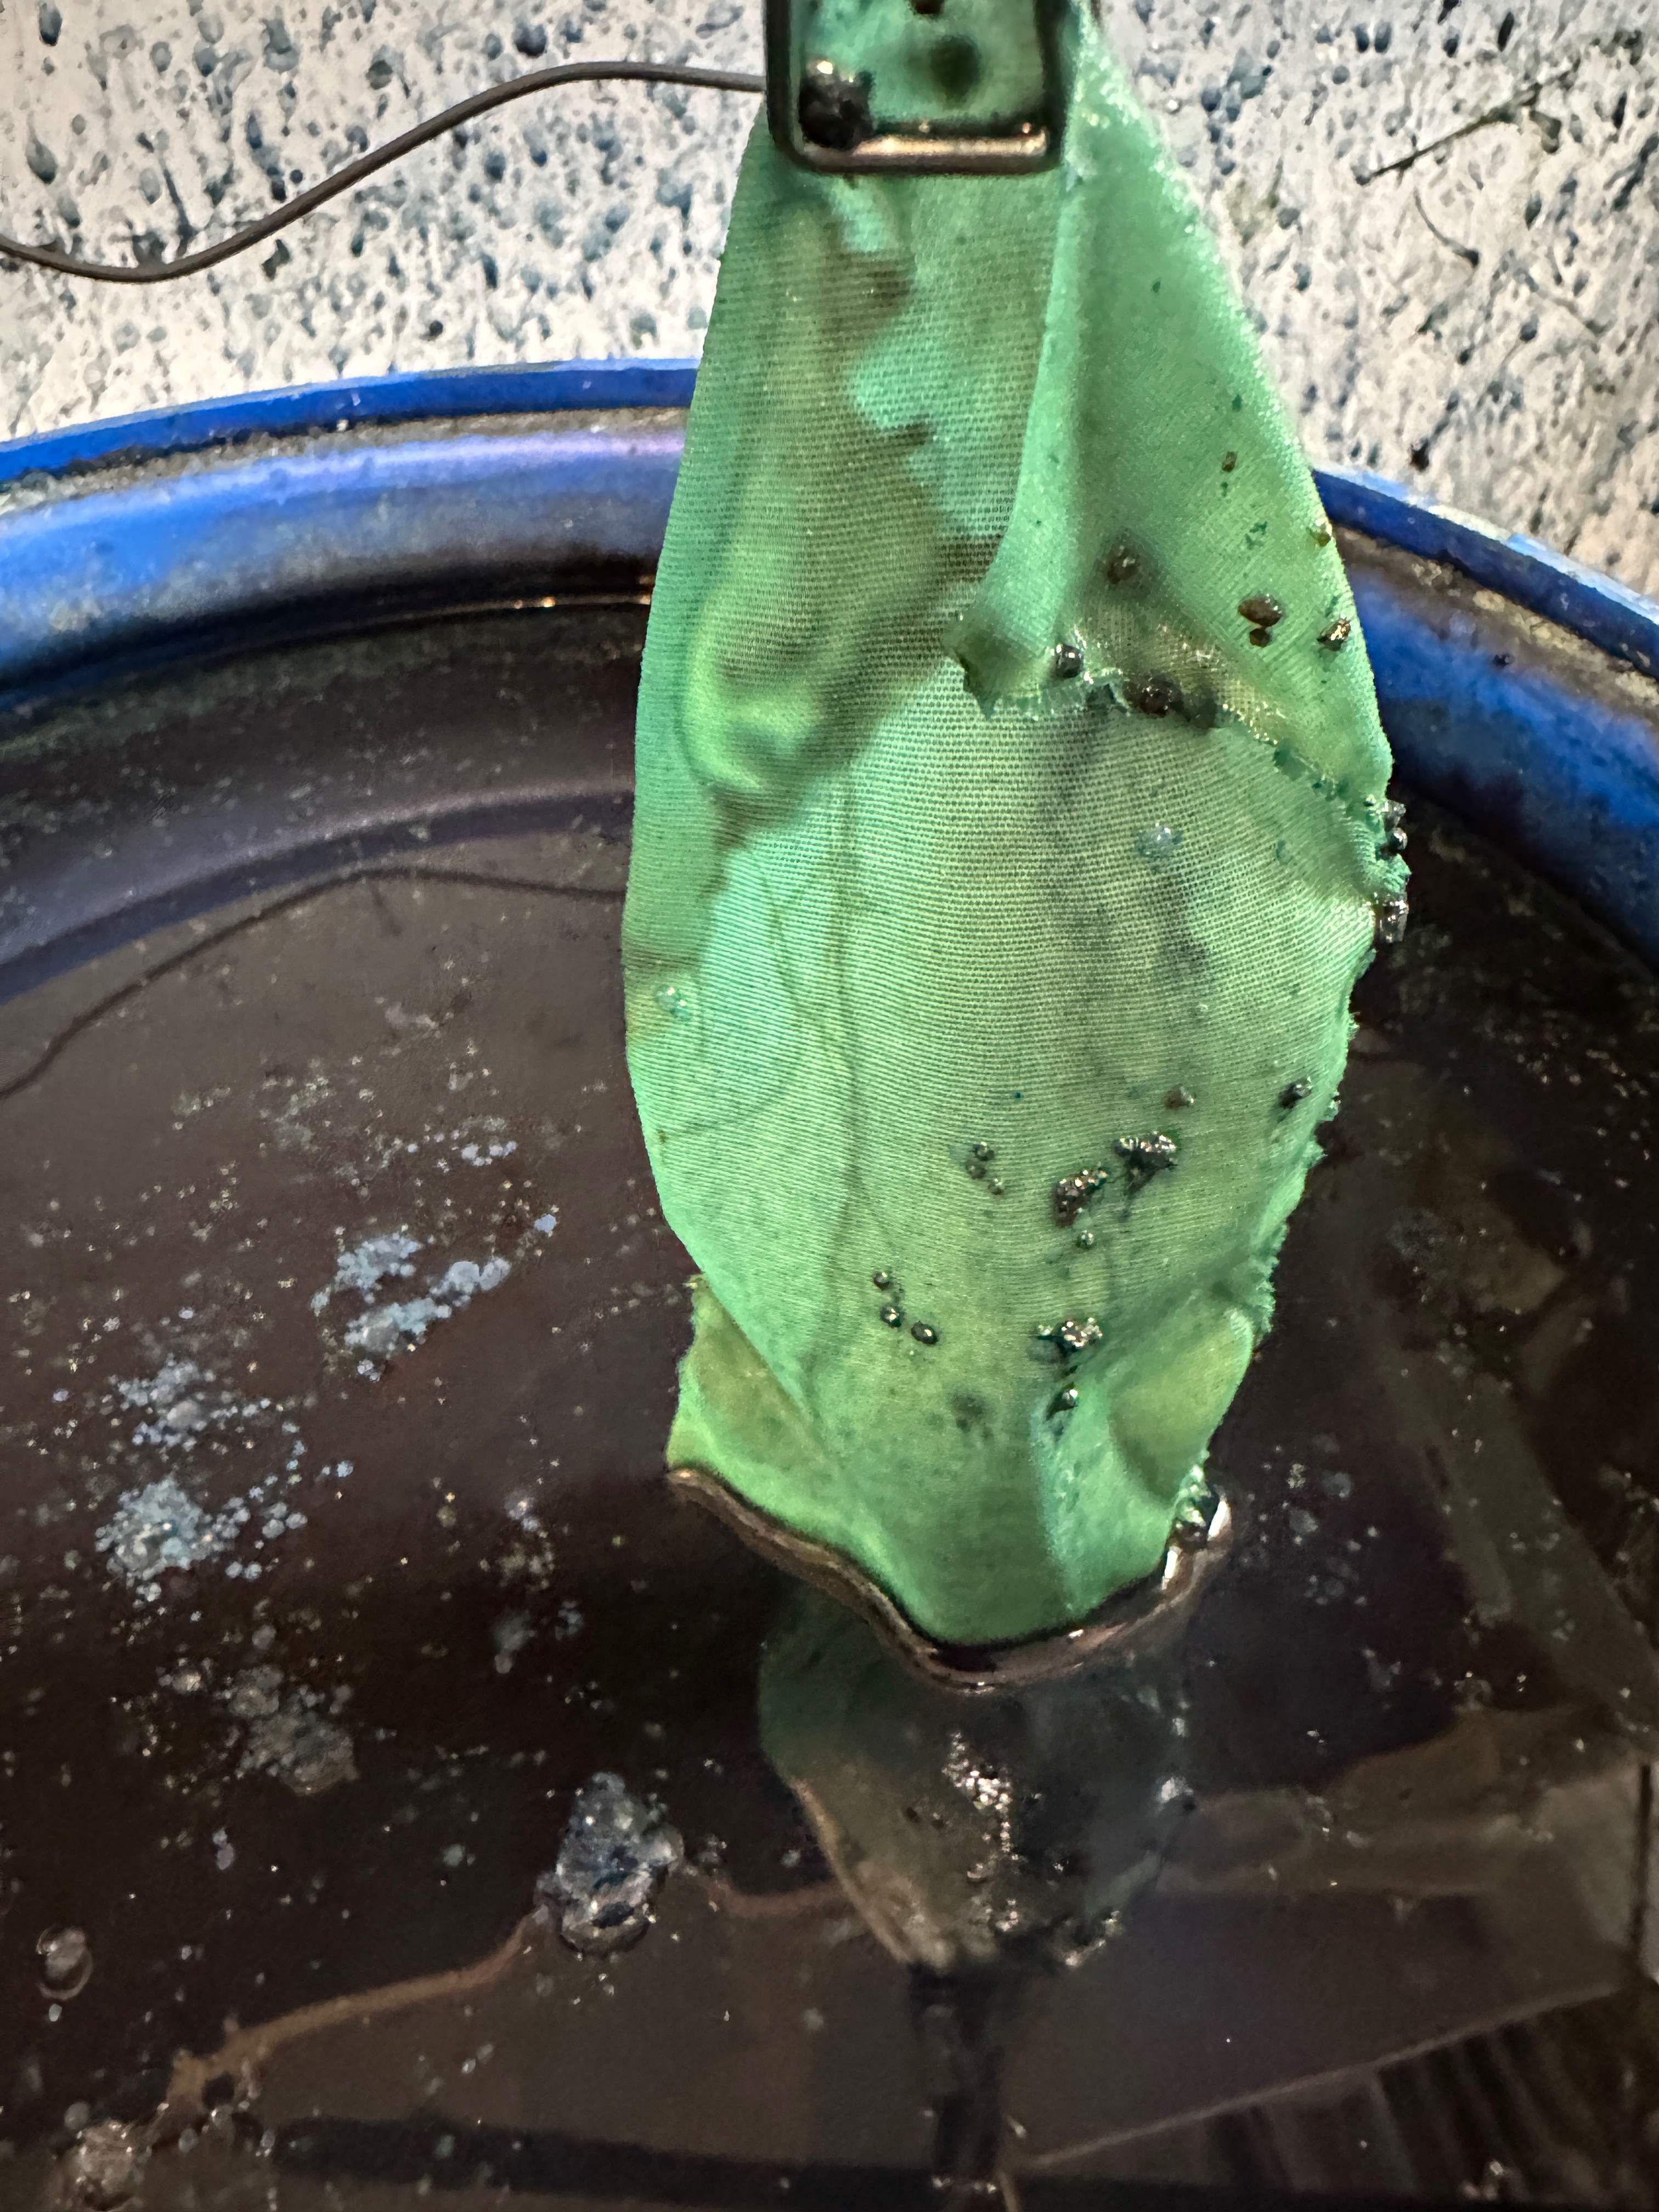
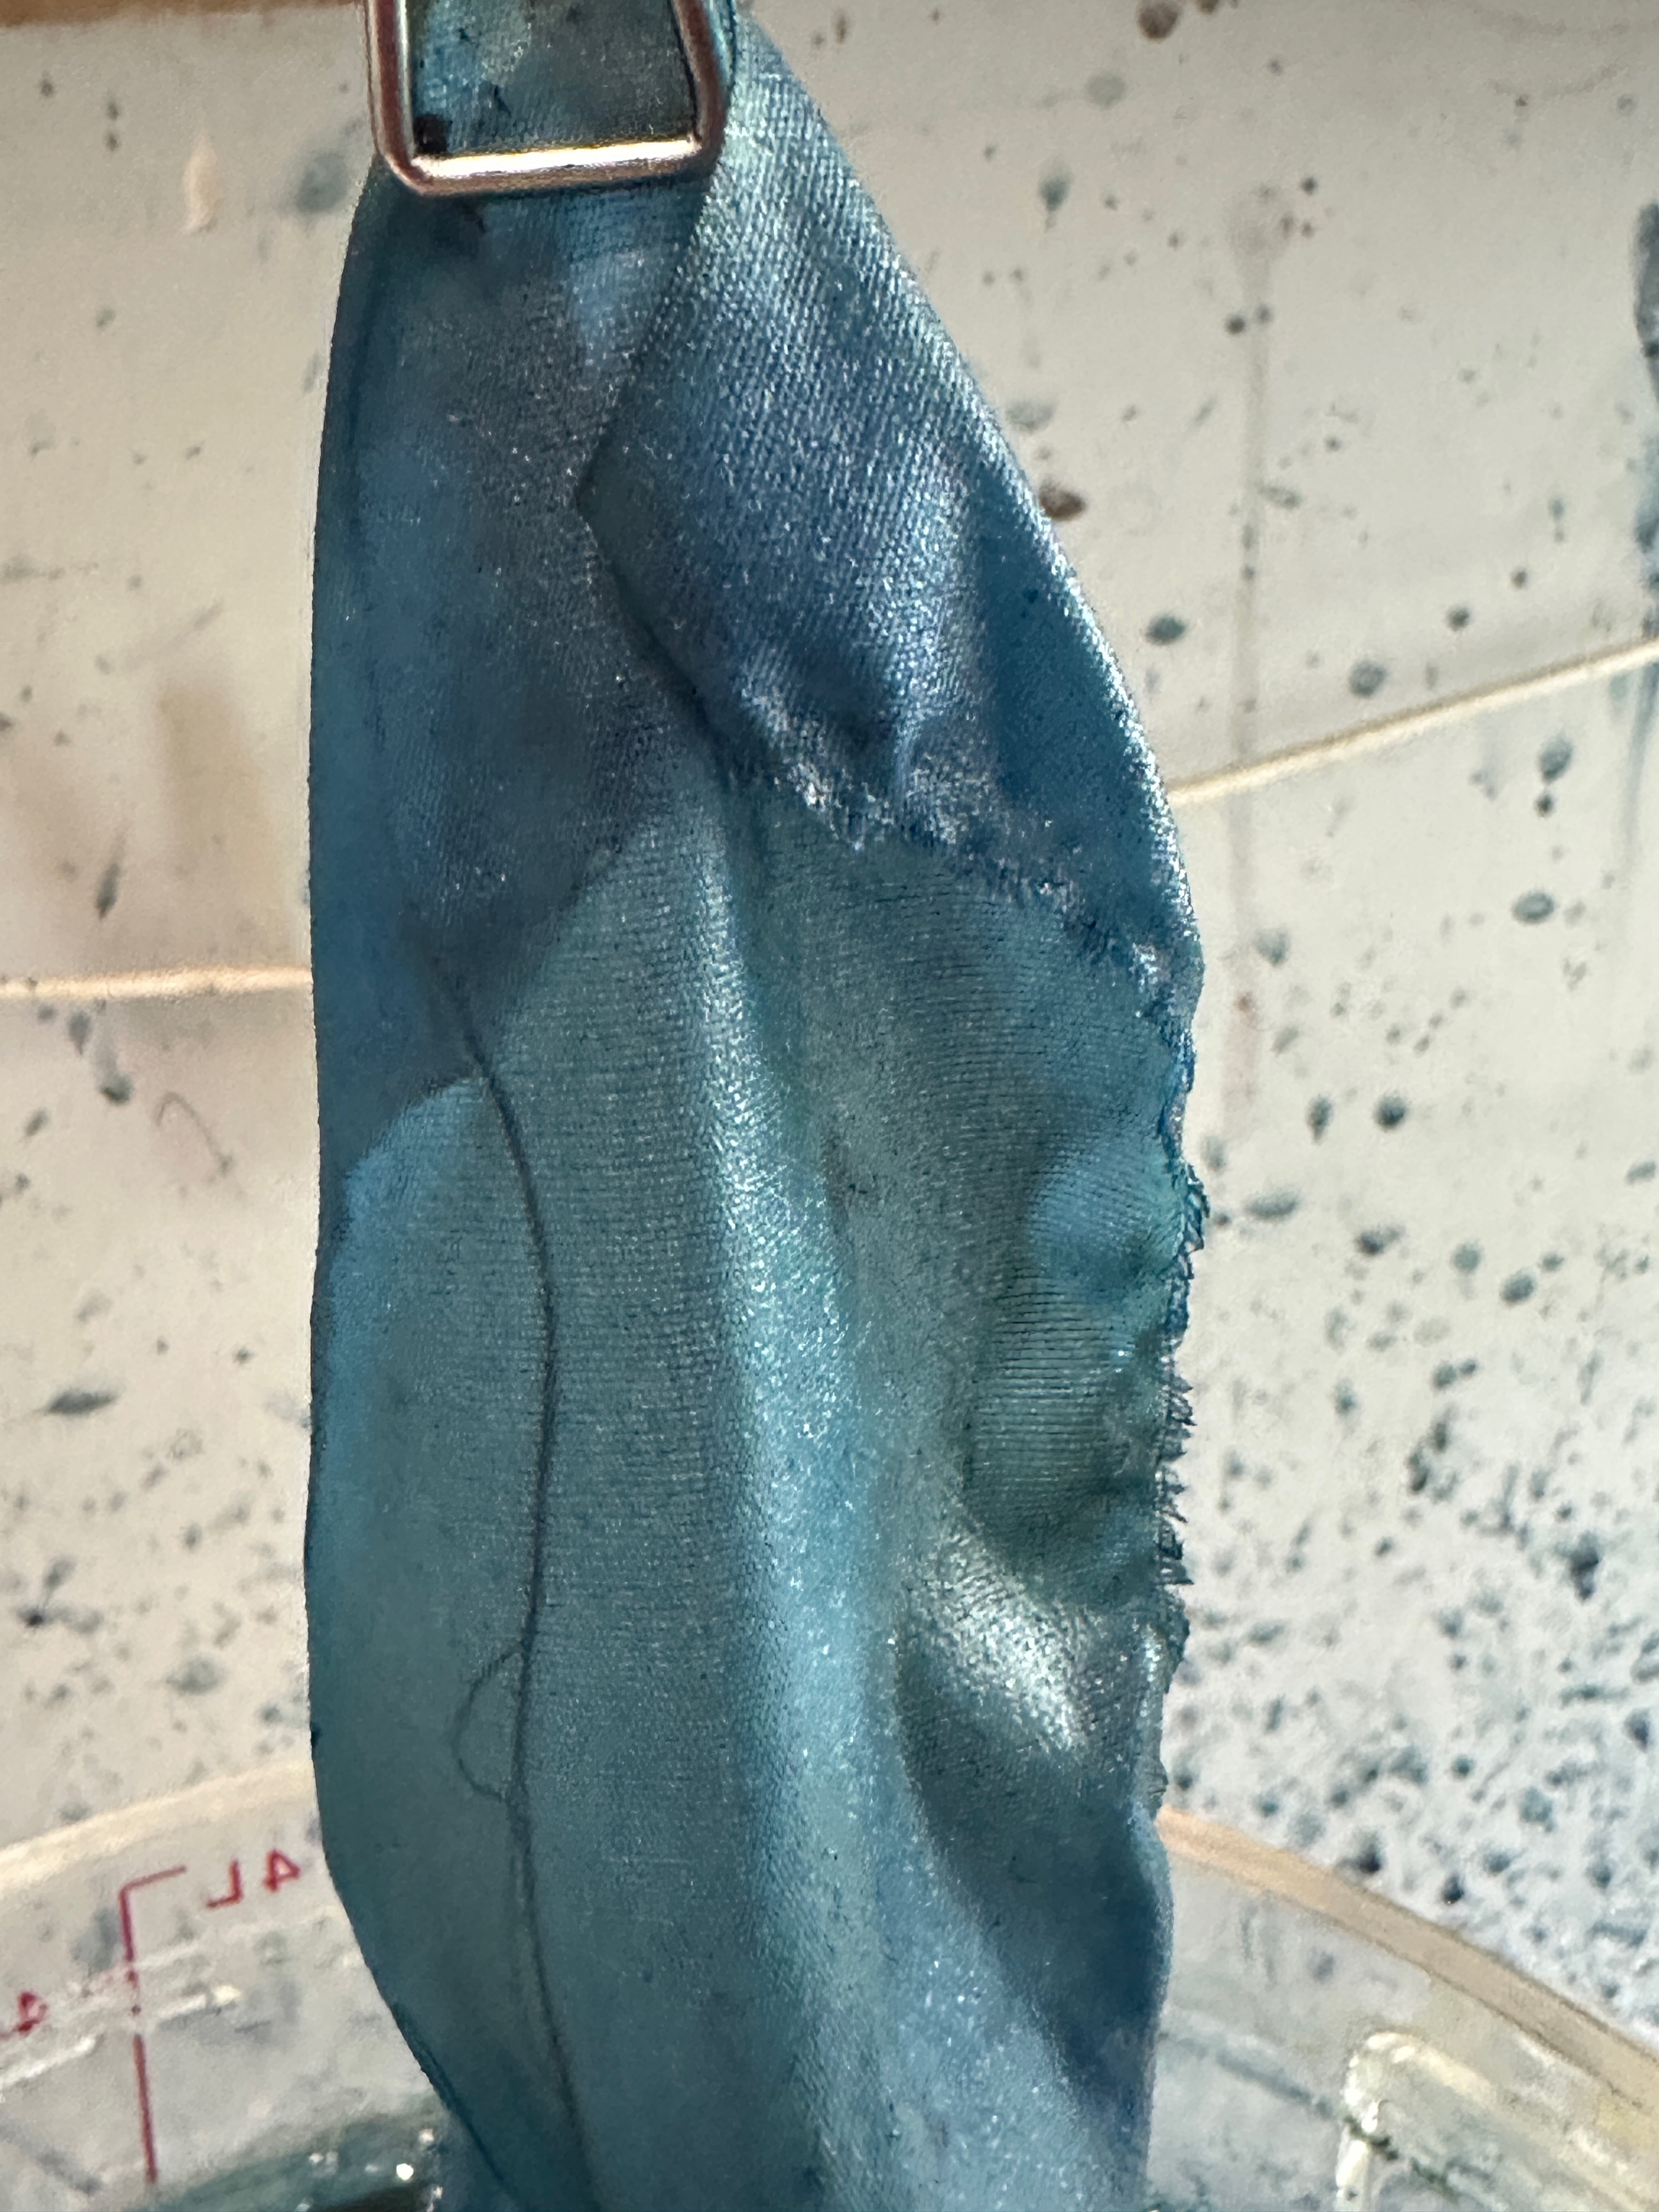
In biochemistry (and specifically in indigo fermentation) fermentation is a process that occurs through the action of microbial enzymes under alkaline and anaerobic (in the absence of oxygen) conditions. The result is a reduction of the indigo dye molecule to make it soluble.
Many microorganisms and bacteria thrive in this unique alkaline/anaerobic environment. The most important are Alkalibacterium sp., which produces lactic acid as a biproduct. The lactic acid will also bring down the pH.
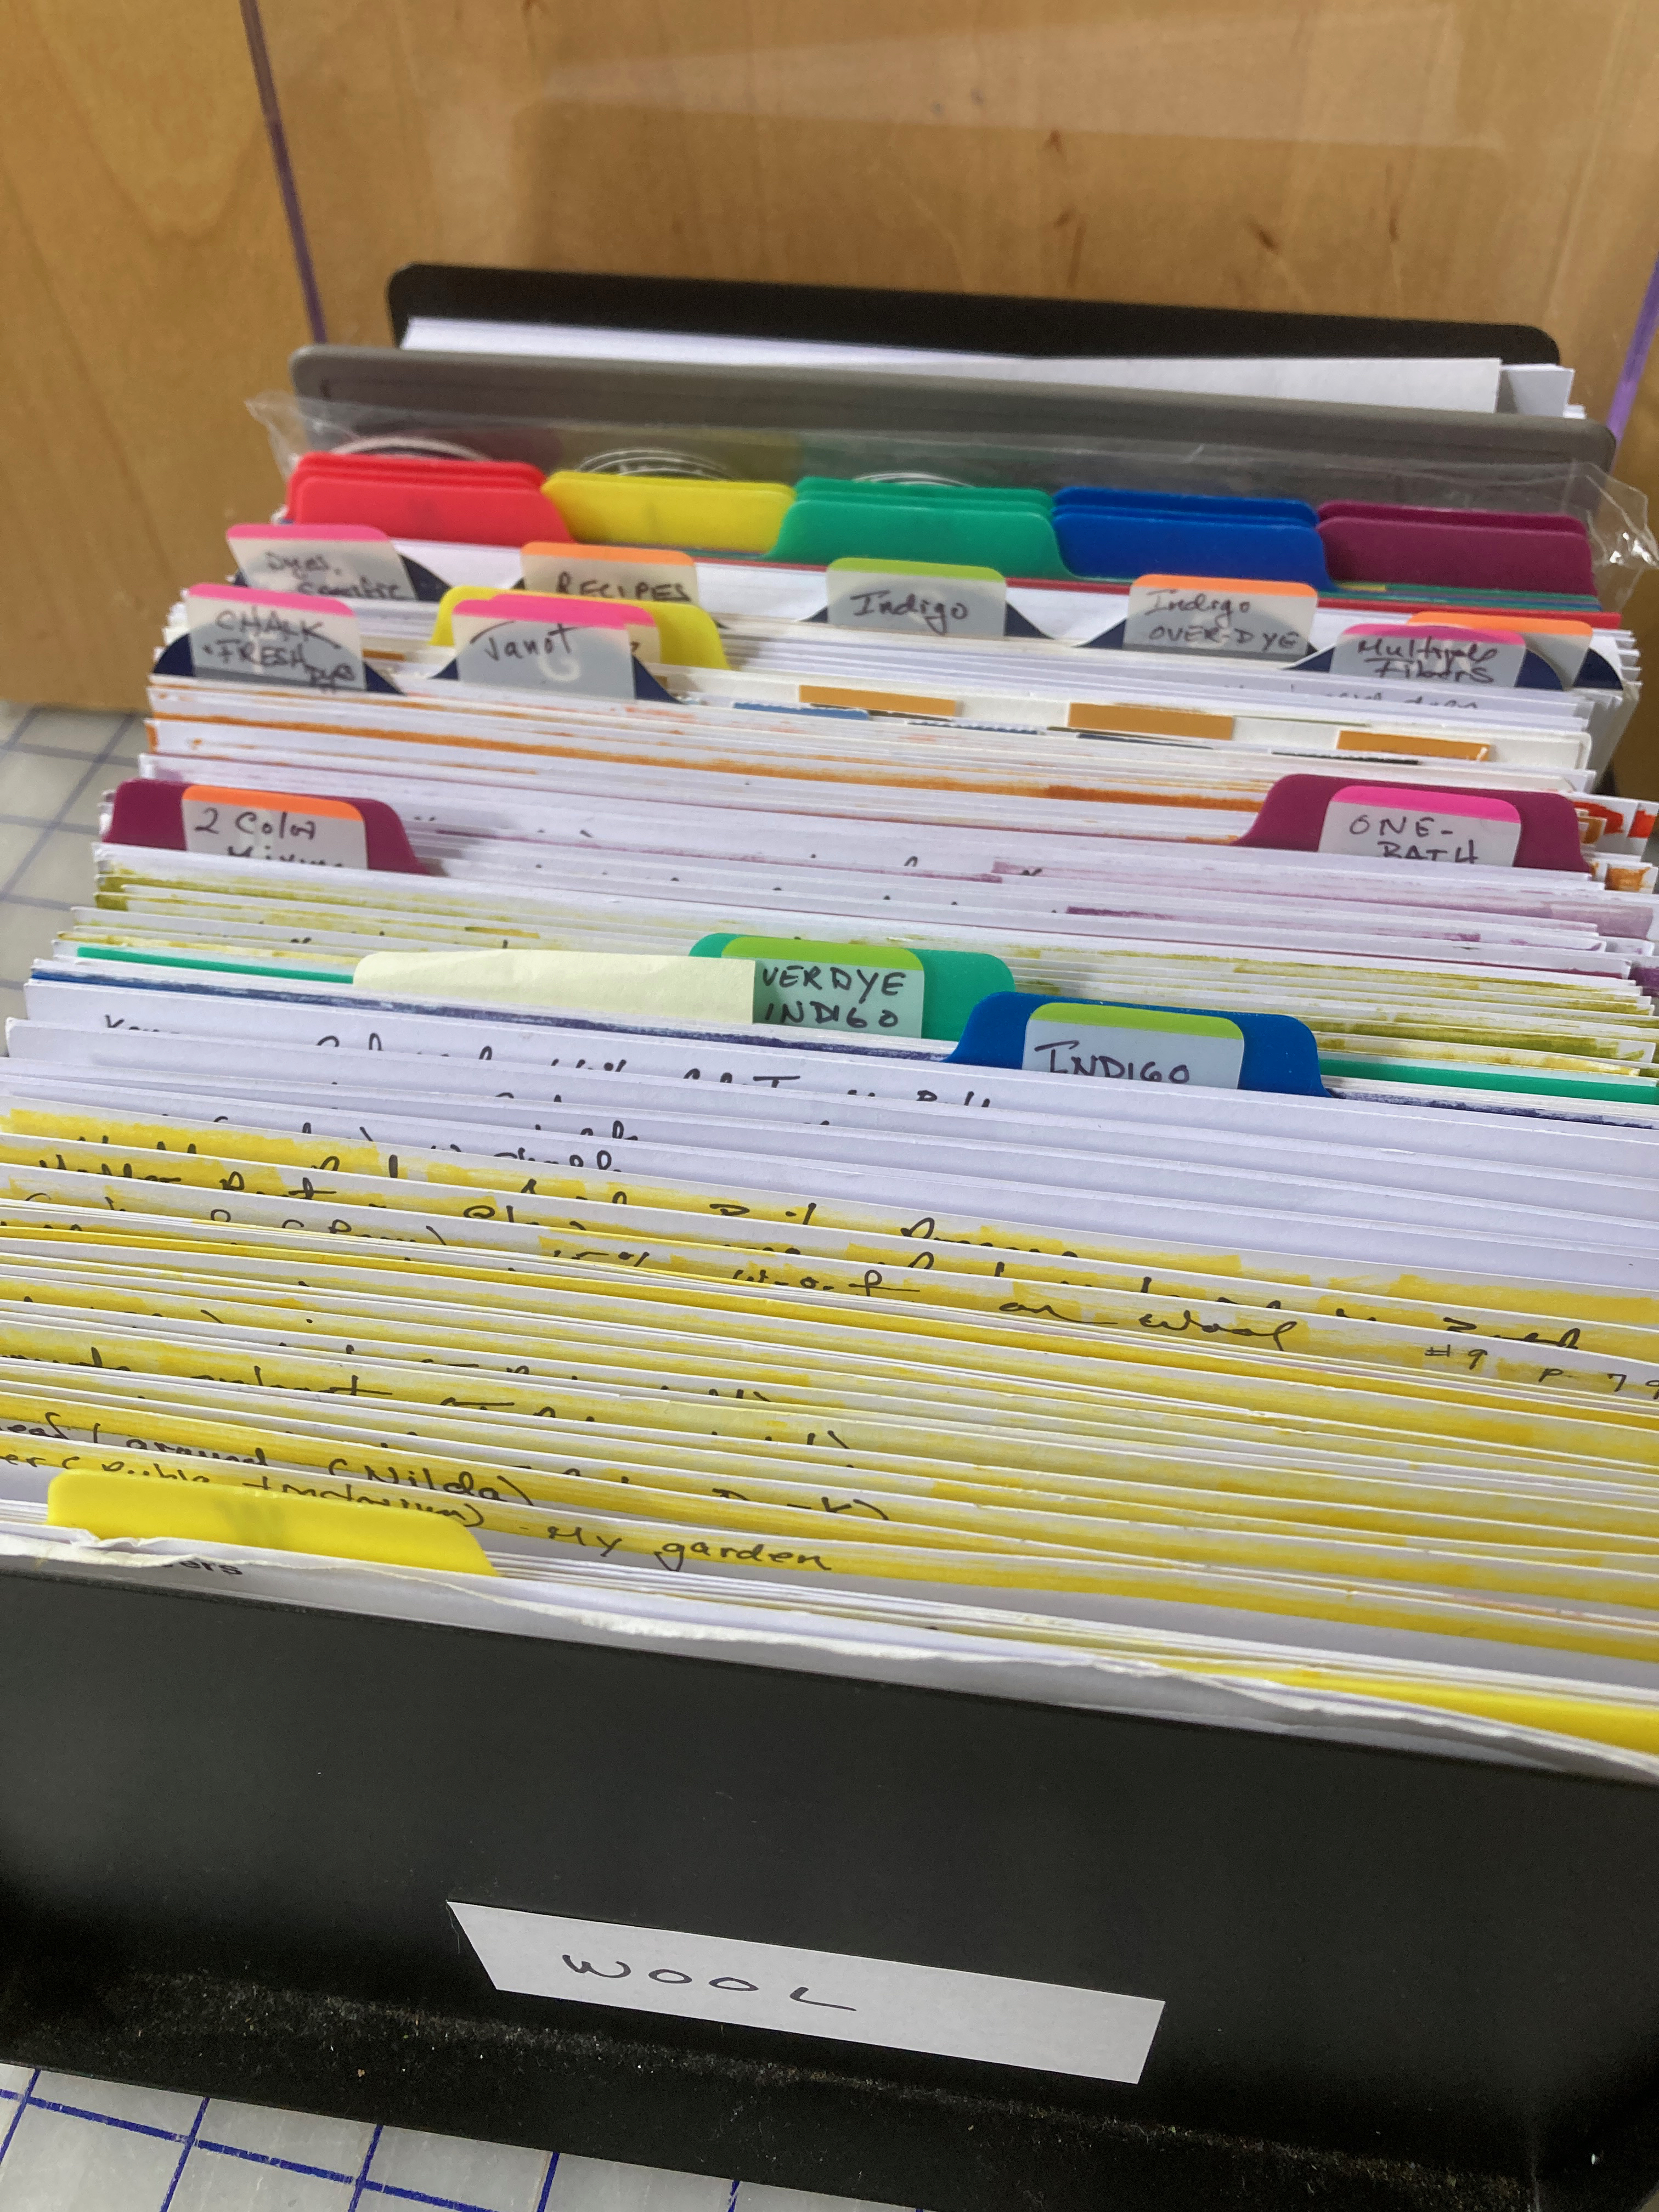
Many grains contain this lactic acid bacteria. When grains are dry, those bacteria are dormant. But when soaked in water (or an alkaline liquid as in the case of indigo) the bacteria become active and produces enzymes that are useful to the reduction process. Wheat bran is a substance in which the indigo reducing bacteria/organisms live. It is a key ingredient in the fermentation vat. Traditional recipes use wheat bran as an element of the vat, and it is added periodically to maintain the health of the fermented vat.
Sukumo is composted indigo (polygonum tinctorium) leaves. Though it might already contain some of the bacteria that are needed for fermentation, wheat bran is always added to this vat as well.
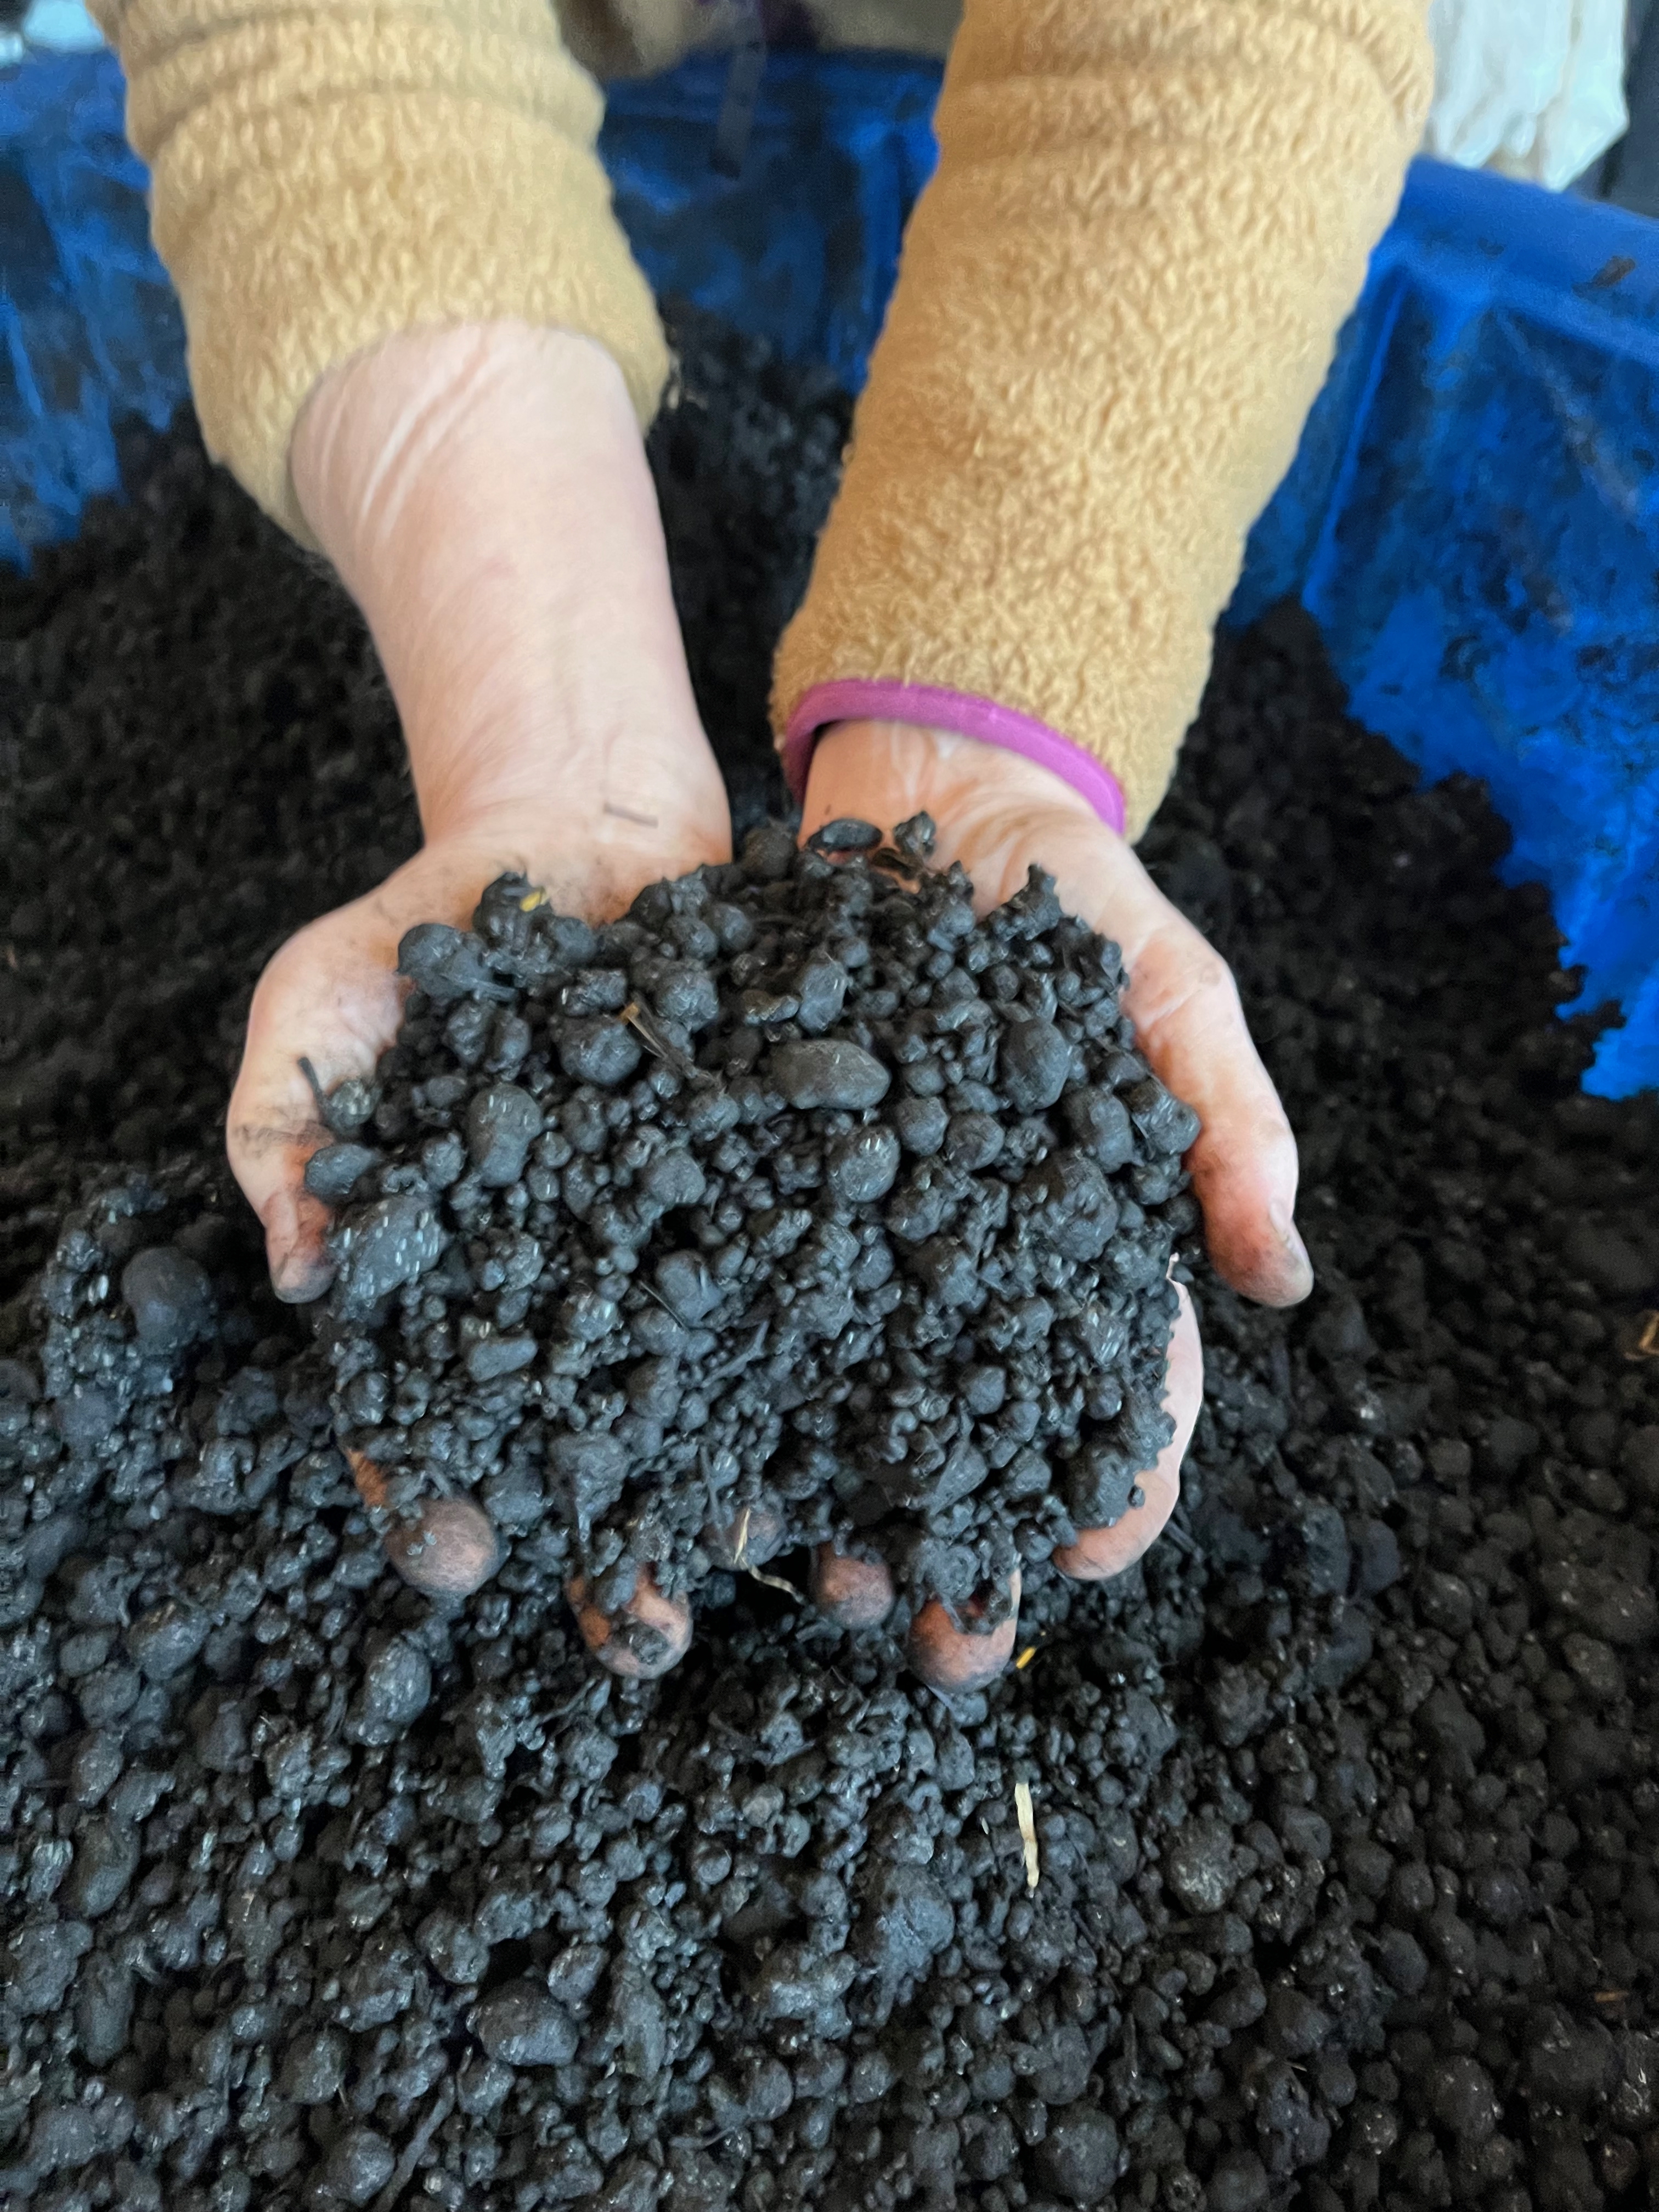
Extracted indigo pigment lacks the microorganisms necessary to initiate the fermentation. This is especially the case of any pigment that has been dried. Organic material MUST be added to the vat to stimulate and maintain fermentation. Since medieval times spent madder root (Rubia tinctorium) was added to the vat to maintain fermentation. This “spent” madder was a waste product from madder red dyeing after the roots had been used to extract the red dye. The fermentation delivers a constant supply of glucose by breaking down starches and celluloses from the organic matter (madder root).
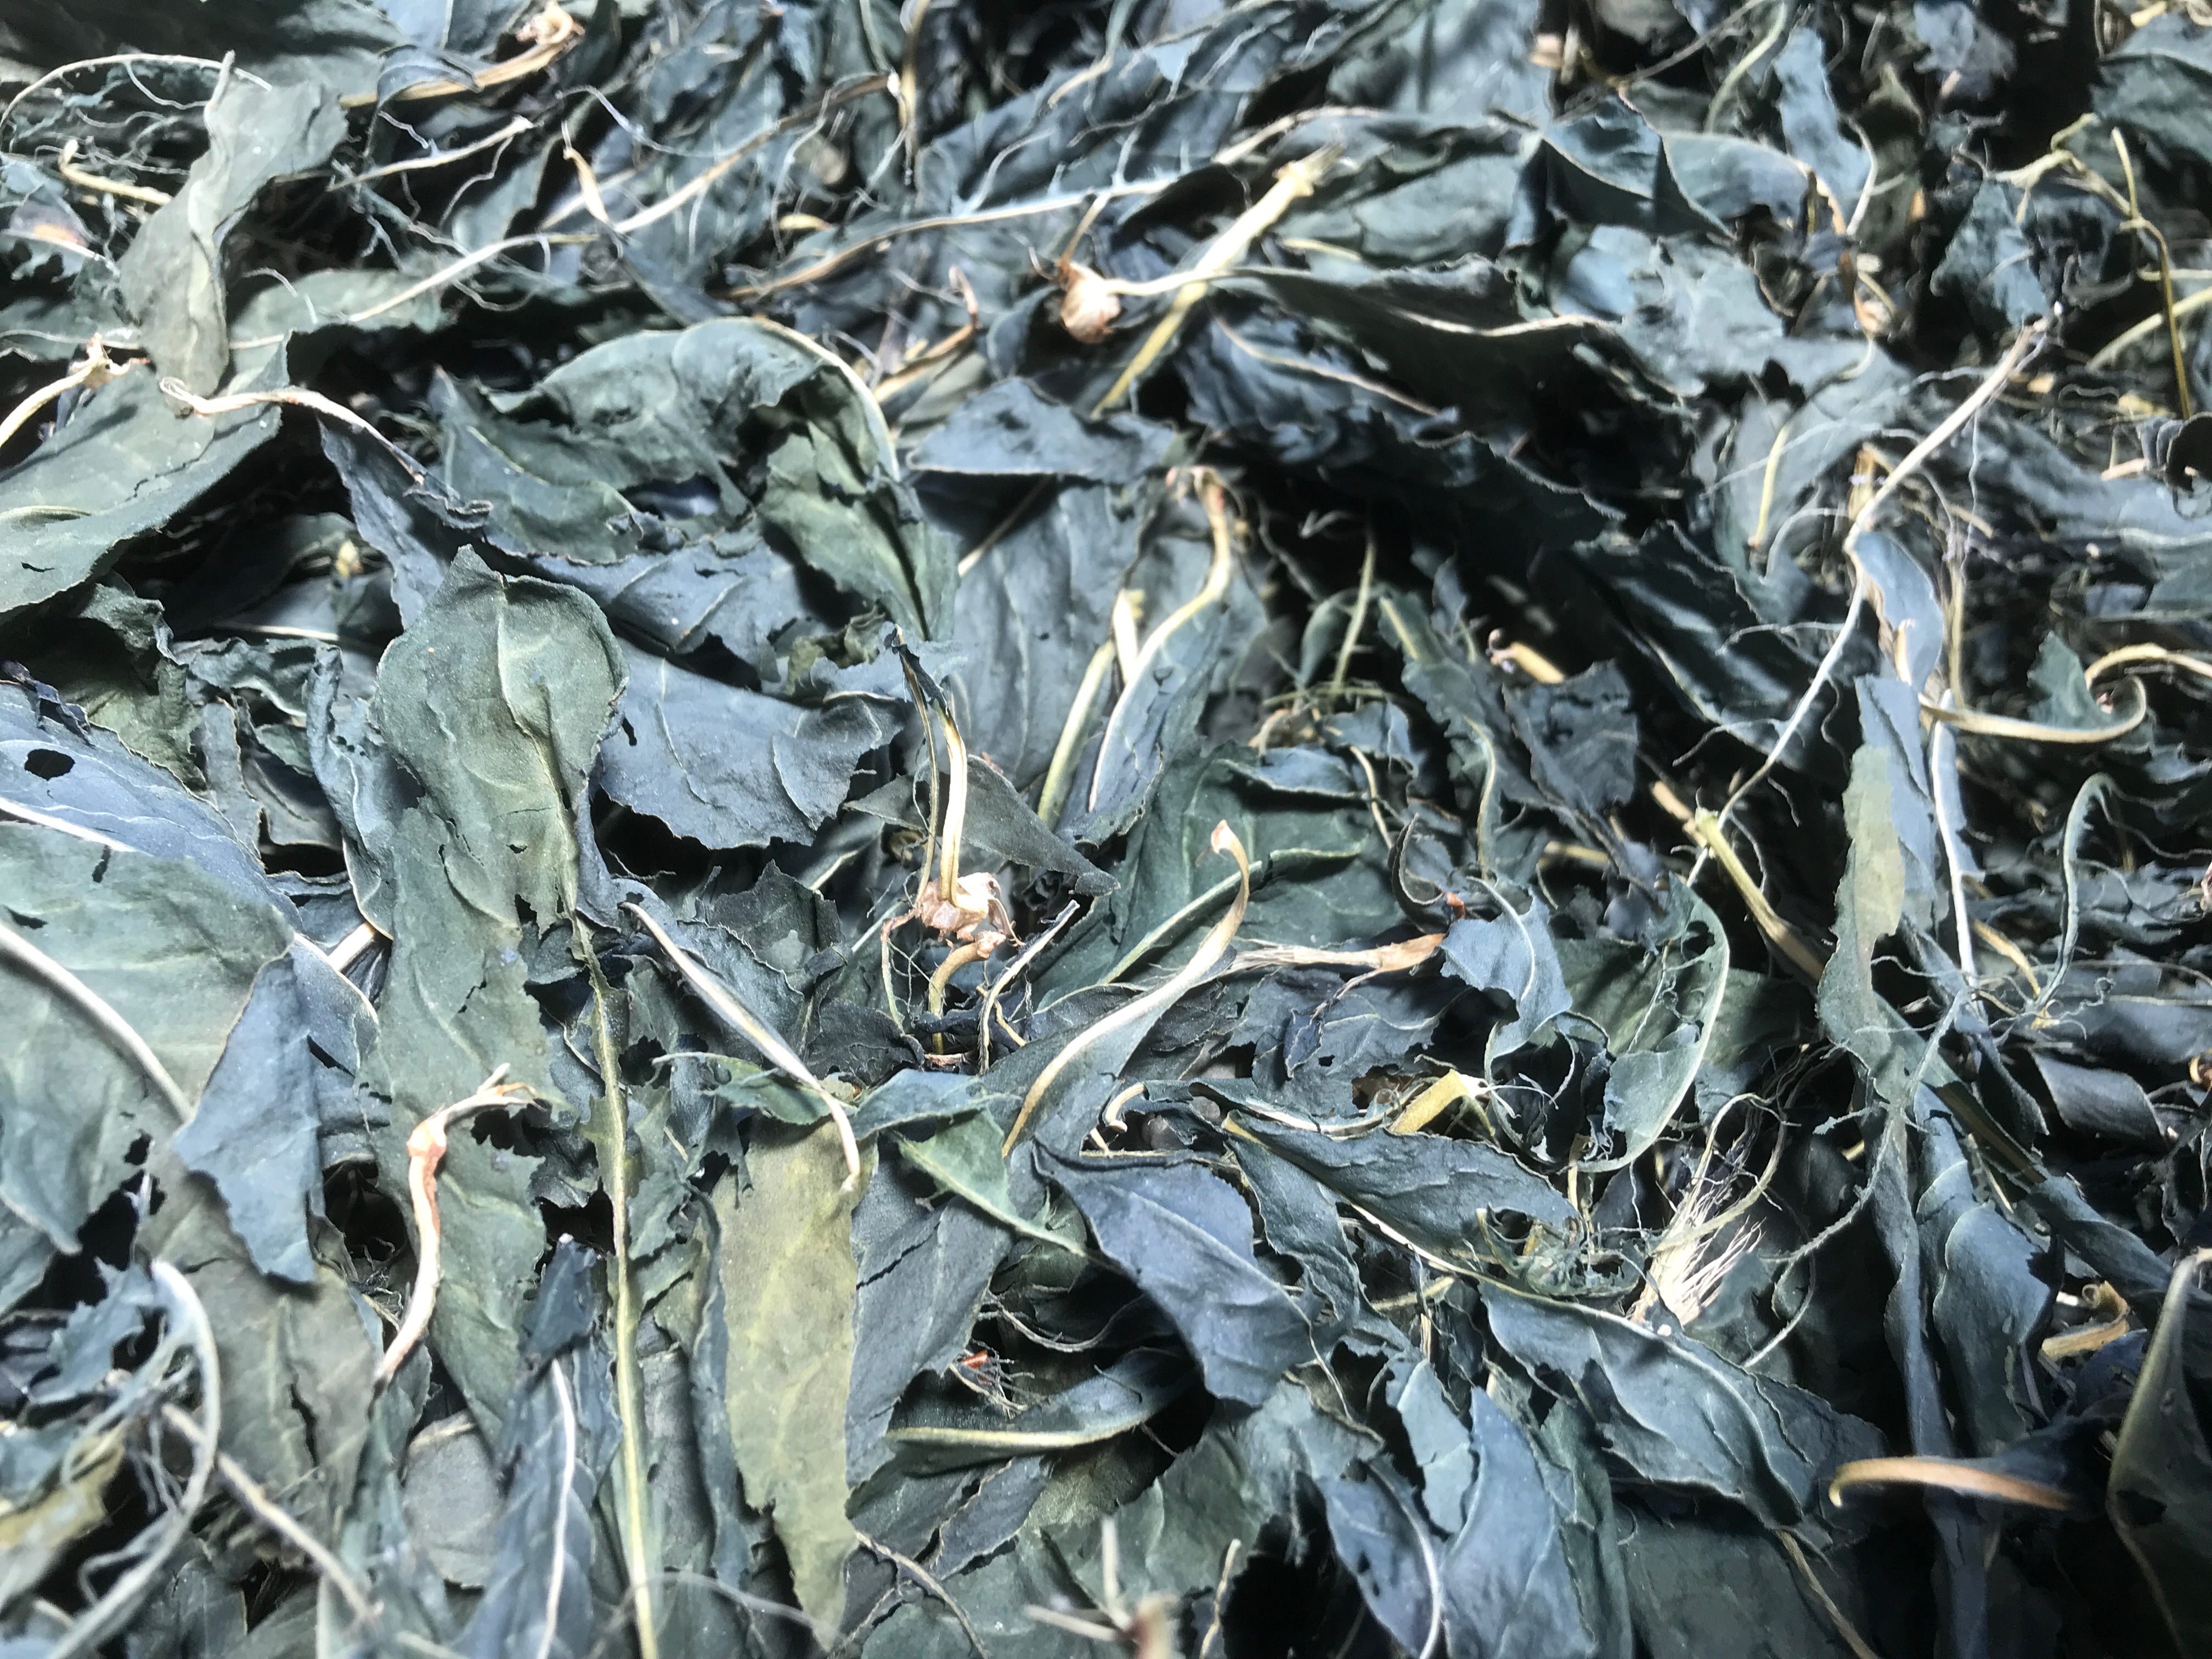
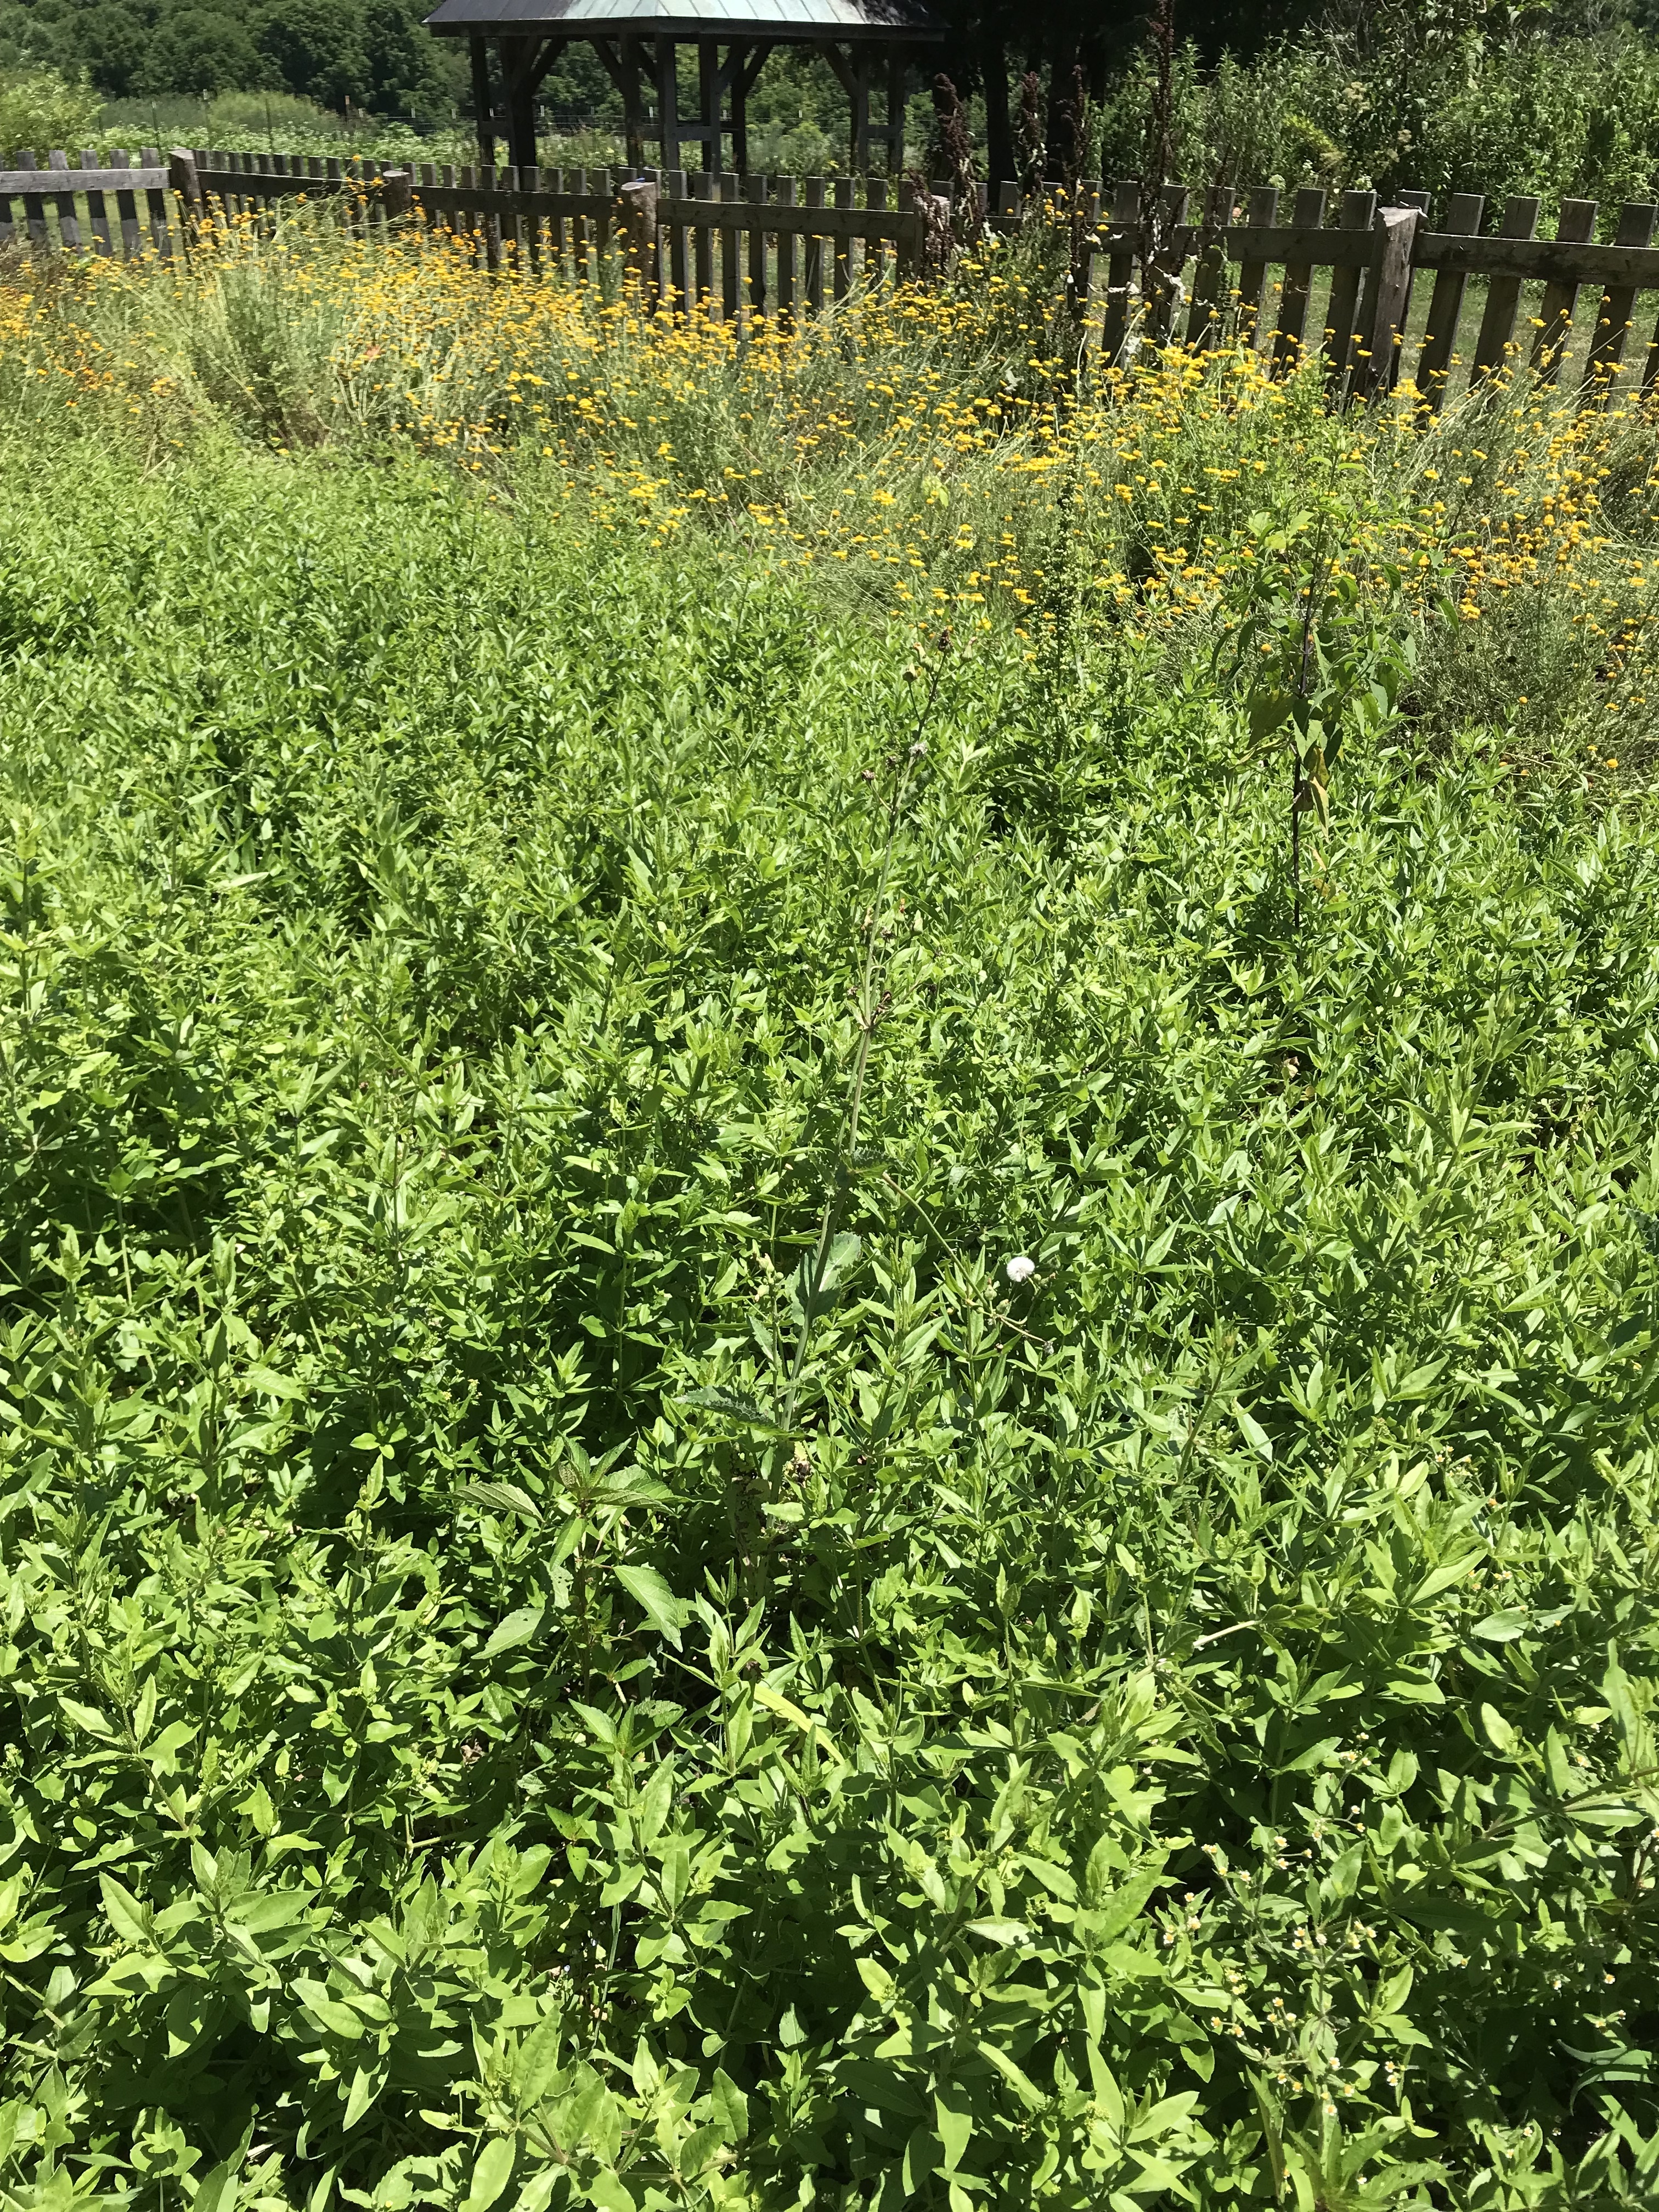
Over the last few years, I have experimented with spent madder root and other organic substances to determine alternative plant materials that can be used in place of the madder root, or in addition to it. I have successfully used spent rhubarb root, dock root, and dried Indigofera tinctoria leaves.
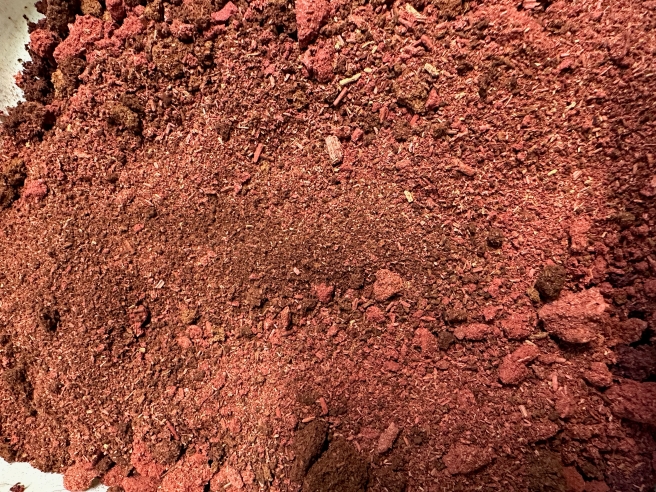
Ground madder root, which has already been used for dyeing, dried in a shallow tray. It will be stored and ready for use in an indigo vat.
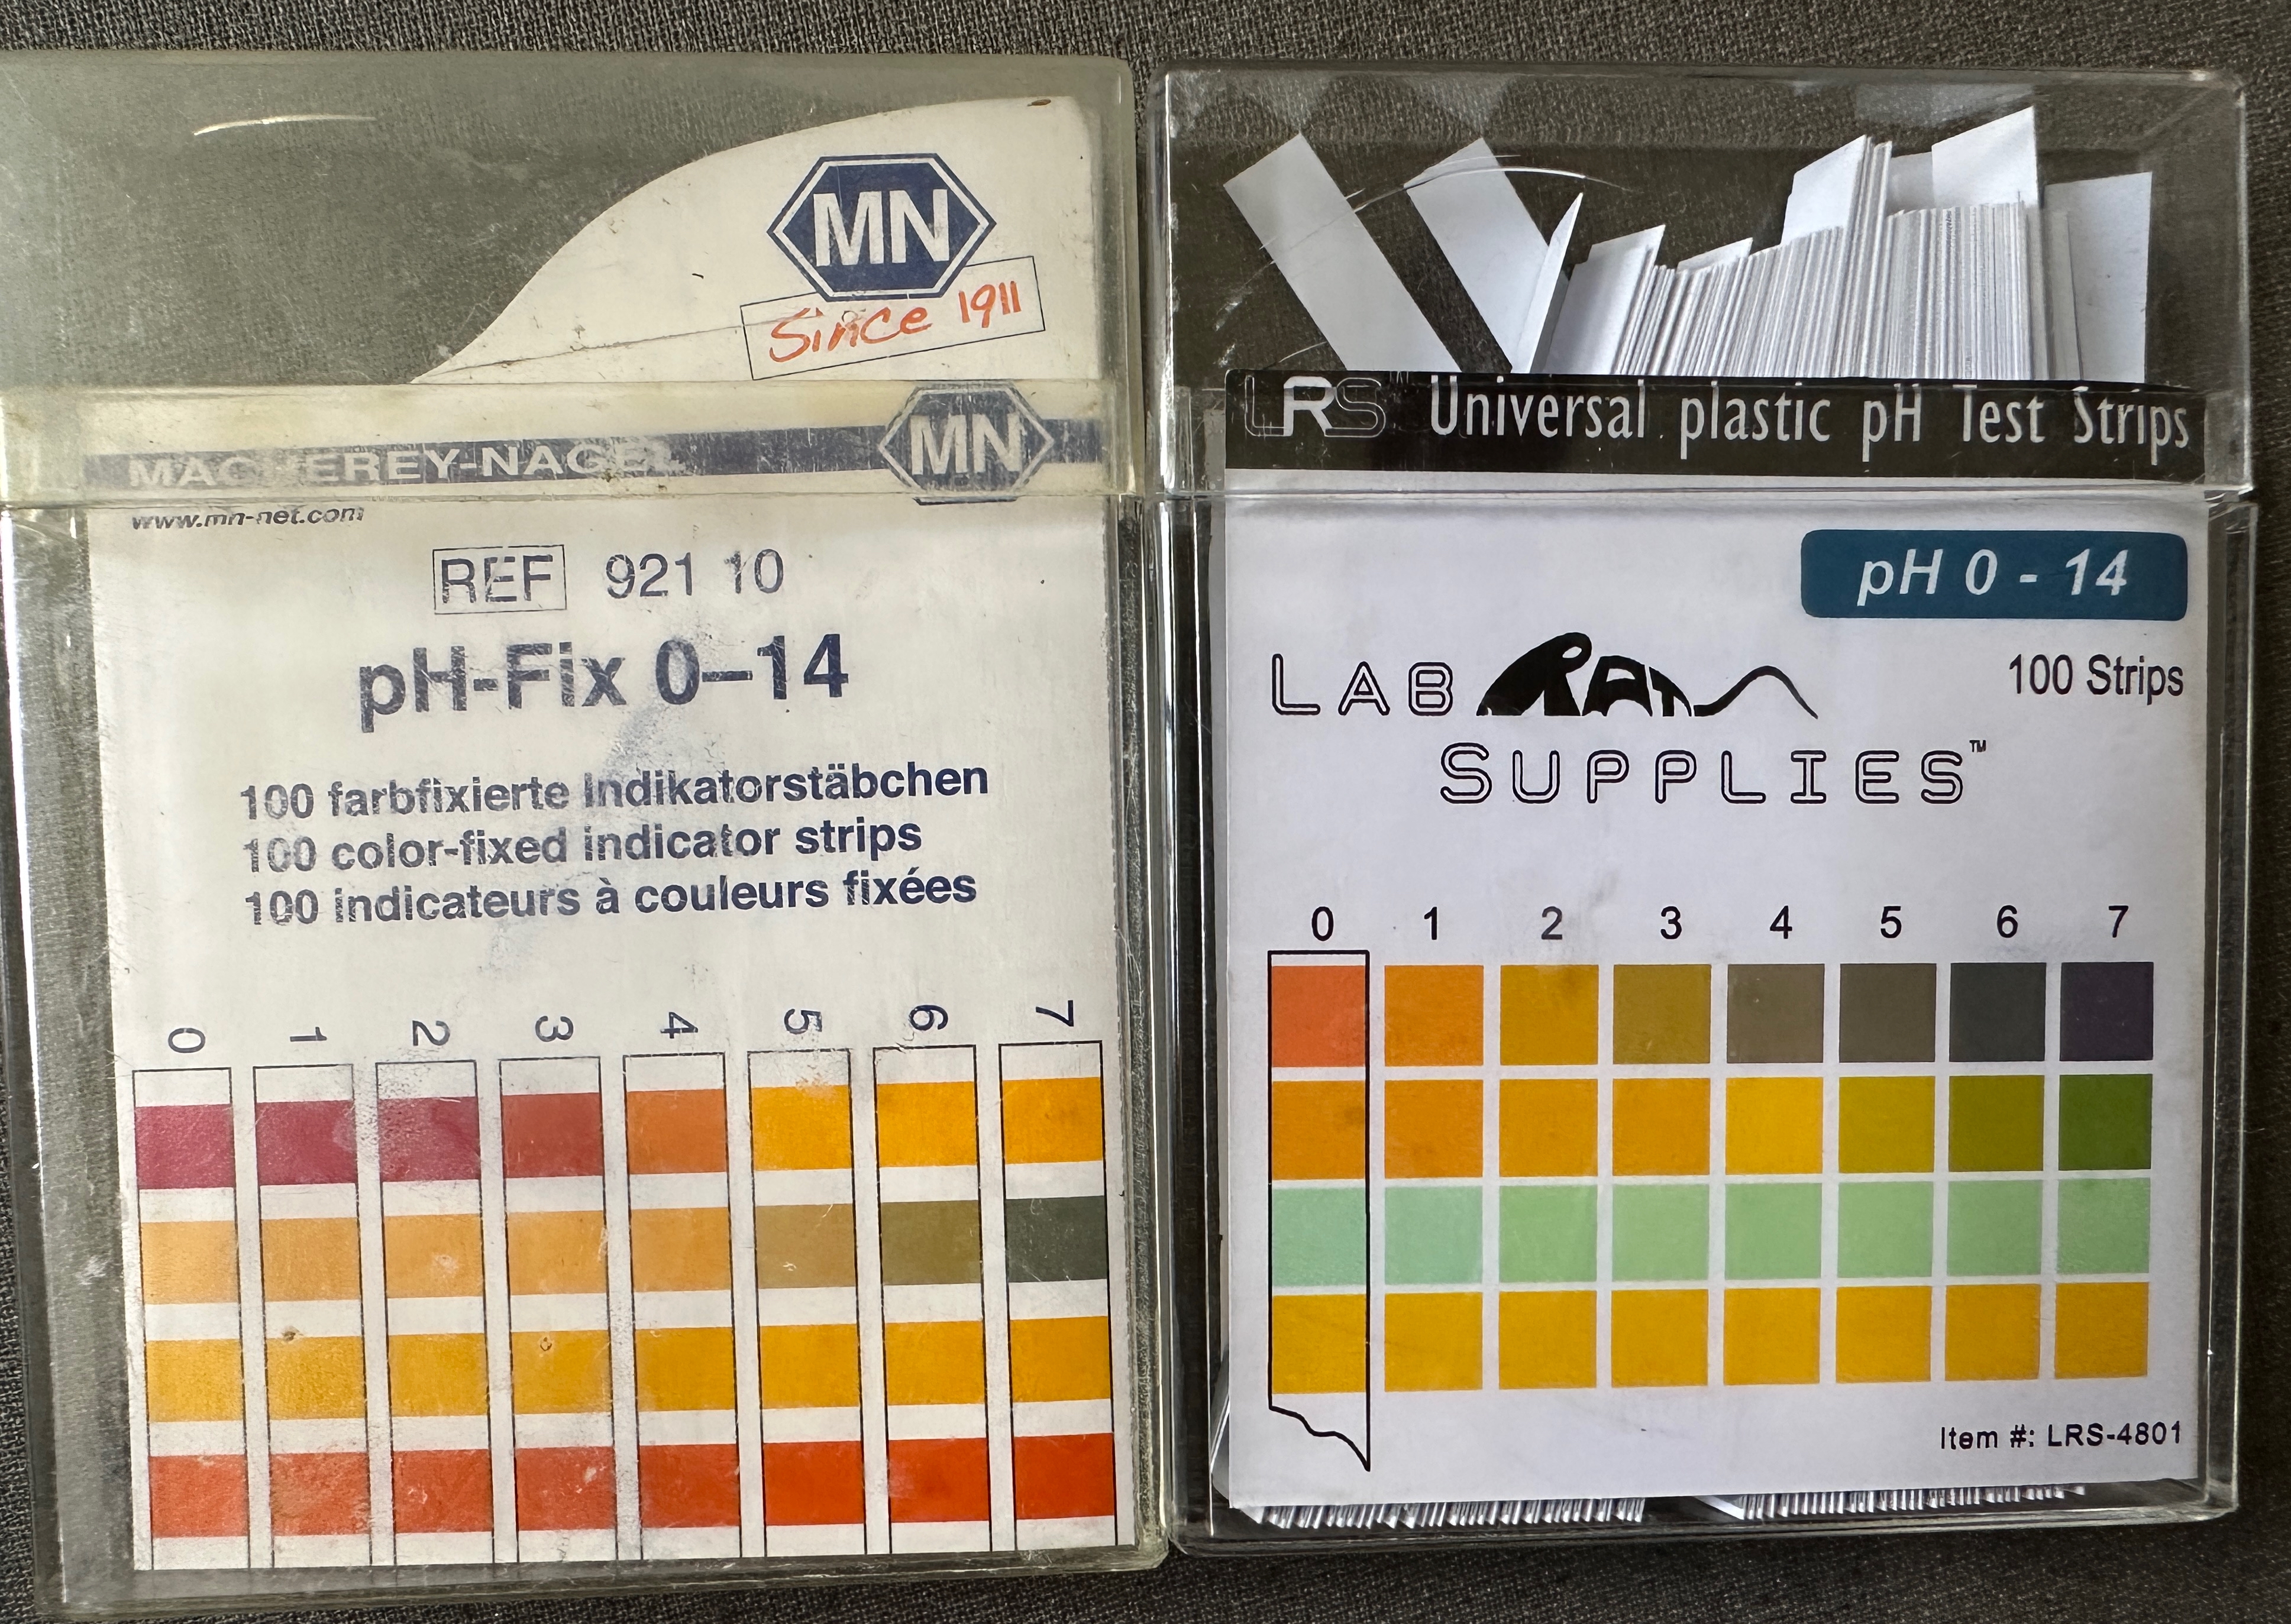
Some bacteria in the vat create lactic acid as a byproduct, which is a major reason for the decrease in pH that will naturally occur in the vat. For this reason, the pH of the vat must be carefully monitored and maintained on a regular basis. A fermented vat is a long-term investment. Be prepared to treat it as one and commit the time to monitor it by regular stirring, pH testing, feeding – and of course, dyeing in it!
Having a good pH meter on hand is very helpful (This is the one I have) but pH papers with multiple pads for enhanced accuracy can also work well.
For further reading: This is a sampling of scientific papers (with links) that discuss the bacterial process of fermented indigo vats.
Fermentation Blues: Analyzing the Microbiota of Traditional Indigo Vat Dyeing in Hunan