© Catharine Ellis, as posted to the blog: Natural Dye: Experiments and Results
This recipe can used to make a 1-liter vat or can be scaled up to a larger vat. I typically make a vat that is 50 liters in volume. The recipe is intended as a starting point for the dyer who wishes to explore fermentation.
Observe carefully. Be flexible. Experiment. Keep records!
As stated earlier, please start with a small vat of 1-4 liters. Get comfortable with it and wait for reduction. Any successful test vat can be added to a larger vat, speeding up the fermentation/reduction time for the new vat. So, small vats are useful.
Ingredients:
- Indigo pigment: 2-10 grams per liter (see note #1 below)
- Dried and ground Indigofera tinctoria leaves: 5 grams per liter (see note #2 below)
OR
Ground, “spent” madder root: 5 grams per liter. (see note #3 below)
- Wheat bran: 5 grams per liter. I typically use “feed-grade” bran sourced from my local farm supply store.
- Soda ash (sodium carbonate) OR potash (potassium hydroxide): 25 grams per liter. Either soda ash or potash is effective. (see note #4 below)
Optional: If you have them: dried woad balls/patties or dried polygonum leaves etc., crushed: 5 grams per liter. (see note #5 below)
Note #1: Deciding how much indigo pigment to put into a vat is a complex decision and largely based on:
- The size of the vat
- The amount of dyeing that will be done in the vat and the size of the dyeable goods
- The type of textiles that will be dyed: yardage requires much more volume that yarn.
- How long the vat is expected to last.
The fermented vat seems to be very efficient at reducing the indigo available in the vat. I have observed that a vat with 2 grams of indigo pigment/liter can produce a blue that is almost identical to one with 8 grams per liter, but the vat with the smaller amount of indigo will not last as long. Fermented vats will result in pale colors only after much of the indigo has been used up and the vat becomes weaker. My 50-liter vat with 2 grams of indigo per liter took over 20 months to reach a point where it produced pale blues.
I have never added additional indigo to a vat. I have always felt that when a vat was “finished” it was time to start fresh again, although that might be something to consider.

Although the vat on the right uses 4x the amount of indigo pigment, and the the vats were equally reduced, they are close to identical in depth of shade.
Vats that are kept a long time will build up solid materials on the bottom: mostly lime and wheat bran. When stirring the vat, there is noticeably more “stuff” on the bottom. I suspect that I have kept vats longer than might be recommended – I guess I may not be dyeing enough!
For all the above reasons, I would recommend using a smaller amount of indigo pigment in the vat. Use it up. Dye some pale colors and mix a new one. Ideally, the studio will have two vats: an old vat for pale colors and another for darker colors.
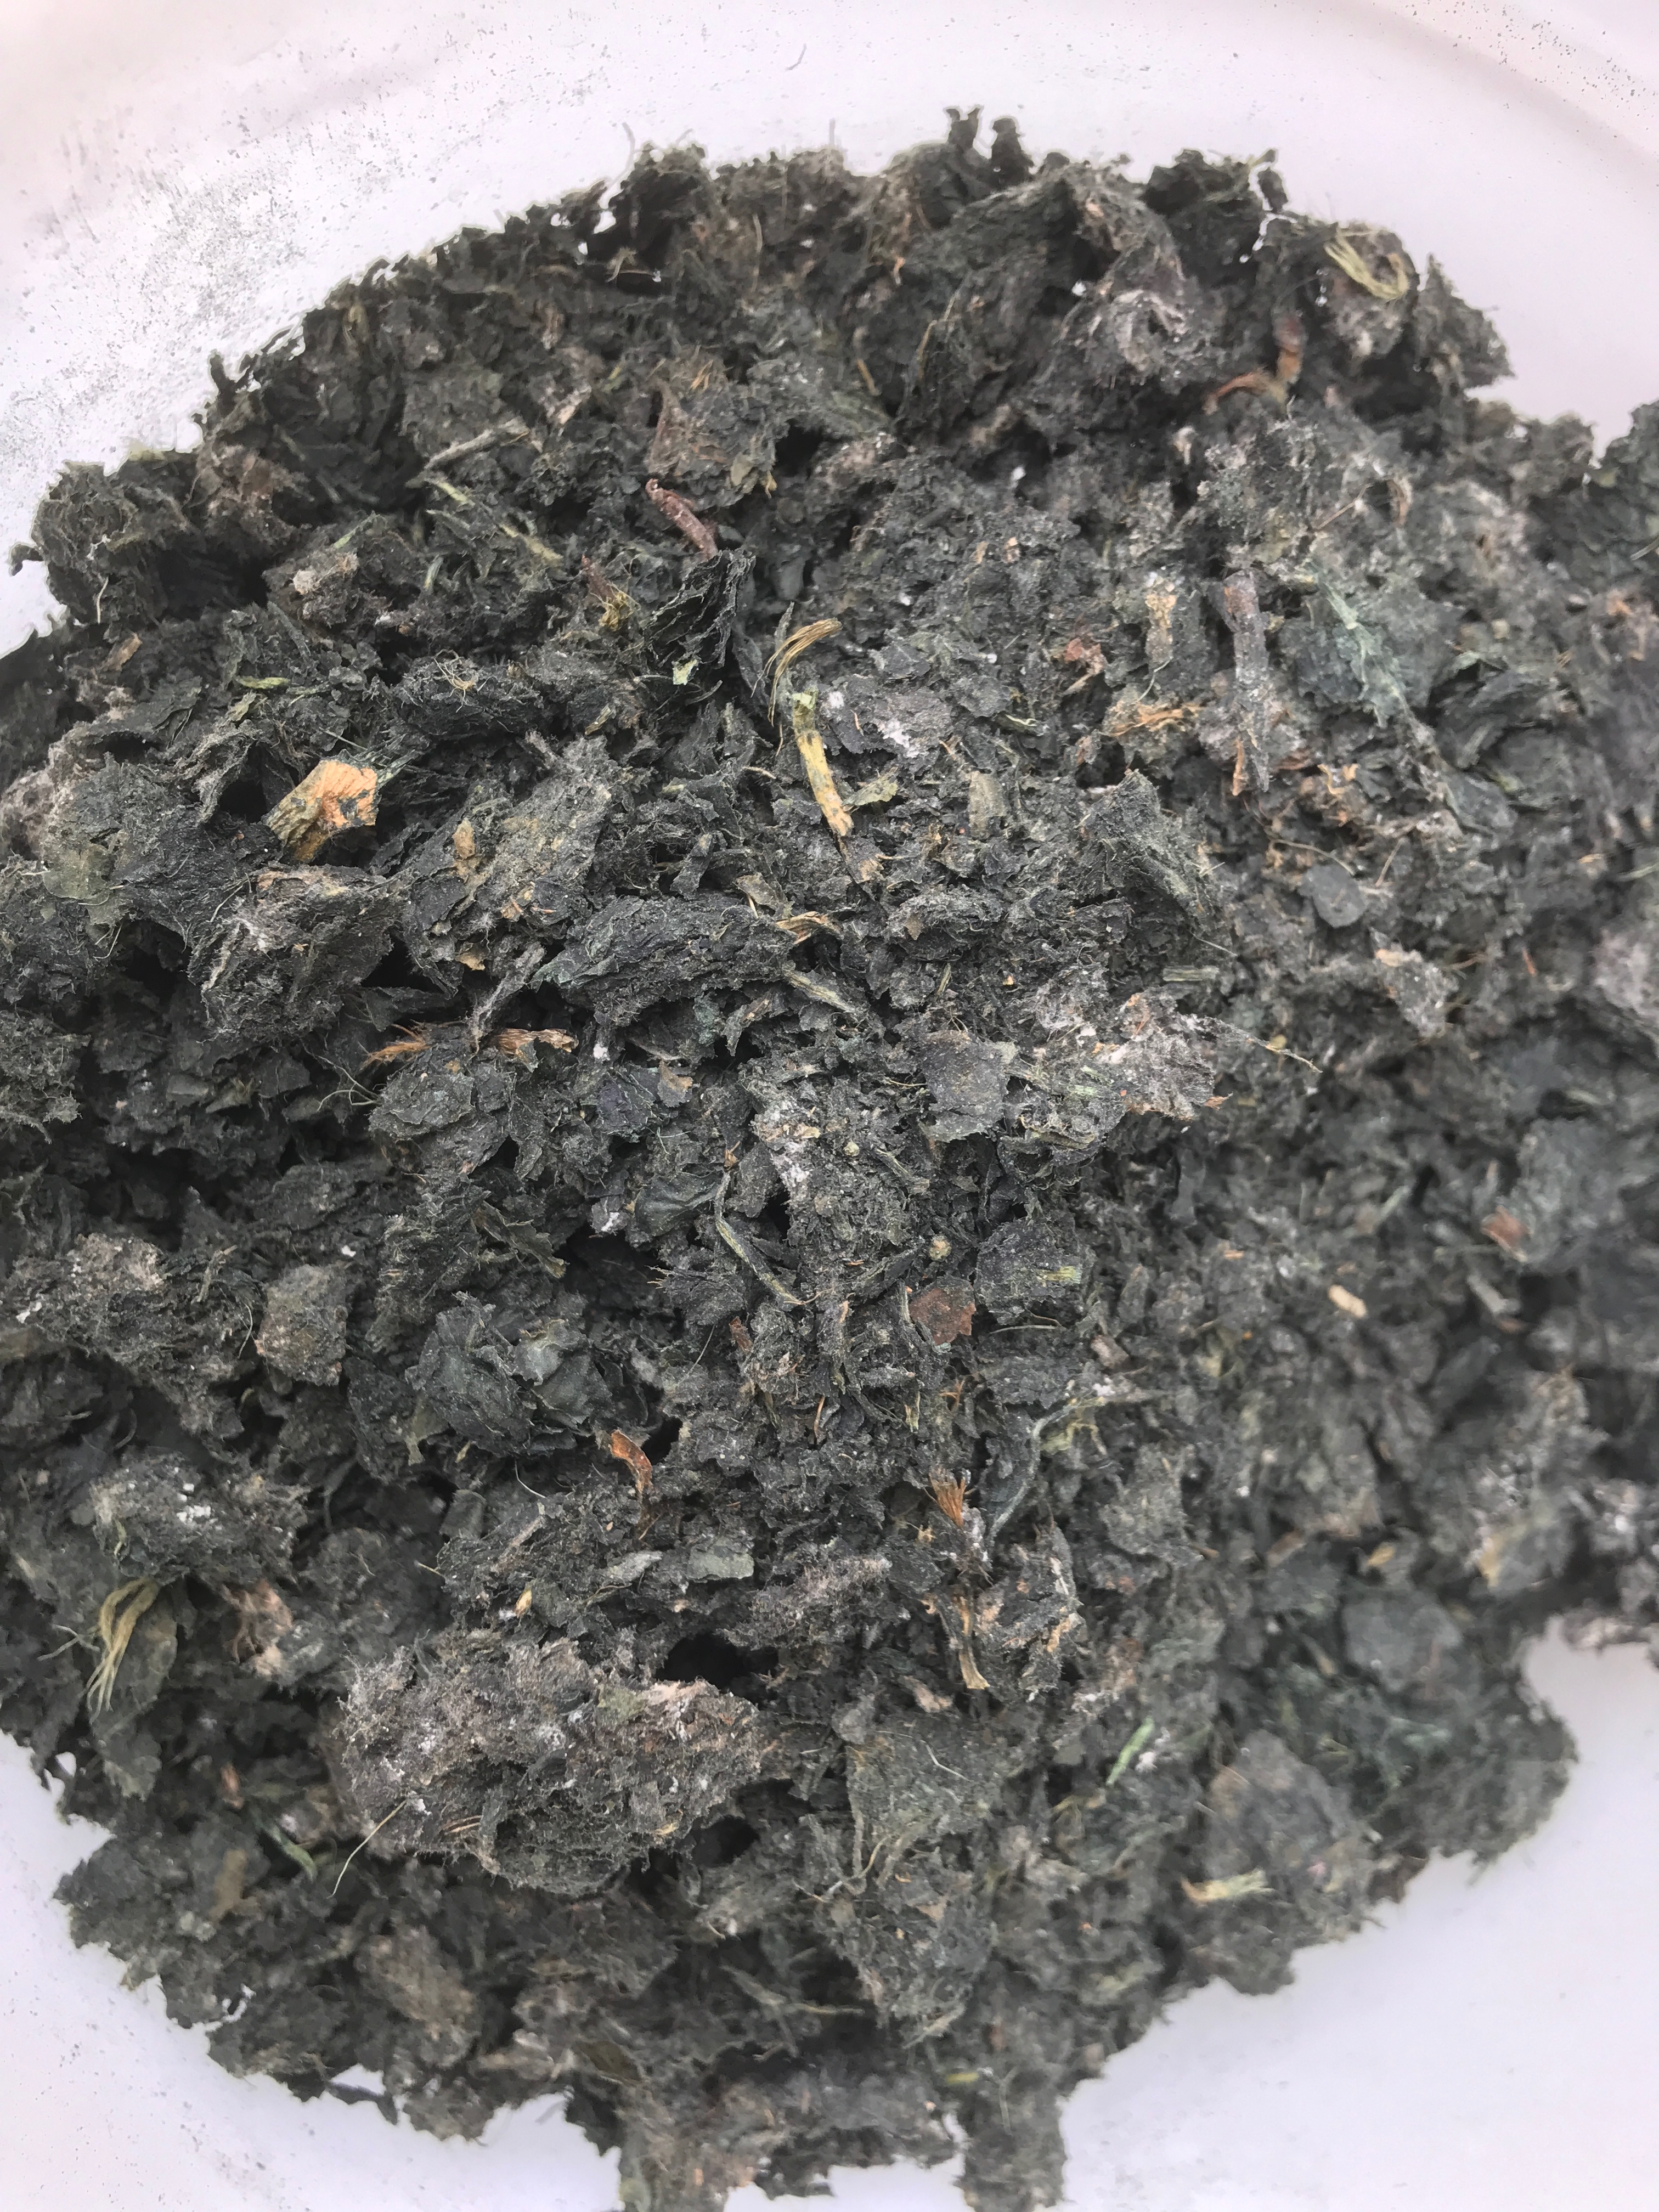
Note #2: “Spent” madder has already been used for dyeing red. The alizarin and other dye components in the roots are not necessary for the fermentation.
When dyeing with madder root, I place the ground roots into a fine mesh bag that is large enough for the dyestuff to move freely. When the red dyeing is completed, I remove the ground root from the bag and dry it. It will dry easily on a tray if left in the open air. Once completely dry, the madder can be stored until it is needed for an indigo vat. Madder that has not already be used for dyeing red can be used but it would a waste of a good red dye. Traditionally, the madder dyers would sell their spent madder root to the indigo dyers.
Note #3: Dried and ground Indigofera tinctoria leaves are often sold as “black henna” and used, in combination with madder, to dye hair black. I source mine from Maiwa.
Note #4:The stated quantity of soda ash or potash is ideal to achieve the desired pH (12.0) using MY WATER, which is acidic (pH 6). If your water is neutral, less soda ash might be required.
Note #5: When I have fresh indigo of any variety in the garden, I will grind up the leaves, form them into small “patties” and dry them. The theory is that these will introduce supplemental bacteria to the vat. When I use them, my vats tend to reduce a little bit faster. If you do not have fresh indigo to make these, that is just fine.

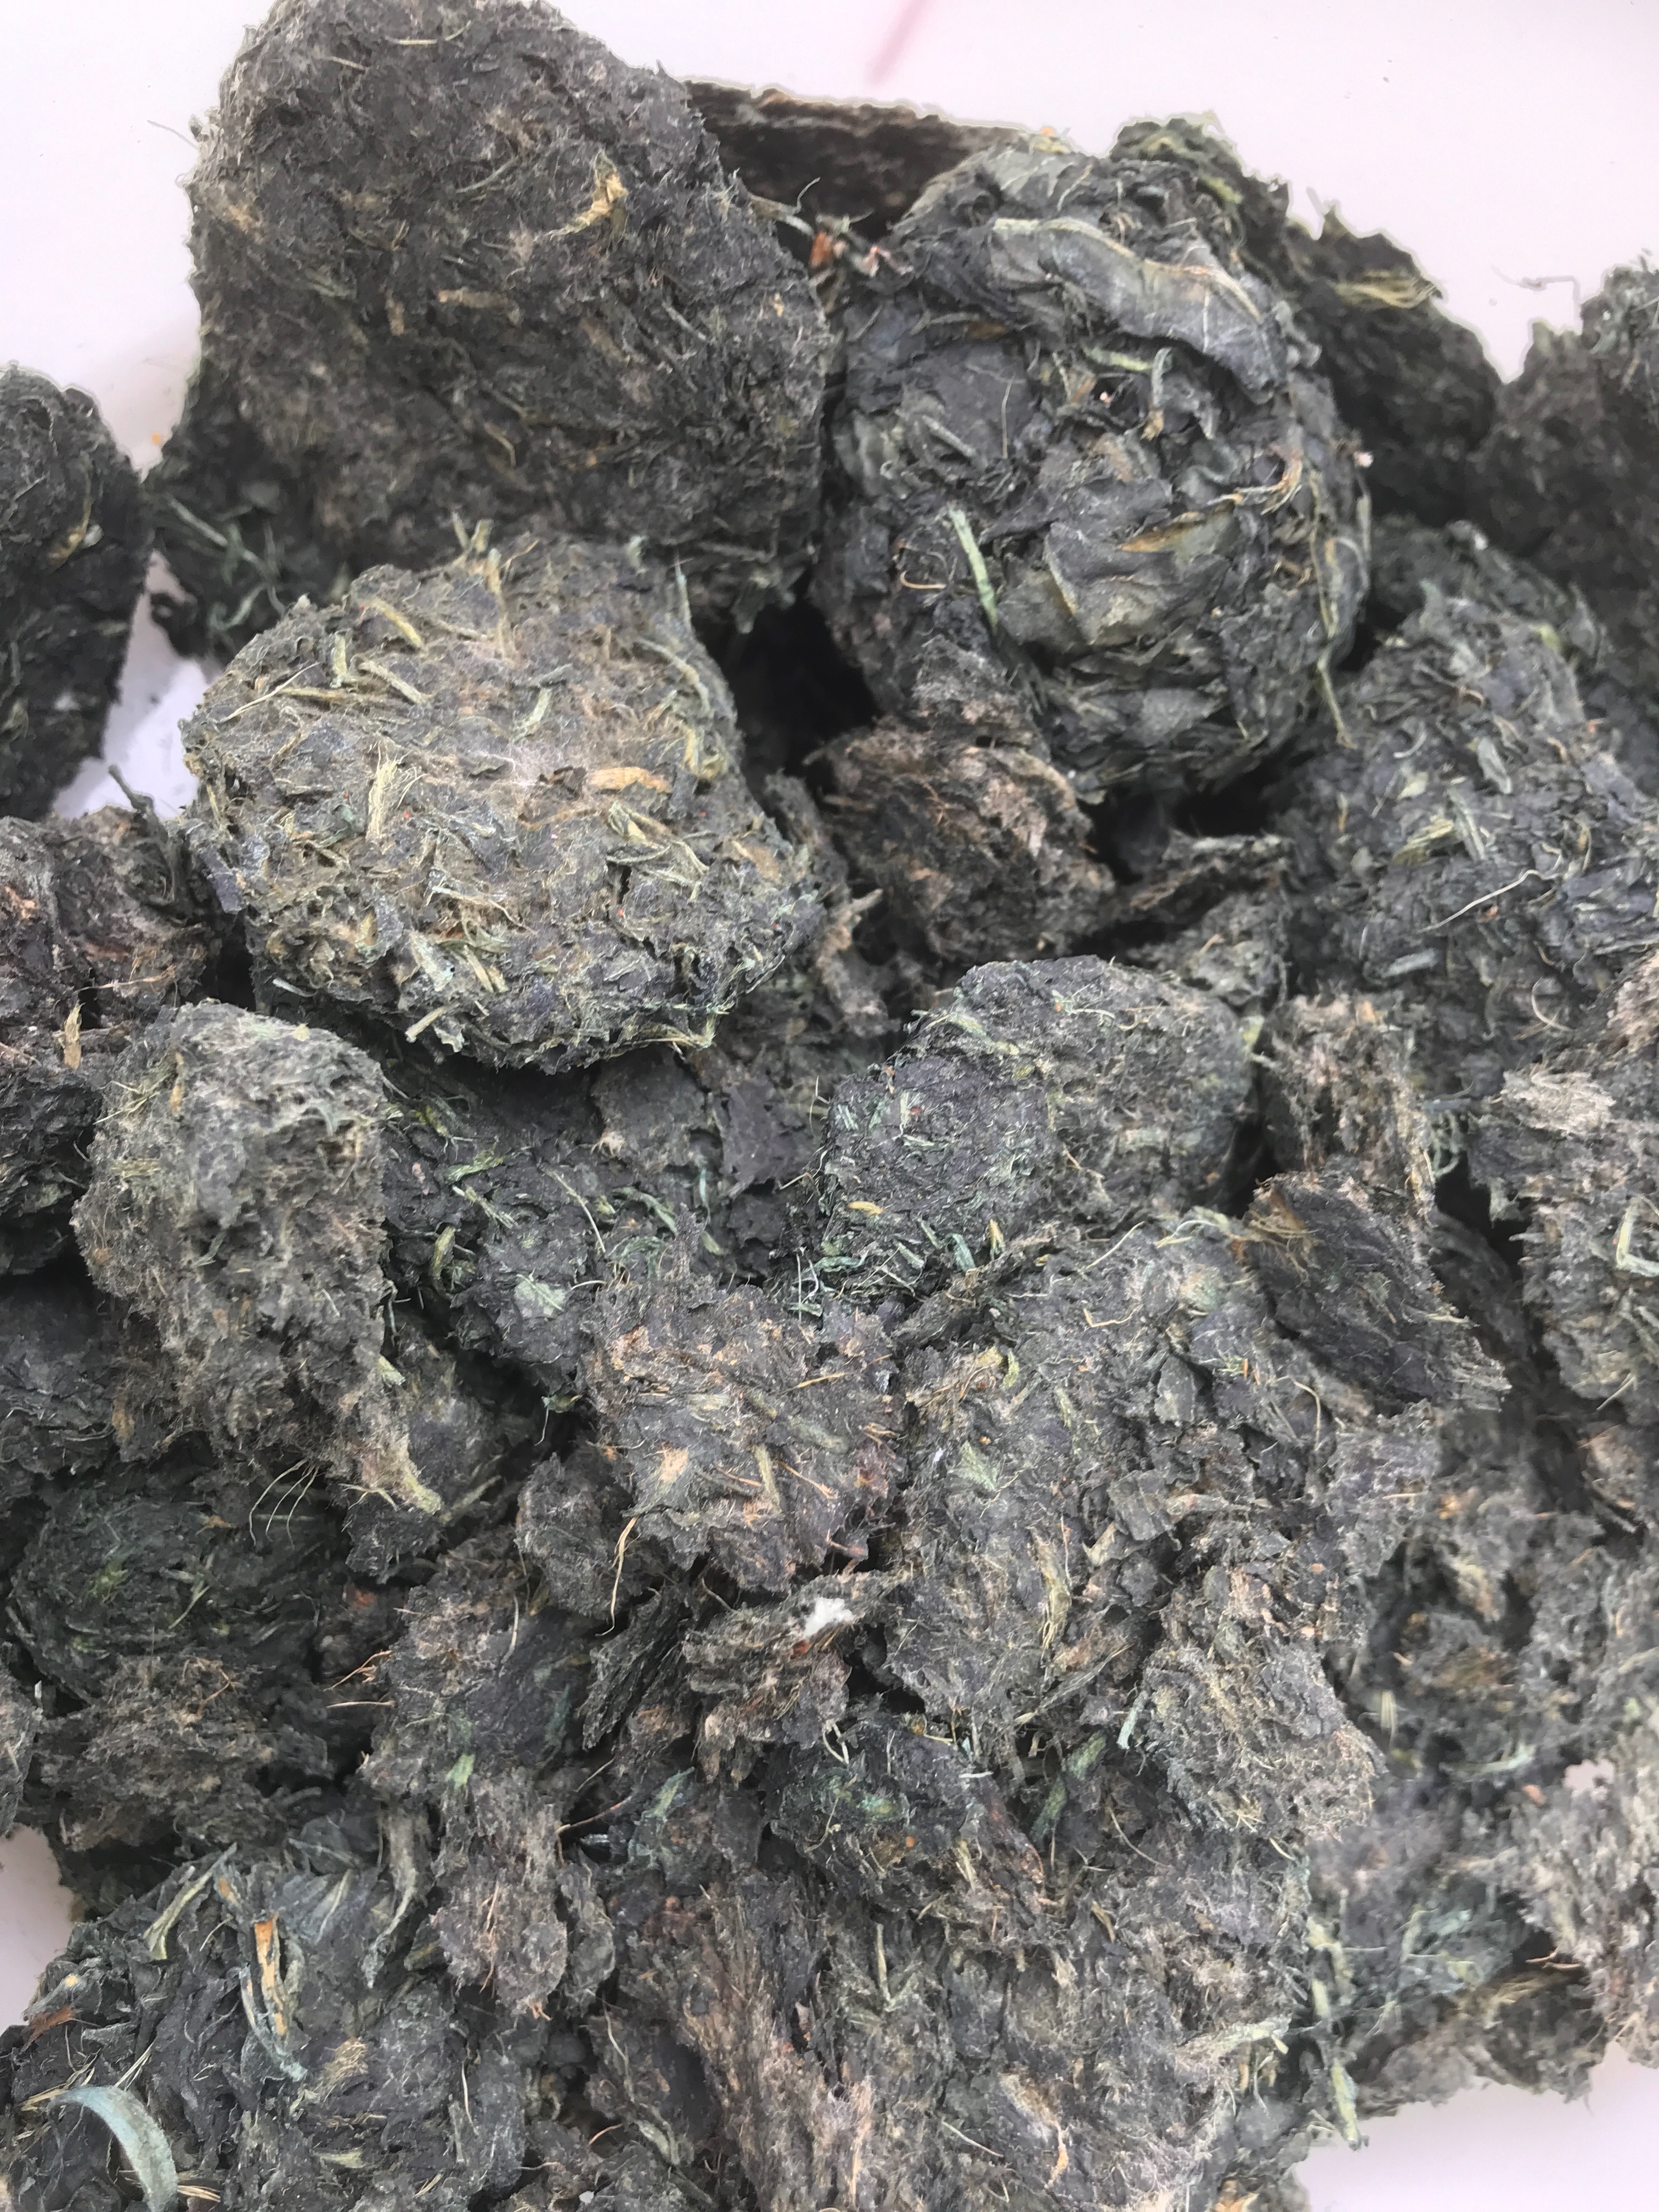
Indigo leaf patties, made from fresh indigo leaves (left). They are dried to preserve (right) and can be added to feed the vat and to boost fermentation. I have used all types of indigo leaves from my garden for this: Persicaria tinctoria, Indigofera suffruticosa, and Isatis tinctoria.
Procedure:
- Thoroughly hydrate the indigo pigment in water unless you are using paste pigment.
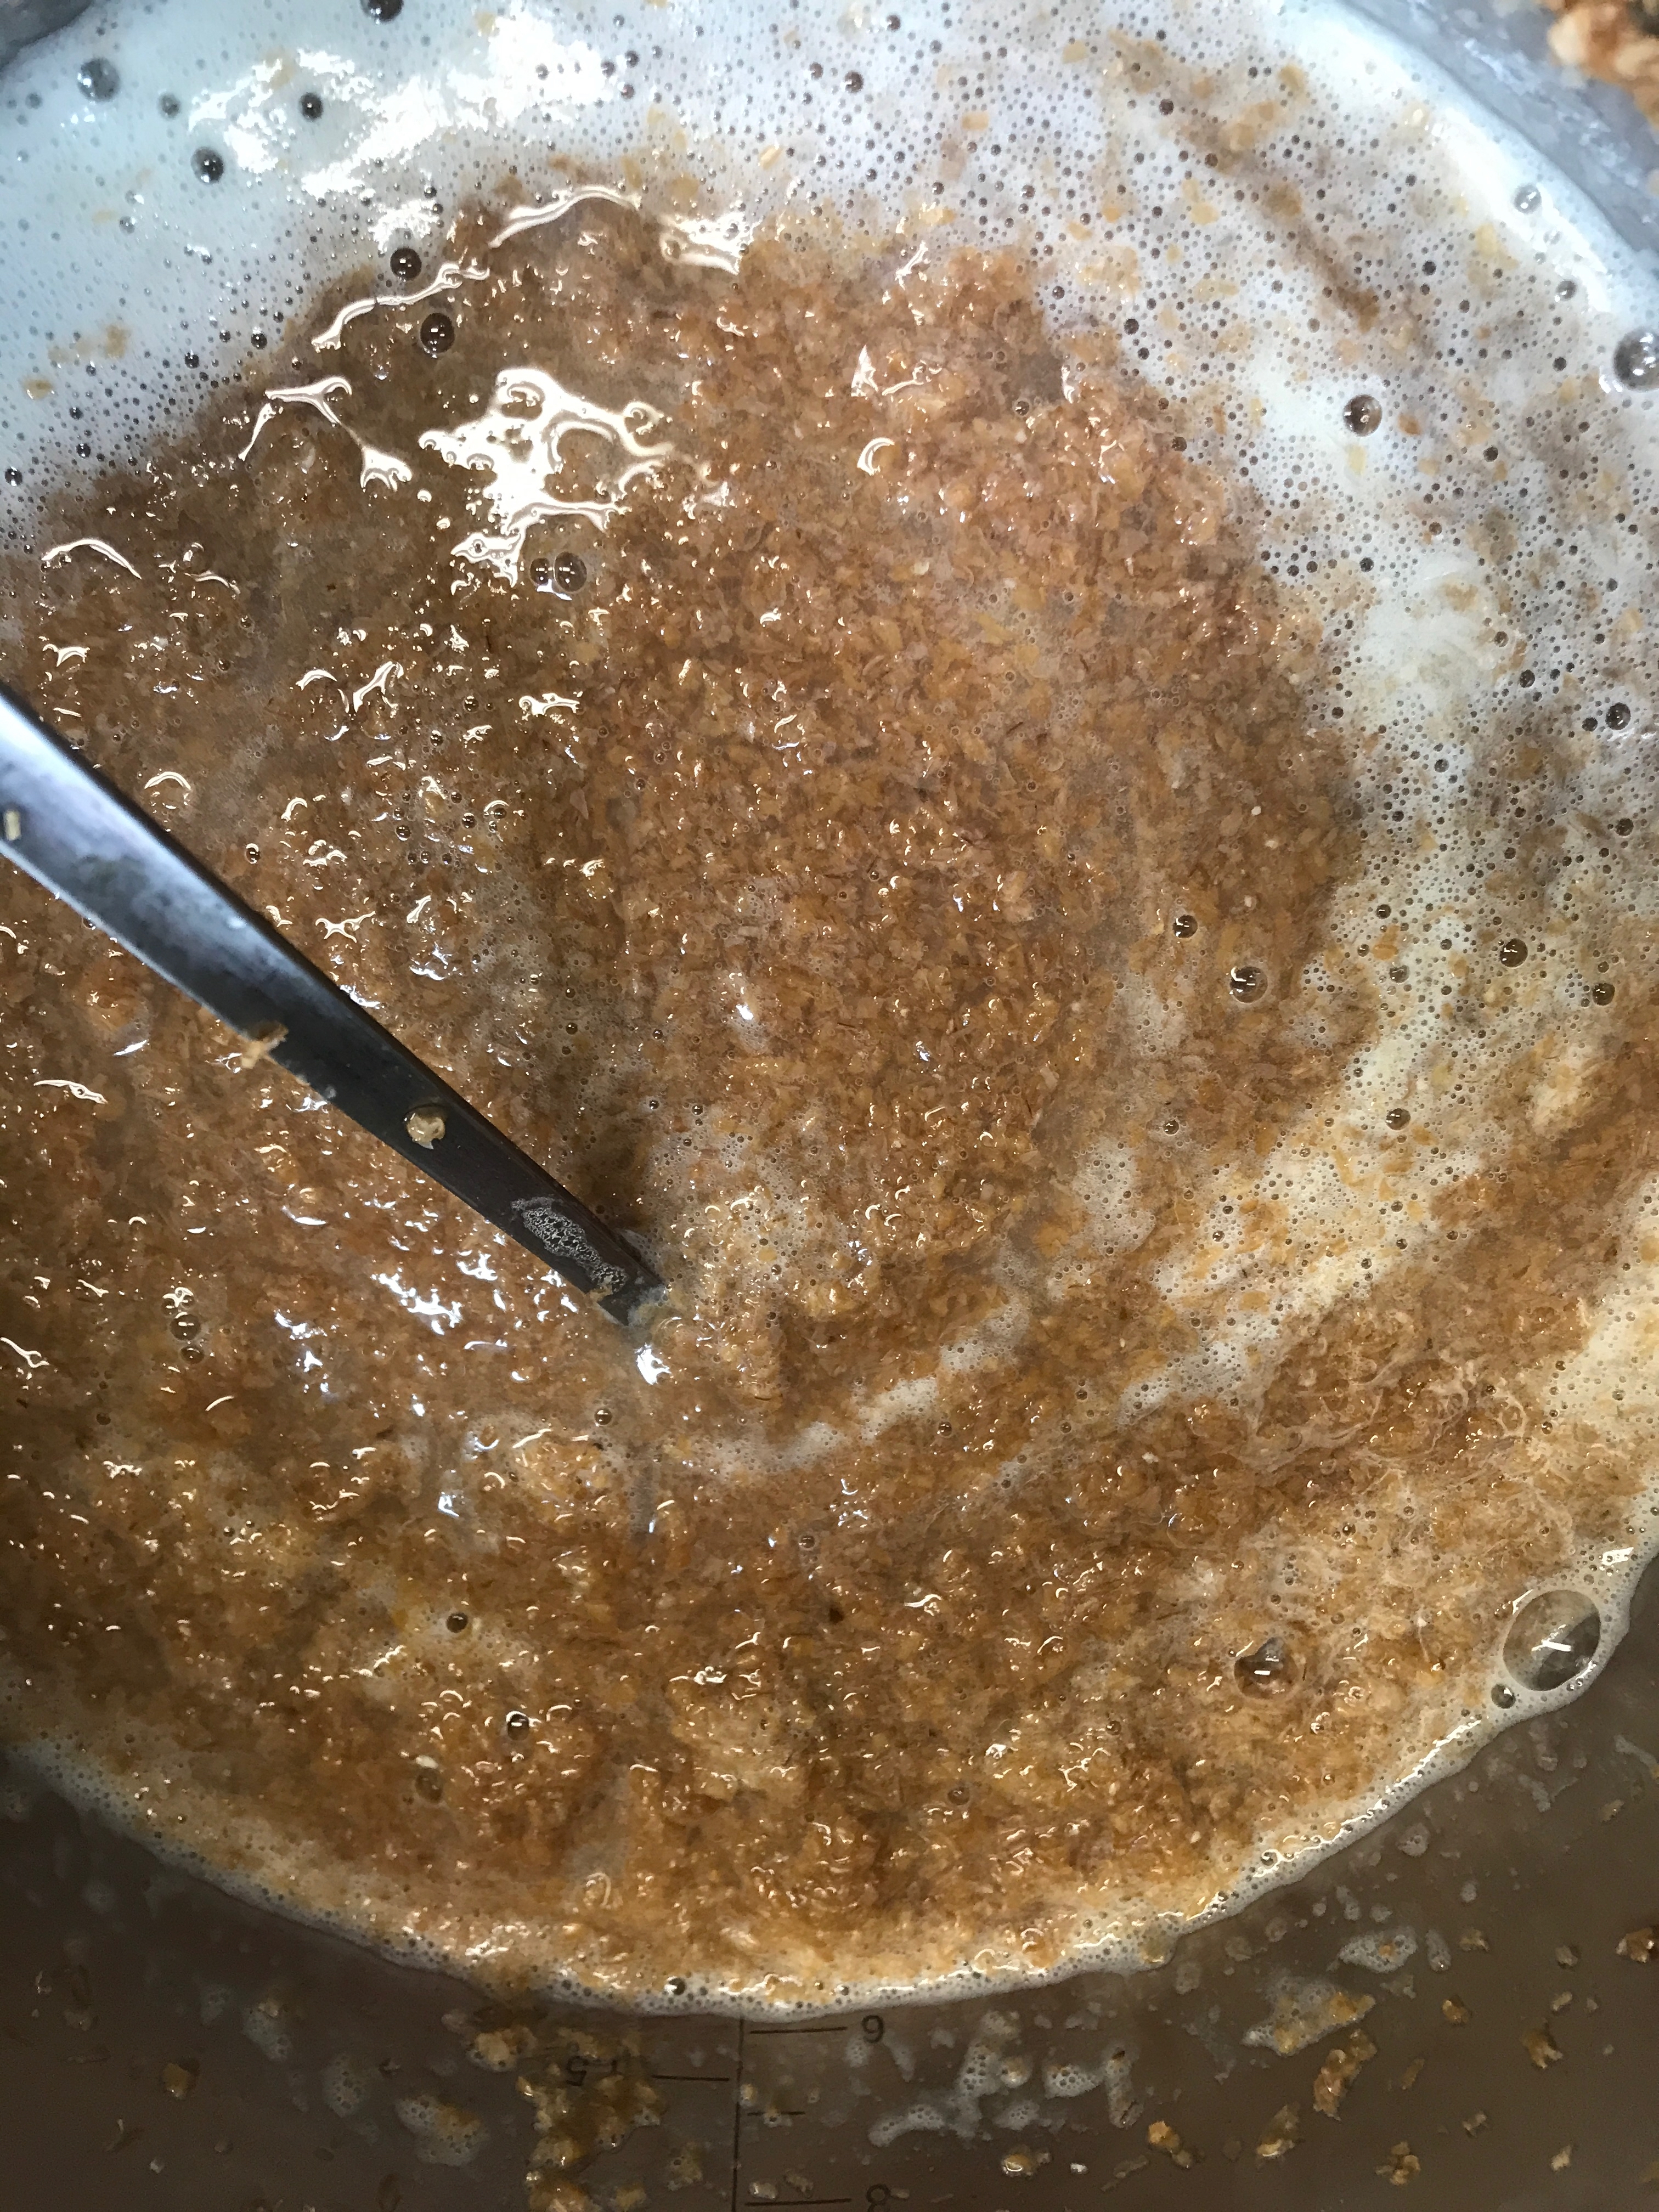
- Boil the bran in a small amount of water for about 10 minutes. It should become the consistency of cooked cereal and emit a slightly sweet odor. Cool before use, until just warm.
- Prepare the “food” for the vat:
- If using madder root, cook this briefly. It can be added to the bran and they can be cooked together for efficiency.
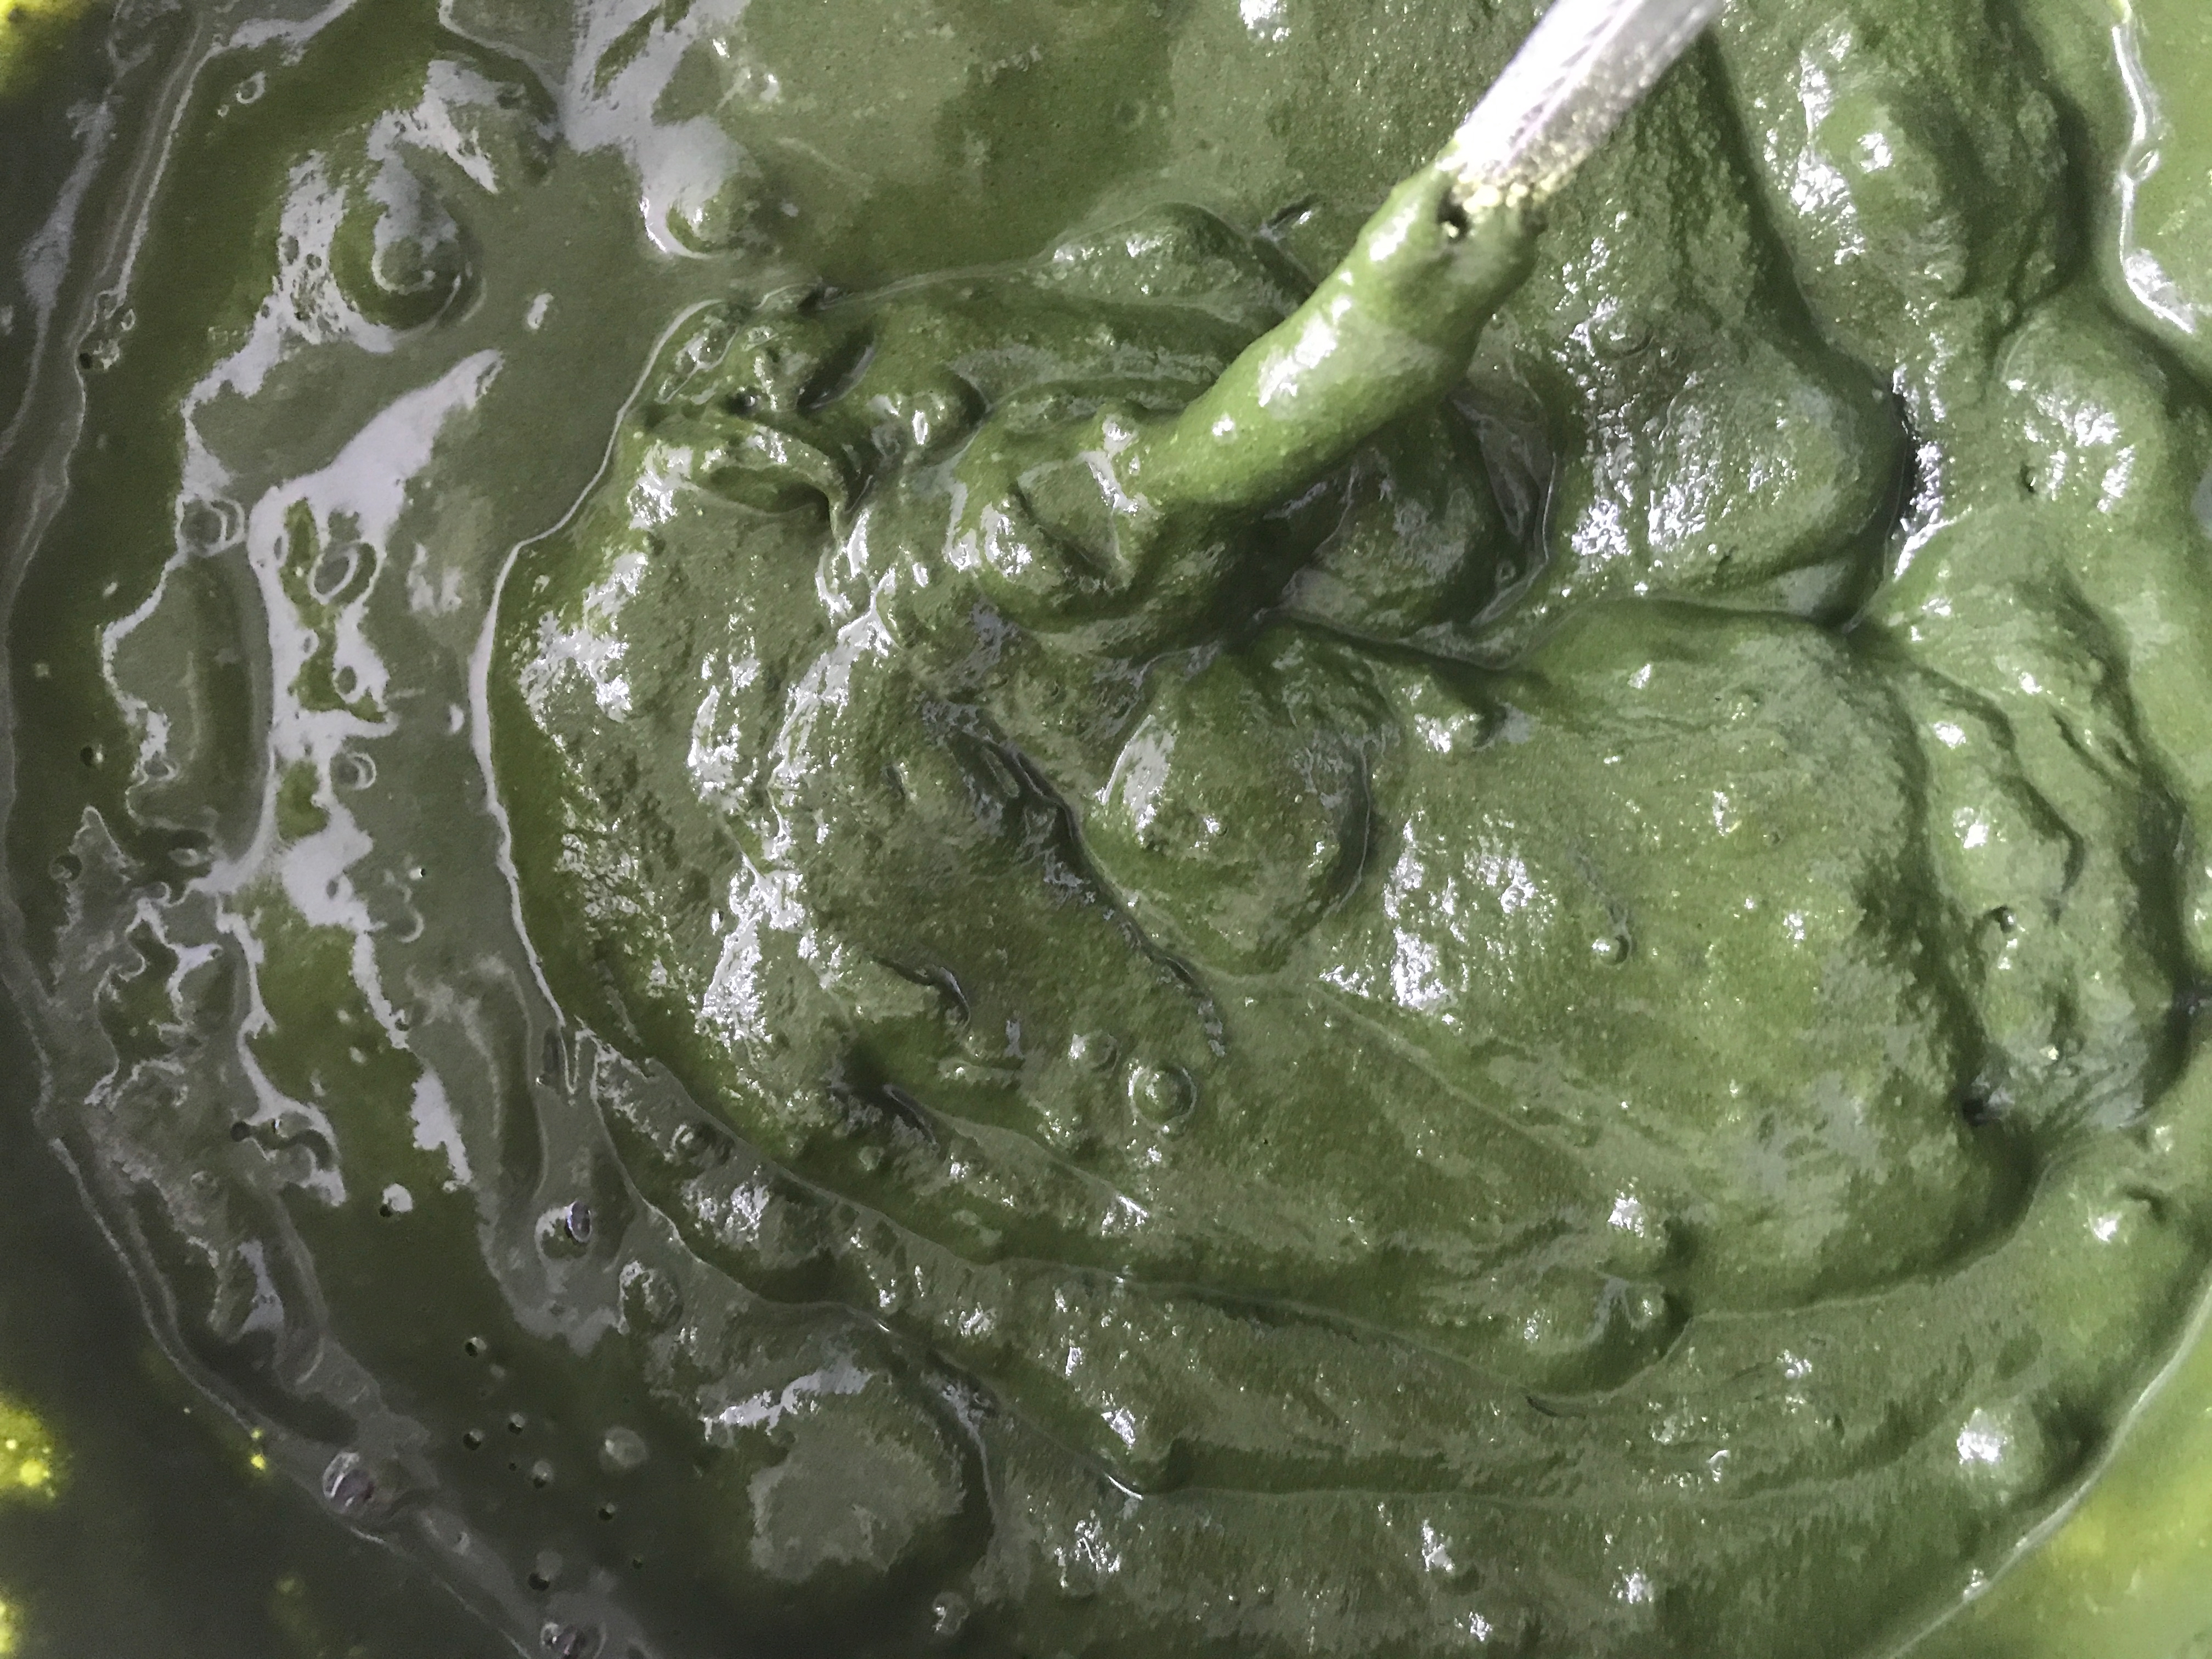
- If using ground Indigofera tinctoria leaves, stir them into warm water to make a smooth, watery paste.
- If using dried indigo patties, crush them up before adding to the vat
- Dissolve the soda ash or potash in boiling water. Cool before use until just warm.
- Add warm water to the dye vessel until it is approximately ¾ full.
- Add the remainder of the ingredients to the dye vessel.
- Wait a few days, to add the liquid to full capacity.
- Stir the vat carefully with a circular, centrifugal motion. Cover the vat loosely.
- Warm the vat, if required. Optimal temperature for bacteria growth is 30°C/86°F but it can grow between the temperatures of 10-50°C/50-122°F. Bacterial growth decreases at temperatures greater than 36°C/96.8°F
- Measure the pH. It should be in the range of 10-11. Once the vat is at full capacity, add a very small amount of lime, (calcium hydroxide) and re-test the pH.
Over the next few days:
- Stir the vat in a centrifugal motion 2-3 times a day.
- Monitor the pH – A good pH meter is an excellent investment. Alternatively, use pH papers that have multiple indicator zones.
- As the fermentation begins, lactic acid will be created, and the pH of the vat will fall. This is the time to completely fill your vat using warm water into which you have dissolved soda ash or potash (25 grams per liter).
- Measure the pH It should be in the range of 9.5-11. Once the vat is at full capacity, test the pH and record this.
- Add a very small amount of lime (calcium hydroxide), if necessary. Lime is a much more concentrated “fix” for pH adjustments.
- Watch for the vat to form an iridescent film on the surface. This is an indication that fermentation and reduction has begun.
- Smell the vat. As bacteria causes the fermentation of the vat, the “odor” will be an indicator of activity.
Concurrently, test the color: the best way to tell if the vat is reduced, is to test its ability to dye.
- Starting on day two, begin test dyeing. Place a small piece of wetted-out cotton cloth into the vat for 10 minutes. Observe and note the results. Continue to test the vat each day, maintaining a record of the dye tests.
- Once the test fabric dyes a clear blue color, the vat is ready to use for dyeing. Usually this takes about 8-14 days.
- Dedicate a small notebook to each vat that you build so that the vat can be observed over weeks/months. Place the dyed samples in your notebook. This will be an important resource tool to understanding your vat.
- Once reduced, the vat can be monitored by weekly testing.
- From this point, follow the instructions in “Vat Maintenance” post, which will follow.
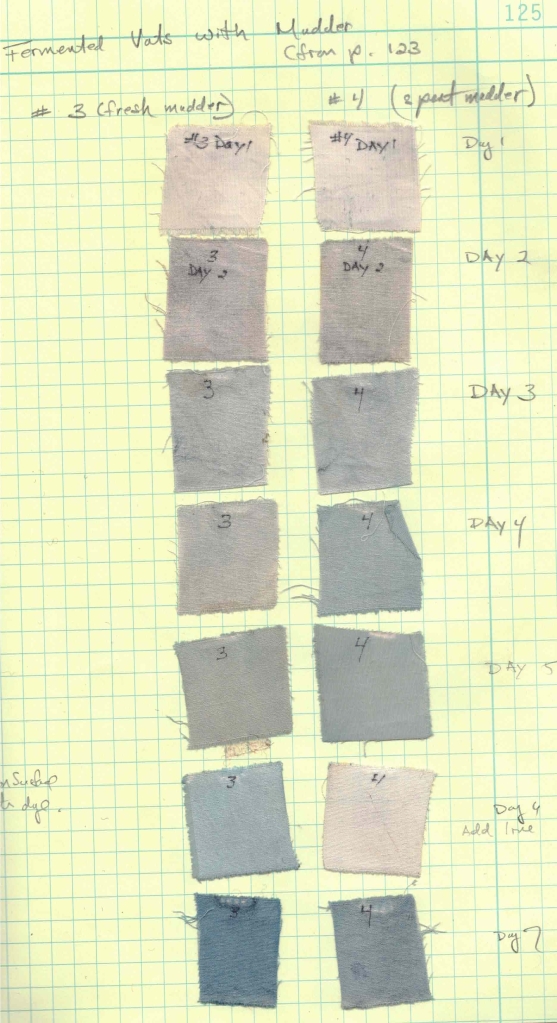
Day 1 – Day 13 of two vats made with madder root. One was made with “spent” root, the other was made with root that had not been used for dyeing. (I knew that they would both work, but sometimes I just need to prove it to myself!)
By day 6 the pH had begun to drop. The lack of color on that day is a great indicator that something is out of balance – and most likely it is the pH. A small amount of lime was added to both vats, and the color improved.
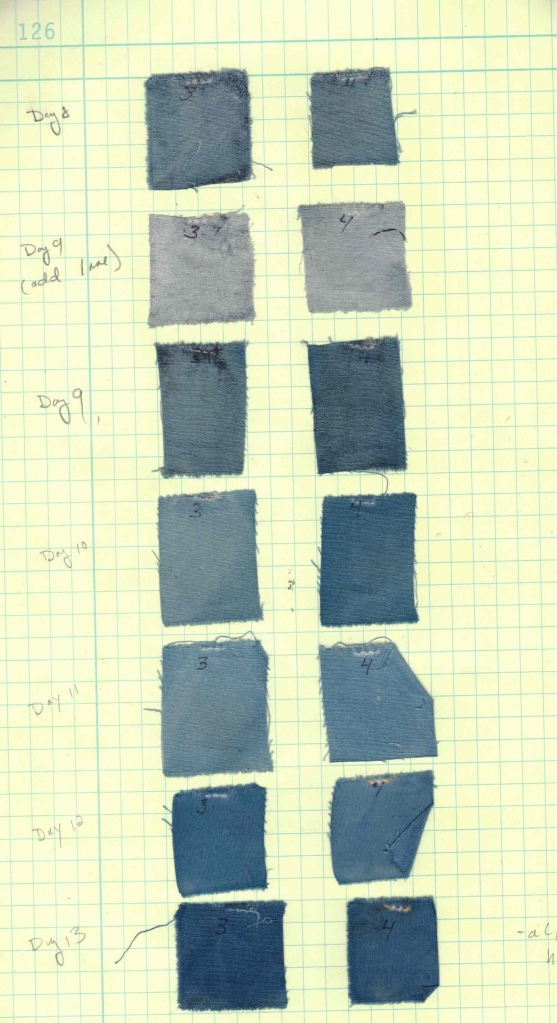
The same drop in pH happened on day 9. This illustrates how easy it is to read the condition of your vat from dyed samples. After day 13, I began using these vat for dyeing.
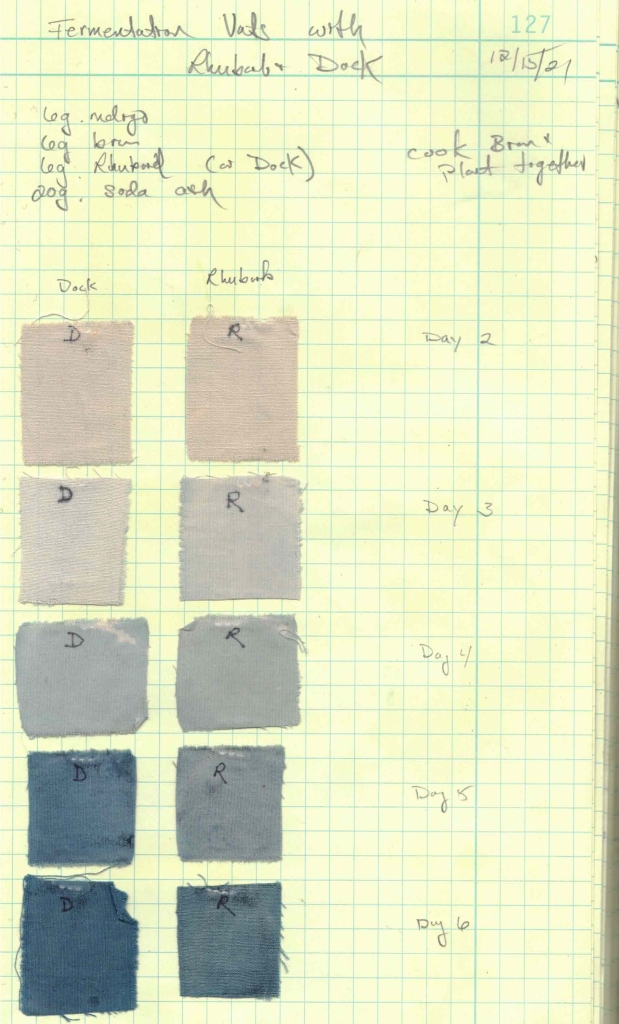
A similar test using spent dock root (Rumex crispus) and rhubarb root (Rheum palmatum). Reduction came more quickly in these vats. Perhaps this is because the plant material was a finer ground powder and more easily accessed by the vat. I source dock and rhubarb that are prepared for medicinal purposes.