Dyeing as Chemistry

I am always trying to learn more about the natural dye process.  Mostly, this is to become a better dyer, but there is also an intellectual curiosity that keeps me asking questions, testing, and observing. Joy Boutrup, my co-author of The Art and Science of Natural Dyes, is a textile chemist and engineer. She has generously explained so much to me over the years, giving me a glimpse of the logic behind all of our dyeing processes, but never overwhelming me with the technicality of the chemistry. 

Last summer, Joy and I were  teaching at Penland School of Crafts at the same time as Tim McLaughlin and Charllotte Kwon of Maiwa. It was there I learned of the chemistry class for dyers that they had been developing. In a desire to learn more and expand my ability to understand process,  I enrolled in the class, Natural Dyes: Alchemy Chemistry Craft when it was offered for the first time. The class is presented in 18 separate  modules, each a seriously “deep dive” into electrons, molecules, acids, bases, and the nature of plants that we use in our processes. Each lesson is presented in video format by Tim and Charllotte with printable notes that link directly to the video script.

To be honest, much of it was over my head, as I do NOT have a chemical background.

The class is not a practical “how-to” of dyeing, but instead, a serious look into the principles behind the process.  As the lessons progressed, I found myself making connections and the processes that I know well were explained even further. There is a reason for each of the steps we use in the dye process, whether we see them, understand them, or not. 

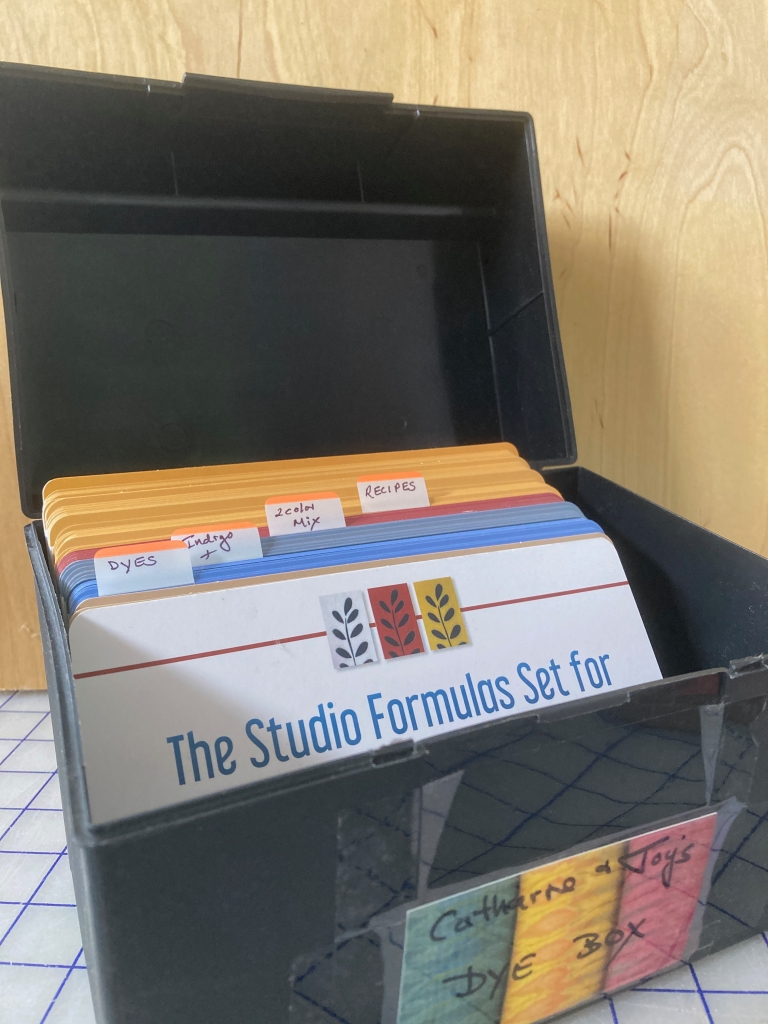
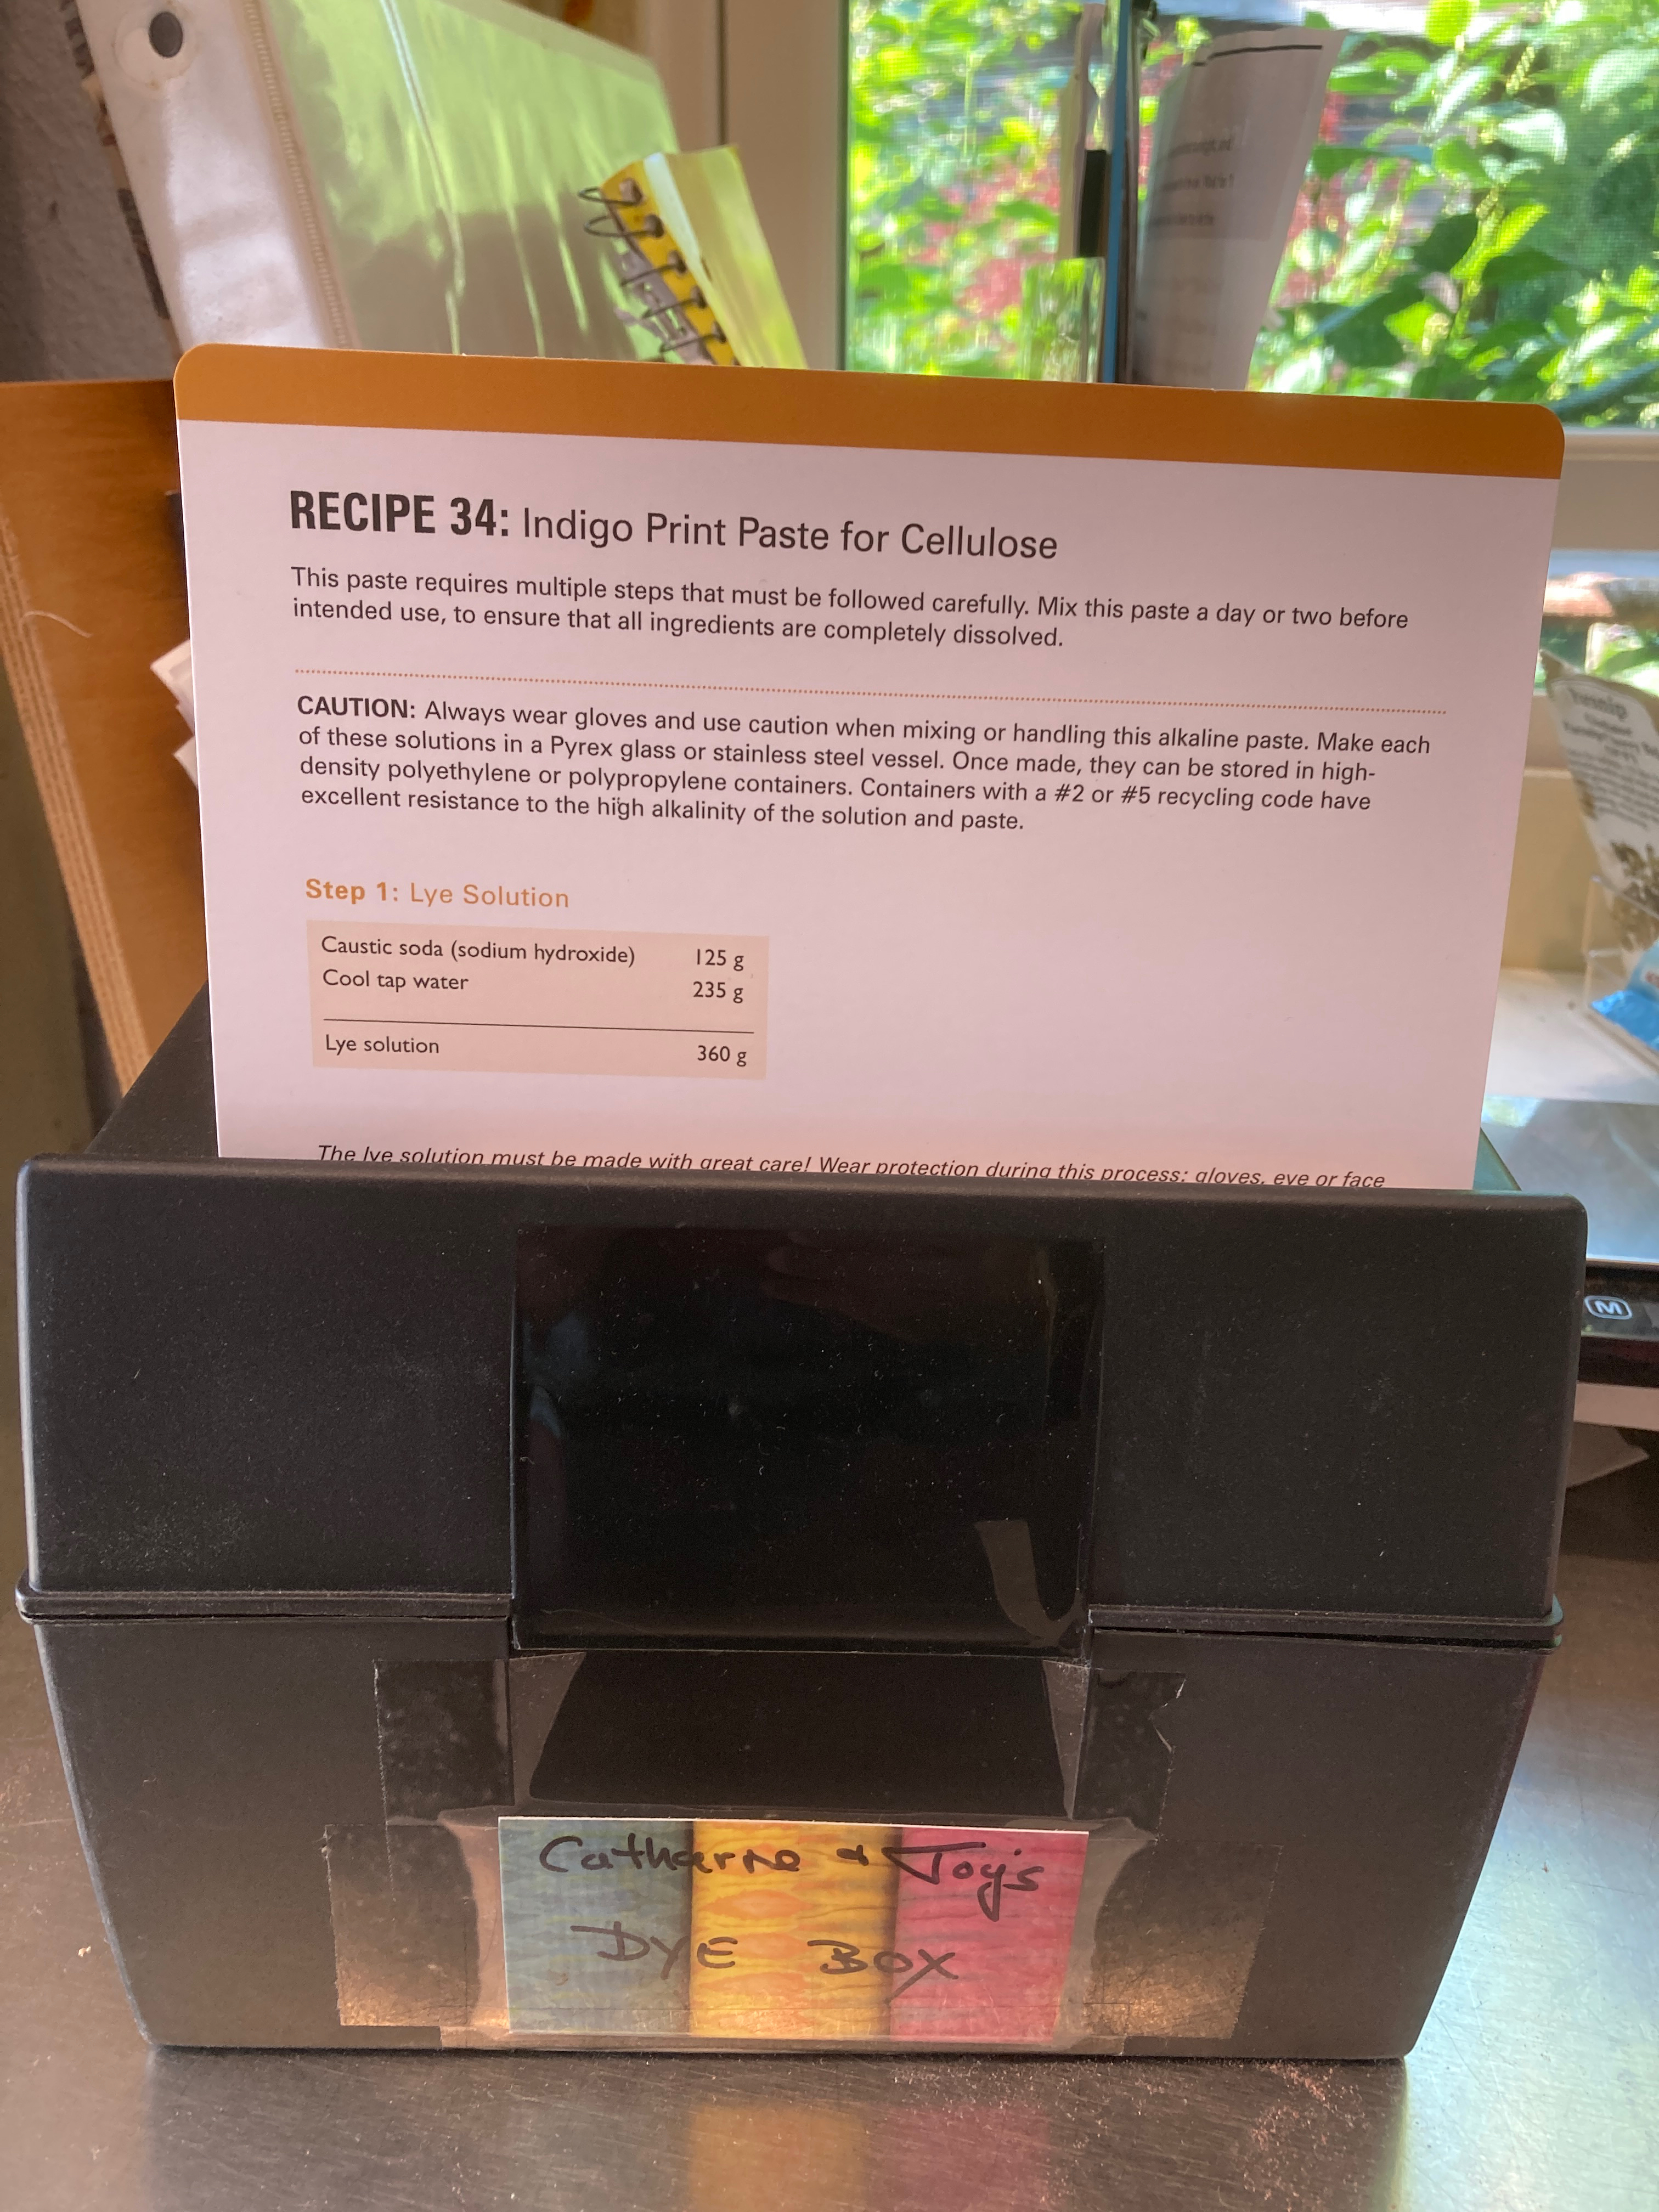
Several of my colleagues also took the class. Early this year, when the class was offered for a second time, several other colleagues enrolled. So, a small group of 7 serious and curious dyers decided that we would go through the class together. This would give us an opportunity to discuss, compare notes, and work through the class together.  An enrolled student has three years to access the videos but the printable notes are yours forever, making them a valuable studio reference.

Our “Study Group” members are located all across the US.  We opted to do our watching/reading separately and come together once a week via zoom to discuss a single module.

We tried this for a few weeks, but then decided that we needed a deeper focus to smaller parts of each module. Each of us now takes on the responsibility to further explore, research, and understanding one (or two) aspects of a module. This allows for more in-depth research, more focused questions, and possible dye/process testing and observing. When we complete this series of modules, I do believe that we could start all over again, and still learn more about the dye/chemical process. 

Understanding and practicing natural dye is a never ending process. Learning WHY we do things is key to being our best as dyers. 

During the first chemistry class in the fall of 2023, we received the shocking and sad news that Tim McLaughlin had passed away very suddenly. No one in the Maiwa family or in our larger community of dyers was prepared for this. It made continuing with the class difficult at that time, but now I feel that we are honoring Tim by continuing to learn from what he has created. We miss him dearly.

I am awe of the work that Tim and Charllotte put into this class – in order to make all of us better dyers. 

Maiwa is offering the dye chemistry class once again this spring…. Serious dyers should consider taking this class and I would highly recommend working with a group of colleagues in the process. 

Link to Maiwa Teachable: Natural Dyes: Alchemy Chemistry Craft

Tim and Charllotte taught an ink making class at Penland School of Crafts in the summer 2023. At the same time, Joy and I were teaching a weaving and natural dye class together. We had so much to discuss after long days in the studios! This is where I first learned of Maiwa’s upcoming science class for dyers. 

Using My Studio Formulas Set of Cards

It’s been a busy summer, but it’s time to follow up on my earlier post about the recently released Studio Formulas Set dye recipe cards. I received my own set of dye and recipe cards from Schiffer just before Joy Boutrup arrived from Denmark for a class we taught together at Penland School of Crafts in June. Teaching together was a great opportunity to receive some feedback about the set. 

Every recipe from the book is represented by a single card. Additonal colored cards illustrate individual dyes and color mixing. We opted to use wool as “the fiber of choice” when creating the initial printed cards as it such a commonly used fiber. The dye cards in the collection document the most important dyes: indigo, madder, cochineal, and weld along with a couple other tannin based dyes.

The dye color cards are beautiful and just as I had imagined they would be. Schiffer did a superb job of reproducing my dyed wool samples in print. Color matching is perfect! I was told that it took several tries to get it just right. I can appreciate that kind of care and accuracy – the same care and precision that I put into my dyeing.  Although the cards are durably coated, it is easy to write on them with a ball point pen or ‘Sharpie” and there is room for personalized notes on the back of each card.

The cards come in a box that is custom made for the set.  It even has a magnetic clasp to keep it closed. BUT for me to get the most use out of the cards,  I removed the cards from the original box and placed them into a much larger file box. This allows plenty of room for flipping through the various recipe cards, adding tabs for easy reference, AND for adding my own customized cards to the collection. You might want to do the same.

Studio Formulas Set moved into a plastic file box, purchased for less than $10, with lots of room to expand. 

Having individually printed recipe cards is proving to be very convenient in my own dye studio. Instead of dripping dye all over my book, I now can pull out the required card and work from that. And, YES, I do use the recipes from the book and I don’t have every one of them memorized!

The use of cards containing easily referenced materials and samples has changed the way I work over the last several years. As you know, I am seemingly always testing dyes and process. Once I complete an initial set of tests (recorded in detail with samples in my lab notebook), I then mount the final samples on a card, filed for easy access and reference. 

Here is a great example of how useful this process can be: 

I recently I went to my dye shelf to look for pomegranate rind for a specific dye project. I found that I had 3 different extracts and two jars of ground pomegranate rind (including one that I had ground myself). Were they different? the same? After making samples of all the various pomegranate dyes (on both cellulose and wool)  I can now objectively see the subtle differences between each of these dye sources and make a better informed decision.

Having of a record on hand of the dyes in the studio is an essential discipline that takes the guess work out of the dyeing process. Whenever I obtain a new dyestuff (purchased or grown myself) my goal is to complete a test dye on the appropriate textile material. Sometimes that means dyeing several samples as I explore various depths of shade on different fibers. 

Documentation of the various pomegranate dyes on wool.

If one chooses to add actual cloth/fiber samples to the box, available space fills quickly. Thus, a larger, file box quickly becomes a necessity. Currently I have one box earmarked for documenting protein fibers and am building another that is dedicated to cellulose.

My personal (and expanding) box of dye samples on wool

Careful measurement of the dye used per weight of textile can result in greater control over the palette of color and discourages wasting of  dye. It has the potential of bringing natural dye to a level beyond experiment and discovery: controlled color. 

When Joy and I taught together at Penland in June, we used the cards throughout the session as a quick reference for dyeing in the class. By seeing (and understanding) the function of color mixing with natural  dyes, students were better able to predict the colors that they would ultimately achieve. I am sure that you will also find them a useful tool in your personal studio practice. 

Student experiments in weaving and dyeing at “Show and Tell” on the last day of our class at Penland.

Dye Cards in a Box!

It has been a while since I have posted here, but I assure you that I am staying busy, still learning, and have been developing some new projects and ways of working. 

Last year, Schiffer Publishing Co. approached Joy and me about making the the recipes that are included in The Art and Science of Natural Dyes more accessible to the user. A we thought about how to accomplish this, I was reminded that in my household kitchen, I use the same recipes over and over again and used a recipe box and cards regularly. Maybe this would be a good idea for the dye kitchen as well. 

This invitation to increase the usefulness of the recipes seemed like a perfect opportunity to share the dye color work that I had been developing for many months in the studio and has finally resulted in The Studio Formulas Set for The Art and Science of Natural Dyes: 84 Cards with Recipes and Color Swatches. It is scheduled to be released by the end of June.

In 2020 I posted about Dominique Cardon’s newly published Workbook, Antoine Janot’s Colours. This little book has been a great inspiration to me. It was surprising and enlightening to find that Janot’s full palette of  55 colors was made with only 4 dyes: indigo, madder, cochineal, and weld. That bit of information has mostly changed the way I am now thinking about dyeing and color. 

When I first began using natural dyes I thought it was important to have/use/stock every dyestuff and dye extract that I could get my hands on; I didn’t want to miss any opportunity! The large number of dyes on the shelf always led to confusion when I got ready to dye. At some point,  I finally did lightfast tests on all the dyes on my shelf , making fastness to light a criteria for selection. Ultimately, I ended up with a much smaller number of dyes I was willing to use. Those are the dyes that we include in The Art and Science of Natural Dyes

The documentation in Janot’s workbook helped me to take color and color mixing to the next step, which was truly learning to master my dye colors. 

The first thing that I felt I needed to do was learn to control the various shades of indigo. Janot used 8 different shades of blue, each with its own name. I had to learn how to consistently achieve different shades with my fermentation indigo vats. My goal was 6 different values.  Dyeing consistent blues is like capturing a moment in time, as the vats change over their life span. My first fermentation vat was over 2 years old before it finally gave me the pale blue that I needed for some of the color mixes. 

The 8 shades of indigo blue used by Janot

The 6 values of indigo blue chosen for use on the cards and subsequent color mixing

So, I began dyeing a series of predictable, repeatable color using indigo and a handful of other dyes using various depths of shade.


Various shades of yellow from weld

Various shades of indigo + a strong weld result in one set of green colors

The same shades of indigo with a weak yellow results in a different set of greens.

My lab notebooks are fabulous repositories of all of my testing (I am now on volume #10) but they are not always the most convenient place to go for a quick color reference. So, I began putting my color mixes and repeatable dye colors on cards – the  kind that you can file in a box for easy reference. And then I began USING that reference. It was at my fingertips and ready to look at whenever needed

My own first set of studio dye cards

I realized that this was also a perfect opportunity to combine the recipes from The Art and Science of Natural Dyes with a set of color mix cards, that will give the dyer some basic color mixing information. 

The dyes included in the color mix box are: indigo, cochineal madder, weld (and a little bit of the tannin dyes: pomegranate rind and cutch )

I have used my “box of colors” in teaching over the last months. It is rewarding to see students refer to the cards, make their own color choices, and their ability to achieve very similar results. 

To follow soon: ideas of how to best use your own set of “Box of Cards” in your own studio dye practice.

More Notes on The Life of a Fermented Indigo Vat

Vat name: WEF (WEak Ferment)

Dates: June 2020-December 2022

The early months of the Covid pandemic proved to be the perfect time to delve deeper into fermented indigo vats. As I have discussed in earlier posts, I began making small (1 liter) sample vats and learning from them. Ultimately though, in order to really understand how the vats worked and dyed, I needed to commit to something larger. 

I built my first large (50-liter) fermented indigo vats in early 2019.

All the fermented vats were made using indigo pigment.   Wood ash lye or soda ash was added to provide the alkalinity.  They all  included combinations of spent madder root, dried Indigofera tinctoria leaves, and wheat bran to produce the fermentation which, in turn, produces the reduction.  

I frequently add small test vats to  larger ones as I build them. This “seeding” speeds up the reduction quite a lot, resulting in vats that are sometimes ready for dyeing after only 2-3 days, rather than the 10-12 days that would normally be required. 

These fermented vats were giving me good strong blue colors. Yet, I was also trying to understand and control a full range of light to dark shades of blue. I needed a weaker vat. Based on my experience with quick reduction vats, I decided to make an additional “weak” vat, by using only 2 grams of indigo per liter.

Note: when working with quick reduction vats, such as a fructose vat,  I can easily control the depth of color by making weak vats (1-2 grams/liter) vs. strong vats (5-8 grams per liter). This combination of both weak and strong vats is very helpful in creating shades from light to dark, and  when combing indigo with other dyes for greens, violets, etc. 

In addition to “numbering” my vats I also “name” them, using a title that is descriptive of the vat itself. This one was name WEF (Weak Ferment). Initially, it did NOT produce the anticipated pale color that I had hoped for. The color was actually quite strong, even though it contained what I considered only a small amount of indigo, compared to the other vats. From this, I concluded  that the reduction of the indigo in the fermented vat was much more efficient than in the quick reduction vats. 

In order to achieve the desired pale color from the vat I needed to deplete the indigo present.  Traditional vats typically give the palest of colors at the end of their life and this was very much in keeping with that strategy.

I began dyeing a LOT: large woven panels, cotton and linen clothing, etc. Because this vat was large (50 liters) it was easy to dye bigger pieces in this vat. I continued dyeing for a number of weeks, which turned into months. Still, the color remained deeper than I had hoped for. This was a lesson in patience.

Early in 2022, while working on The Studio Formulas Set for the Art and Science of Natural Dyes, a new recipe and color match project with Schiffer Publishing (more to follow about that later). The color samples in this project required careful control of my indigo blues (as well as all the other dyes). I was happy to find that my original “weak” fermented indigo vat (WEF) was finally dyeing beautiful pale blues, while my two other vats were still producing deeper blues. Access to both weak and strong vats was key to controlling the shades of blue.  

Six values of indigo produced for The Studio Formulas Set

Dyeing continued in the “WEF” vat on a regular basis for several more months whenever pale blue colors were required.

Each vat that I make is accompanied by its own small diary/notebook. In that book, I include all pertinent information, such as the original ingredients, dates, ph records, test samples, additions etc.  It is “the history” of that vat and an invaluable part of its life and maintenance. Regular maintenance always includes test sample dyeing, which is an excellent indicator of the health of the vat, as well as providing a record of the color that the vat is currently producing. 

In December, 2022 the WEF vat was finally depleted. It was producing no more blue color and resisted all attempts to revive it. After 30 months of use, the vat was consigned to the compost pile. 

The other two vats are still going strong today. One of them seems to be on its way to producing paler colors. 

Discharging of Indigo Dye

It is my belief that learning about natural dye takes a whole community of people who are willing to experiment, observe, and share. The sharing has been the most rewarding part of my own journey in natural dyeing. I have met many dyers, both in person and virtually, who are willing to be part of that communal knowledge base.

While my co-author,  Joy Boutrup, and I were preparing and writing The Art and Science of Natural Dyes, we experimented with potassium permanganate, a strong oxidizing agent that can be used to discharge indigo. It provides a unique approach to removing indigo dye. When combined with resist, such as “itajimi” clamps, wonderful resist patterning will result.  Changing the chemical treatment will result in a “permanganate brown” color. When the textile is pre-treated with a tannin, it is possible to achieve even darker brown colors juxtaposed with the indigo. All of these recipes/processes are included in the book. 

But direct application or printing with the potassium permanganate proved problematic. Any gum used to thicken the mixture rendered it chemically useless for discharge. In the book, we included a resist paste made with soy flour and lime (calcium hydroxide) in order to achieve some controlled resist printing effects. I had learned to make this paste while in China and found that the paste could be used as a resist for the potassium permanganate solution.  Unfortunately, the soy/lime paste, although effective, is harsh and very difficult to remove from the textile. 

After The Art and Science of Natural Dye was published, we received an email from Zoë Sheehan Saldana, an artist who has been using potassium permanganate. She experienced the same challenges when printing – but she solved the problem by thickening the potassium permanganate with a fine clay. The clay is inert and does not interfere with the chemical oxidation of the indigo.  Either bentonite or kaolin are suitable clays. These are the same types of fine clay that are used with the indigo resist paste. The printed application of the paste in her bandanas results in an even discharge and the printed patterns become pure white.

Use enough clay to achieve a suitable thickness for painting or printing with a screen. Varying the amount clay, as well as the application method, will result in hard lines or soft edges. When painted on, rather than printed, an uneven layer of the paste and the discharge can result.

Mix the paste in small batches, making only the amount that you think you will need.  The paste is most effective when used fresh, but if kept tightly covered it can last for a couple days.

Indigo discharge, using a painted application, by Amanda Thatch. taking advantage of the uneven thickness of paste that results from the brushed on application.

During this week of the United States holiday of Thanksgiving, I am grateful for the community of dyers and experimenters out there, who are willing to share and make our knowledge base stronger. Thank you. Happy Holidays!

Madder for the Indigo Vat

It is exciting to see such a passion for indigo these days, and especially the active exploration that is happening. With this also comes with a deeper understanding of indigo dyeing and process. 

Vats reduced with chemicals such as sodium hydrosulfite or thiourea dioxide used to be the norm when I first learned indigo dyeing in the 1970’s. But now, many dyers have abandoned those chemical reduction vats and are returning to more benign processes. They are now making quick-reduction vats that are reduced with sugar, fruit, plants, or iron – thanks to the teaching of Michel Garcia. Some are growing their own indigo to explore fresh leaf dyeing and pigment extraction. Others are making sukumo – a long process of composting persicaria tinctoria leaves – Thank you Debbie Ketchum Jirik for offering an online class this past fall. Recently, Stoney Creek Colors has introduced a natural, pre-reduced indigo. And more dyers than ever are now exploring vats that are reduced by fermentation.

Fermentation is the process that has captured my interest in recent years. The long-term committment seems to fit my own “stay at home” life right now. The lower pH is suitable for all fibers. Most of all, it’s been an interesting adventure. Something that once felt out-of-reach has now become my preferred process. 

The fermentation vat utilizes plant material to initiate and maintain an alkaline fermenting process, which causes the indigo to become soluble. During fermentation, plant material is broken down, creating bacteria. Lactic acid is produced, making it necessary to monitor the pH on a regular basis. 

Madder root is a common plant material used in a fermentation vat. There is a long history of its use in indigo vats. It is usually combined with wheat bran, which ferments readily. There are many recipes in old manuals for this Madder Vat.

From The Dyer’s Companion by Elijah Bemis (originally published in 1815, Dover Edition, 1973)

for a vat of 12 barrels (not sure what a “barrel” is)

  • 8 lbs potash
  • 5 lbs madder
  • 4 quarts wheat bran
  • 5 lbs indigo

When I first leaned of these vats made with madder, I struggled with the idea of using perfectly good madder root to reduce an indigo vat. But I have now come to understand that these vats were most likely made with “spent” or “used” madder. I remember Michel Garcia talking about how the “used” madder from professional dye studios in the past was sold to the indigo dyers after it had been used to produce red dye. Indigo dyers have no need for madder’s red colorants and thus nothing was wasted. 

So, I am dismayed each time I hear from someone who has made a fermented indigo vat using “new madder root”. “Spent” or “used” madder is every bit as effective as a fermentation booster as fresh or “unused” madder. 

Most of the madder I use in the studio is in the form of finely ground roots, though chopped roots would work as well. When my madder dyebath is finished, I strain the ground roots and dry them for later use in an indigo vat. It’s that simple! And nothing is wasted. 

Equal amounts, by weight, of “used” madder root on the left, and “new” madder root on the right. Most of the colorants have been removed from the madder in the dyeing process, leaving only the starches and sugars of the roots.

Plant materials, other than madder,  can be used in the fermentation vats. I frequently use dried indigofera leaves, as well as woad balls and have even begun a “hybrid “ vat using sukumo with indigo pigment. My most recent experiments have used both Dock root and Rhubarb root successfully. Madder, Dock and Rhubarb are all roots, all anthraquinones…..

The Surprise of Indirubin!

Why would a white plastic button turn purple from an indigo dyebath?

Indirubin is one the most curious components of indigo. It is sometimes referred to as the “red” of indigo. Indirubin only occurs in natural indigo and you will not find it in a synthetically produced pigment. Indirubin is valued for its medicinal applications.

Some dyers have been successful at manipulating the extraction and pH of indigo in order to reveal the mysterious purple/red color of indirubin on a textile. I have no real experience with this process.

At one point I did learn how to analyze an indigo pigment in order to determine the presence of indirubin. If indirubin is present, it is an indicator that the pigment is made from plants and not synthetically produced.  Natural indigo has varying amounts of indirubin. The process of analyzing uses solvents and chemicals so it is not something that I want to do on a regular basis. 

I purchase all of my indigo pigment from Stony Creek Colors, as I know that their indigo comes from plants (and, consequently, contains plenty of indirubin).

Now that I maintain several large “active” indigo vats, I will occasionally dye a ready made garment. A white linen blouse is not a good choice for wearing apparel in the dye studio, but one that has been dyed a rich indigo blue is perfect. 

After dyeing, just before the final rinse, I always boil an indigo dyed textile in order to remove any unattached dye. Cellulose is boiled vigorously with a small amount of neutral detergent for about 10 minutes. Wool and silk are brought to a near simmer and held at that temperature for the same amount of time. 

Once I started using indigo from Stony Creek I noticed that the water from the final boil was always tinted a purple hue. I assumed this was the indirubin that was being rinsed from the textile. Interestingly, I observed that the purple color in the boil water is temporary, and will disappear as the bath cools. 

Recently, I dyed some linen shirts that had plastic buttons. The buttons stayed white until the final boil. When the garment was removed from the boil bath, they had become purple. I have now learned that indirubin is less easily reduced and the undissolved indirubin will stain plastics and other petroleum derived materials. Some of the polyester threads used to sew the shirts are also tinted purple. 

Summer Arrowood, the chemist at Stony Creek Colors, tells me that all the plastic vessels in her lab are dyed purple from the indirubin!

Will these buttons remain purple after multiple washings? I don’t know. There is always more to observe and learn from the natural dye process.

Slow Process

Natural dye has never been a quick way to color my textiles. First there is the mordanting, then the extraction of plant/insect material – not to mention growing, gathering, or drying the plants. Did I mention collecting seed? And what about the weaving, where I actually make cloth from threads? 

These last 18 months at home have been a chance to dive in deeper (and slower) with some processes. Just before COVID came to our doors, a friend gave me a small jar of sourdough starter. So yes, I am one of those who has made sourdough bread every week for the last year and a half. What a gift – both sour dough starter and the time to use it!

It was my fermented indigo vats that gave me the courage to take on sourdough bread making. I thought that if I could keep indigo vats alive for a number of months, then I could certainly keep a sourdough starter going as well. That has proved to be true.

The first fermentation vat was started in July of 2019. It was a relatively small vat (20 liters) but I used it a great deal. A year later it was used it to “seed” a larger 50 liter vat. The success of this first experiment gave me the confidence to start two more 50 liter vats in 2020. All are still going strong. Over the last two years I have made many additional one-liter vats in order to test reduction material, alkalinity etc. That first large vat that I created in 2019, after being used heavily for over two years, is finally giving me lighter blues.

Now I am in the midst of another slow process – sukumo. Debbie Ketchum Jirik of Circle of Life Studios very generously took a group of zoom class participants through the entire process of small batch composting of indigo leaves based on the teaching and book of Awonoyoh. Every 3-4 days we logged in, watched the sukumo being lifted from its container and stirred by hand. Does it need water? Does it need heat? What does it smell like? Conversations were focused and interesting. Several class participants were also in the process of making their own sukumo along with Debbie. I am not so fortunate. I have to gather more seed, grow more plants, and dry more leaves before I will have enough plant material to do my own composting. 

This experience has given me a far greater appreciation of sukumo. I was recently gifted a significant amount of sukumo and had planned on making my own large sukumo vat. Now, understanding more of what sukumo is, I am experimenting with using smaller amounts of sukumo in combination with my fermented indigo pigment vats. When I told my Japanese colleague, Hisako Sumi, about this, she indicated that Japanese industrial production has used this approach since early in the early 20th century. There is even name for this hybrid: “warigate”. Yoshiko Wada translated this for me as  “WARI GATE” / “split vatting” and it was mostly done using synthetic indigo. 

I have made many small test vats, using varying amounts of sukumo, in addition to indigo pigment and other materials to boost fermentation. These test vats were ultimatley used to ‘seed” a larger vat. I now have my own 50 liter hybrid vat that combines sukumo with Stony Creek indigo pigment.

My latest “slow process” is vermiculture. I recently spent an afternoon with friends, sorting worms from castings and beginning my own worm “farm”. This is another of those long term, slow processes that bring me closer to the earth, and makes me appreciate the small miracles of watching things grow. And I know that this compost will feed my indigo plants.

But not everything must be slow….

Stony Creek Colors has just released information about their newest product: IndiGold. It is a pre-reduced liquid indigo, grown in Tennessee and designed to be used in combination with fructose and lime (calcium hydroxide). I have dyed with the earlier available pre-reduced indigo but I was never sure exactly what it was and didn’t want to use the reduction chemicals that were recommended. I stopped using that product a long time ago when Michel Garcia introduced us to the “quick reduction” vats made with sugar and lime. But there are some occasions, particularly when teaching a one-day workshop, that it is impossible to make a vat and dye with it on the same day. 

Stony Creek sent me a kit for test dyeing and I was amazed at how quickly the vat was reduced and dyeing to full strength. It took only minutes – not hours. Stony Creek Colors told me that they”skip the chemicals” and use an electric hydrogenation process plus an alkaline to reduce the indigo. There are no chemical reduction agents! I used the vat all day long and it was still in reduction the next day. 

This will not replace my slow, fermentation vats but it will make “quick” dyeing possible when needed. 

Once again, Stony Creek is changing how we think about indigo and its production. They are currently posting information through a Kickstarter Campaign to support this new venture.

Black: An Improvisation

I recently took on a small weaving commission that required the use of black wool yarn. For a brief moment I contemplated purchasing the wool in the required color and then decided that I could dye it. I was surprised at how easy it was to achieve a rich, deep black color on the wool using only indigo and madder. 

Commissioned weaving using wool yarns dye with indigo blue, madder red, black from indigo and madder

It inspired me to continue my current series of color studies, woven in cotton and linen, with an in-depth exploration of black dyes. 

Initially, I wanted to achieve all the black hues without the use of an iron mordant. My years of mixing hues with primary colors gave me the confidence to believe that I could mix a good black for cellulose using 3 primary colors: blue, red, and yellow. The key was going to be finding the correct proportions. 

The first step was to build up a deep layer of indigo blue (usually 8-10 dips in the vat) followed by a mordant, and finally red and yellow dyes. That red could be madder or cochineal but I chose to use only madder, since that is what I am growing in the garden.  My preferred yellow is weld.  Each different combination results in a subtle variation. Some “blacks” are more purple, while others are a bit more green, or brown. I began using black walnut  and cutch as a substitute for the madder and weld and sometimes added madder or weld to those.  Each is a distinct hue, and definitely in the “black” family. I am confident of the lightfastness of these hues because of the primary dyes that have been used. 

Dark indigo alone, on far left + combination of cutch and madder resulted in a neutral black
close up of “black” hues in the series on cotton and linen fabrics

These multiple shades of black, put me in mind of the paintings in The Rothko Chapel in Houston, which is the site of a series of large large “black” canvases by the artist, Mark Rothko. These black canvases are painted with layers of crimson, alizarin, and black.

But no exploration of black would be complete without some experiments using tannin and iron. Instead of building up layers of primary colors, I soaked the textile in a gall nut tannin bath, followed by a short immersion in an iron bath. I wanted to use as little iron as possible, but still achieve a very dark shade. I decided that 3% weight of fiber would be the limit of the amount of iron I would use.

Most often, I use ferrous acetate instead of ferrous sulfate because it is less damaging to the fiber. Cellulose fibers are are somewhat tolerant of ferrous sulfate so I did experiments with both. That is where I was most surprised! Without exception, the ferrous acetate resulted in deeper colors than the same amount of ferrous sulfate. 

Why? I wasn’t sure. So I consulted my colleague, Joy Boutrup, who always knows these things. 

“I think the reason for the grey instead of black with iron sulfate is due to the higher acidity of the sulfate. The acetate is much less acidic. The  tannin complex cannot form to the same degree as with acetate.”

The pH of my ferrous sulfate solution was 4. The ferrous acetate was pH 6. (My tap water is from a well and is a slightly acidic pH6.)

The grey and blacks achieved with the tannin and iron are quite one-dimensional compared with those that result from a mix of colors and not nearly as interesting, Yet they are likely a more economical approach to achieving black; the multiple indigo dips, mordanting, and over-dyeing takes considerably more time and materials than an immersion in a tannin and an iron bath. 

Always observing always learning, here in the mountains of North Carolina…

Studio image of completed woven panels

The Life of an Indigo Vat

Over the years I have built, used, and discarded many indigo vats. Sometimes I have kept them going for a very long time. I have finally declared the 5 year old, 100 liter henna vat “done”. I have added indigo pigment, lime and additional henna to it many times and although it is still dyeing well, the space available for that dyeing (above the “sludge” at the bottom) has gotten very, very small. 

As many of you know, I have spent this last year at home getting to really know my fermented indigo vats. I have followed a rather strict protocol. Each vat began with a certain amount of indigo pigment, a source of alkalinity (soda ash or wood ash lye) and various plant based materials to begin and sustain the fermentation (wheat bran, madder root, dried indigofera leaves, etc.). Only small amounts of lime and bran have been added over the last year to sustain pH and fermentation. At no time have I added additional indigo.

Last May I was trying to achieve a wide range of blue shades from the very palest to very darkest. I was a bit dismayed to find that all of my vats were dyeing too dark to give me the pale shades I desired at the time.  I knew (in theory) that if used the vats enough, the indigo content of the vats would decrease but had no idea how long that would take, or how much dyeing I would need to do. No matter how much I dyed, it didn’t seem to happen.…

Now, a year after the vats were first made, I can see progress.

Indigo on cotton cloth: 1-15 ten-minute dips. May 2020

Indigo on cotton cloth, same vat: 1-24 ten-minute dips. February, 2021

Some observations:

This is a long process….

Two dips in May, 2020 gave the equivalent shade as 5 dips in February, 2021

The dark blue that was achieved from 12 dips in May, 2020 was not achieved, even after 24 dips in February 2021

The subtle differences in the darkest shades are difficult to discern from the photos – but they are there.

I now realize the value of having a number of vats: from old to new, weak to strong. It’s something I have heard Michel Garcia say on more than one occasion, but sometimes we just have to observe and learn the lessons on our own. 

This spring, I will not discard my weakening vats, but will add another vat for the strong, deep blues that I am currently needing to build up black colors on my woven cellulose fabrics.